This post may contain affiliate links. Please read our privacy policy.
This post is sponsored by Adobe. All views and opinions are 100% my own. Thank you for continuing to support the brands that make My Baking Addiction possible.
A couple of weeks ago, I posted a delightful Cucumber Gin Fizz, as part of a collaboration with Adobe where I also shared some of my top photography tips. I am by no means a photography expert, but food photography is something that I’m incredibly passionate about, so I’m loving this opportunity to share some of my favorite tips and gear with you.
One of my favorite parts about food photography, and food blogging in general, is that I’m always learning something new. Whether it’s new editing software, camera equipment, or just taking on seasonal shifts in natural light, I feel like I’m always pushing myself to capture better images.
I’ll be the first to admit that sometimes I can shoot a recipe in under 10 minutes and be perfectly content with the outcome, but sometimes things don’t go as smoothly.
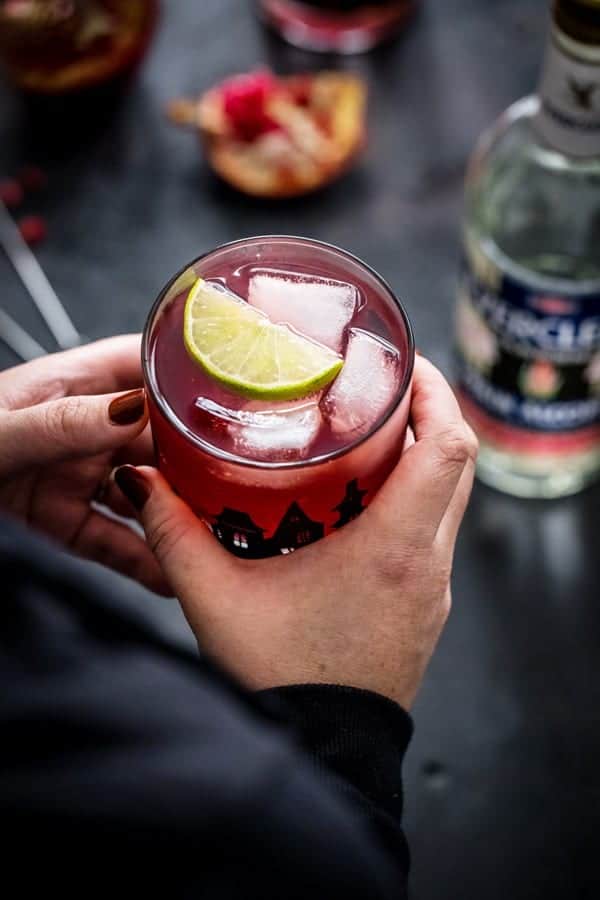
A few weeks ago, I spent the afternoon in my friend Emily’s studio, working on a video project and shooting this Pomegranate Ginger Punch.
It was a cloudy fall afternoon, so we were already contending with lighting issues and then we decided to get all fancy and throw dry ice into the mix. The punch recipe was a Halloween cocktail, so we knew we wanted the images to have dark, moody vibe (seemed appropriate for adult Halloween party, right?), but the vision we had for the shoot wasn’t coming to life and we quickly realized we’d have to rethink our game plan.
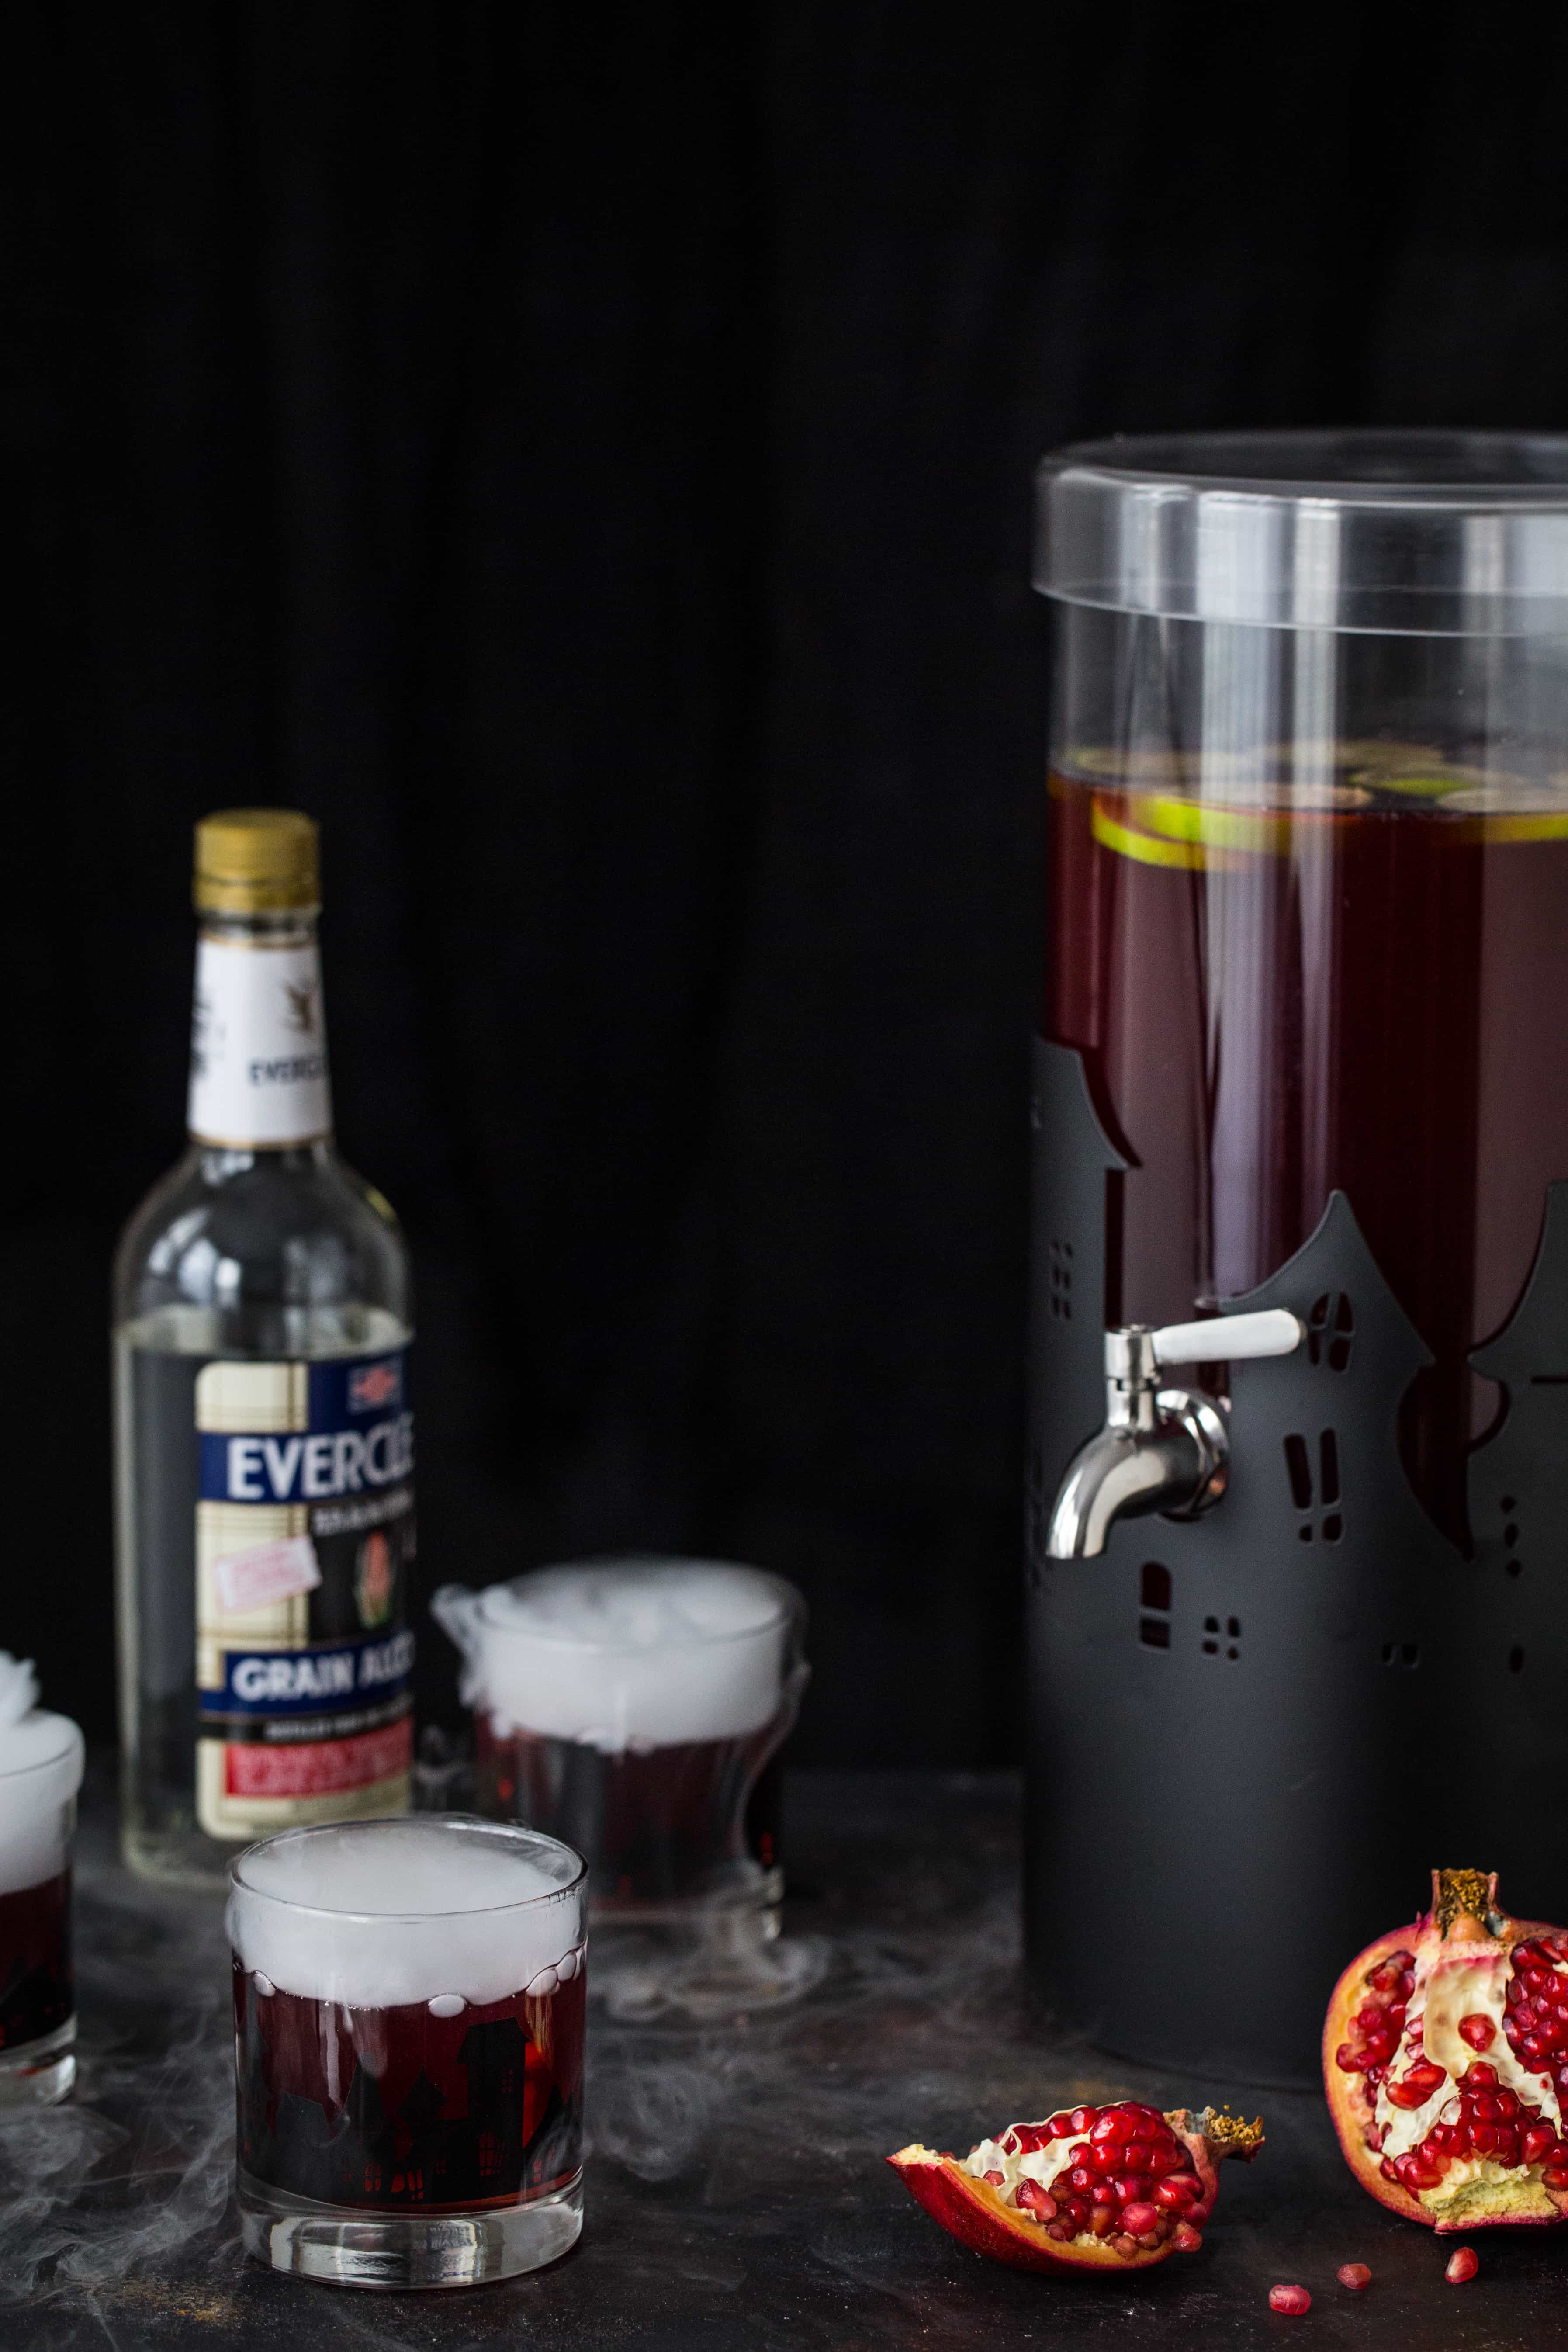
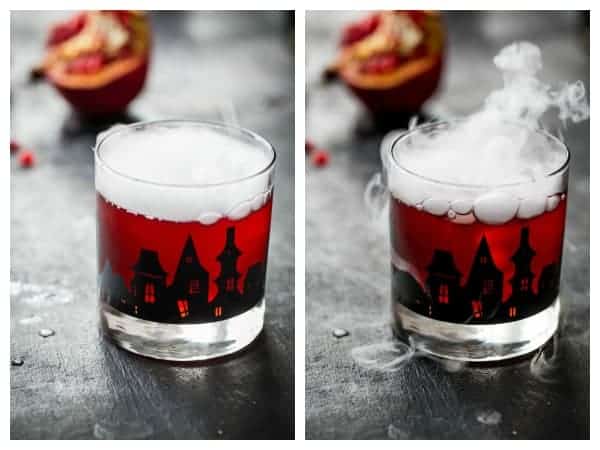
I had purchased these really interesting silhouetted, haunted village glasses along with the matching drink dispenser that we really wanted to play up in the photos. However, as you can tell from the shot above, a side lit set simply did absolutely nothing for the glasses, or the pretty pomegranate hue of the cocktail itself.
Although the above image is what I would deem as fine, it was definitely not what we had envisioned. Since we were shooting tethered in Adobe Lightroom, we were able to see the shots immediately after we snapped them. After making some minor adjustments that just didn’t work, we decided to change the set completely and transition to a backlit set-up.
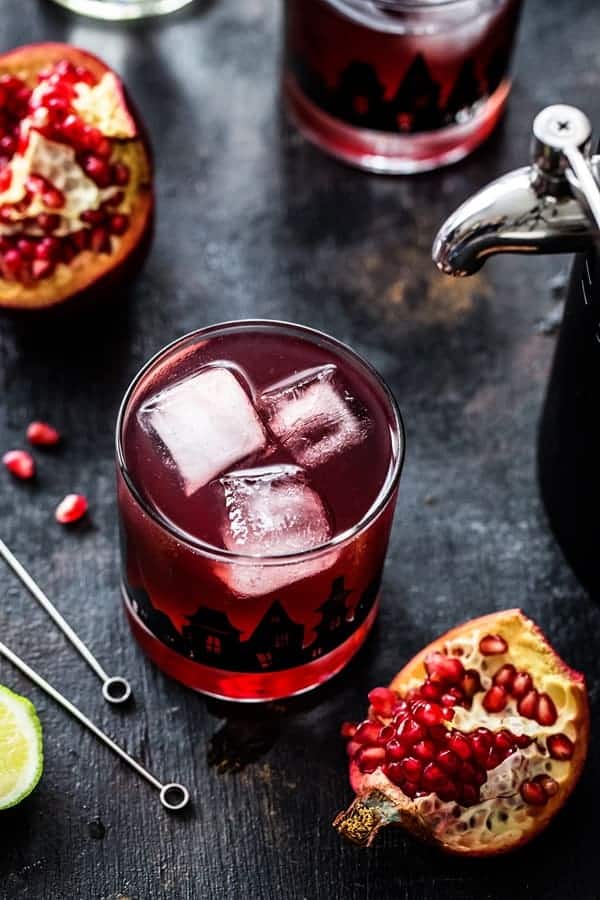
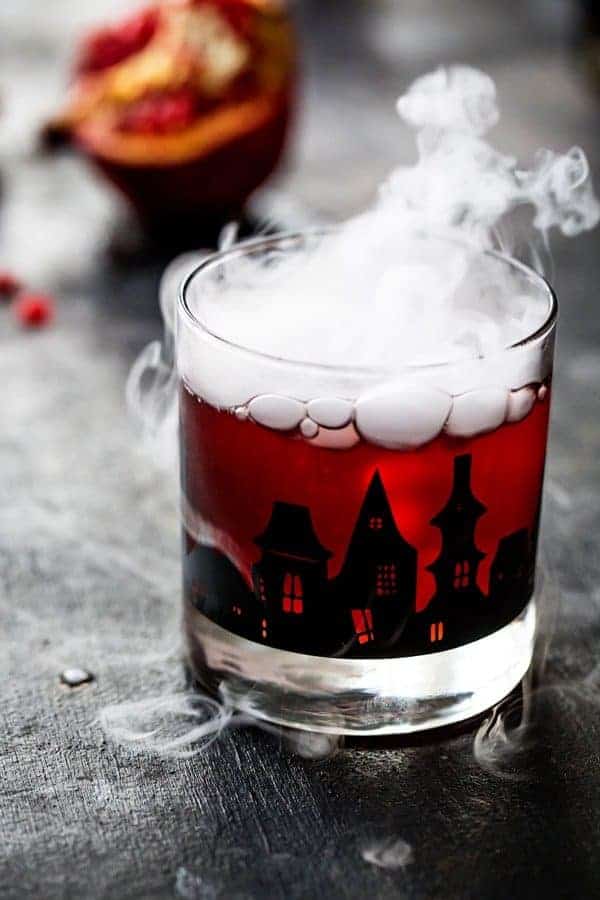
As you can tell, this simple lighting change allowed the glasses and cocktail to really shine. It also created more interest and texture in the photo because the props on the surface were creating natural shadows which gave us that moody feel and tone without having to block light.
Since neither of us had photographed a cocktail with dry ice before, there was a definite learning curve involved. We figured out very quickly after snapping a few tethered test shots and viewing them in Adobe Lightroom that we had to make some big adjustments.
Typically we shoot with our ISO setting under 600; however, in order to capture the eerie billows of smoke, we had to crank our ISO well over double our normal setting to accommodate the shutter speed needed to actually capture the curls of smoke. Again, since we were shooting tethered, we were able to ensure that our images weren’t getting too noisy due to the increased ISO.
To get the smoke to really pop, we used Adobe Lightroom to bump up the contrast, clarity, and saturation to create intense color and texture in the photo. Since the photo was backlit, it needed a slight boost in saturation to make the red color of the cocktail pop and the smoke come to life.
We also used the “post crop vignette” slider to bring the edges of the image down a bit so the eye focuses on the, bright center of the image. This slider is best used sparingly as pulling it too much can make the effect seem very artificial as opposed to a natural darkening of the edges.
Since we were editing quite a few photos in this set, we also used the “previous” button because it allows you to copy and paste the edits from the previous image to the current one. Many of the images we were editing we quite similar, so it cut back on the editing time. We just ended up returning to the edited photos to make some fine tune adjustments once we decided on our hero image.
It just goes to show you that with the right tools in hand, you can create images you love. And if those tools help you realize quickly and easily that your plan isn’t working, it becomes so much easier to shift gears and efficiently get the look you’re going for. Gotta love Adobe for that!


Really great article. Thanks for taking the time to explain things in such great detail in a way that is easy to understand.
Great tips on shooting cocktails. I struggle with anything in a glass. My camera can’t be tethered ! I can’t wait to upgrade so I can shoot tethered.
Thank you, Arlene! I’m glad the tips were helpful.
These are such great tips! Your photos turned out awesome!
Thank you so much, Miranda!
What a fun and spooky drink!
Thank you, Tori!