
This post may contain affiliate links. Please read our privacy policy.
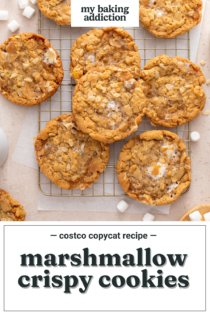
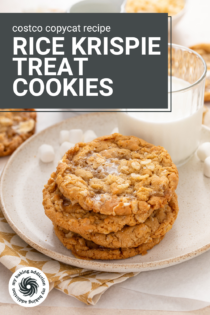
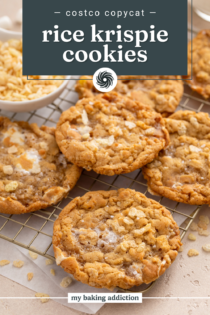
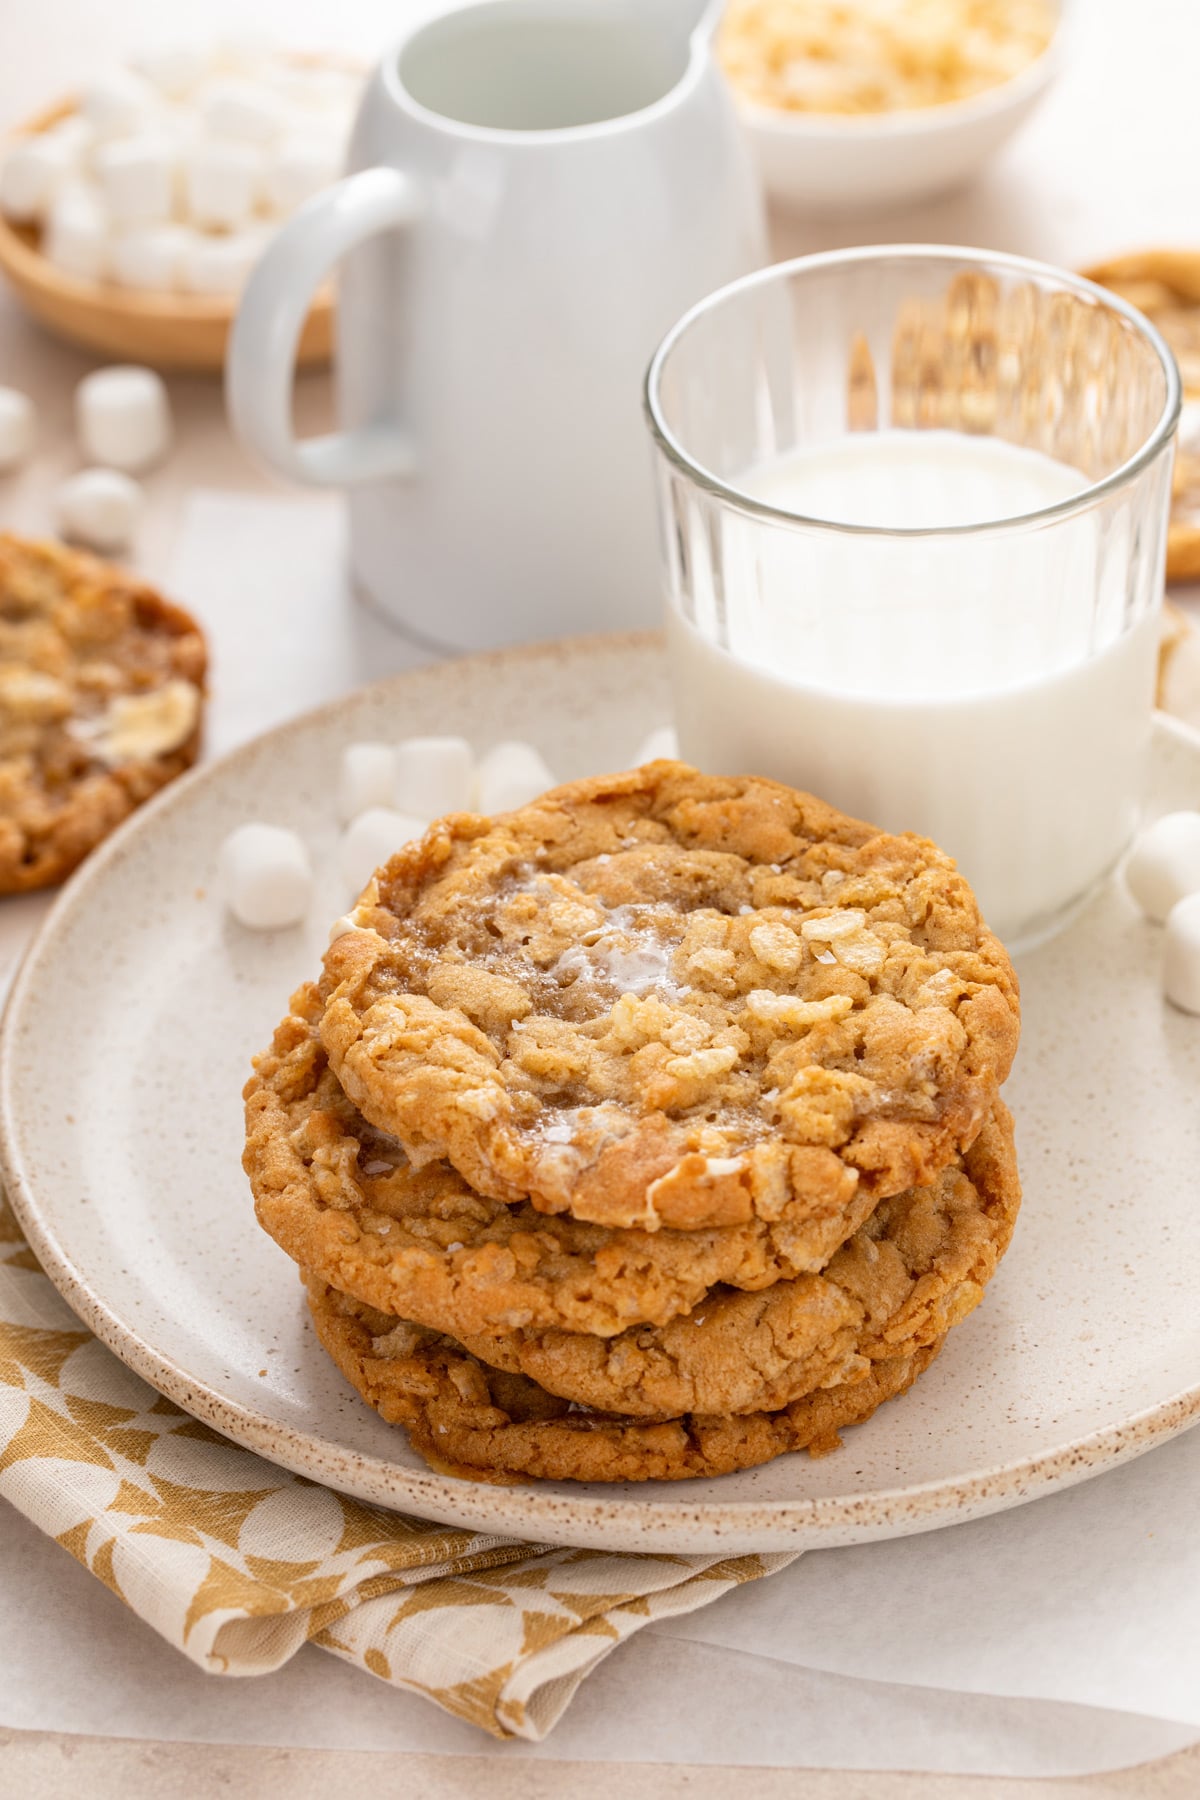
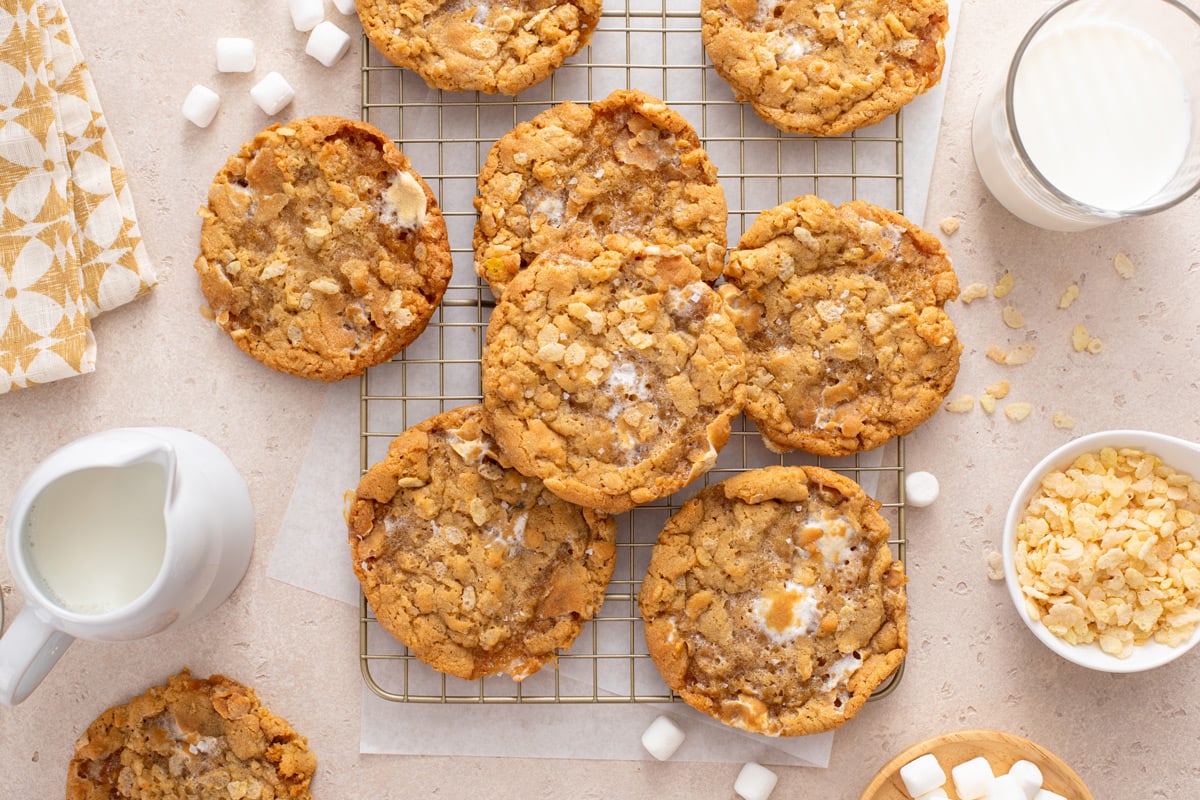
This rice krispie cookie recipe is a copycat of the popular Costco Marshmallow Crispy Cookies! Crispy rice cereal and mini marshmallows are mixed into a brown butter cookie dough, creating thin, chewy cookies that taste like your favorite childhood treat. This dough does not require any chilling, so you can make these in less than an hour from start to finish.
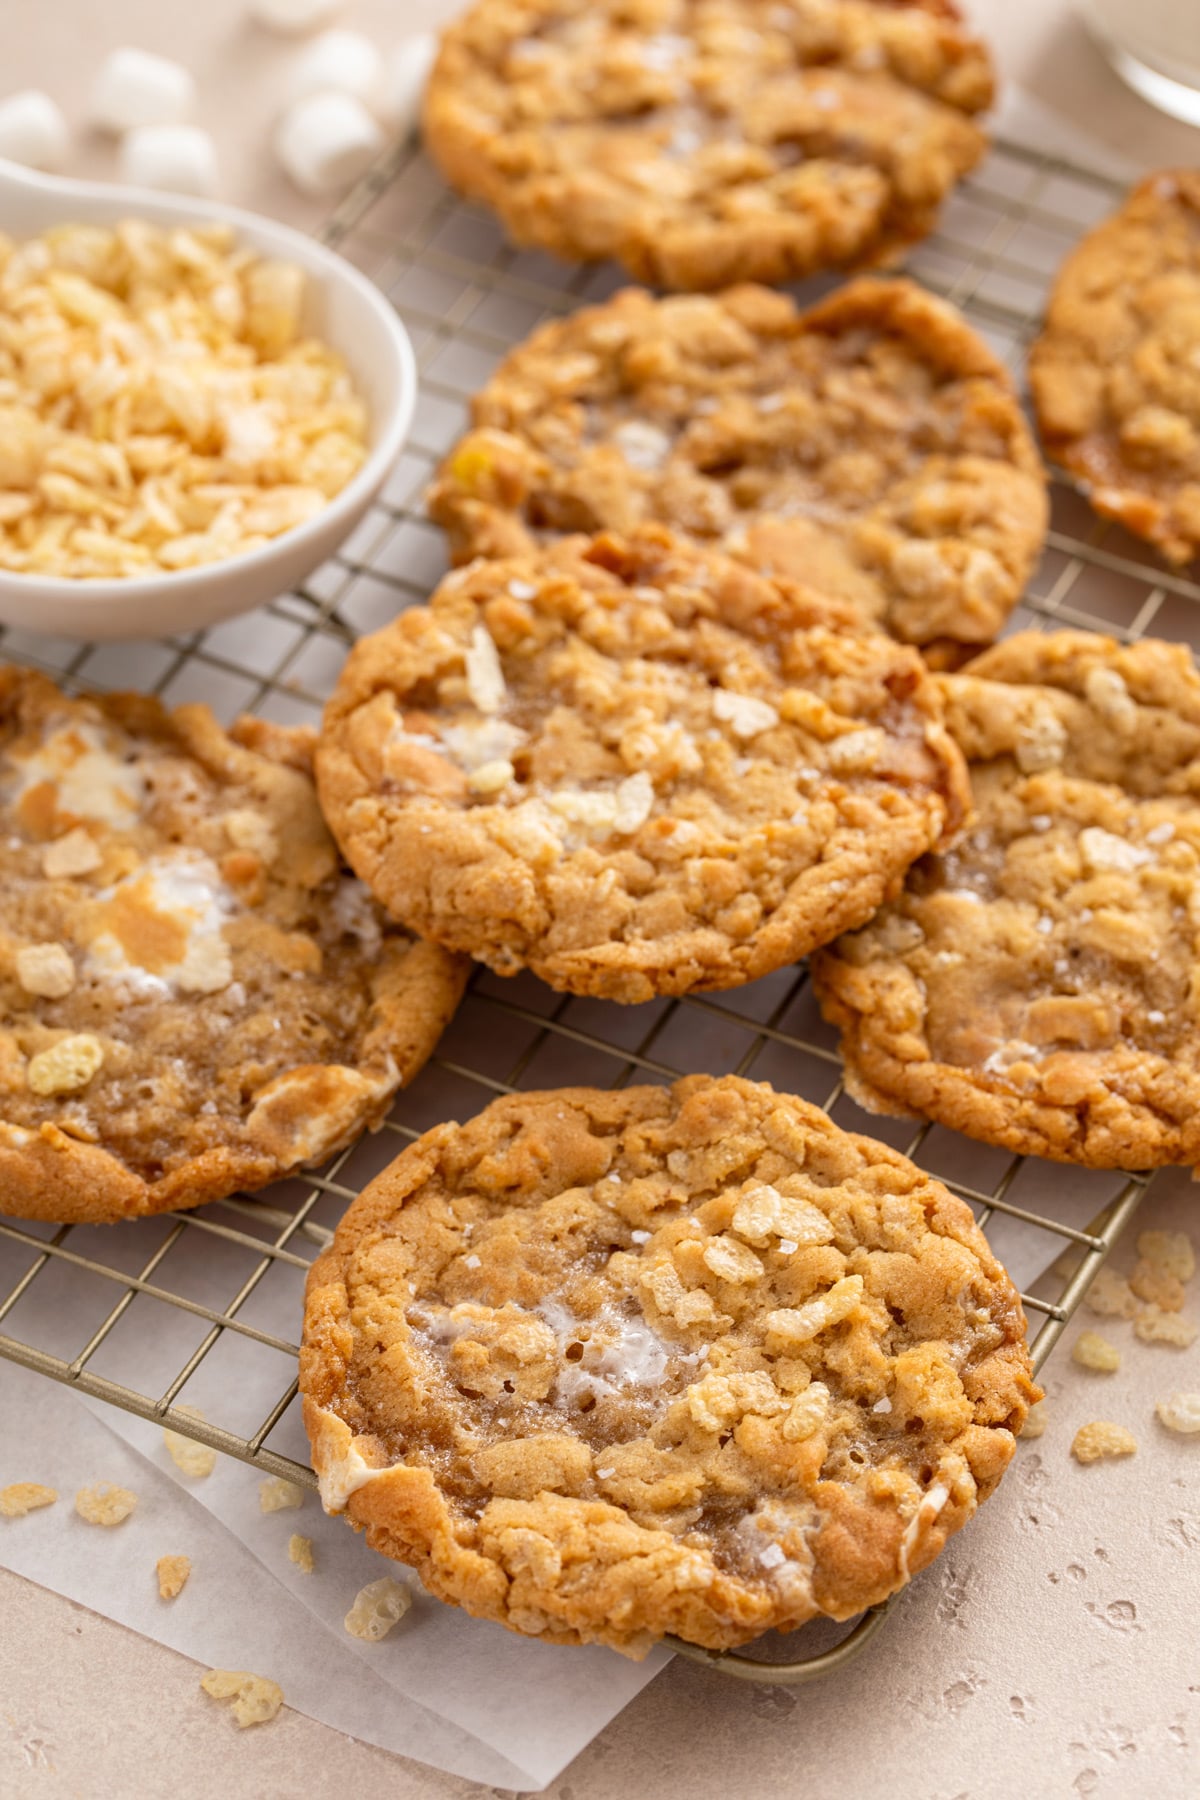
I watched along with everyone else when Costco released their Marshmallow Crispy Cookies last year. And after months of craving them between shopping trips, I decided it was finally time to come up with a copycat recipe that I could make at home.
I started with my cornflake cookie recipe and started tweaking it until I replicated the flavor and thin yet chewy texture of the Costco cookies. In the end, after about 6 rounds of testing, I finally nailed it.
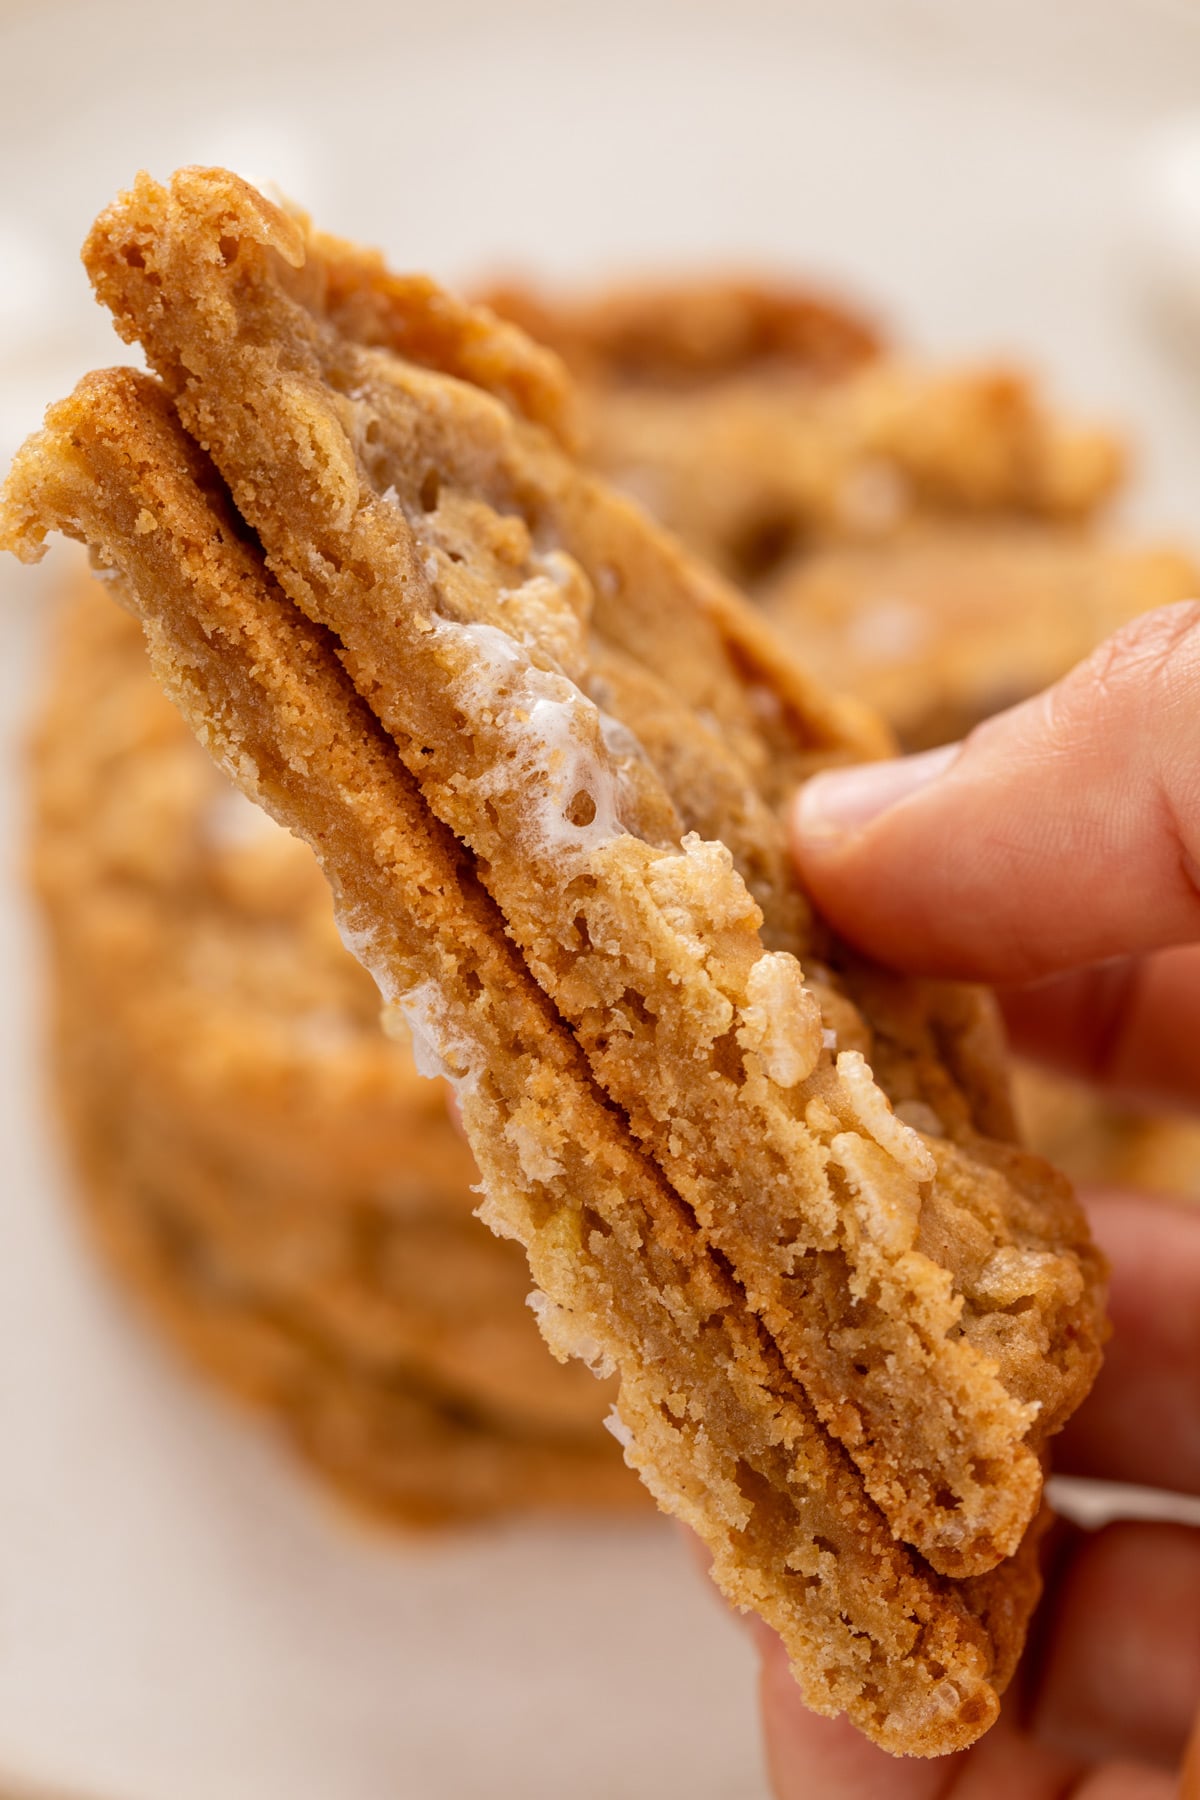
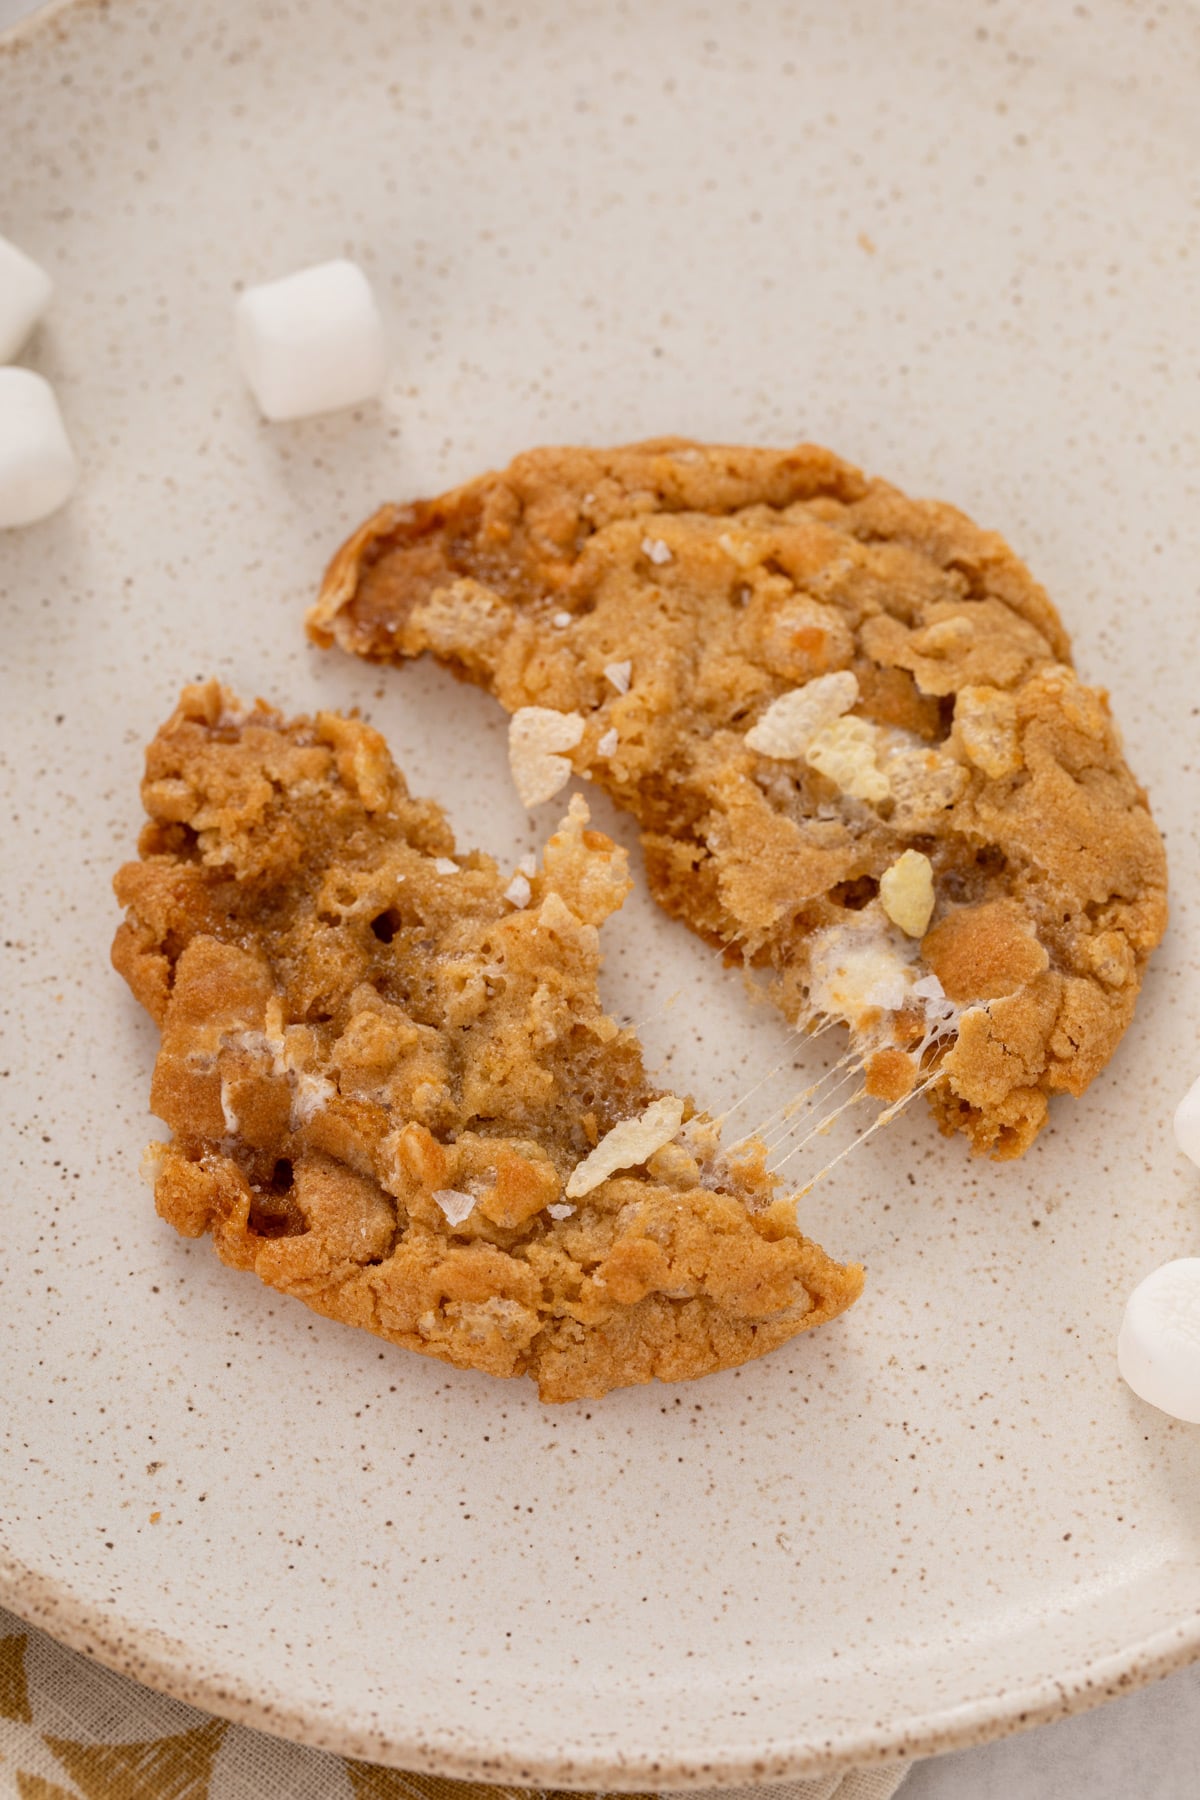
These rice krispie cookies have all of the flavor of classic rice krispie treats packed into drop-cookie form. They’re perfectly chewy with a crisp bite thanks to the rice cereal, and we can’t forget the melty, gooey marshmallows dotted throughout. A sprinkle of flaky sea salt balances the sweetness for the perfect finish.
Even better? This is a no-chill dough, so you can mix the dough together and bake the cookies right away. You can go from craving rice krispie treat cookies to eating them in less than an hour.
Jamie’s testing notes and tips
- Brown the butter for the best flavor. Costco lists brown butter flavoring in their ingredients list. Skip the flavoring and brown unsalted butter, then let it chill in the fridge for 15 minutes before making the cookie dough. I have a whole post on how to brown butter if you’ve never tried it before—it’s super easy!
- Measure the flour accurately for the right texture. I tried this recipe with several different flour measurements, but using 1 cup plus 2 tablespoons of all-purpose flour is what gave me the same thin yet chewy texture as the original cookies. Use the fluff, scoop, and sweep method I outline in my post on how to measure flour correctly.
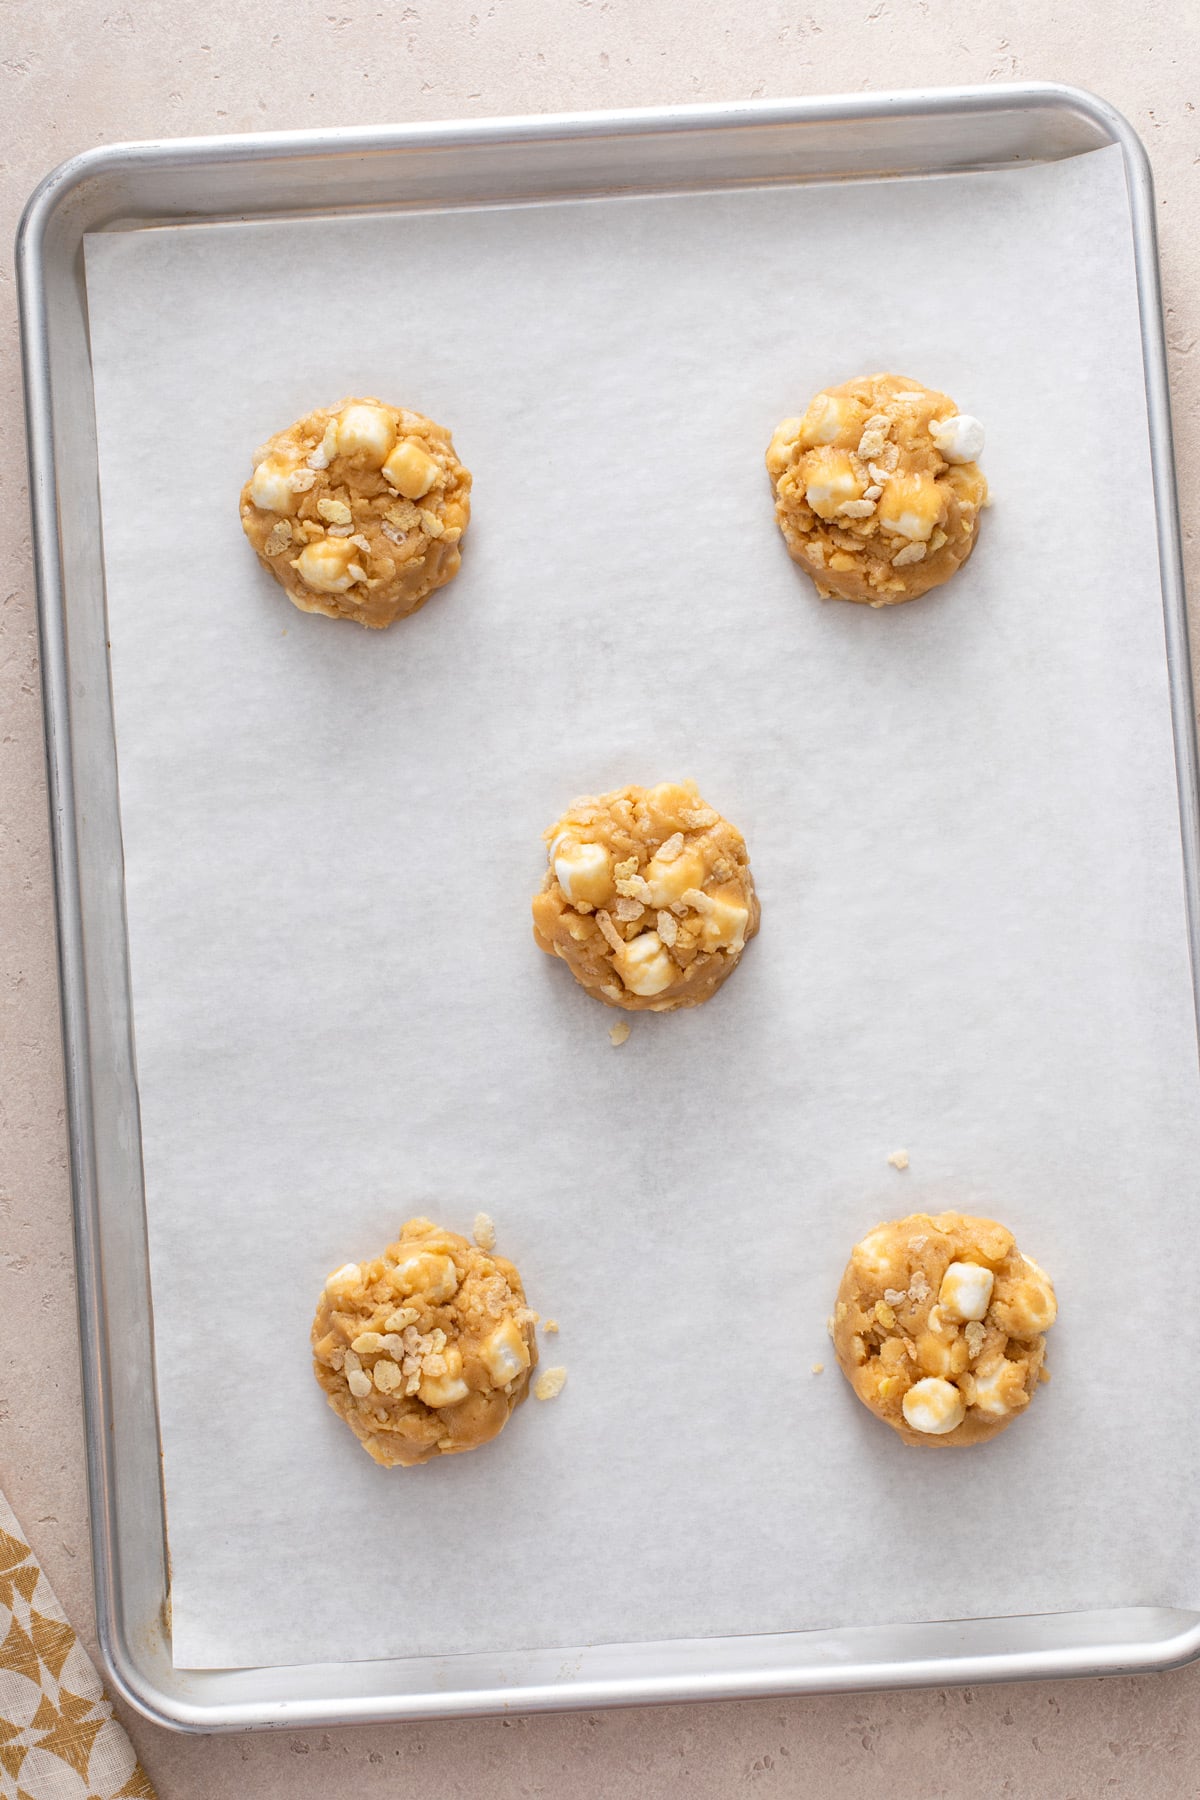
- Pack the dough tightly in the cookie scoop. As I am portioning the dough, I press it against the side of the dough to really pack it into the scoop. This makes for a more uniform shape and texture in the final cookies.
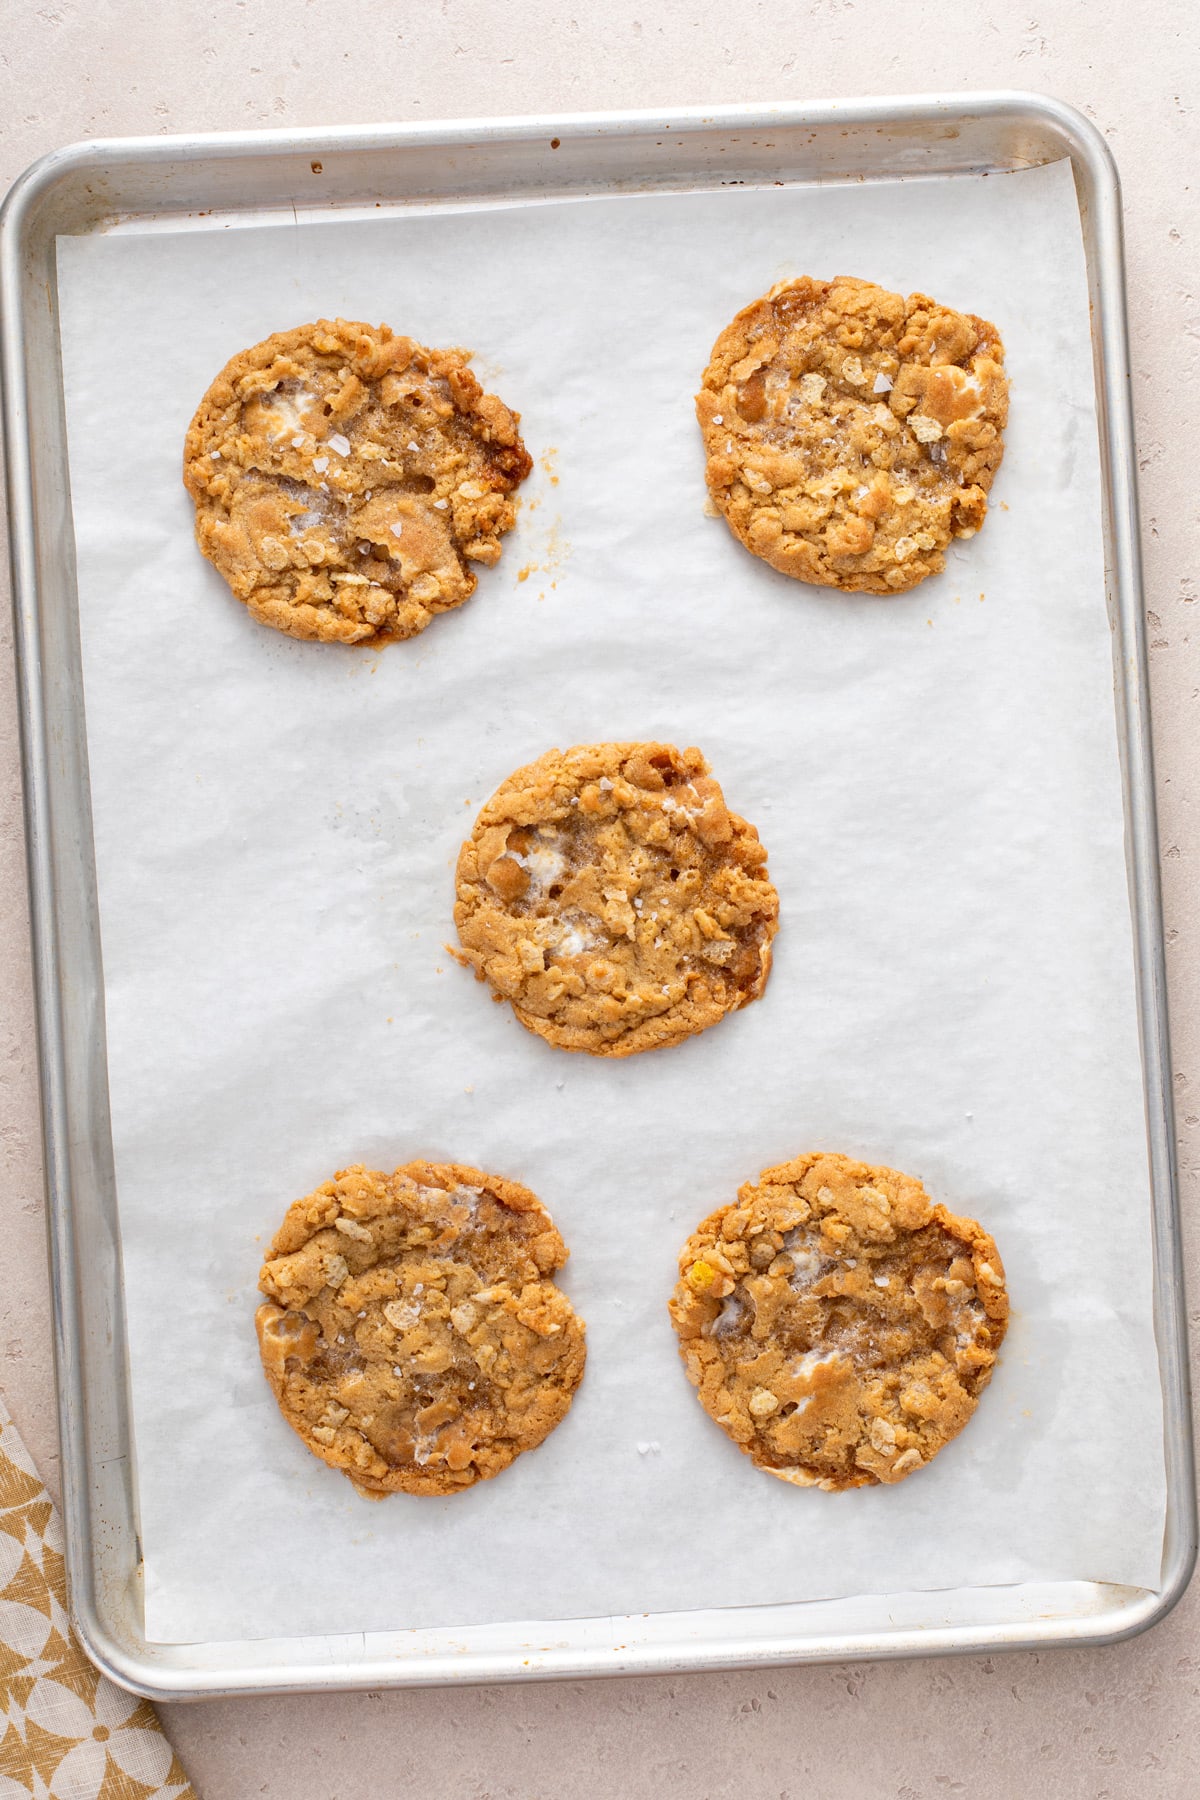
- Use a ring mold, large round cookie cutter, or large overturned mug to reshape the cookies after baking. When you scoop the dough, some of the marshmallows will naturally end up at the edges of the cookies. These tend to melt outward from the cookies in the oven, so I like to use a 4-inch ring mold to make the cookies nice and round again while they’re fresh from the oven.
Do you need to chill the dough?
I tried this recipe several ways in the course of my testing, including chilling the dough first. I found that you do not need to chill the dough before making my version of these rice krispie cookies.
If you wish to make the dough ahead of time, you can cover and chill it for up to 1 day before baking with it. Let it rest for about 30 minutes at room temperature before scooping and baking.
Storage tips
Store cooled rice krispie cookies in an airtight container at room temperature for up to 5 days.
If you would like to freeze the dough, I recommend scooping it into balls, then freezing solid on a parchment-lined sheet pan before transferring to a zip-top freezer bag. This process is outlined in my post on how to freeze cookie dough.
Keep in mind that you may need to add a couple extra minutes to the baking time when baking the cookies from frozen.
Costco Copycat Rice Krispie Cookies
Ingredients
- ½ cup unsalted butter
- ¾ cup firmly packed light brown sugar
- ¼ cup granulated sugar
- 1 large egg
- 1 teaspoon pure vanilla extract
- 1 cup plus 2 tablespoons all-purpose flour
- ½ teaspoon baking powder
- ½ teaspoon baking soda
- ¾ teaspoon fine sea salt
- 1 ¾ cups Rice Krispies cereal
- 1 cup mini marshmallows
- Flaky sea salt for topping (optional)
Instructions
- Preheat the oven to 350°F. Line baking sheets with parchment; set aside.
- Brown the butter: In a medium, light-colored, heavy-bottomed saucepan, melt the butter over medium heat, stirring frequently. Once melted, allow the butter to continue cooking over medium heat, stirring or gently swirling the pan frequently. As it cooks, the butter will begin to foam and then subside. Brown specks will begin to form at the bottom of the pan and the butter will take on a nutty aroma.½ cup unsalted butter
- Once the butter starts to brown, watch it very carefully — it will go from brown to burnt very quickly. As soon as the butter reaches your desired color, immediately remove it from the heat and pour it into a heatproof bowl to stop the browning process. Place in the refrigerator to chill for 15 minutes.
- In a large mixing bowl with an electric mixer or in the bowl of a stand mixer fitted with the paddle attachment, mix cooled brown butter and sugars together until well combined. Add the egg and beat at medium speed for 1-2 minutes, until smooth, lightened in color, and slightly thickened. Add the vanilla and mix to combine. Scrape the sides and bottom of the bowl with a rubber spatula as needed.3/4 cup firmly packed light brown sugar, 1/4 cup granulated sugar, 1 large egg, 1 teaspoon pure vanilla extract
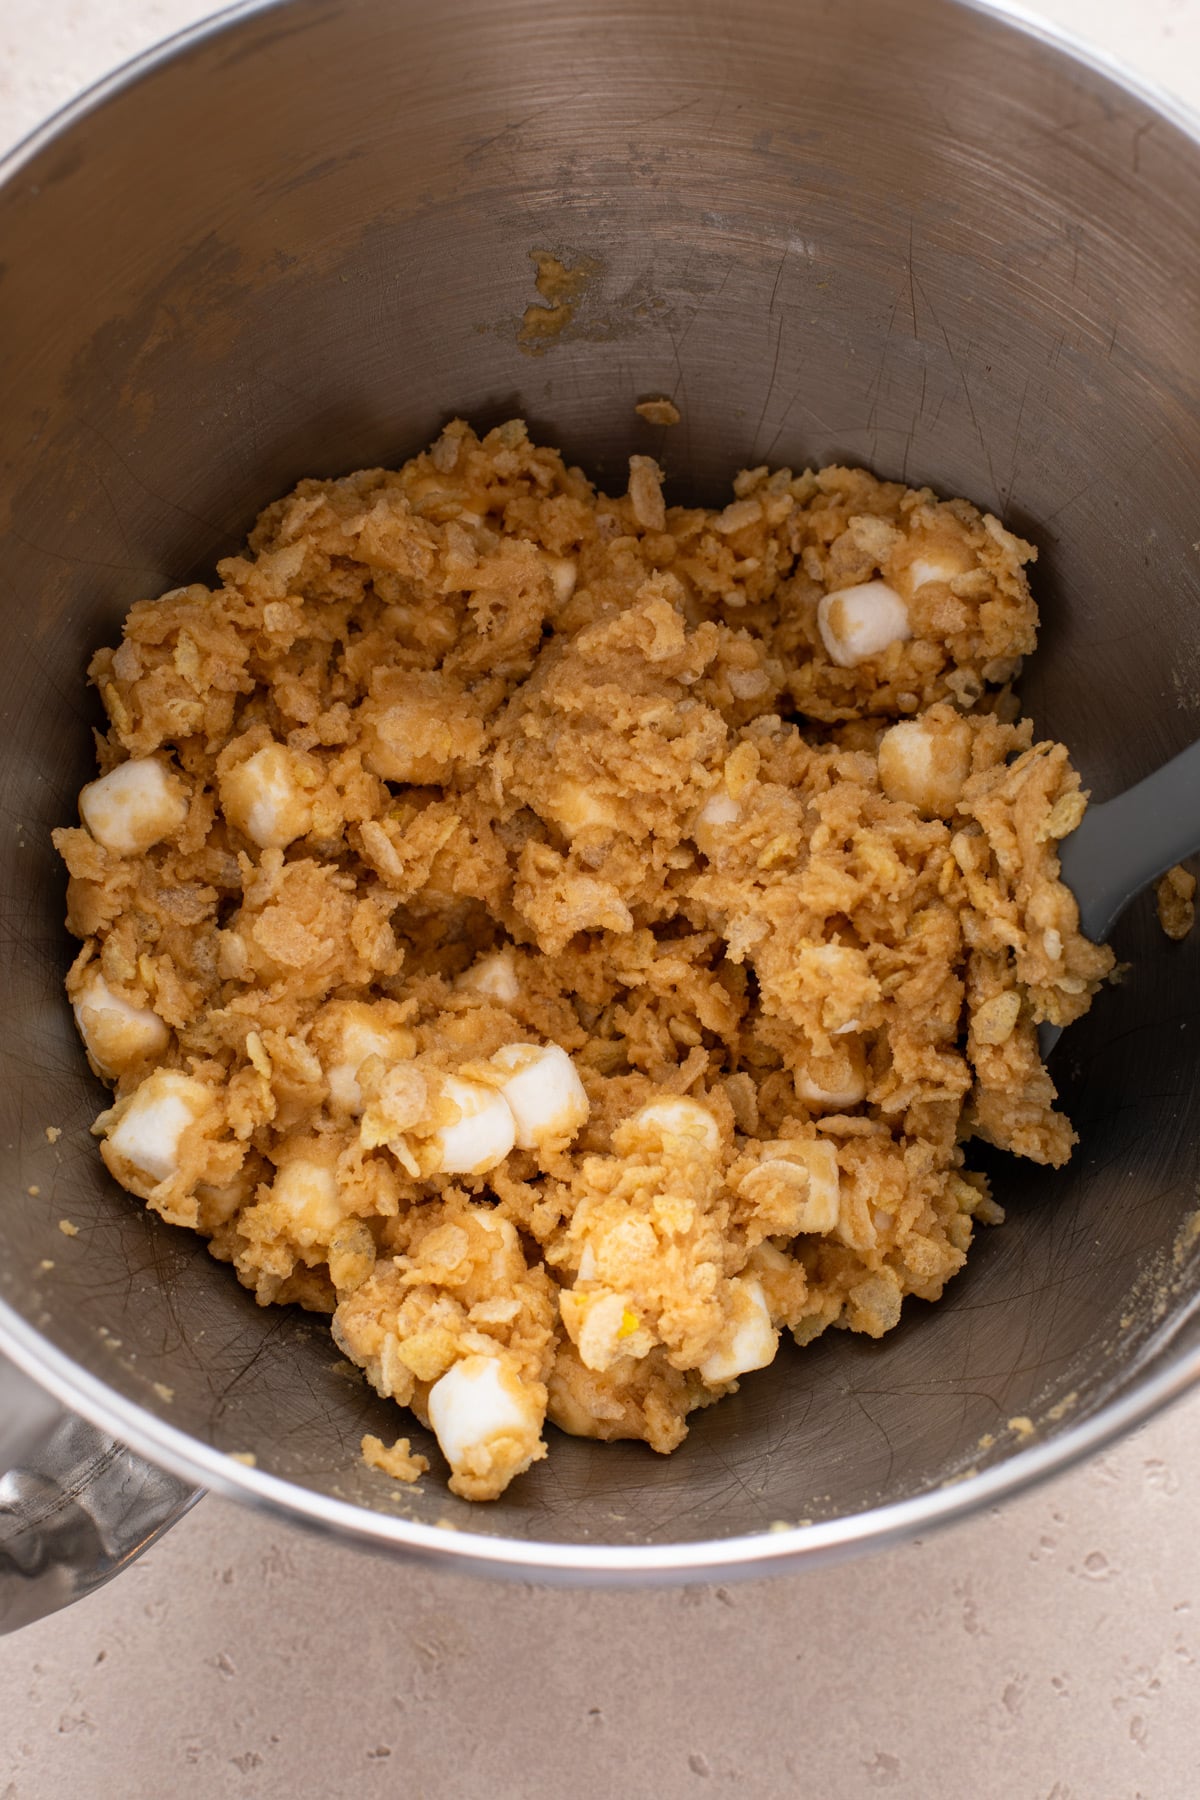
- In a medium bowl, whisk together the flour, baking powder, baking soda, and salt. Add to the butter mixture, mixing until just combined. Stir in Rice Krispies and mini marshmallows just until evenly incorporated.1 cup plus 2 tablespoons all-purpose flour, ½ teaspoon baking powder, ½ teaspoon baking soda, ¾ teaspoon fine sea salt, 1 ¾ cups Rice Krispies cereal, 1 cup mini marshmallows
- Use a large (3 tablespoons) cookie scoop to drop 5 dough balls onto the prepared baking sheet. Do not overcrowd the pan as the cookies will spread quite a bit. If desired, sprinkle a bit of flaky sea salt on top of each cookie.Flaky sea salt
- Bake for 12-14 minutes, or until cookies are golden at the edges and the tops no longer appear wet.
- Allow cookies to cool on the pan for a few minutes before moving them to a cooling rack to cool completely.
Notes
Storage
- Store in an airtight container at room temperature for 4-5 days.
- If you would like to freeze the dough balls for baking later, check out how to freeze cookie dough.
Nutrition
Nutrition information is automatically calculated, so should only be used as an approximation.
You may also like
Frequently asked questions
I don’t recommend it. First, the flavor will not be the same if you use plain melted butter instead of browned butter.
Most importantly though, some of the water naturally evaporates from the butter during the browning process. This recipe has been specifically developed using brown butter; using plain melted butter will change the liquid ratio in the recipe and can affect the texture of the final cookies.
This is totally normal and happens when the mini marshmallows end up at the edges of the cookies. You can try freezing the marshmallows before adding them to the dough, but I find that they still tend to melt outward from the edges of the cookies.
I simply use the trick for making perfectly round cookies to bring the melted marshmallows back to the cookies when they come out of the oven.
I don’t see why not! I’d start with 1/2 cup of semisweet chocolate chips, though you could probably add up to 3/4 cup.
Yes, this recipe makes thin yet chewy cookies like the ones sold at Costco.
If you prefer a slightly puffier cookie, you can add an extra 2 tablespoons of flour (for 1 1/4 cups flour total) to the dough. Portion and bake as written. The cookies will still be chewy, but will be just slightly thicker.









These sound delicious and I’m dying to try them, but I live in the UK and we weigh all our ingredients for greater accuracy, and I have read your article about weighing flour etc and how the weights can vary greatly. Is it possible, therefore, for you to also add the weighed measurements alongside the ‘cup’ measurements please
Hi Michele – In the recipe card, there is a toggle above the ingredient list for switching between US and metric measurements. Switch it to metric and you’ll see the gram/weight measurements for the recipe. Hope this helps!
I bought a package of the cookies at Costco a while back. Not impressed at all! But I’m sure your version will be an improvement!
Anne-
I promise, these are BETTER! I’ve already made them two more times!
-Jamie
Can the baked cookies be frozen?