This post may contain affiliate links. Please read our privacy policy.
What is brown butter and why is it used in recipes? Learn about the magic of this simple yet flavorful ingredient and learn how to brown butter to add a nutty flavor to so many of your recipes.
Brown butter is one of those ingredients that sounds so fancy and posh. Before I knew how to brown butter, I assumed it had to be really hard to do.
I mean, it’s used a lot in French cooking, so it had to be complicated, right?
WRONG!
Browning butter is actually really easy. You just have to have a few minutes of time and a bit of patience and you’re on your way to elevating nearly any recipe.
This is a trick you’ll add to your arsenal right alongside my buttermilk substitute that you’ll be coming back to again and again.
If this is your first time trying this, don’t panic. I’m going to walk you through exactly what it is, how to make it, and how to use it!
What is Brown Butter?
In order to understand what brown butter is and how it works, you have to know that butter is made of three main parts: fat, water, and milk solids.
Butter is a minimum 80% fat and about 2% milk solids, with the remainder being water. With only 2% being milk solids, you wouldn’t think that such a small amount could make a difference in the flavor of the butter, but it really can!
When butter is melted, the water evaporates, leaving behind just the fat and the milk solids. If you continue cooking the butter, the solids will brown, giving the butter an incredible nutty flavor and aroma. That’s browned butter!
Brown butter vs. ghee vs. clarified butter
Brown butter, ghee, and clarified butter are all closely related, but have some small differences.
CLARIFIED BUTTER is pure butterfat, i.e., butter that has had the water and milk solids completely removed. This is done by melting the butter very slowly until the water evaporates and the milk solids fall to the bottom of the pan.
The butter is then strained to leave behind the solids, leaving only the pure, golden butterfat.
GHEE is India’s version of clarified butter. In ghee, the milk solids that fall to the bottom of the pan are allowed to slightly caramelize before they are strained out.
The slight browning of the solids before straining gives the remaining butterfat a bit more of a golden color than in clarified butter.
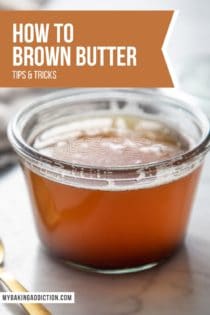
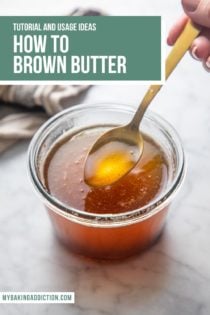
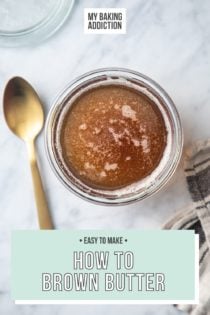
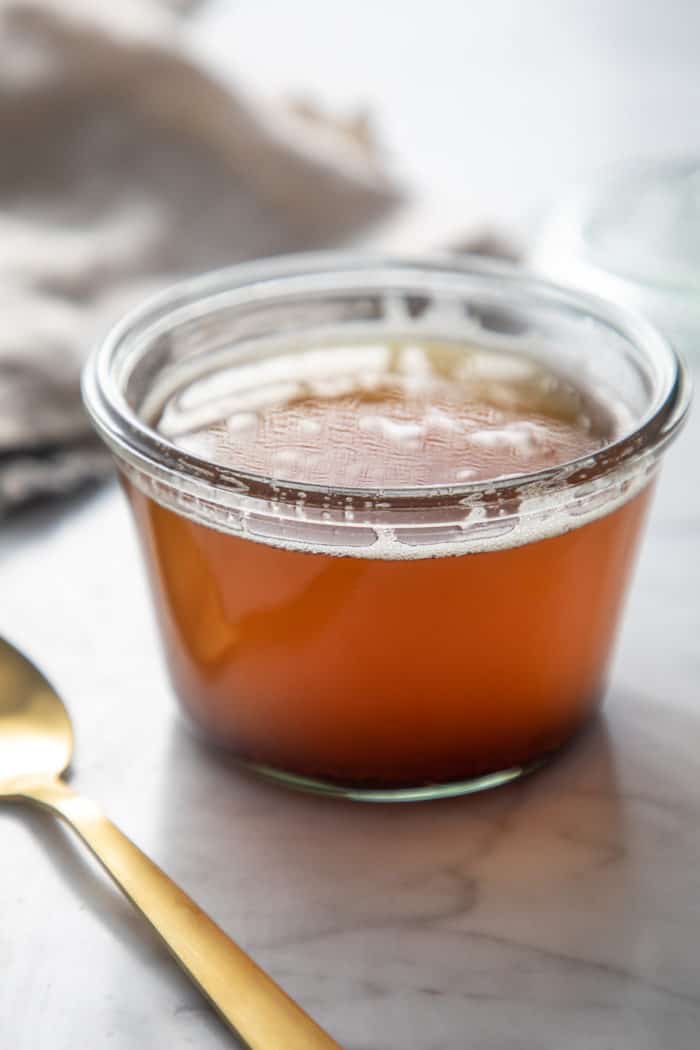
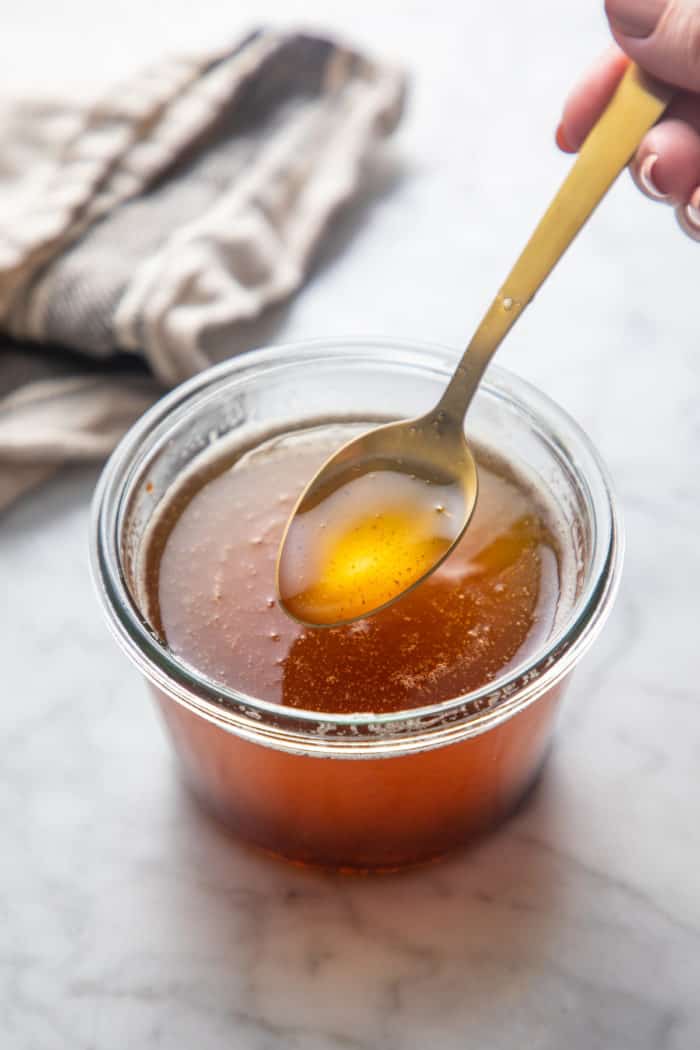
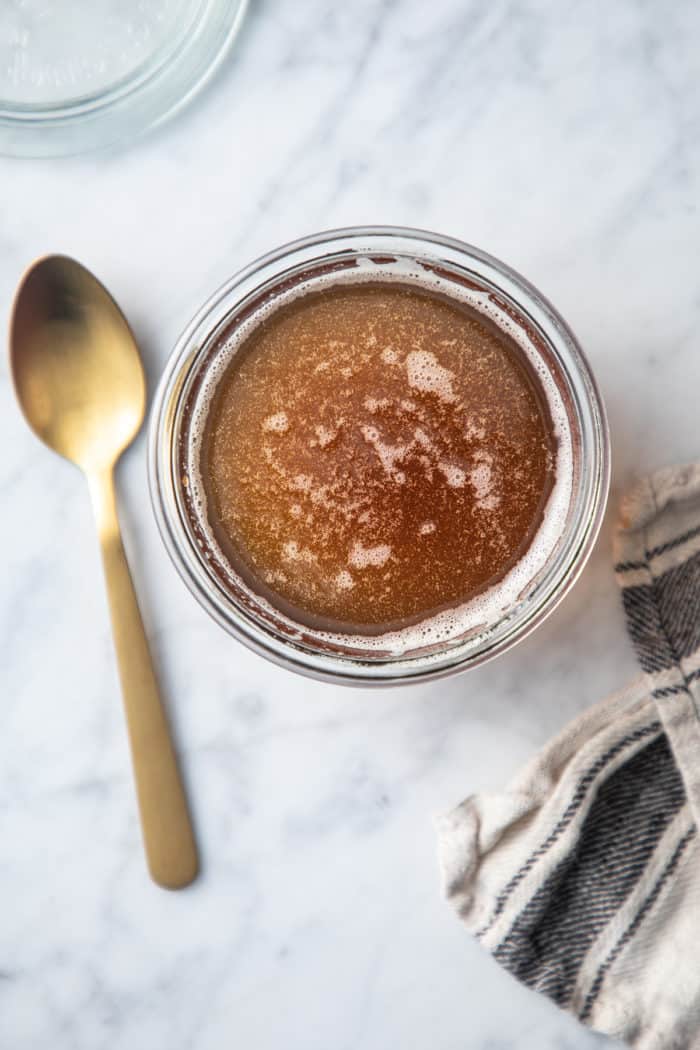
BROWN BUTTER follows the same initial process of making clarified butter or ghee, but the milk solids are allowed to thoroughly brown and the butterfat turns an amber color. You also keep the milk solids in your browned butter, instead of straining them out.
Why make brown butter?
So like…why bother?
The process of browning butter doesn’t take a lot of time, but it does add a few extra minutes onto your recipe’s prep time. But the process and patience is worth it, because the butter adds a beautiful, rich, nutty flavor to any recipe it is used in!
(Scroll down to “Uses” to find out more about how to use it.)
Pin this now to find it later
Pin ItHow to Brown Butter
So let’s get to the good stuff: how to brown butter!
I’m going to teach you how to brown one stick (8 tablespoons, or ½ cup) of unsalted butter, but you can increase or decrease the amount of butter you brown as desired. Just note that the amount of time it takes and the size pan you may need will change based on how much you use.
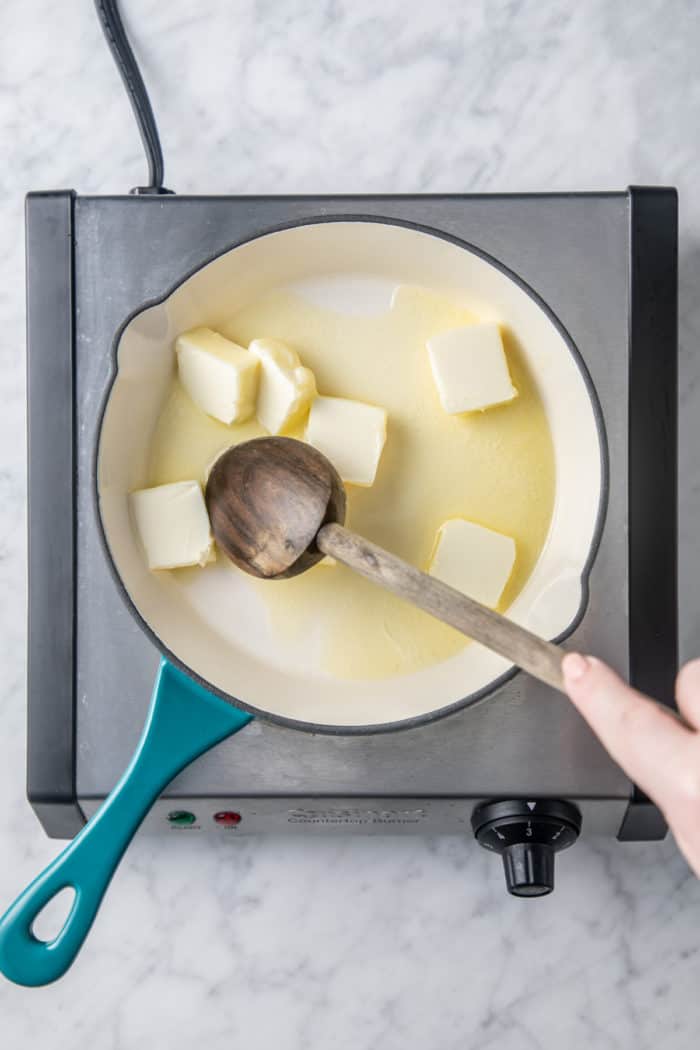
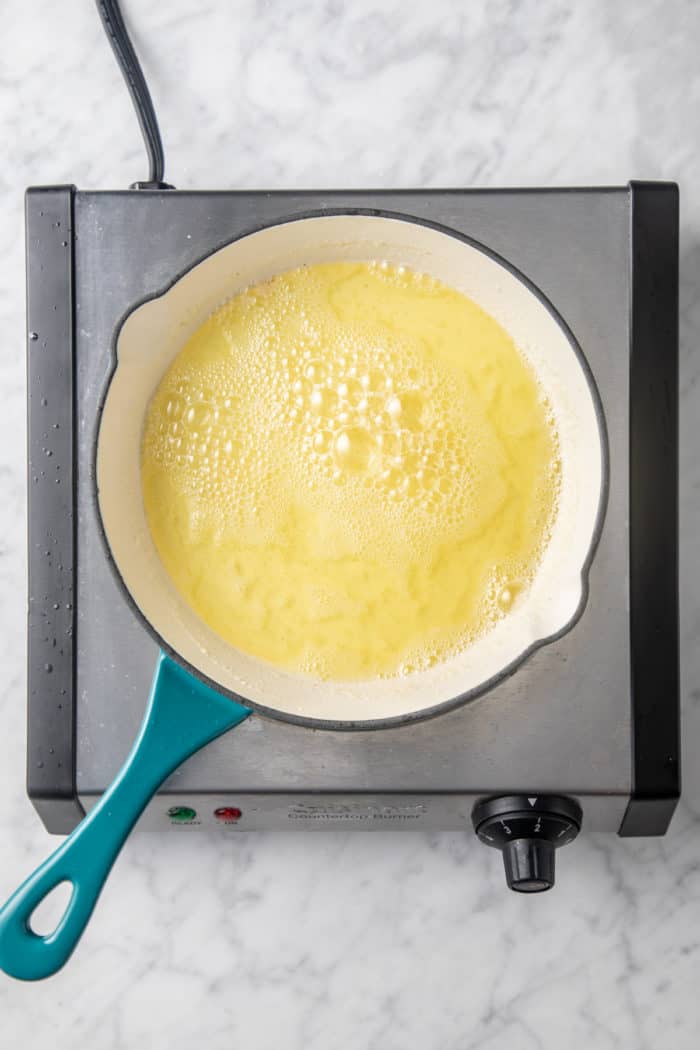
- Cut the butter into pieces and add it to a heavy-bottomed saucepan or skillet.
- Melt the butter over medium heat, stirring frequently.
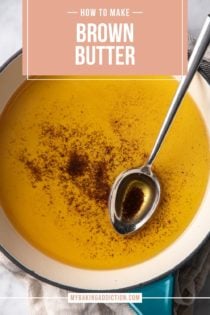
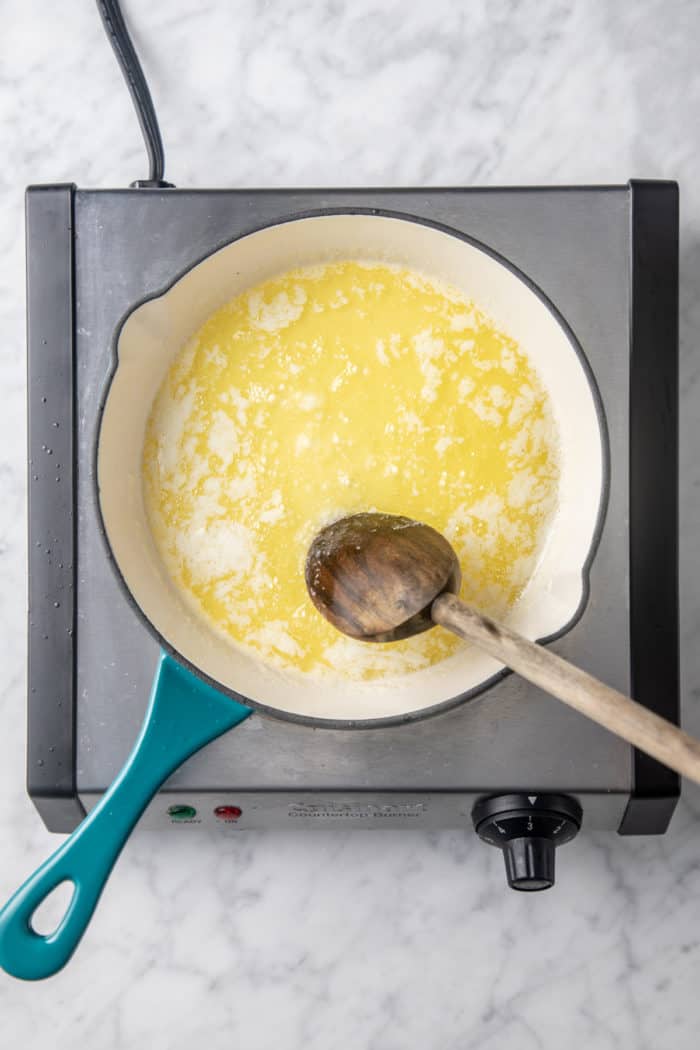
- Once the butter has melted, continue cooking over medium heat, stirring constantly. As it cooks, the butter will begin to foam, then subside. You will also hear some sputtering as the water evaporates.
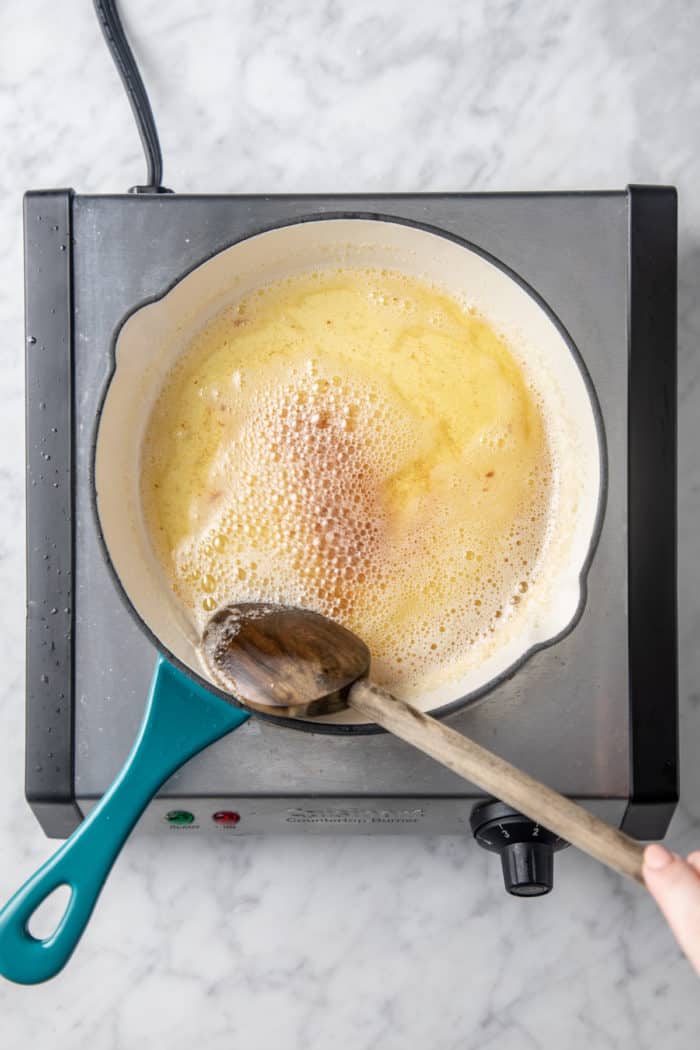
- As the foaming subsides, you will notice brown specks beginning to form at the bottom of the pan and the butter will take on a nutty aroma.
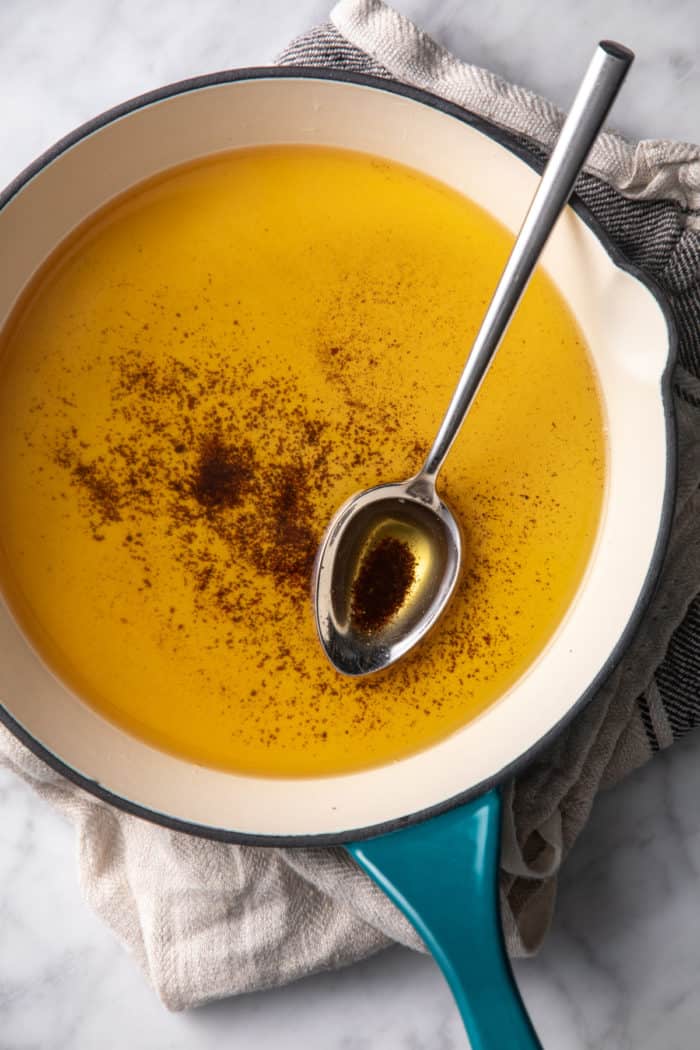
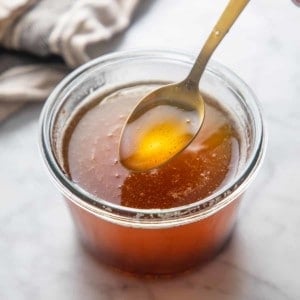
- Once the butter starts to brown, watch it very carefully, as it can burn very quickly. As soon as the butter reaches your desired color, immediately remove it from the heat and pour it into a bowl to stop the browning process.
Ta-da! That’s it!
From start to finish, this usually takes about 10 minutes.
Helpful Tips
Over the years, I’ve discovered a few little tips that help when browning butter.
- Use a light-colored skillet. Using a skillet that is light in color (instead of black) will allow you to better see the butter as it begins to brown.
- Keep the butter moving in the pan. Stir it constantly or swirl the pan frequently. This will help the butter solids brown evenly and prevent burning.
- Be patient and alert. I’ve seen recipes say that browning butter will only take 2-3 minutes. It always takes me longer than that! But remember that it can go from perfectly browned to burnt very quickly, so don’t walk away once it starts browning and prepare to pour it into a bowl as soon as it’s perfectly brown.

Storage
Can you make brown butter ahead of time? You sure can!
Store it in a glass jar in the fridge for up to 2 weeks or in the freezer for up to 3 months.
From there, you can soften the butter or very gently melt it to use it according to your recipe.
Uses
So how do you use this stuff?
Brown butter really shines in baked goods. Everything from brown butter rice krispie treats to brown butter blondies to brown butter chocolate chip cookies are made better with that iconic nutty flavor.
And don’t even get me started on brown butter frosting or brown butter cinnamon rolls! And you should definitely try browning the butter in pumpkin scones or Dominique Ansel’s banana bread.
But don’t stop with using it in desserts. It is also incredible in savory dishes!
Add it to garlic mashed potatoes, honey glazed carrots, or brush it over parker house rolls.
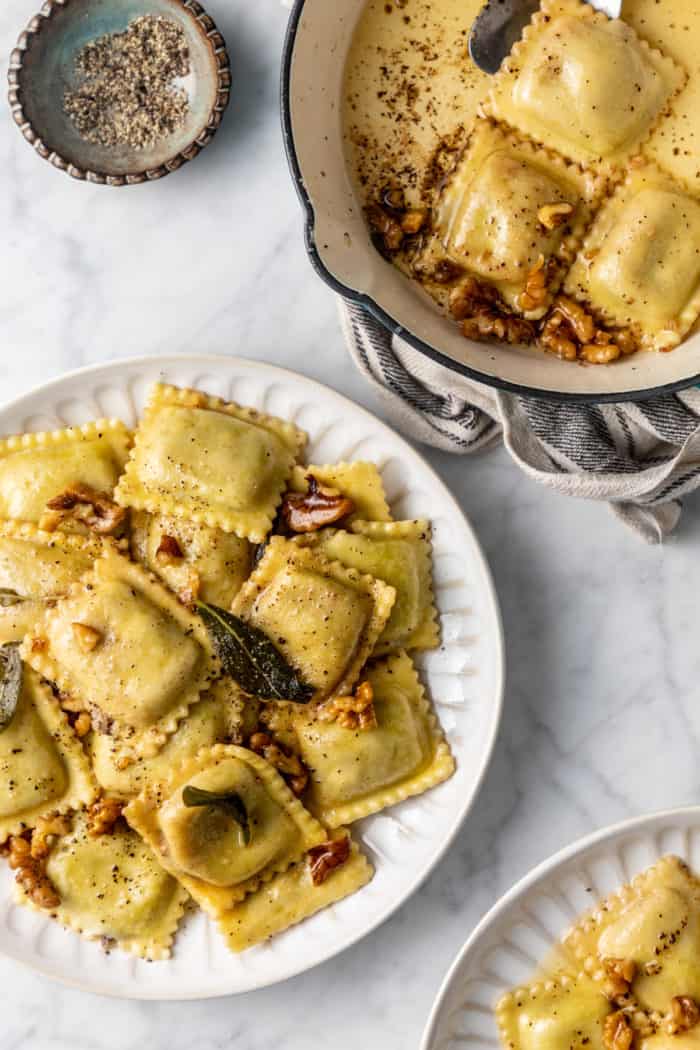
Drizzle it over popcorn, add it to brussels sprouts, use it as a sauce for gnocchi or ravioli, or pair it with fish or scallops.
Honestly, once you know how to brown butter, the options are endless!
How to Brown Butter
Equipment
- Light-colored, heavy-bottomed pan
- Wooden spoon or spatula
Ingredients
- 8 tablespoons unsalted butter 1/2 cup / 1 stick, cut into pieces
Video
Instructions
- Melt the butter in a heavy-bottomed saucepan or skillet over medium heat, stirring frequently.
- Once melted, allow the butter to continue cooking over medium heat, stirring constantly. As it cooks, the butter will begin to foam and then subside. Brown specks will begin to form at the bottom of the pan and the butter will take on a nutty aroma.
- Once the butter starts to brown, watch it very carefully – it will go from brown to burnt very quickly. As soon as the butter reaches your desired color, immediately remove it from the heat and pour it into a bowl to stop the browning process.


Well all I can say is that it great thank you