This post may contain affiliate links. Please read our privacy policy.
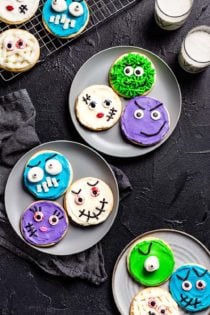
Halloween just got a little cuter with these neon-hued, super silly Halloween Monster Decorated Sugar Cookies.
This post is sponsored by Challenge Butter. Thank you for continuing to support the brands that make My Baking Addiction possible.
I don’t do scary – nope, not this girl.
I couldn’t even watch the Walking Dead for longer than 5 minutes without nightmares for days. And I’m pretty proud to say that I’ve made my way through a ton of haunted houses without ever opening my eyes.
In high school, I had a pretty solid game plan of strategically positioning myself in line and latching onto the person in front of me. Worked like a charm.
If you’ve followed this site for any length of time, you are aware that I don’t really do creepy for Halloween, so I pretty much cute-ify everything instead.
While other blogs are creating spooktacular bloody cakes and witch finger cookies, this girl is busy making adorable spider cupcakes (yes, I just used the words adorable and spider in the same sentence) and Candy Corn Oreo milkshakes.
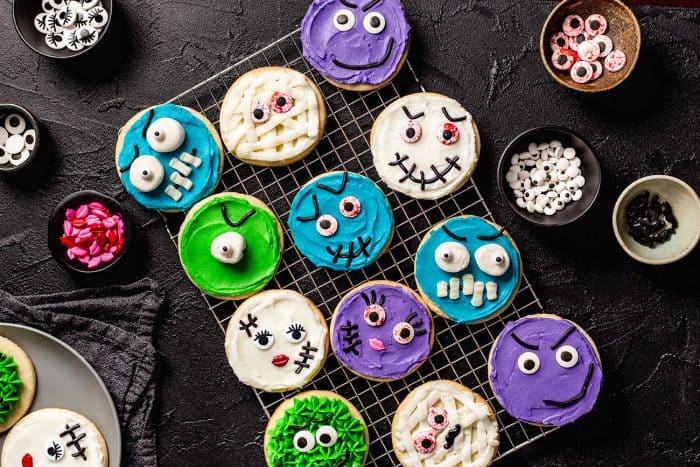
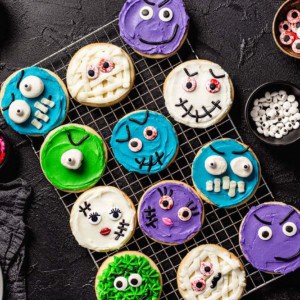
This year, I’m making super cute, not ghoulish, Halloween Monster Decorated Sugar Cookies.
EASY DECORATED SUGAR COOKIES
I’ll be honest with you: I possess zero royal icing skills.
So when I decided to make these Halloween Monster Decorated Sugar Cookies, I knew I’d be slathering and decorating them with a version of my homemade buttercream frosting.
It’s an easy-to-make frosting recipe that’s the perfect balance of sweet and buttery, thanks to Challenge butter, and pairs so well with the crisp cut-out sugar cookies.
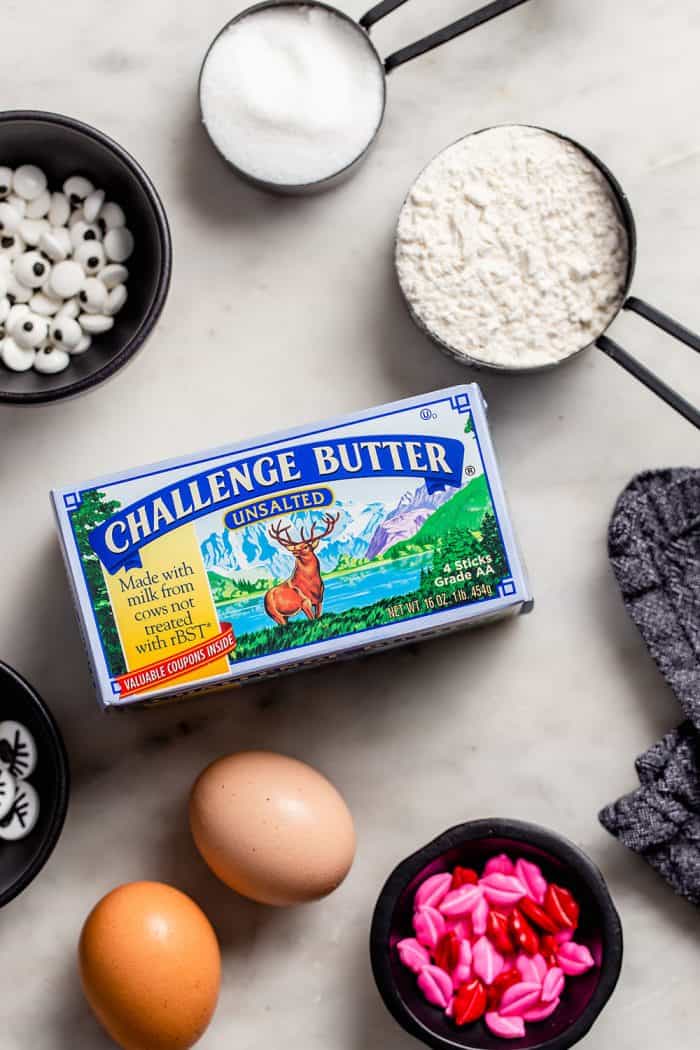
I think that getting that balance of sweetness and butteriness just right is the key to an excellent decorated sugar cookie. Because this recipe uses Challenge butter in both the cookie and the frosting, the butter flavor is spot on and is balanced by just the right amount of sugar.
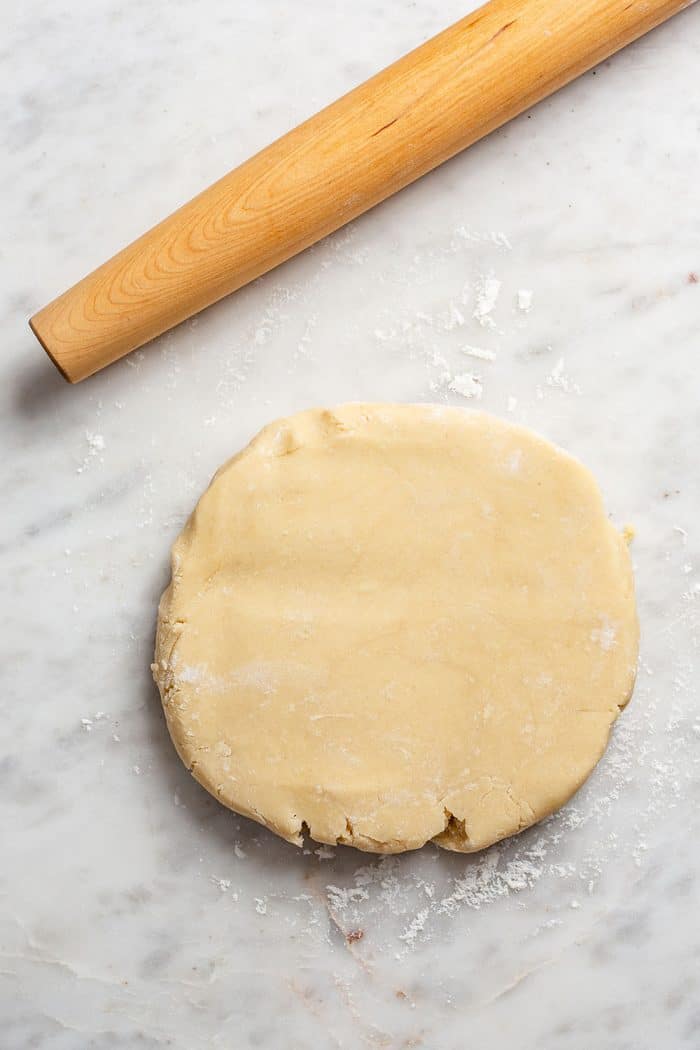
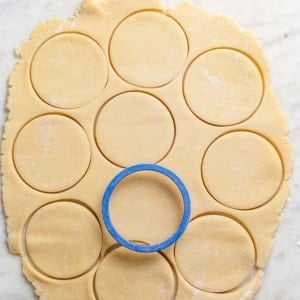
To make this recipe even easier, I am using a no-chill sugar cookie recipe. You can roll, cut, and bake the cookies right after mixing the dough, without having to account for any chilling time.
HOW TO DECORATE HALLOWEEN MONSTER SUGAR COOKIES
I’ll be the first to admit that Halloween monsters might be the perfect way for me to decorate cut-out sugar cookies. After all, if it turns out a little…let’s say “less than perfect”…you can just say that it’s a really “scary” monster.
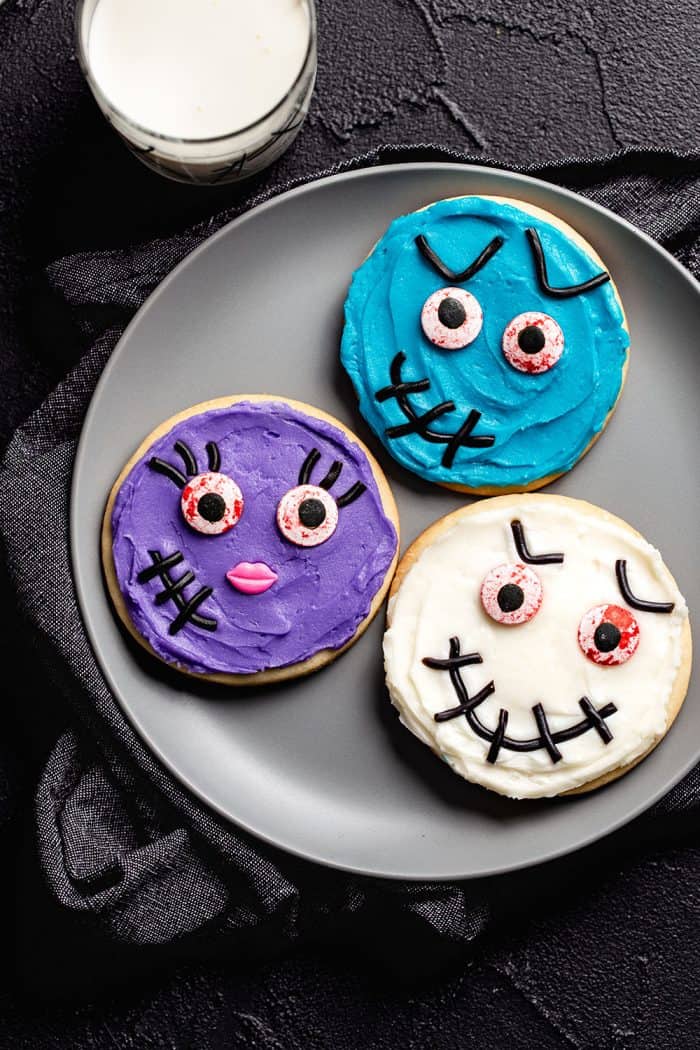
But I have to admit, even with my limited decorating abilities, I had a ton of fun coming up with each individual monster. And I really adore how bright and festive these guys are.
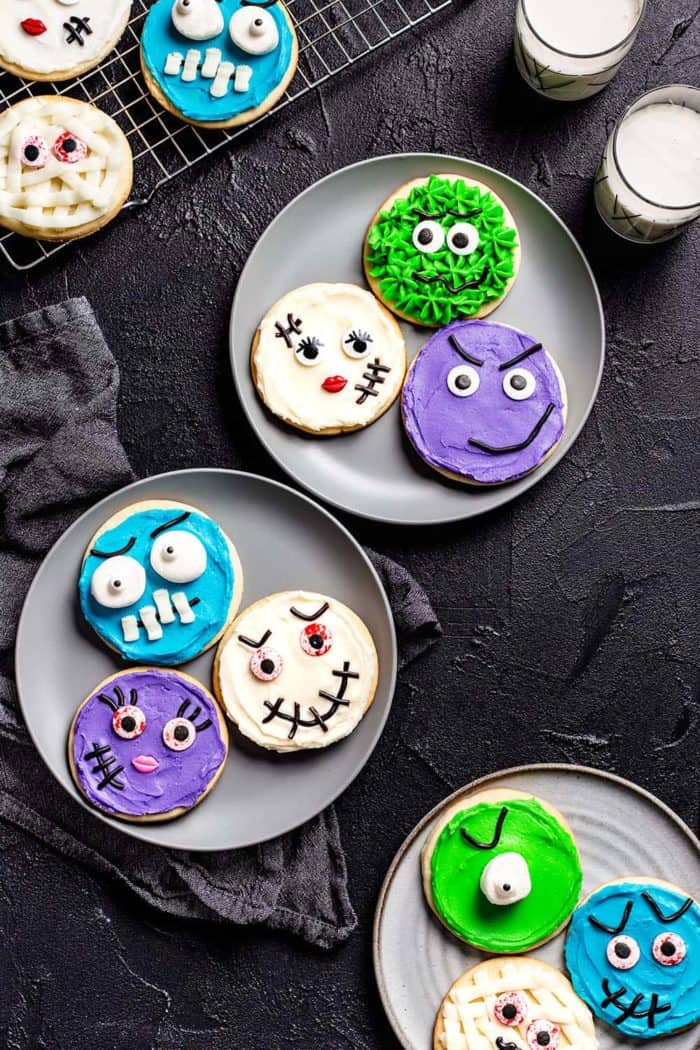
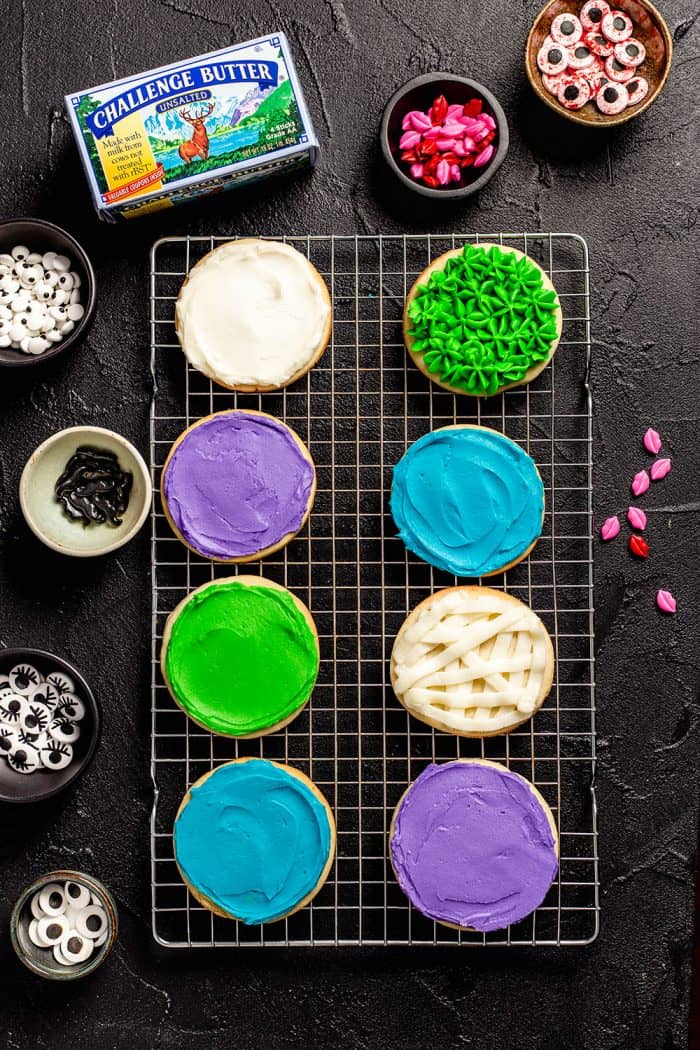
To decorate these cookies, start by separating out your buttercream frosting into a few bowls and using gel food coloring to color it any hue you like. Blue, purple, green, black, or even leaving some of it white…anything goes here!
Use an offset spatula or butter knife to spread the frosting onto the cooled cookies or use any piping tips you happen to have to pipe on the frosting.

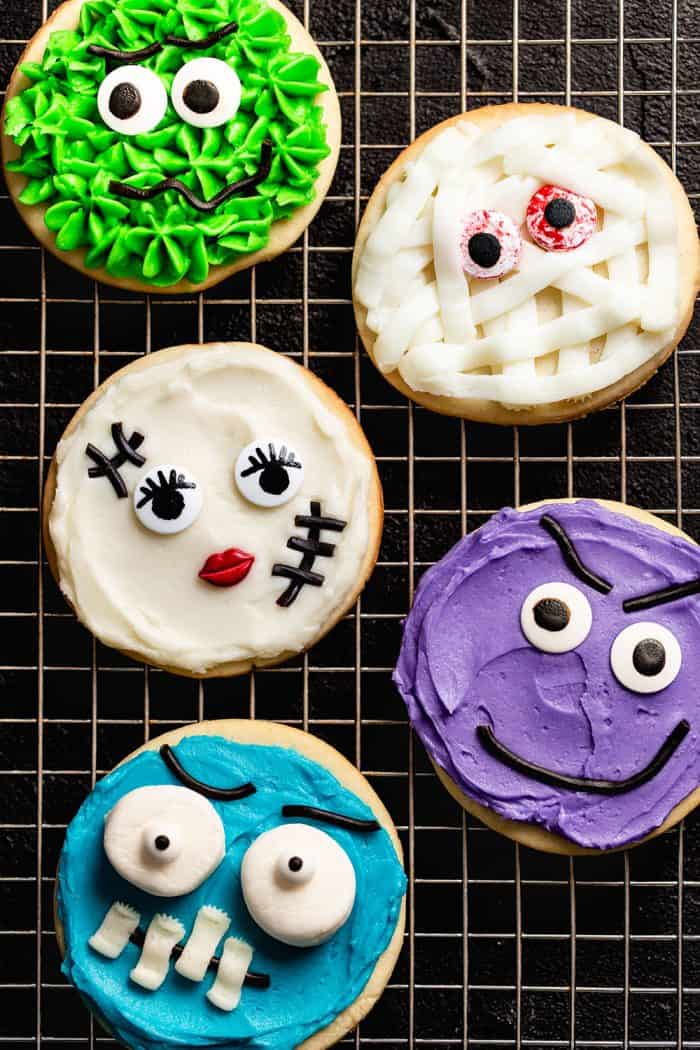
Star tips make great “fur” and basketweave tips are perfect for making mummy “bandages.”
Remember, even if you mess up the piping, you can just say that you created a new kind of monster!
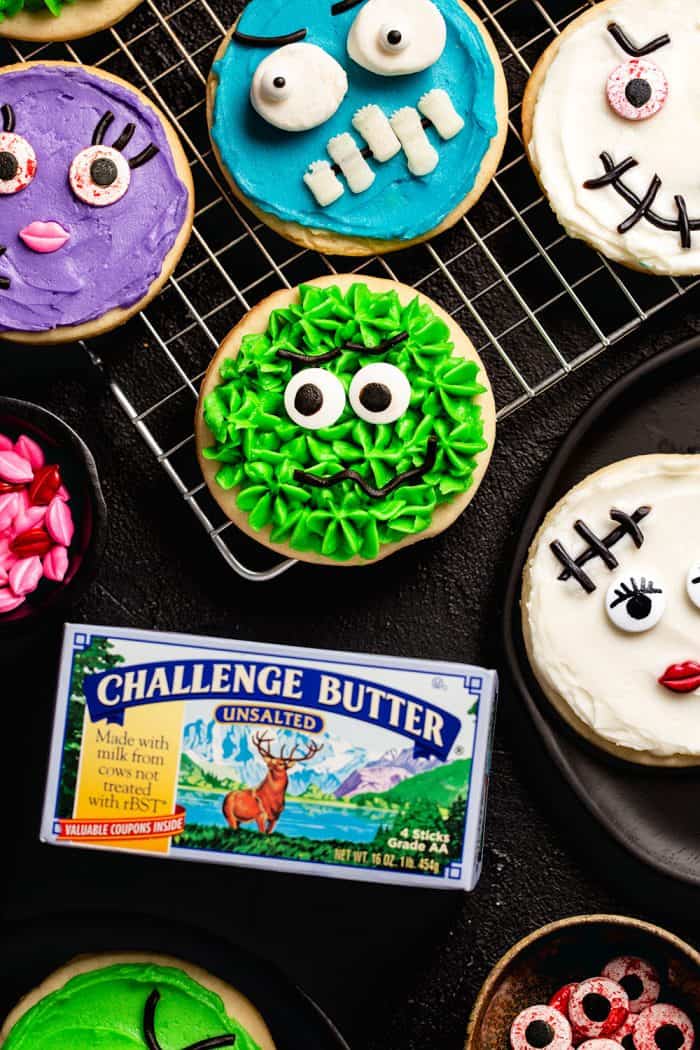
Now it’s time to add some candy decorations. Candy eyes, candy lips, black licorice laces are all super fun to use. Even candy you already probably have around the house such as mini marshmallows and chocolate chips could work!
These decorations are meant to be fun, especially if they’re a bit imperfect. Just think of how much fun it would be to set out cookies, different colored frosting, and candy decorations and let your kids’ imaginations run wild!
HOW TO STORE DECORATED SUGAR COOKIES
One of the things I love most about Halloween Monster Decorated Sugar Cookies is that they last a while. I’ve had them stay good for up to a week without getting stale or soft when kept in an airtight container.
Now, the buttercream frosting won’t get hard like royal frosting will, but it will crust up enough to gently stack these cookies. If you’re stacking them, I recommend putting a piece of parchment paper between each layer.
You could even put them in individual Halloween bags if you’d like for easy delivery to friends and neighbors.
I have also frozen the frosted sugar cookies successfully. Depending on what candy decorations you choose to use, some candies may not freeze or thaw well, so do be mindful of that before freezing.
Not that I expect you have many of these cute little cookies left – they’re just as delicious as they are adorably spooky!
Decorated Sugar Cookies
Ingredients
For the cookies:
- 1 cup 2 sticks Challenge unsalted butter, softened
- 1 ¼ cup granulated sugar
- 2 eggs
- 1 teaspoon vanilla
- 3 ½ cups flour
- Pinch of salt
For the frosting:
- 1 ½ cups 3 sticks Challenge unsalted butter, room temperature
- 5 cups confectioners’ sugar sifted
- 1 ½ teaspoons vanilla
- 2-3 tablespoons milk or heavy cream
Instructions
Make the cookies:
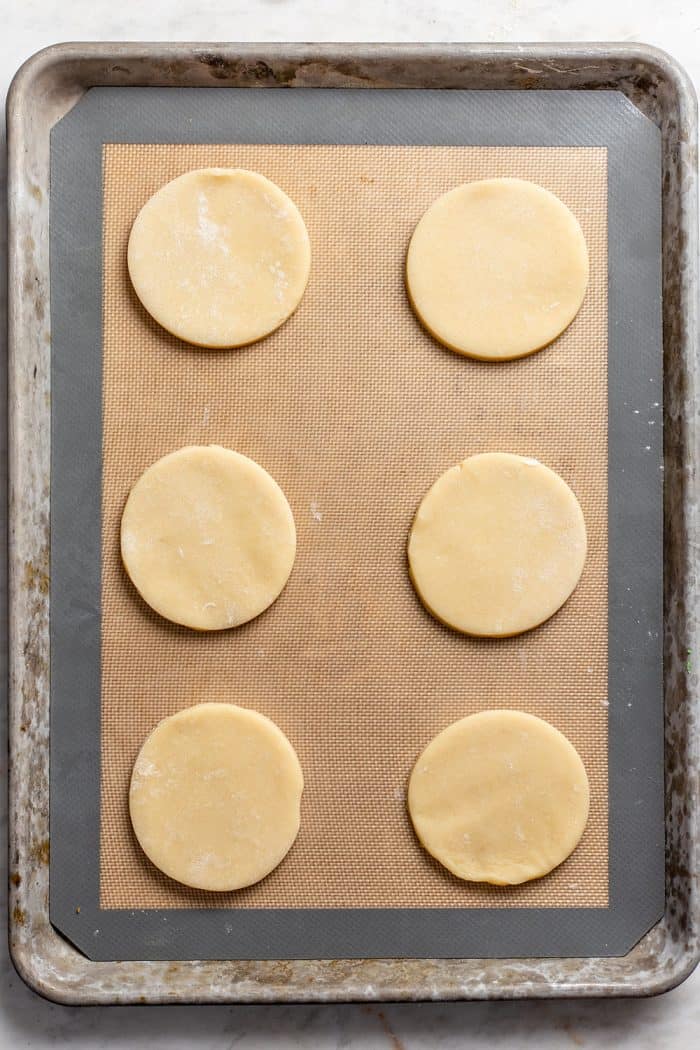
- Preheat oven to 375°F. Line cookie sheets with parchment paper. Set aside.
- In the bowl of a stand mixer, cream the butter and sugar together until light and fluffy. Add in the eggs and vanilla and beat until combined.
- Slowly add the flour and salt, stirring just until combined. Turn dough out onto a lightly floured work surface and use your hands to form into a disk. Roll the dough to 1/8 to 1/4-inch thick and cut with lightly floured cookie cutters. Place cookies on the prepared baking sheets.
- Bake cookies for 10-12 minutes, or just until the edges barely start to turn golden. Remove from the baking sheets to a rack to cool before frosting.
Make the frosting:
- In the bowl of a stand mixer fitted with the paddle attachment, or in a large mixing bowl with an electric mixer, cream butter on medium-high speed for about 6 minutes. With the mixer on low speed, slowly add in confectioners’ sugar, and continue beating until well blended.
- Add in vanilla and 2 tablespoons of heavy cream or milk. Mix on low speed until moistened.
- Add up to an additional tablespoon of heavy cream or milk until you reach the desired consistency. Beat at high speed until frosting is smooth and fluffy; about 5 more minutes.
- If desired, use gel dye to color the frosting before spreading or piping frosting onto cooled cookies
Nutrition
Nutrition information is automatically calculated, so should only be used as an approximation.
You may also like

Halloween Monster Decorated Sugar Cookies
Equipment
- [Circle cookie cutter]
- [Star piping tips and bags]
- [Basketweave piping tip]
Ingredients
- 1 batch Decorated Sugar Cookie dough and frosting
- Gel food coloring
- Candy eyes
- Candy eyes with lashes
- Candy lips
- Black licorice laces
Video
Instructions
- Cut the cookie dough into circles and bake according to the recipe instructions. Allow to cool completely.
- Prepare the buttercream frosting according to the recipe instructions.
- Divide the frosting into small bowls and use the gel food dye to color the frosting a variety of neon colors.
- Spread or pipe the frosting onto the cooled cookies. Use star tips to make "fur" and the basketweave tip to create "bandages."
- Decorate with the candy eyes, lips, licorice wands, or other candies as desired to make cute monster faces.


Could these BE any cuter? What a fun activity for Halloween! I’ll definitely be making these next week :)
Thanks so much, Jennifer! I hope you have a blast decorating them!
-Jamie
Does this buttercream get that thin “crust” on it? Or does it stay wet to the touch?
Ginger-
Yes, this is a crusting buttercream. Thanks so much for stopping by!
-Jamie
Oh my, these are so adorable! So creative and fun. I just love all their funny faces. I don’t do scary either :)
Thanks so much, Diane!
Hands down the CUTEST Halloween cookies I’ve ever seen! Good job. :)
Thanks so much, Lindsey! I appreciate you stopping by.
-Jamie
These are soo cute! My favorite is the green, one-eyed monster!
I love that one too, Tiffany! :)
These are so flippin’ cute, Jamie! It would be fun to have my kids come up with their own versions.
Thanks so much – I totally agree, I love the idea of cookie decorating “bar” for kids!
-Jamie
I am the complete opposite, I love scary everything! The scarier the better. These cookies are absolutely adorable! Perfect for the kids on Halloween. Pinning!
Thanks so much, Jen! :)
These are too adorable for words!
Thanks, Liz! :)
Oh my gosh, these are sooo cute! And I’m with you – I’m not into scary either!
Thanks so much, Brianne! I appreciate you stopping by!
-Jamie
These are great! I don’t do scary either. I can’t even watch the commercials for scary shows or movies. Eeekk!! Love these adorable monster cookies!
Thanks so much, Liz! :)