This post may contain affiliate links. Please read our privacy policy.


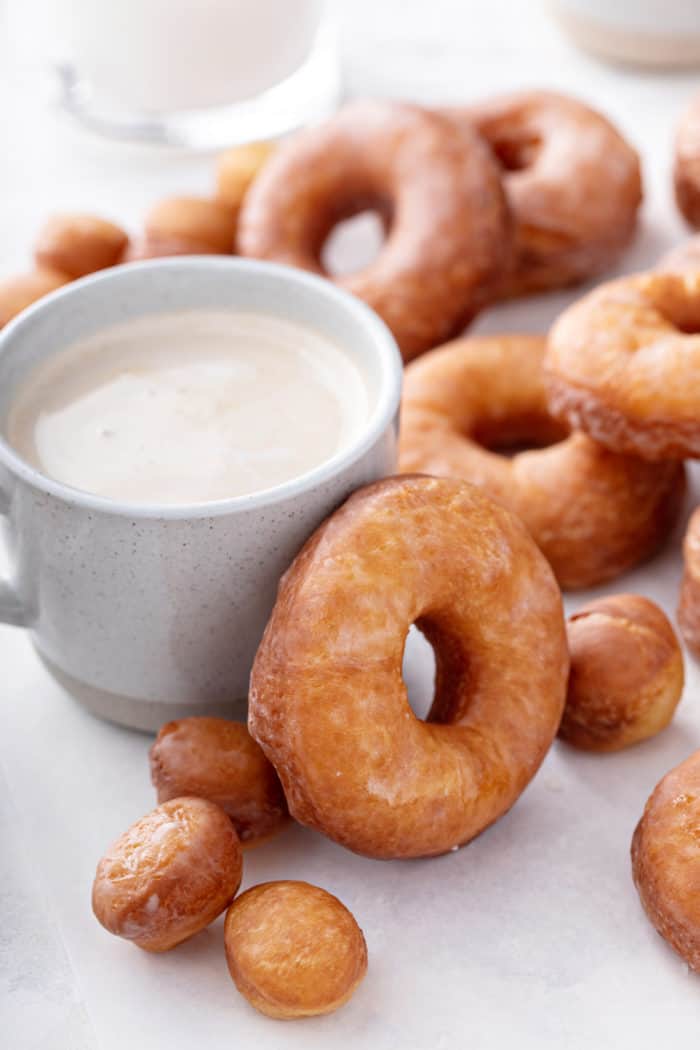
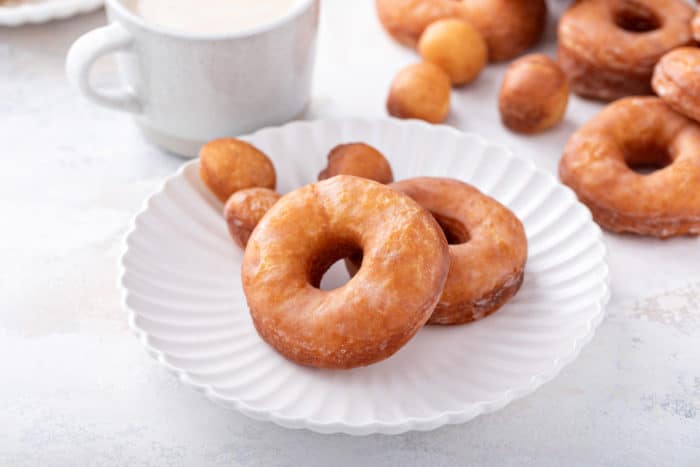
Does your family love fluffy yeast doughnuts on a weekend morning? Make these Homemade Doughnuts and surprise them all with the freshest glazed doughnuts and doughnut holes.
This post contains affiliate links.
Believe it or not, I used to be totally intimidated by working with yeast. So there was a time when making homemade bread, much less homemade doughnuts, would never have happened.
But eventually I learned that working with yeast really isn’t scary at all. And truthfully, neither is deep frying!
There are just a few simple things to know along the way. With a little bit of confidence and some patience, you can serve your family delicious homemade doughnuts for breakfast this weekend!
FLUFFY HOMEMADE GLAZED DOUGHNUTS
The first time I ever tried making these homemade doughnuts, I was sure they’d be super complicated. I mean, there’s nothing more impressive than a fresh-from-the-fryer yeast doughnut!
But I decided to give it a try anyway and discovered that they aren’t hard to make at all!
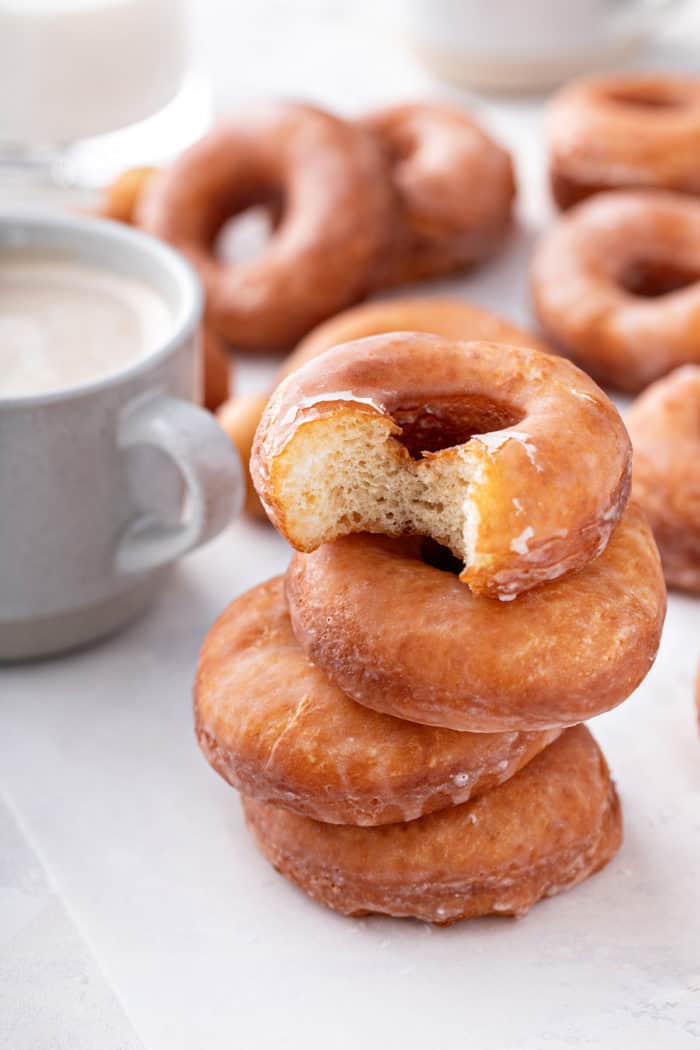
Sure, they require more steps to make than, say, glazed donut muffins, but the steps themselves aren’t hard at all. And the result is fluffy, super-fresh glazed perfection.
And once you get the hang of frying donuts, you’ll be able to make recipes like apple cider donuts and chocolate glazed donuts like a pro.
Oh, and the best part? You can always make the dough for these the night before so you have less work to do in the morning!
HOW TO MAKE HOMEMADE DOUGHNUTS
Don’t be intimidated by the number steps in this recipe. And don’t be intimidated by the thought of deep frying! I’m going to walk you through it.
Tools you’ll need
The key to success here is making sure you have the right equipment for deep frying your homemade doughnuts.
In addition to a mixer and measuring cups and spoons for making the dough, you’ll need:
- Donut cutter or circle cutters in various sizes
- Large dutch oven or other heavy-bottomed pot
- Candy/frying thermometer
- Slotted spoon
- Paper towels and Wire rack
Making the dough
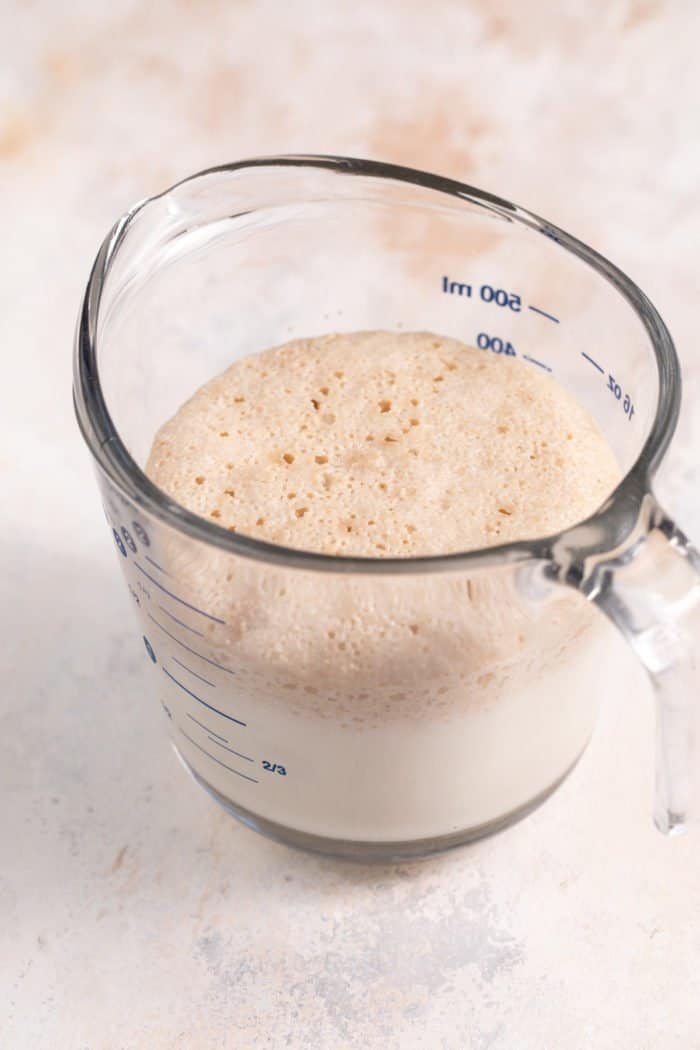
To get started, we will need to activate our yeast.
Warm the milk in the microwave in 30-second increments until it is quite warm but not hot. Add sugar and the yeast, then let it rest for about 10 minutes. The yeast has activated when it is bubbly/foamy on top.
While the yeast is activating, whisk together eggs and melted butter in a small bowl, and the flour and salt in another.
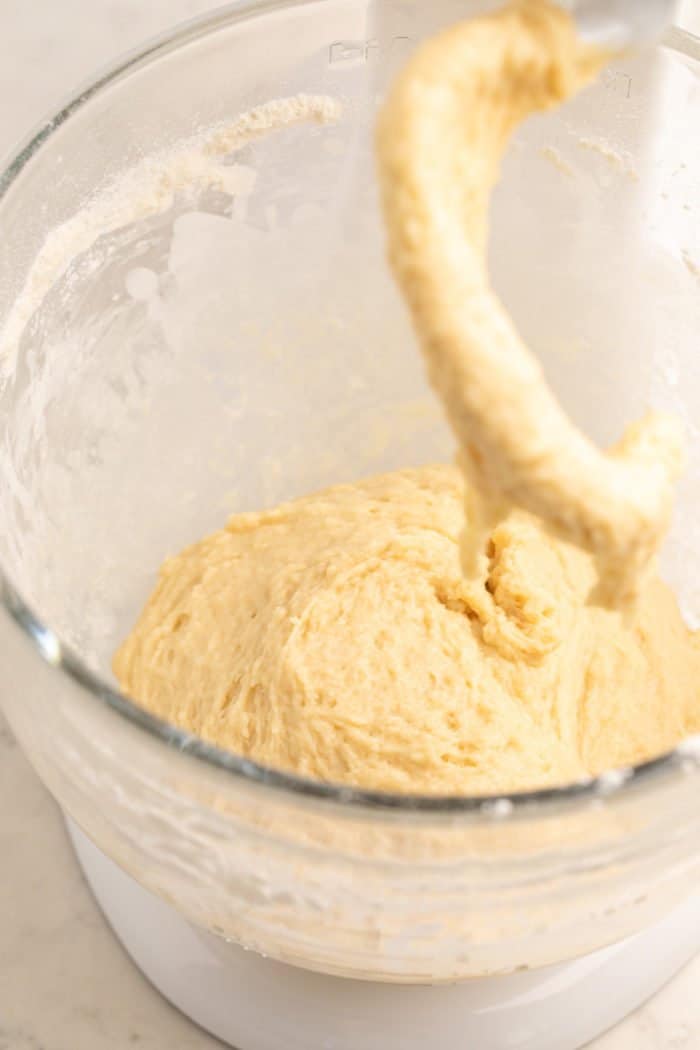
Add the egg mixture to the bowl of your stand mixer fitted with the dough hook, then pour in the yeast mixture and stir everything together until combined.
With the mixer on low, add the flour mixture in ¼-½ cup increments until all of the flour is gone. Turn the mixer to medium-low speed and let the mixer knead the dough for 5 whole minutes.
Scrape the sides and bottom of the bowl, turn on the mixer for 30 seconds, and then turn off the mixer and let the dough rest undisturbed for 10 minutes.
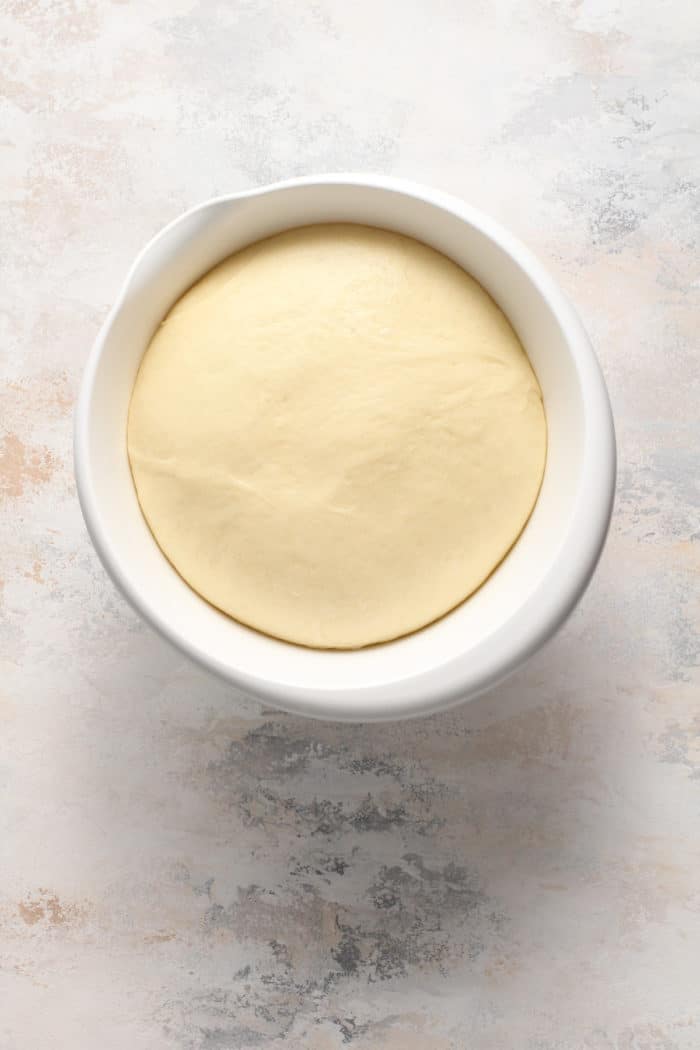
After the 10-minute rest, move the dough to a lightly oiled bowl and cover with plastic wrap. Let the dough rise for about 1 hour, until doubled in size.
Cutting the doughnuts
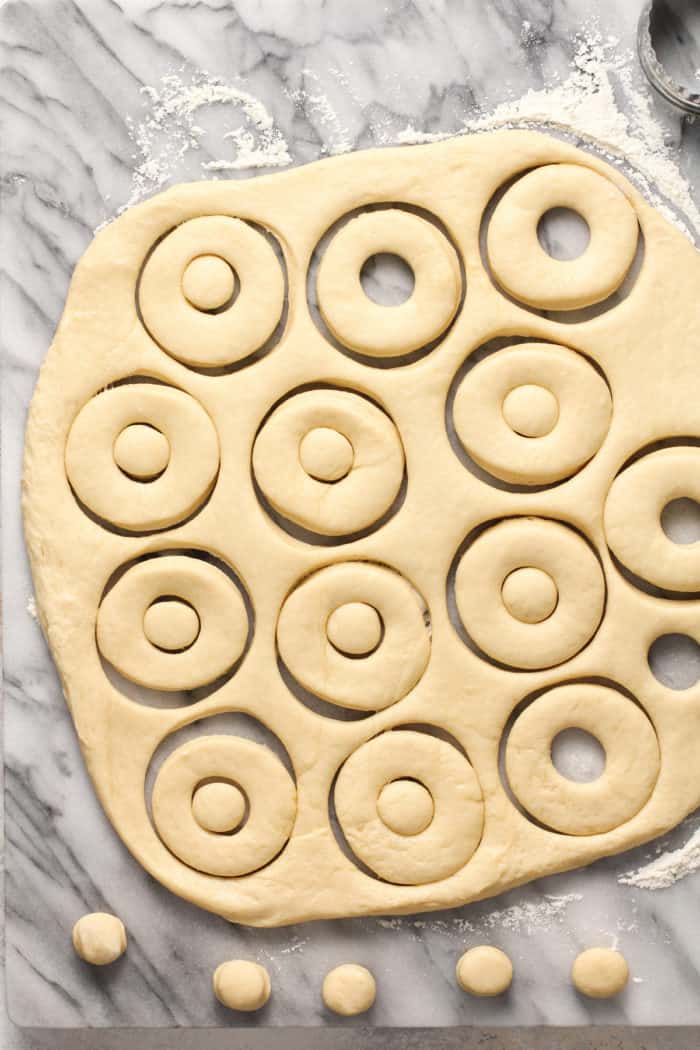
When you’re ready to make your doughnuts, roll out the dough on a floured surface and roll it to ¼- to ⅓-inch thickness.
Use your doughnut cutter or a 3-inch round cutter to cut as many rounds as you can. Roll out the dough scraps and repeat as needed.
If you used a 3-inch round cutter, use a small 1-inch cutter to cut holes in each circle. You can also use the 1-inch cutter to cut extra doughnut holes out of any dough scraps.
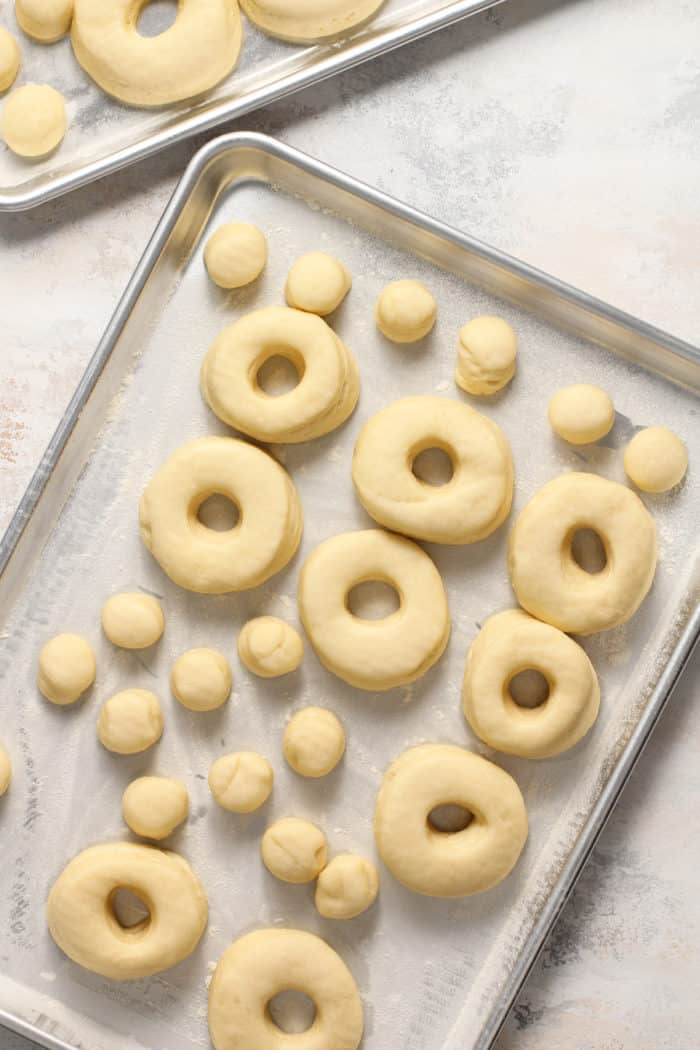
Place all of the cut doughnuts and holes on a floured baking sheet. Cover with a tea towel and let rise for at least 1 hour, although you may need to let them rise for 1 hour 15 minutes.
The doughnuts are ready to fry when they are visibly puffy and appear to be airy.
Frying the doughnuts
Now for the part that freaks everyone out; but it’s not too bad, I promise!
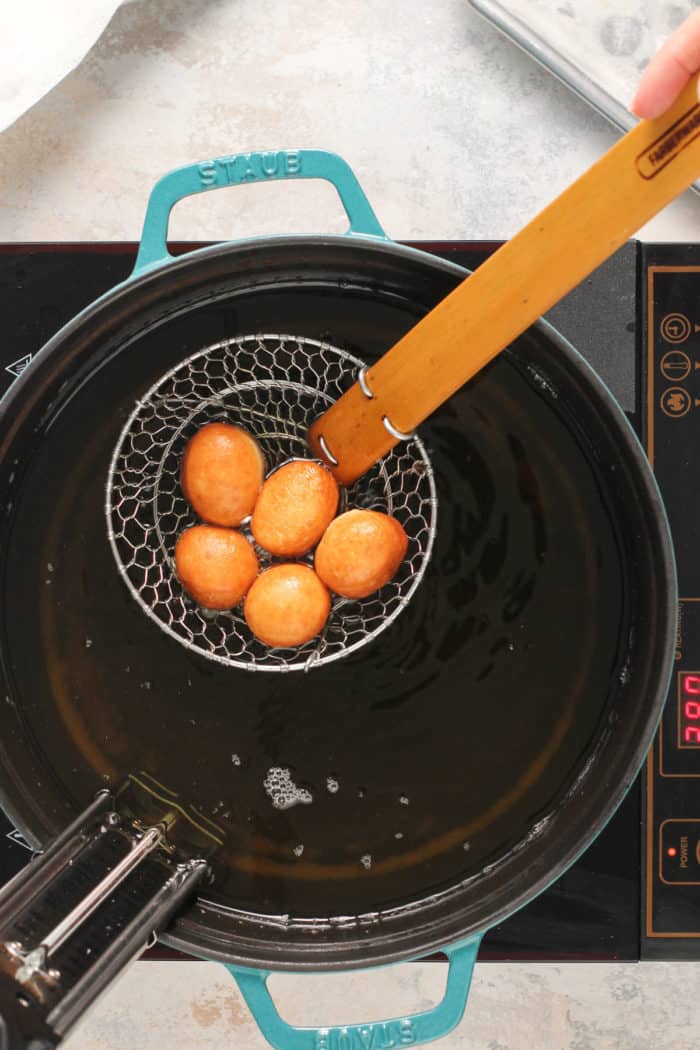
While the cut doughnuts finish rising, heat at least 1 quart of canola oil in your dutch oven until it reaches about 375°F. Don’t let it get hotter than 380°F!
Working with just a couple of doughnuts at a time, carefully ease the risen doughnuts into the oil. Let them cook for about 1 minute, then flip and cook for 1 minute more.
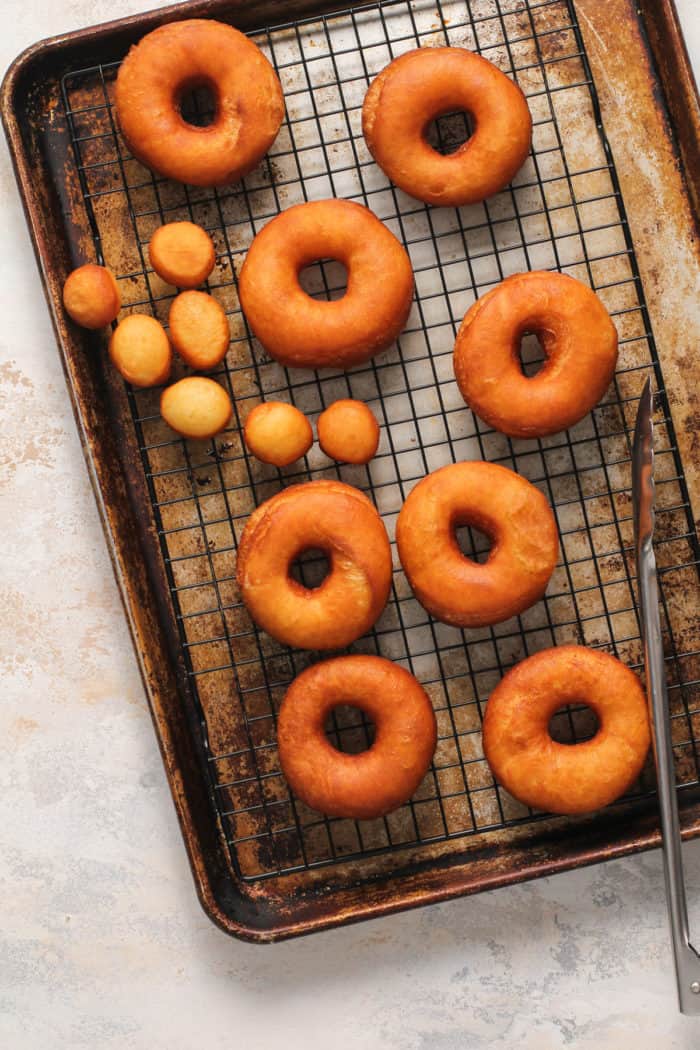
Use a slotted spoon or chopsticks to remove the doughnuts from the oil, letting any excess oil drip off before placing them on several layers of paper towels. Let them rest for a count of 5, then flip to a clean part of the paper towels. Move to a wire rack set over a rimmed baking sheet after another count of 5.
Repeat with remaining doughnuts and all of the holes. The holes will cook much more quickly than the doughnuts; you will probably only need about 30 seconds per side.
Allow doughnuts to slightly cool before glazing as desired.
Overnight doughnuts
If you’d like, you can prep the dough the night before so all you have to do in the morning is the cutting and frying.
After placing the dough into the oiled bowl, cover it tightly with plastic wrap and place the bowl in the refrigerator.
Refrigerate the dough overnight (for at least 8 hours). The next morning, go ahead with rolling out and cutting the dough and finishing the doughnuts as directed.

DEEP FRYING TIPS
Still feeling intimidated by the idea of making fried homemade doughnuts? I’ve got a few tips for you to help set you up for success!
- Use a thermometer. A fry thermometer will help you keep an eye on the temperature of your oil. You want to keep it around 375°F so the doughnuts cook through without burning.
- Adjust your burner as needed. If your oil gets too hot, turn down the heat and wait a minute before proceeding. If your oil gets too cool, turn up the heat a bit. You will likely need to adjust the heat a bit throughout the cooking process as you add and remove doughnuts.
- Fry only a couple doughnuts at a time. When you add uncooked food to your fry oil, it brings the oil temperature down. If you crowd the pot, it will take too long for the oil temperature to bounce back, and that’s when you get greasy doughnuts. So take your time!
- Grab chopsticks or skewers. Use a chopstick or a skewer to transfer the doughnuts into the oil. A set of chopsticks or two skewers also work well to flip the doughnuts if you find using the slotted spoon to be cumbersome.
- Only rest the doughnuts on paper towels for a few seconds. After letting the doughnuts rest on the paper towels for a few seconds per side, move them to the wire rack. Leaving them on the paper towels can cause the doughnuts to reabsorb the oil and make them greasy.

OTHER TOPPING IDEAS
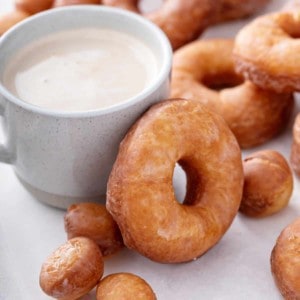
This recipe makes a classic glazed doughnut, but there are so many ways you can top your homemade doughnuts!
As soon as you glaze them, top them with sprinkles for a pop of color.
Use a chocolate glaze or strawberry glaze instead of the vanilla glaze.
After resting the hot doughnuts on the paper towels, dip them in cinnamon sugar instead of glazing them.
For a powdered sugar doughnut, let the doughnuts cool slightly, then cover in powdered sugar.
Homemade Doughnuts
Ingredients
For the Doughnuts
- 1 cup plus 2 tablespoons whole milk
- ¼ cup sugar
- 2 ¼ teaspoons Active Dry Yeast 1 envelope
- 2 large eggs lightly beaten
- 10 tablespoons unsalted butter melted and slightly cooled
- 4 cups all-purpose flour
- ½ teaspoon fine sea salt
- Canola oil for frying
For the Glaze
- 3 cups powdered sugar sifted
- ⅛ teaspoon fine sea salt
- ½ teaspoon pure vanilla extract
- ½ cup milk
Instructions
- Place the milk in a microwave safe bowl or measuring cup. Microwave on high in 30-second increments until the milk is warm but not hot.
- Add sugar to milk. Stir to dissolve. Add the yeast. Stir gently, then let sit for 10 minutes.
- In a small bowl whisk together the eggs and melted butter. In a separate bowl, whisk together the flour and salt. Set aside.
- Add the egg/butter mixture to the bowl of an electric mixer fitted with the dough hook. With the mixer on medium-low speed, pour in the yeast mixture. Allow the dough hook to stir this mixture for a couple of minutes, making sure it’s thoroughly combined.
- With the mixer still going, add helpings of the flour mixture in 1/4 to 1/2 cup increments until all the flour is gone.
- Stop the mixer, scrape the bowl, then turn the mixer on medium-low speed for five whole minutes.
- After five minutes, stop the mixer and scrape the bottom of the bowl. Turn on the mixer for 30 seconds.
- Turn off the mixer and allow the dough to sit in the bowl undisturbed for 10 minutes. After 10 minutes, transfer dough to a lightly oiled bowl. Gently turn the dough to coat, then cover the bowl with plastic wrap.
To make the doughnuts the same day:
- Place the bowl in a warm place in your kitchen and let rise for about 1 hour, until doubled in size. If your kitchen is drafty, try placing the bowl in your oven with ONLY the oven light on (do not turn the oven on).
- Once doubled in size, proceed to making the doughnuts.
To make the doughnuts the next day:
- Place the bowl in the refrigerator. Refrigerate the dough for at least 8 hours, or overnight. The next day, proceed to making the doughnuts.
To Make the Doughnuts
- Gently turn out dough onto a lightly floured surface. Roll out to 1/4 to 1/3-inch thickness.
- Using a 3-inch cutter, cut as many rounds as you can, then roll out remaining dough and cut as much as you can, etc.
- Cut holes out of each round using a 1-inch cutter. If you have extra scraps of dough, use the 1-inch cutter to cut out extra doughnut holes.
- Place both doughnuts and holes on a floured baking sheet.
- Cover with a large tea towel and place in a warm place in your kitchen.
- Allow doughnuts to rise undisturbed for at least 1 hour; 1 hour 15 minutes if necessary. Doughnuts should be visibly puffier and appear to be airy.
To Fry the Doughnuts
- Heat at least 1 quart of canola oil in a large heavy-bottomed pot until the temperature reaches 375 to 380°F —do not let it get hotter than 380°F! 375°F is ideal; keep the thermometer in the pan to continually monitor and adjust your burner as necessary to maintain the temperature.
- One to two at a time, gently grab doughnuts and ease them into the hot oil. Allow them to cook 1 minute on each side; they will brown very quickly.
- Remove doughnuts from the oil with a slotted spoon, allowing all oil to drip off.
- Place doughnut immediately on several layers of paper towels. Count to five, then flip it over onto a clean part of the paper towels. Count to five, then move the doughnut to a wire rack set over a rimmed baking sheet.
- Repeat with remaining doughnuts and holes. The holes will cook more quickly than the doughnuts; about 30 seconds per side.
- Allow doughnuts to slightly cool.
To Glaze
- Mix all glaze ingredients in a bowl until completely smooth.
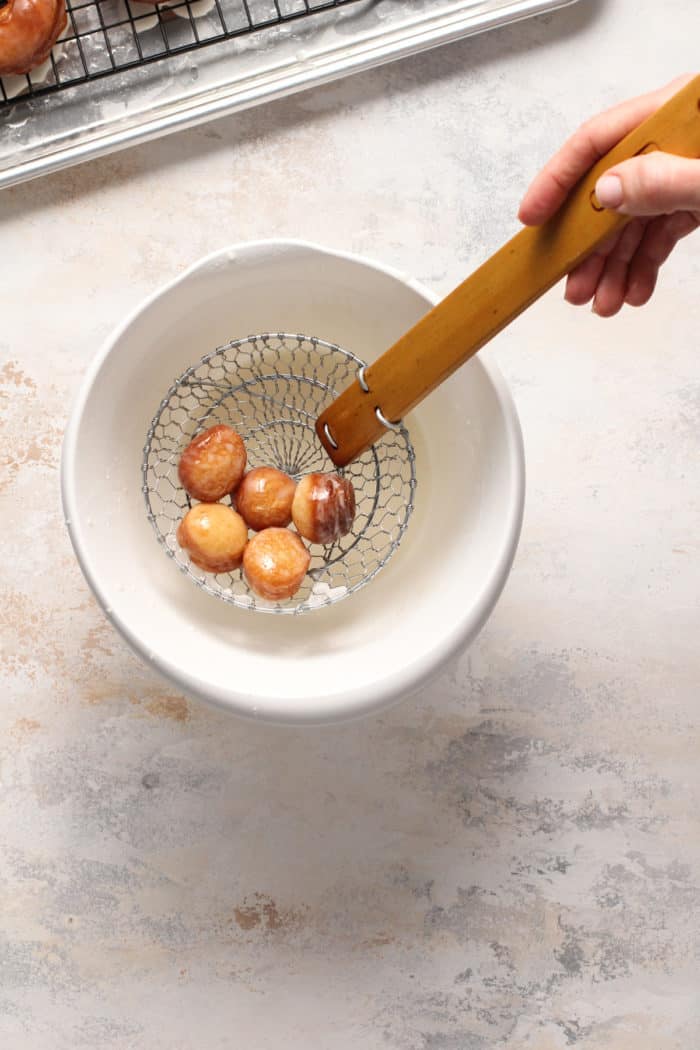
- One by one, dip doughnuts into the glaze until halfway submerged. (Note: completely submerge doughnut holes, then remove with a slotted spoon.)
- Remove from glaze, then return them right-side up to the wire rack still set over the rimmed baking sheet. The baking sheet will catch any excess glaze that drips off.
- Serve warm if possible, or room temperature.
Video
Notes
- These are best eaten the same day they are made
- A good thermometer is key to making a perfectly cooked doughnut.
- Use a set of chopsticks or skewers to easily add doughnuts to/from the fry oil and flip them while cooking.
Nutrition
Nutrition information is automatically calculated, so should only be used as an approximation.


Yummy
These were so good. I don’t really care for donuts but love these ones. My 15 year old son said they are better than the donut shop. Definitely will make again.
That’s some high praise! Thank you so much for stopping by and sharing your feedback! Happy baking –
Jamie
yumm,my kids love doughnuts. THese look perfect
Thank you so much for stopping by and commenting! Happy baking –
Jamie