This post may contain affiliate links. Please read our privacy policy.
Have you ever made cheesecake and felt stumped when you got to the part about making a water bath? Let’s explore both the how and the why of baking cheesecake in a water bath!
I have made hundreds of cheesecakes in my life.
Seriously! I’ve been running this website for years and in that time have shared dozens of cheesecake recipes with you.
All of those recipes have been tested multiple times. Add in all of the cheesecakes I have made just for fun or taken to family gatherings and all of the cheesecakes I made long before I started this website and, well…
…it’s a LOT of cheesecake.
The benefit to making that much cheesecake, aside from becoming extremely popular at potlucks, is that I have had plenty of opportunities to test the best cheesecake-making methods and recipes.
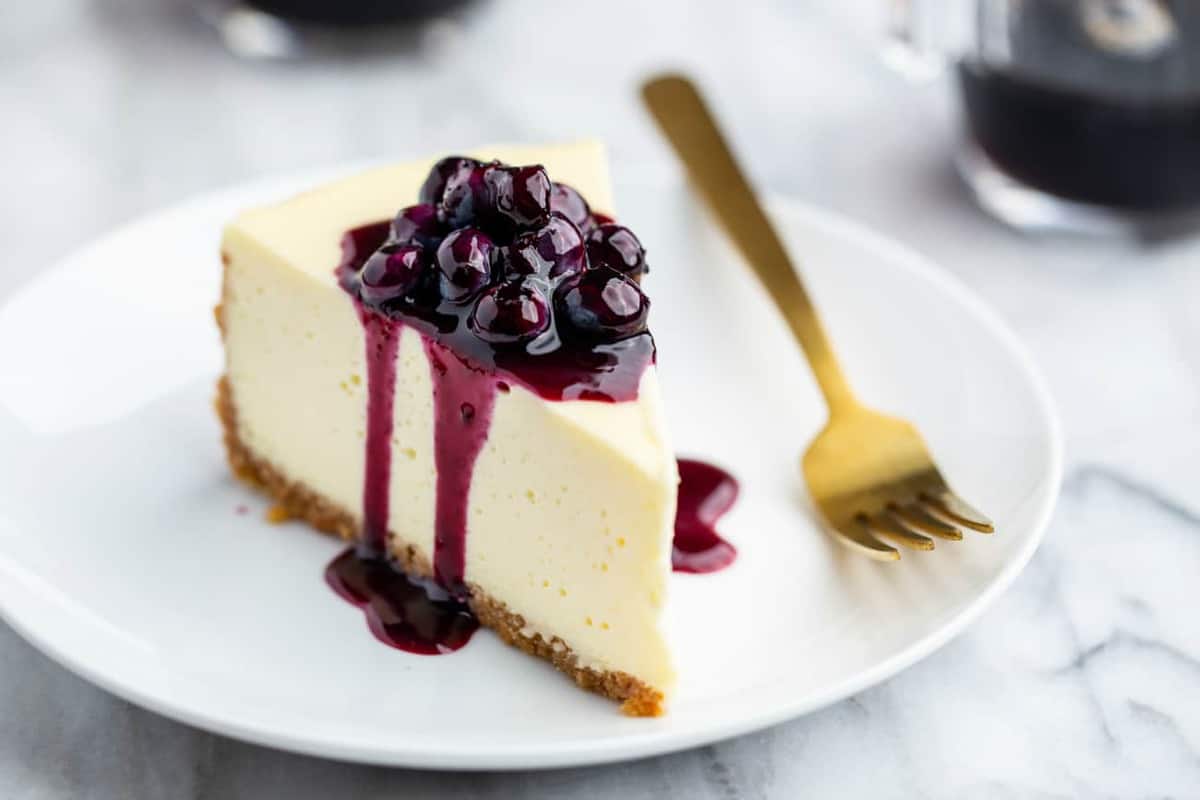
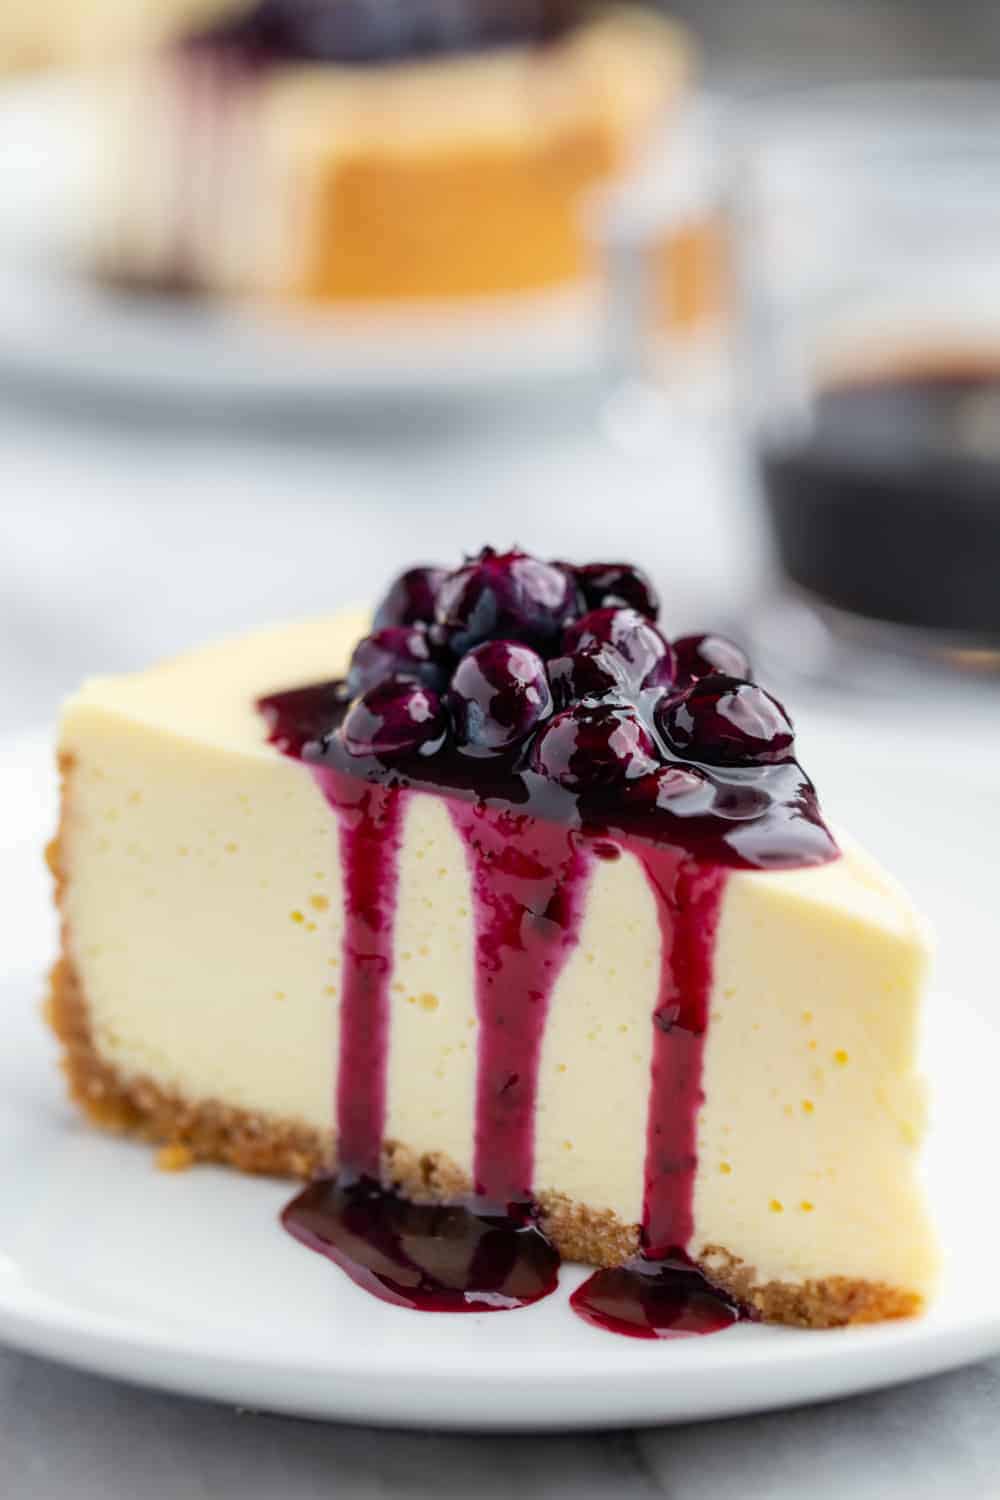
I know how to soften cream cheese quickly. I have memorized my graham cracker crust recipe. My vanilla cheesecake is practically tattooed on my arm. Homemade blueberry sauce topping? Perfected.
I’m practically a cheesecake professional at this point. And in my opinion? The best cheesecakes are made using a water bath.
I know that water baths can be intimidating for novice and advanced bakers alike. So let’s dive into why I think it’s best to use a water bath and my favorite leak-proof methods for making one!
Why use a water bath for cheesecake?
Before we get to the “how,” let’s talk about the “why.”
WHY do cheesecake recipes call for a water bath?
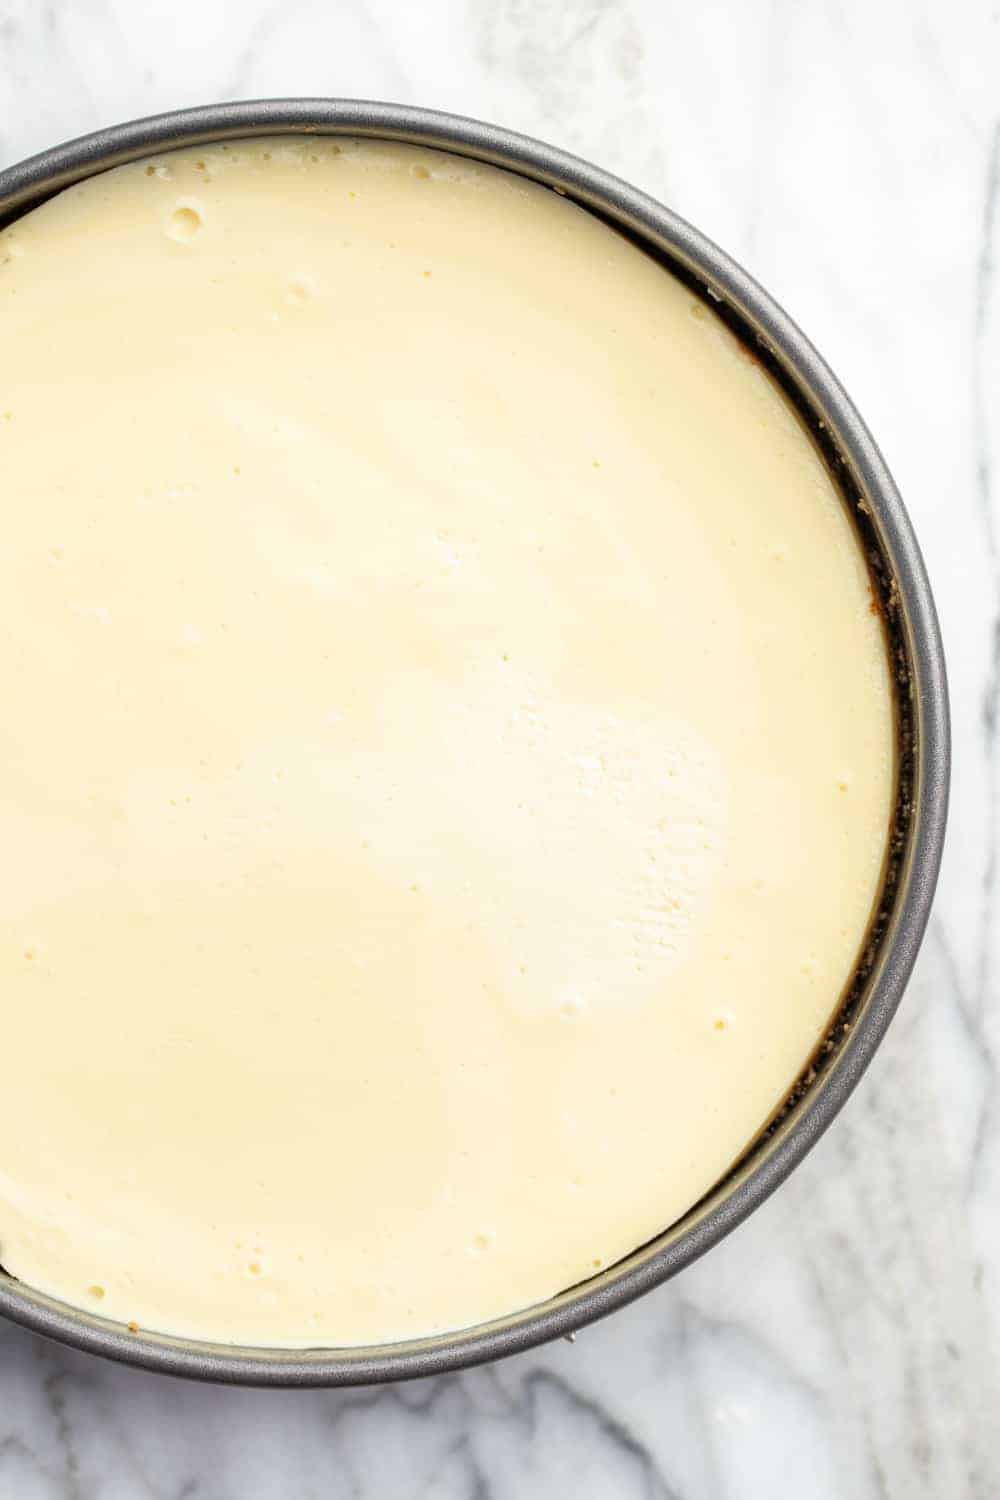
Believe it or not, cheesecake is actually pretty delicate. It would be very easy for the heat from the oven to cause the edges to overcook, the top to crack, or the whole thing to become rubbery.
By using a water bath, we keep the oven moist and help moderate the heat so that the edges do not cook faster than the middle of the cheesecake.
Yes, I have seen people make beautiful cheesecakes without using a water bath. But honestly? It’s kind of a gamble.
Baking a cheesecake without a water bath has just as much chance of going poorly as it does going well, so I always choose to take that extra insurance and use the water bath. I’d rather take one extra step than have to make an entire new cheesecake!
How to make a water bath for cheesecake: the traditional method
The biggest issue people tend to have with water baths is leaking. Again, I’ve done this a lot, so I’ve come up with a method that works best for me when making a traditional water bath.
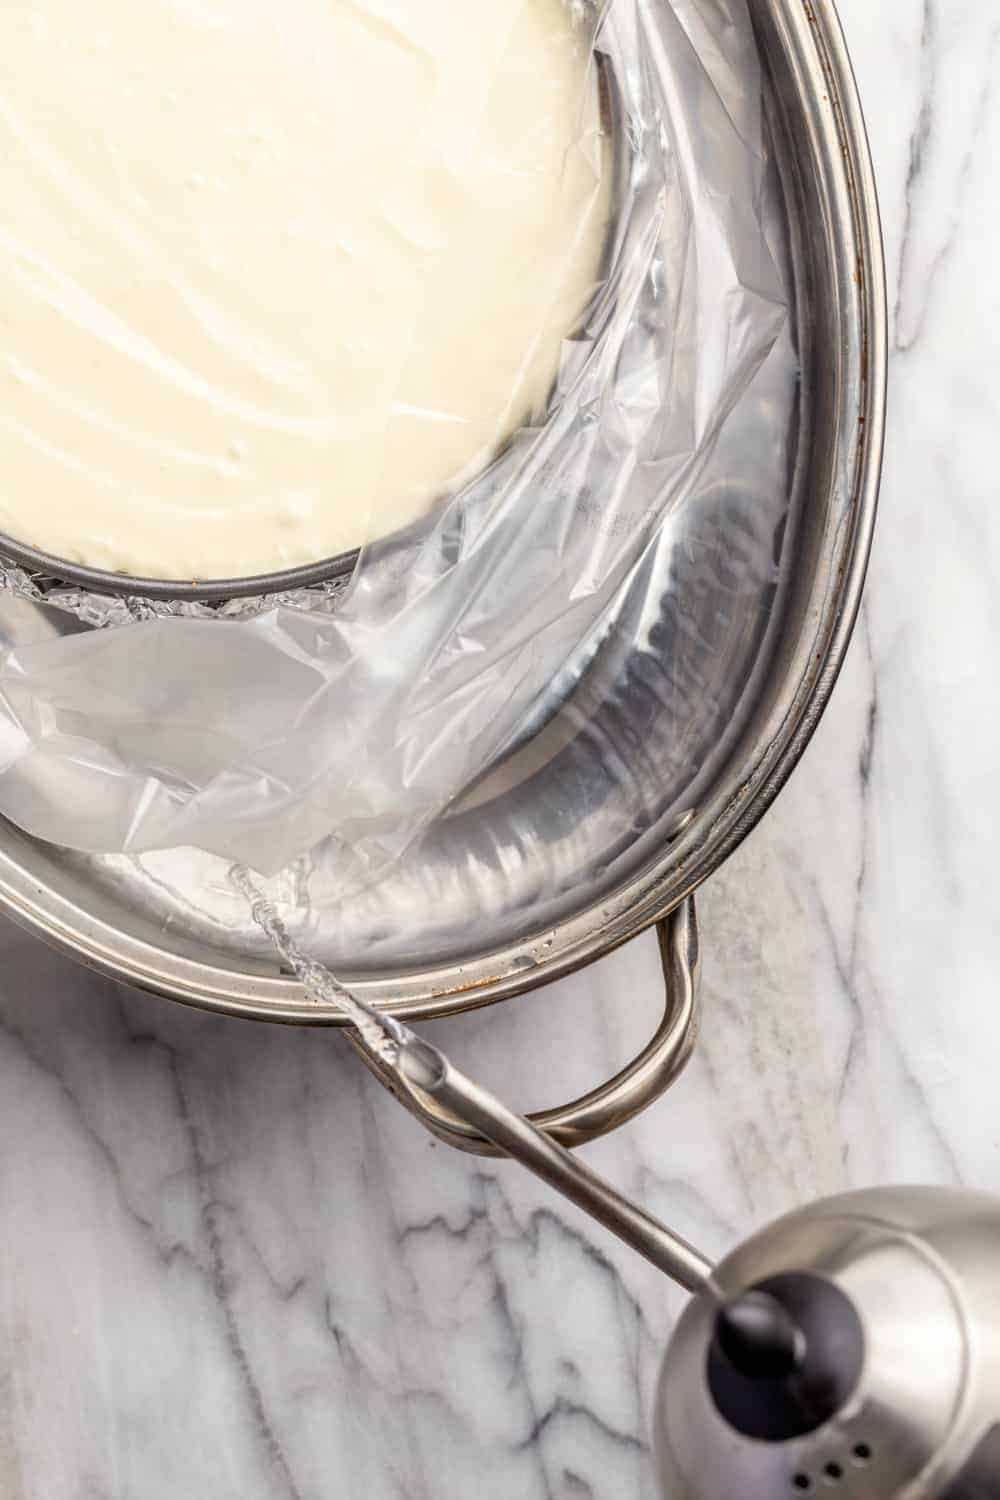
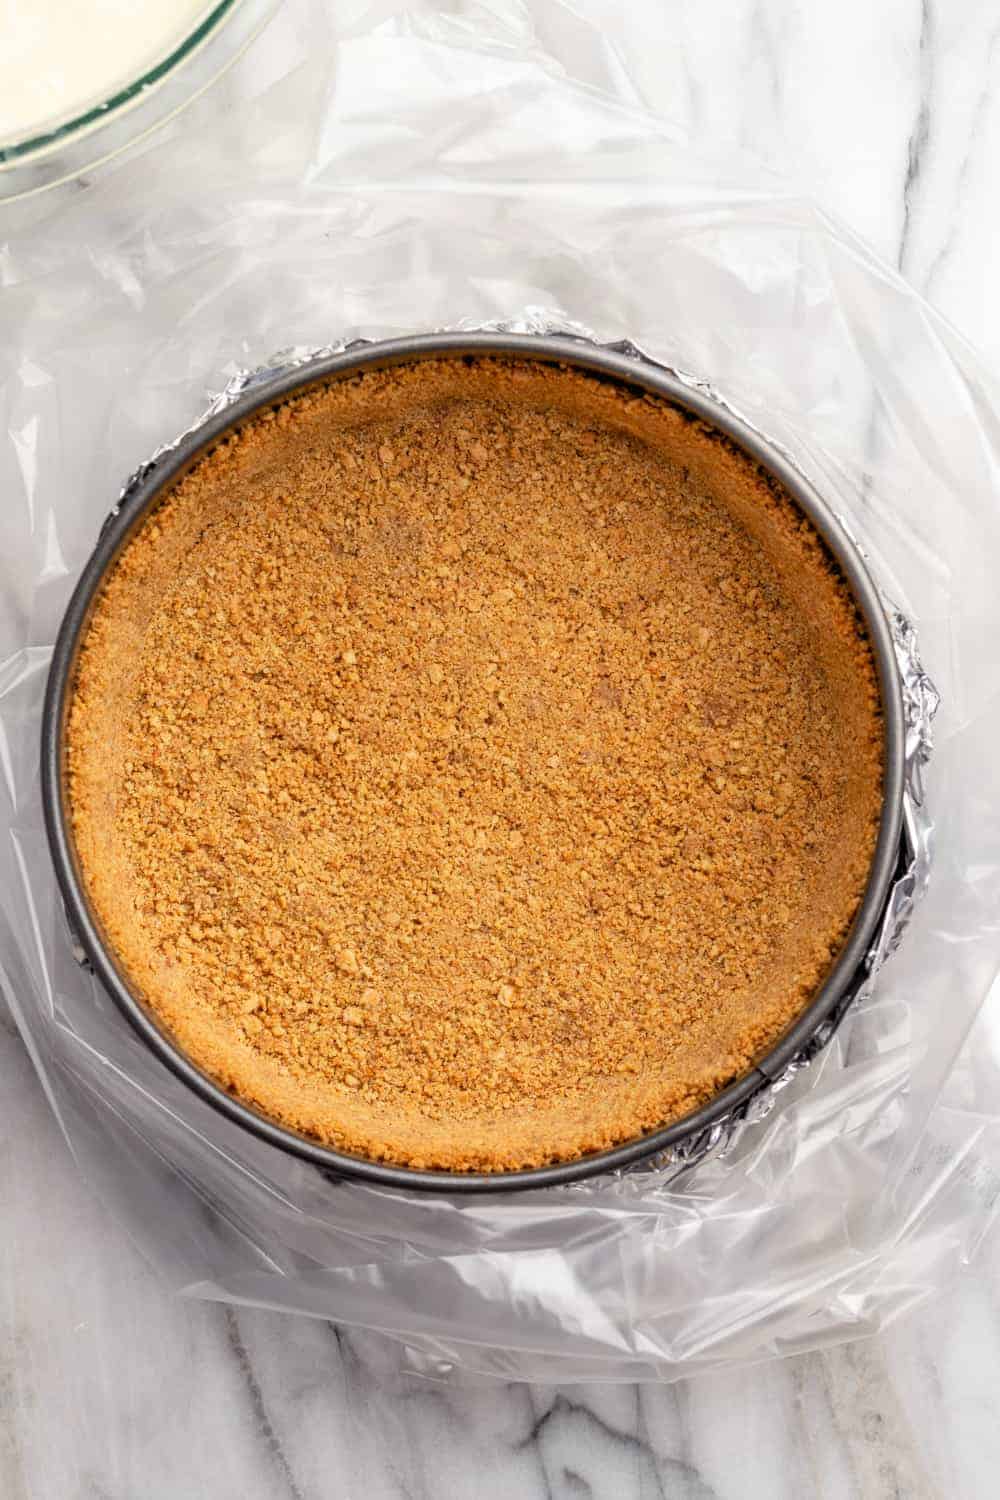
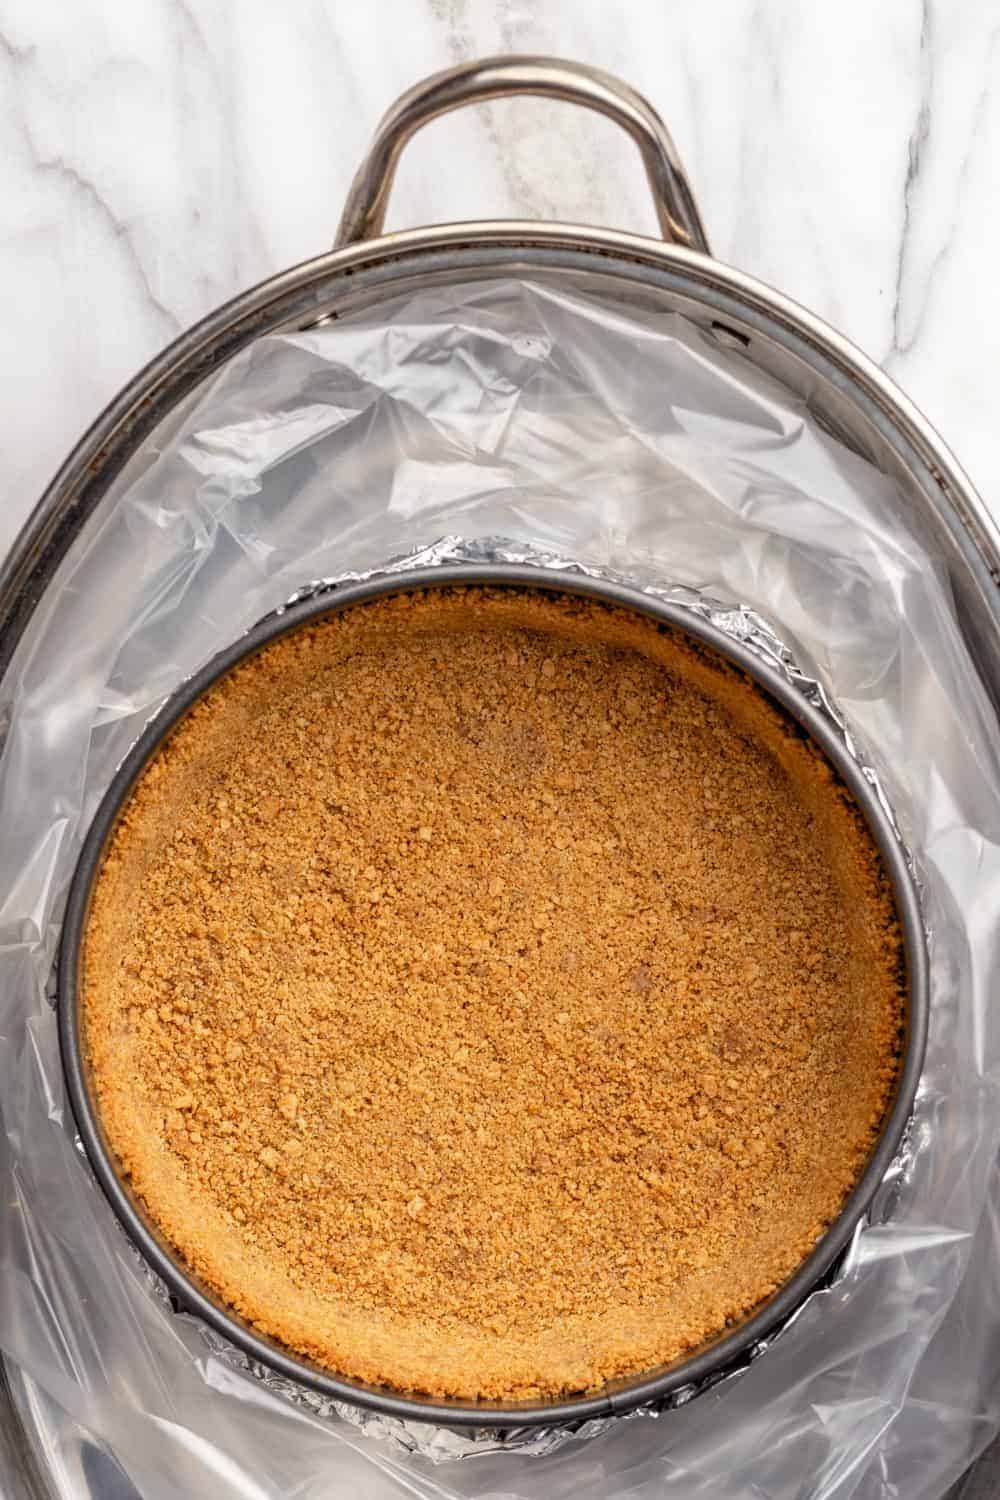
First, I prepare the springform pan itself. I like to tightly wrap the outside and sides of the pan with TWO layers of heavy duty foil.
Yes, two layers. Yes, heavy duty foil.
Why? Less chance of getting a hole through both layers!
Now, at this point I like to take the extra step of placing the foil-wrapped pan inside an oven bag while baking. It provides a little extra leakage insurance. Totally optional, but worth the effort!
This whole setup gets placed inside a larger pan. I like to use a roasting pan.
Now here is where I give you my two tips to keep things from spilling:
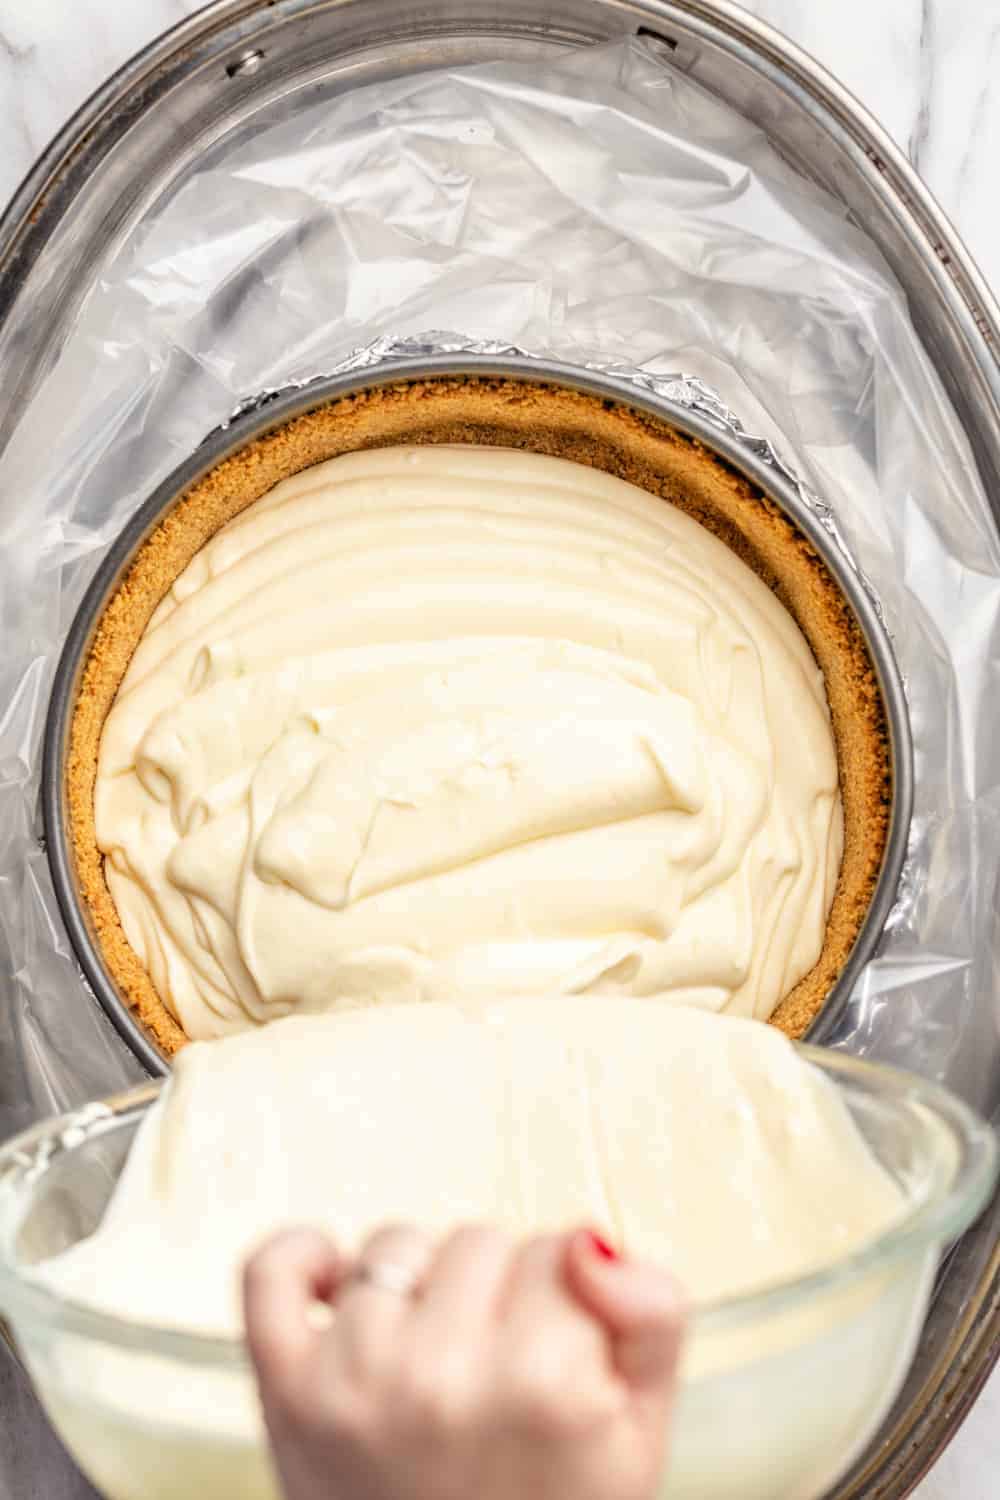
First: I get the springform pan set up in the oven bag and roasting pan before I add the cheesecake filling to the pan.
Second: Move the roasting pan onto your oven rack BEFORE adding the boiling water for the water bath.
Trust me, you don’t want to try to carry a pan half full of boiling water across the kitchen and get it into the oven without spilling it everywhere.
Once the roasting pan is on the oven rack, you can add the boiling water until it comes about halfway up the sides of the springform pan.
I know this sounds like a lot of steps, but they are really quite simple! I promise, the more you use a water bath when baking, the more it will become second nature.
My favorite leak-proof water bath method
Over the years, I discovered an even more leak-proof method than what I described above. And it is SO simple. Ready?
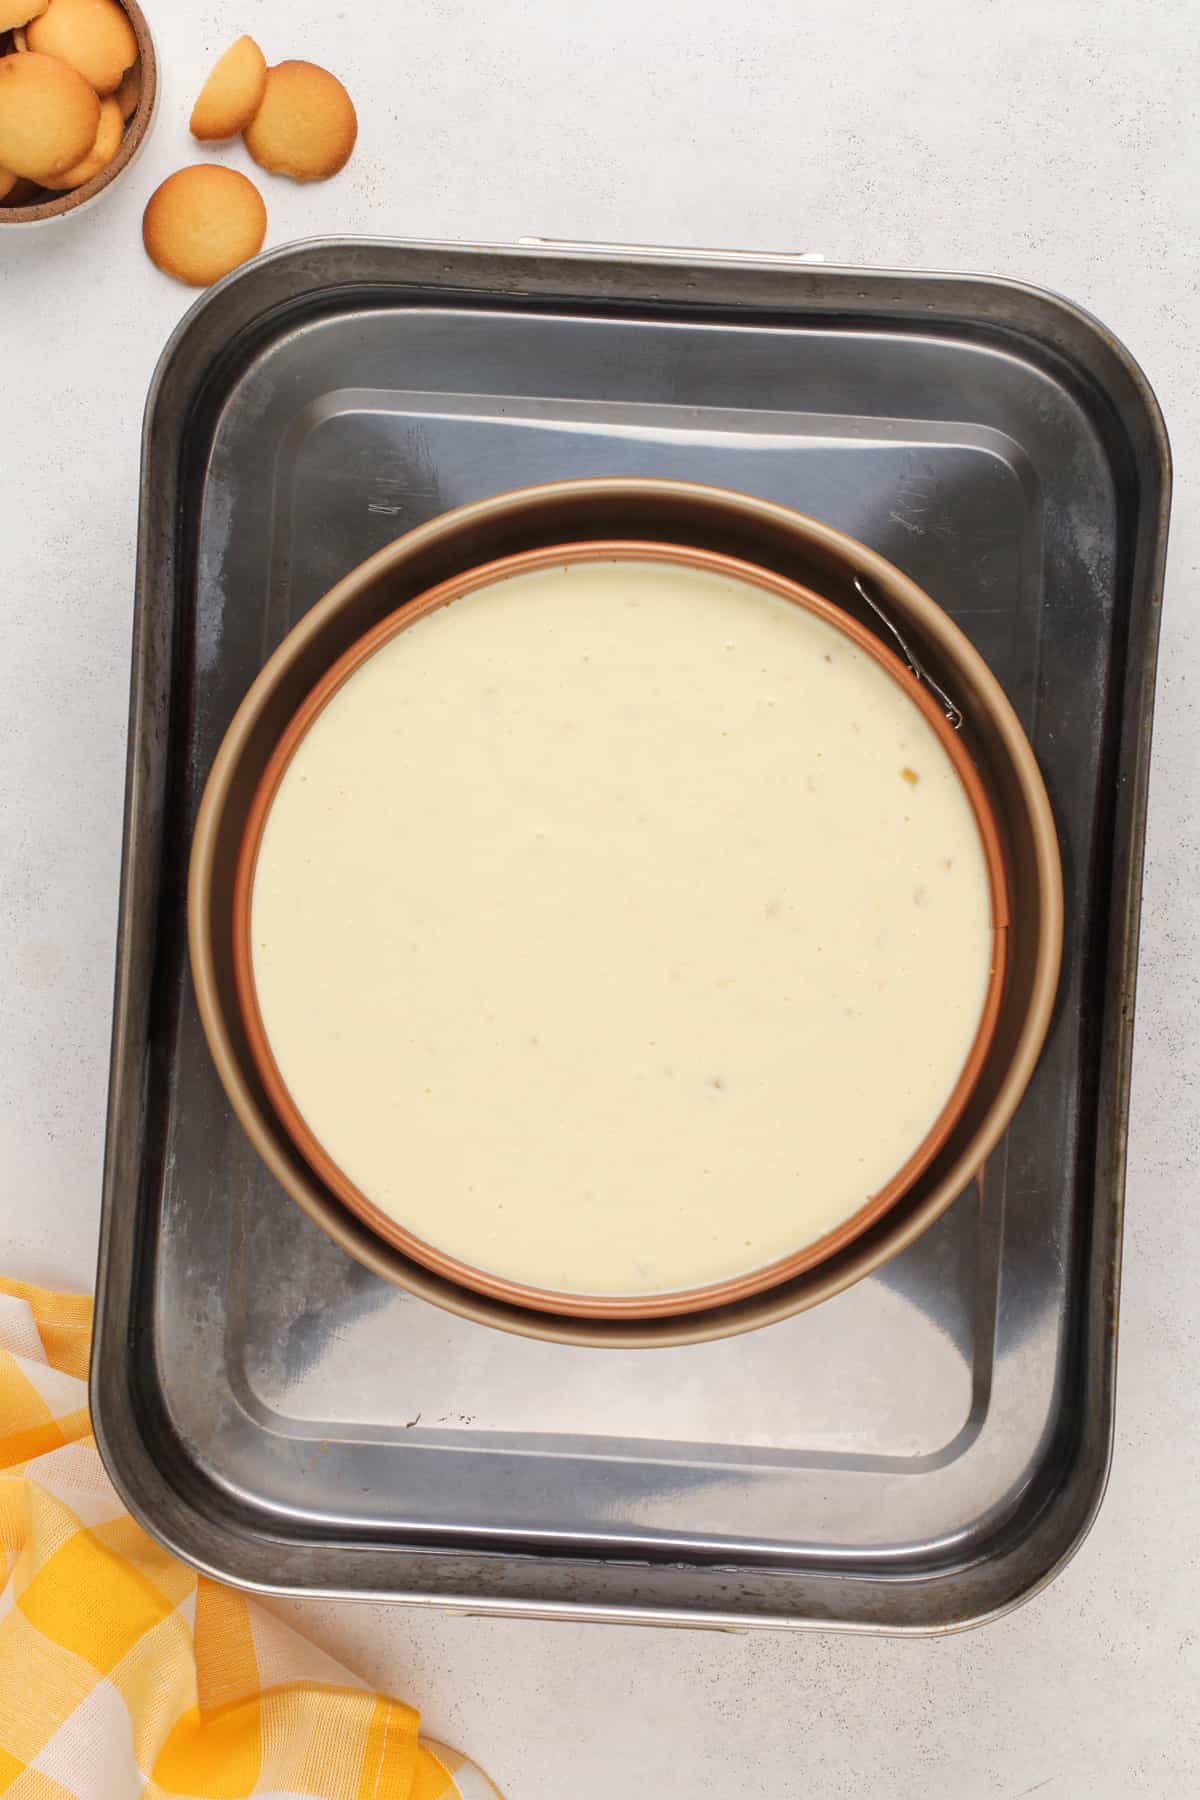
Grab your 9-inch springform pan and set it inside of a 10-inch cake pan.
Now both pans can go inside of your roasting pan. Boil the water and pour that into the roasting pan, outside of the 10-inch cake pan.
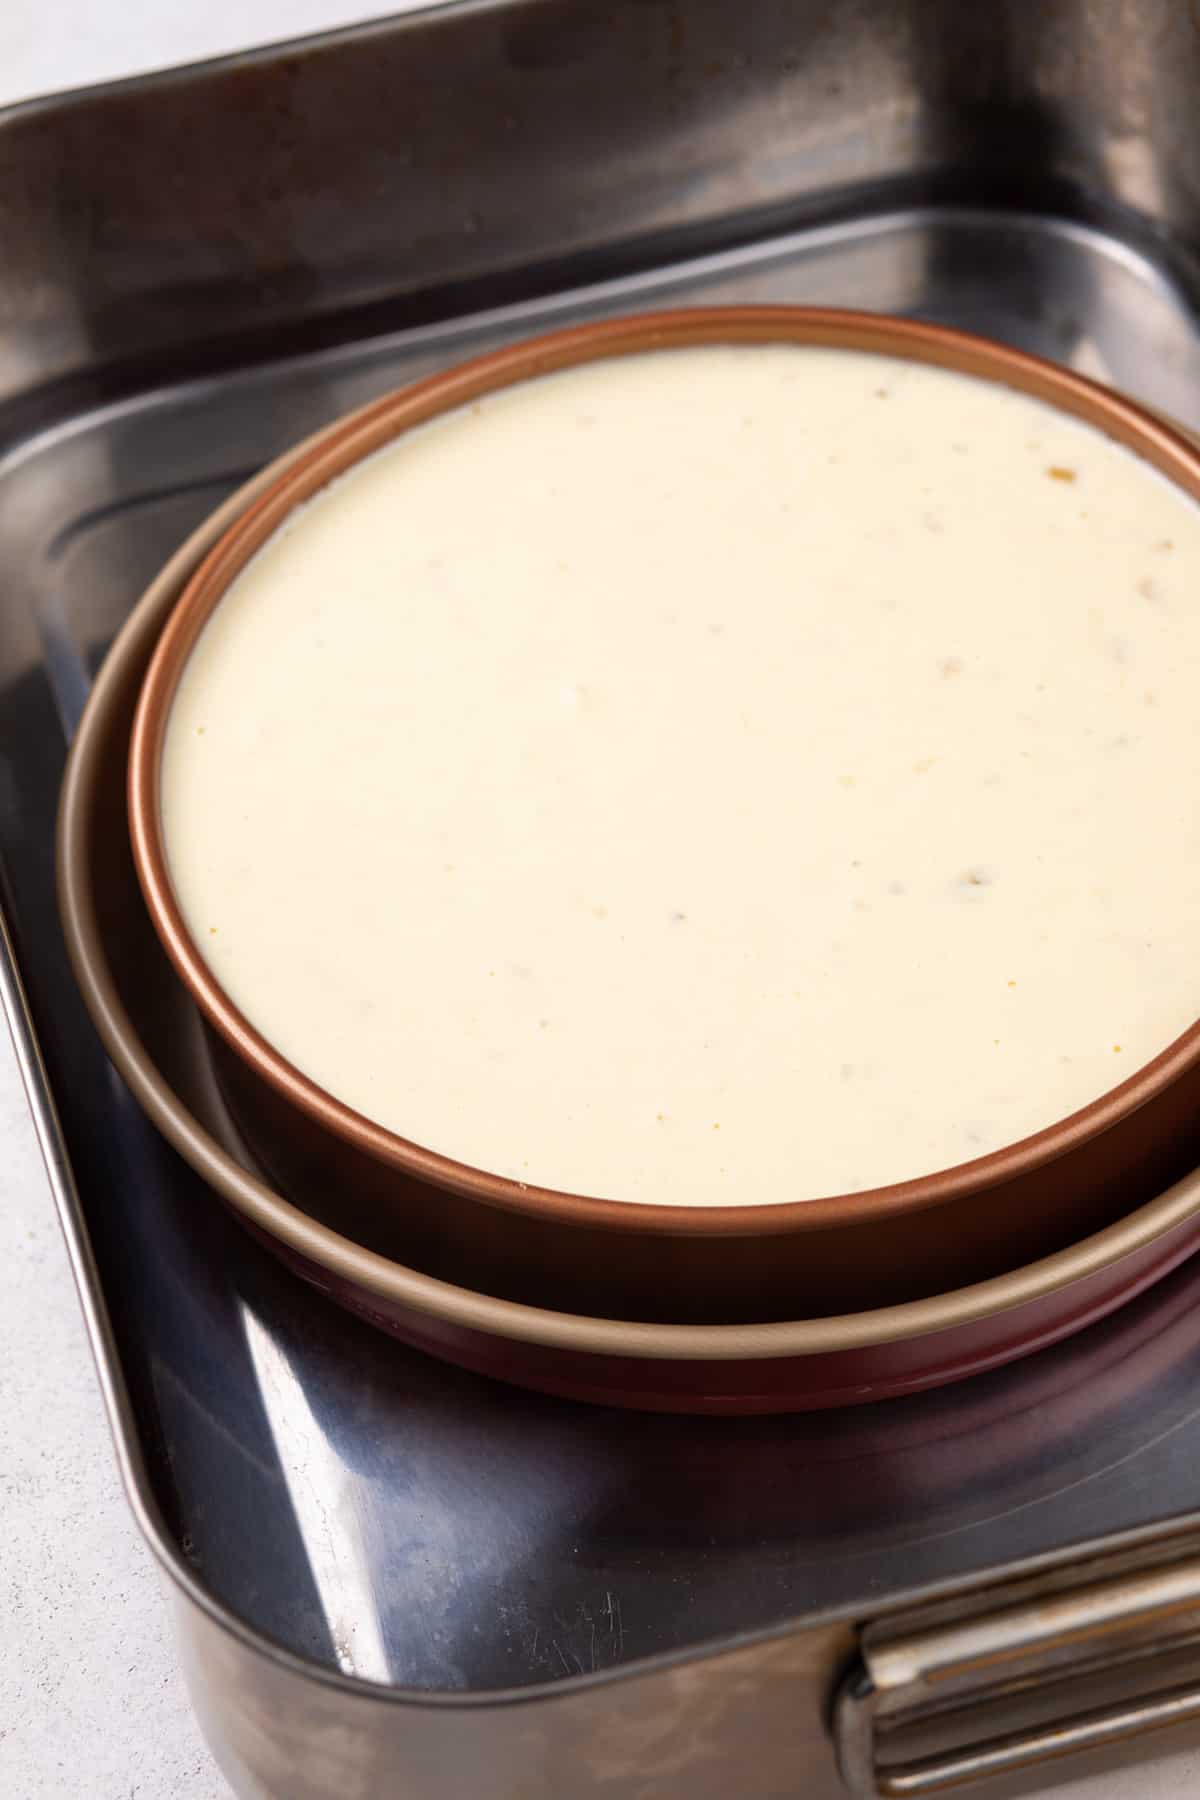
You will get all of the benefits of the water bath but with a much simpler process – and I can promise you there will be no leaks!
Just like with the traditional method, I do recommend placing the roasting pan on your oven rack before pouring in the water. This will help avoid any water sloshing around when trying to transfer the pan into the oven.
So now you know how to go forth and make perfectly baked cheesecake every time!


Just put a bowl of water n the lower baking rack and cook on a lower temp for longer. There is no need for a water bath. That is old “knowledge” that is not applicable anymore. Almost nobody uses them anymore.
Looks good sounds like a great tip
most people have the 3 set springform pans 9″10″and 12″. put the foil on the bottom of 10″ pan put the 9″ in the 10″ put both in a 11×15 pyrex glass! dish boil water in a 4qt pan! use a pyrex cup or a ladle to transfer the boiling water that how i do it
a tea kettle is much safer.
Do i cook crust first? Or do i do all at oncd in water bath?
Hi Kelly – You’ll want to follow the instructions for the particular recipe you are using, but typically you do blind bake the crust first before adding the filling and baking the full cheesecake. Happy baking!
Jamie
Can I use a glass baking dish for the water bath?
Hi there – I never have, although I assume you could. I would just make extra sure that the dish is not cold at all before putting it in the oven and adding the water, or else you could risk it cracking/breaking! Happy baking–
Jamie
Thank you so much Jamie for the great tips. The first cheesecake I made using a water bath failed miserably because of water leakage, never again now that I know about the oven bag trick and lining the bottom of the pan with foil. Love your website ❤️
So happy this worked for you, Janine! Happy baking!
-Jamie
I found that cutting the cheese cake with dental floss works better than a knife.
Great tip! Thanks for taking the time to stop by and comment! Happy baking –
Jamie
What’s the best temp to cook a cheese cake and how long
Hi Vinny-
This will vary from recipe to recipe, but typically 325-350 degrees F. Thanks for stopping by!
-Jamie