
This post may contain affiliate links. Please read our privacy policy.
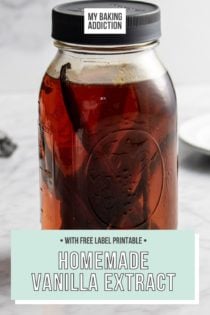
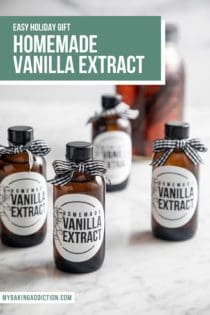
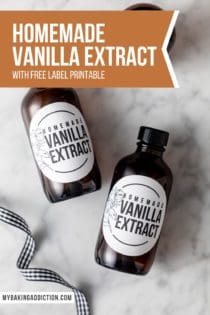
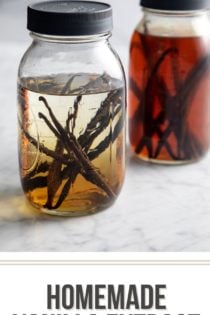
Homemade vanilla extract is simple to make with just 2 ingredients and is a great gift for all of the bakers in your life! Read on for details on how to make and store your own vanilla extract, as well as a free printable label template.
I would guess that since you are reading My Baking Addiction, you probably have some form of vanilla extract in your pantry.
Some of you may use imitation vanilla, while others may fork over the money for higher quality pure vanilla extract.
Regardless of your vanilla choice, I wanted to share an effortless “recipe” for homemade vanilla extract using two simple ingredients: alcohol and vanilla beans. Give the mixture some time in the pantry and a shake every now and then and you’ve got vanilla to use in all of your favorite recipes.
This is one of those kitchen how-tos that sticks in my brain right along with my buttermilk substitute and knowing how to make powdered sugar. It’s so simple and is sure to be a trick you’ll be happy to have up your sleeve!
Why make your own vanilla extract?
I don’t expect everyone to use high-quality products when baking or cooking because let’s be honest, we’re all on a budget and high quality almost ALWAYS signifies high prices.
Nevertheless, vanilla is one of those ingredients that I never skimp on.
The difference between pure vanilla and imitation vanilla is simple. Pure vanilla extract is made from vanilla beans, while imitation vanilla utilizes imitation flavors to impart that vanilla goodness; the difference in flavors truly cannot be compared.
You’ve probably noticed the price of vanilla climbing over the last few years. And even though vanilla beans still aren’t cheap, the price definitely gets better when you buy in bulk and use them to make your own extract!
The results are great and the extract makes for a great holiday or hostess gift for all of the bakers in your life.
What vanilla beans should you use?
Vanilla beans come from the vanilla orchid, a plant that can only grow in very specific climates.
Like wine grapes, vanilla takes on the “terroir” of the place where it is grown and produced, meaning that vanilla beans grown in Madagascar will have different flavor notes from those grown in Mexico, etc.
The three most popular types of vanilla beans you will find are:
- Madagascar vanilla beans (sometimes called Madagascar Bourbon, for the Bourbon Island of Madagascar)
- Mexican vanilla beans
- Tahitian vanilla beans
Madagascar and Mexican beans are both great for making vanilla extract used in baking. Use this extract in anything from my favorite chocolate chip cookies to vanilla cheesecake.
Tahitian beans have more delicate, almost fruity or floral flavor compounds. I recommend using them in vanilla that you might use in cold applications, such as making vanilla bean ice cream or vanilla pudding.
Whichever beans you go for, I do recommend using beans that have a specific growing region listed. Beans that don’t have a listed region are often a mix of lesser-quality beans, so while they might be less expensive, their flavors might not be as good.
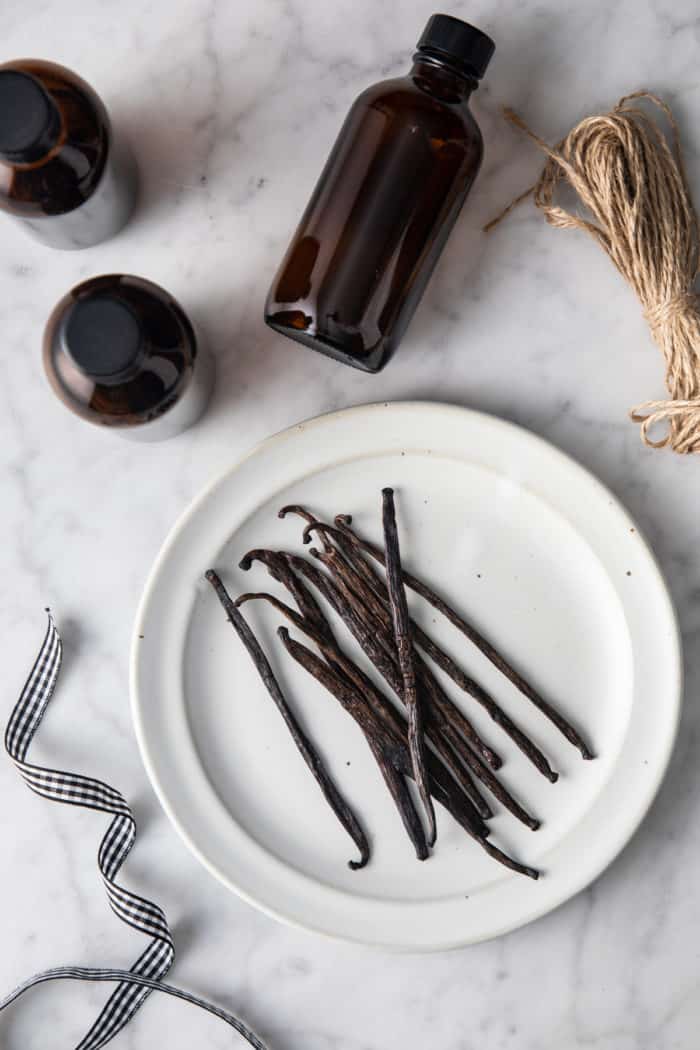
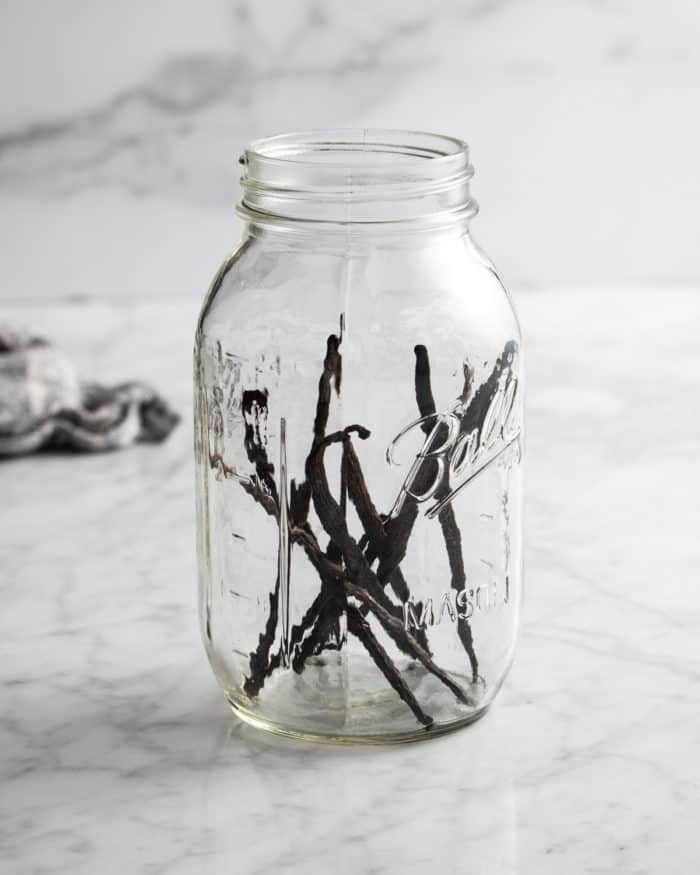
When you open your beans, they should be fairly moist, plump, and flexible, not dry and brittle. If they are on the dry side, they can still be used to make vanilla extract, but you may need more beans to get a good flavor.
Do NOT use beans that have any mold on them; they should be thrown away immediately.
What alcohol should you use?
When it comes to the alcohol for your homemade vanilla extract, you have a few options.
I typically prefer to use vodka, since it is flavorless and really lets the vanilla beans shine through.
However, you can also use bourbon, rum, or brandy. Just keep in mind that each of those has its own flavor base already, so the final extract will have some of those flavors along with flavor of the vanilla.
I do recommend using a decent quality spirit, whatever you choose. Go with the nicest bottle you can comfortably afford, not the bottom-shelf cheap stuff.
How to make homemade vanilla extract
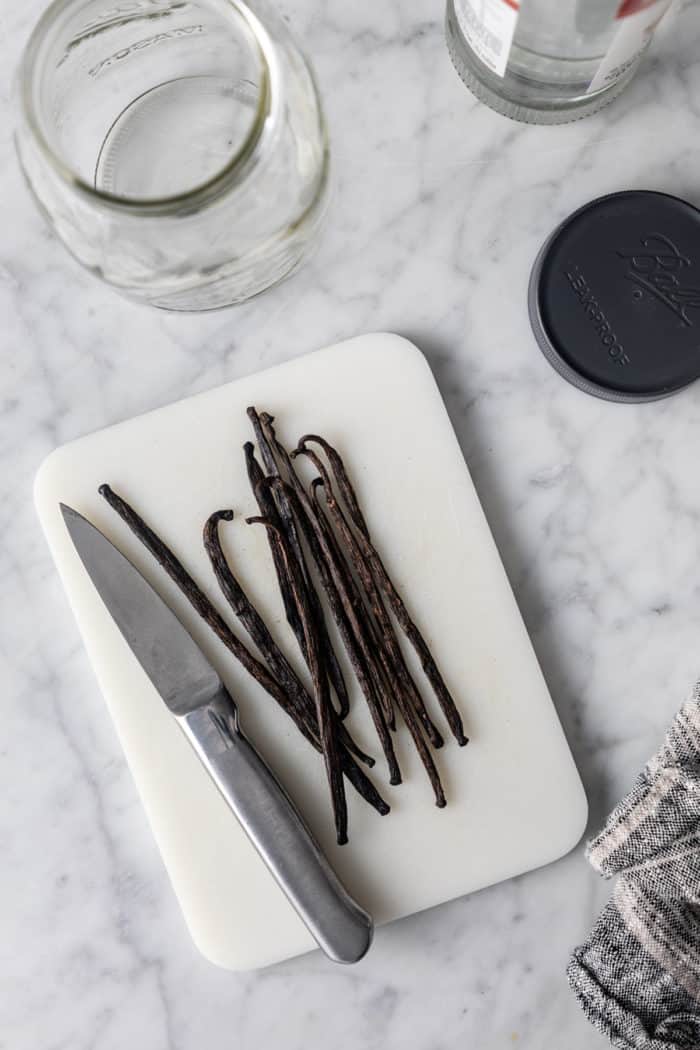
Here’s everything you will need to make your own vanilla extract:
- A large sterilized jar or bottle with a tight, secure lid
- Sharp paring knife
- Vanilla beans in your favorite variety (rule of thumb is 1 ounce by weight of beans per 8 fluid ounces of alcohol)
- Alcohol of choice (vodka, bourbon, rum, or brandy)
You can make as much or as little vanilla extract as you want, simply by increasing the amount of beans and alcohol.
For example, if you want to make 1 cup of extract, you would need 1 ounce (by weight) of beans and 1 cup (8 ounces) of alcohol.
If you want to make 1 quart of extract, you would need 4 ounces of beans and 4 cups of alcohol.
Start by using your knife to split each vanilla bean in half lengthwise, leaving about ½ inch at each end intact.
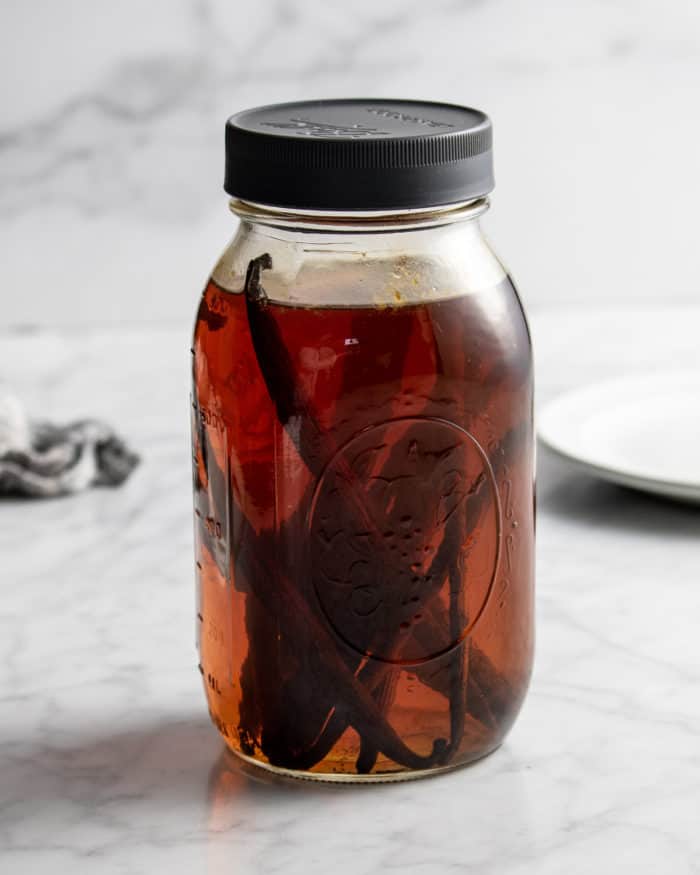
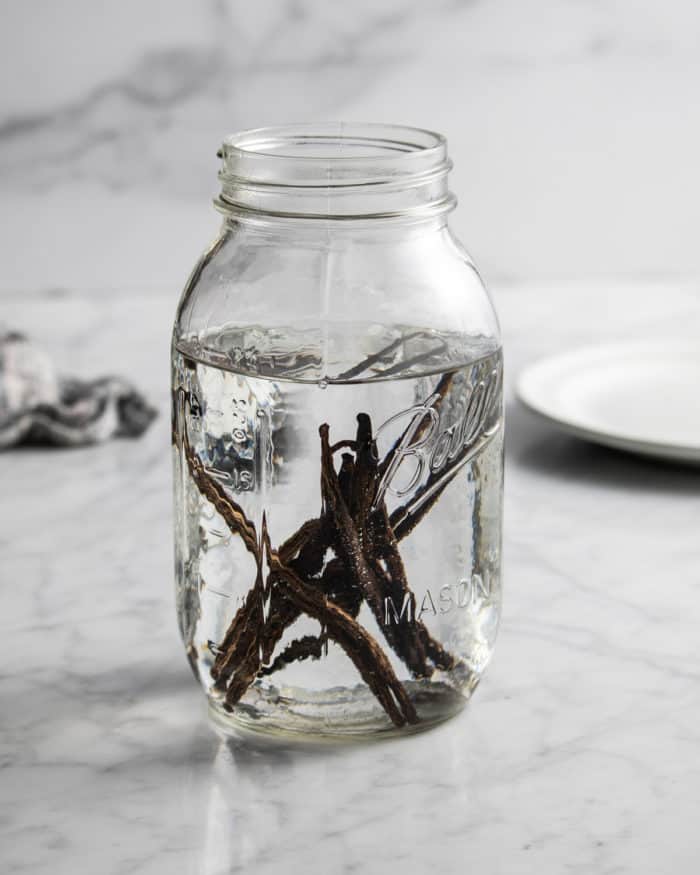
Add the split beans to your sterilized bottle or jar (a mason jar does perfectly fine for this!) and cover with the alcohol.
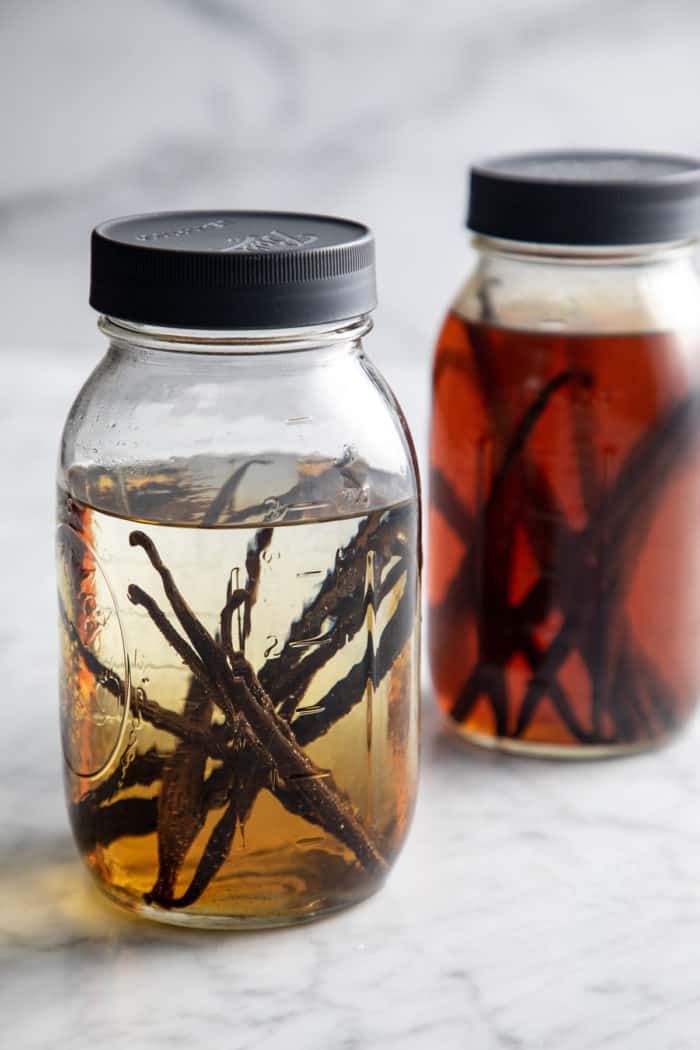
Close the jar or bottle tightly and store in a cool, dry place for at least 6-8 weeks. Waiting 4-6 months is better, though, for the best flavor. Give the jar a shake every week or so.
Once the extract has sat for your desired amount of time, it’s ready to use. Remember that the longer it sits, the better the flavor is.
Storage tips
If you are making this extract for your own use, feel free to store it in the jar or bottle you made it in. There’s no need to remove the spent vanilla beans, as they will continue to infuse the alcohol. If you prefer to remove them, you can simply strain the extract through cheesecloth before storing.
Store the extract in a cool, dry place out of direct sunlight — just like you would store the vanilla extract you’d buy.
Give the jar or bottle a shake before using it to redistribute any vanilla solids that may have settled at the bottom.
The vanilla will keep more or less indefinitely — just make sure to keep the beans themselves covered with alcohol, and check the jar periodically for any mold. If you see any mold or it starts to smell “off,” throw it away immediately.
Gifting the extract
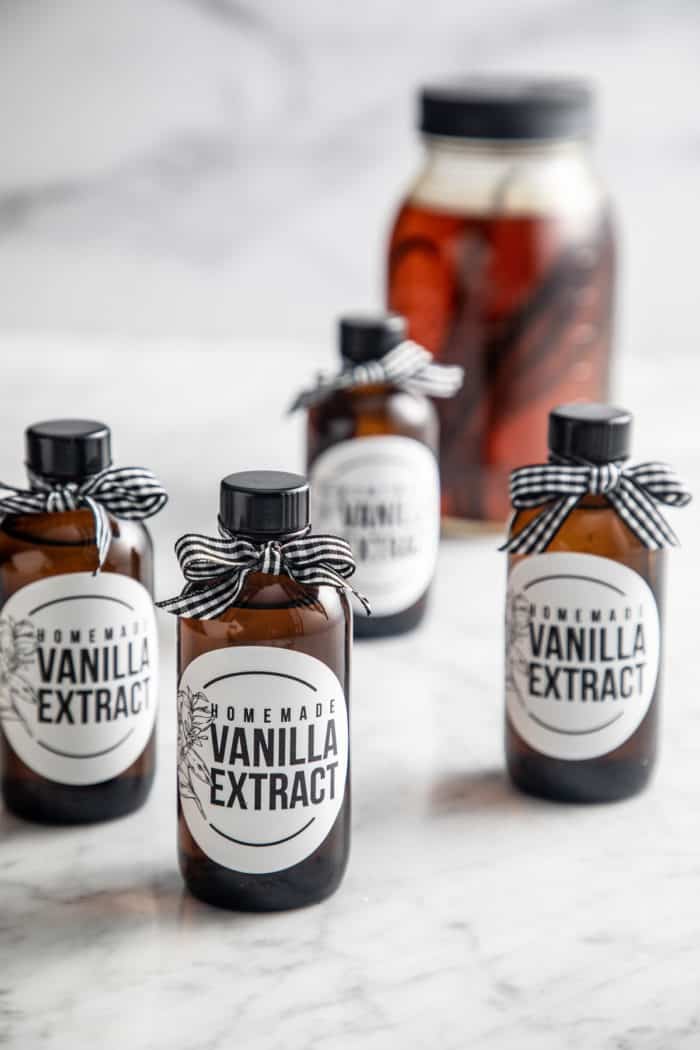
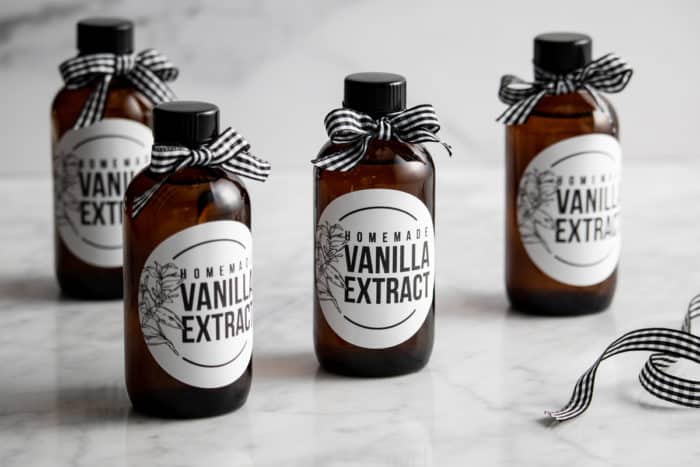
You can also bottle up the finished extract to give as holiday gifts or hostess gifts!
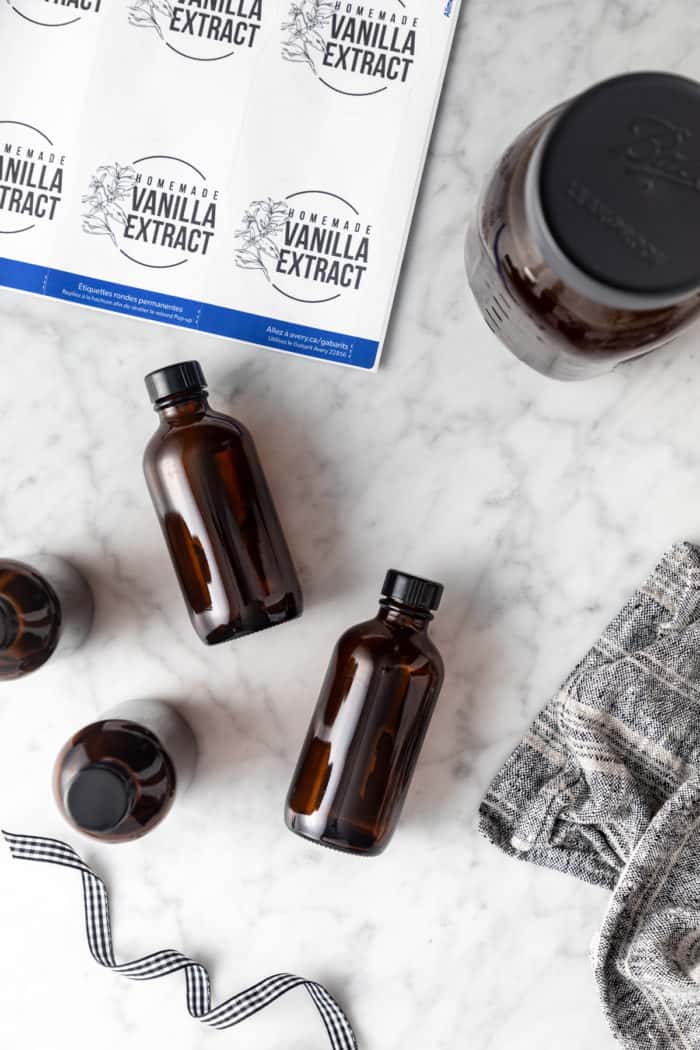
I love to use 4-ounce amber glass bottles for packaging the extract up as gifts. Amber bottles will help protect the extract from sunlight, and they look so pretty and professional!
The bottles linked above are the ones used in these photos.
When bottling the extract for gifting, you can add pieces of the spent vanilla beans into the bottle or strain them out first.
Free printable label template
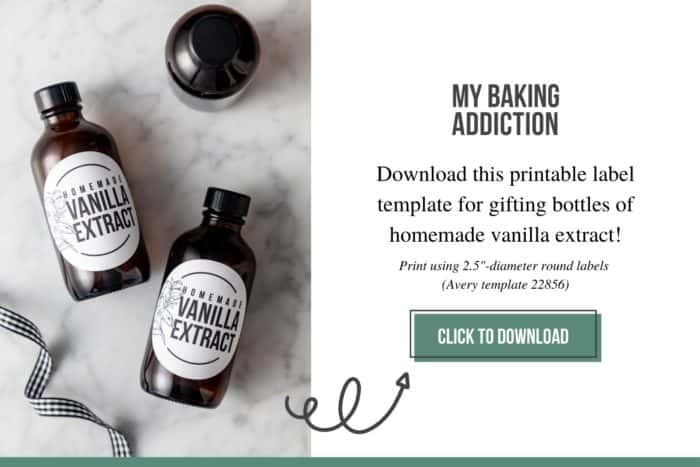
If you’re giving the extract as a gift, make sure you add a pretty label so your recipient knows what’s in the bottle!
I like to use 2.5-inch white circle Avery labels and the free pdf printable below to make the pretty labels you see in these photos.
Whether you make your homemade vanilla extract for your own use or to share with your loved ones, I can guarantee this is something you’ll find yourself making time and time again!
Frequently asked questions
Those are the seeds from the vanilla bean. Many commercially produced vanilla extracts are strained before bottling to remove these first. Some brands will also incorporate cane sugar or glycerin into their vanilla to help suspend the mixture, which keeps the extractives from settling at the bottom of the bottle.
Homemade Vanilla Extract
Equipment
- 16-ounce jar with tight-fitting lid
- 4-ounce glass bottles for gifting, optional
- 2.5-inch round printable labels for gifting, optional
- Free label template for gifting, optional
Ingredients
- 1 ounce Vanilla beans in your favorite variety by weight
- 1 cup Alcohol of your choice vodka, bourbon, rum, or brandy
Video
Instructions
- Use a sharp, clean paring knife to split each vanilla bean in half, leave about ½ inch at each end intact.1 ounce Vanilla beans in your favorite variety
- Put your vanilla beans in a sterilized glass bottle or jar with a tight, secure lid, and cover with the alcohol.1 cup Alcohol of your choice
- Close jar or bottle and store in a cool, dry place out of direct sunlight for a bare minimum of 6-8 weeks, although 4-6 months is best for a more developed flavor. Give the bottle a shake every week or so.
- If desired, repackage the vanilla extract in small glass bottles and label for gifting.
Notes
Scaling
- Use the ratio of 1 ounce (by weight) of vanilla beans to 8 fluid ounces (1 cup) of alcohol to make as much extract as you like. For example, to make 1 cup of extract, use 1 ounce of beans and 1 cup alcohol. To make 1 quart of extract, use 4 ounces beans and 4 cups of alcohol.
Gifting
- For gifting, feel free to add some of the spent vanilla bean into the bottles. It will continue to add flavor to the extract over time.
Storage
- When stored in a dark, dry place at room temperature, the vanilla extract will keep more or less indefinitely. Be sure to keep the beans covered with alcohol and discard immediately if you notice any mold or if it starts to smell “off.”









Jamie I love this post. I absolutely need to get busy and play around more with vanilla. Thanks for the push love ;)
I really think I would love making this. Thanks for the inspiration… and Happy Thanksgiving!
I love the homemade vanilla route. Works so well for gifts and for baking in my own home.
This is so awesome!!!! This would make such a lovely gift. Thank you for this.
I love making my own vanilla extract. Your photos are fantastic :)
i have been wanting to do this for a long time. this is so easy. and…i have lots of vanilla beans on hand right now. lovely photos!
This is great, Jamie! I just got some vanilla beans from Beanilla, too and they are GORGEOUS!!! I’m planning to make some vanilla extract, so this is perfect! Thank you!
How beautiful! I never knew how to make my own vanilla extract! So cool, thanks!
My sister in law made mini bottles of vanilla extract as wedding favors last fall and they turned out fabulously – delicious and adorable! I wsn’t aware that you could reuse the beans (with a few additional ones as you said). Thannks so much for the info! I am just now needing to make more ( I stole plenty of my fellow family members bottles) and you post will come in handy.
I LOVE these photos – and the simplicity and deliciousness of this project.