This post may contain affiliate links. Please read our privacy policy.
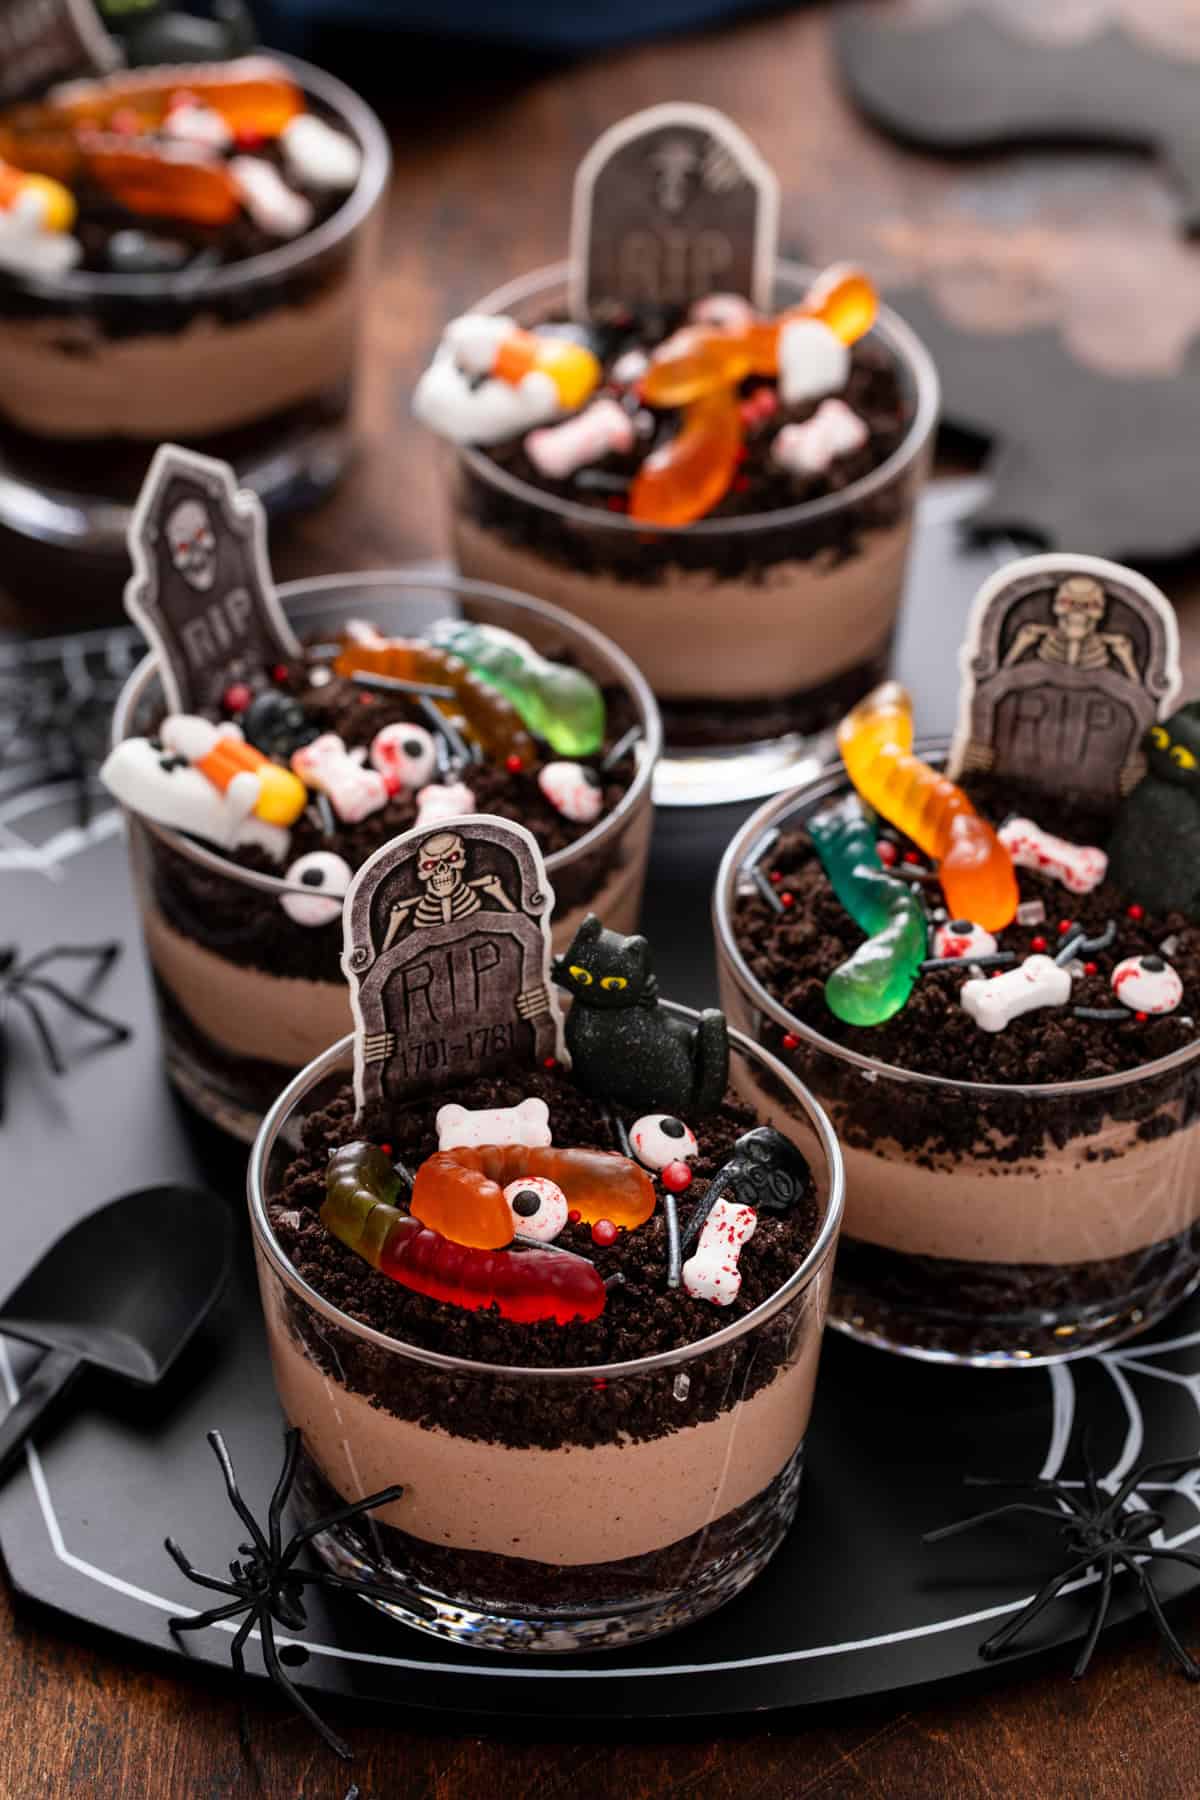
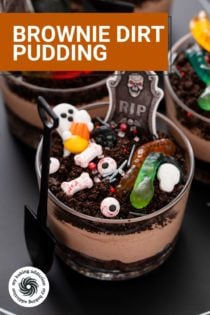
Brownie dirt pudding cups are a delicious and easy Halloween dessert! Dress them up with graveyard decorations for a spooky afternoon snack or party treat.
The weather may only just be starting to cool off, but I’ve been mentally ready for fall for a couple of months now.
I am not much of a Halloween person and never have been. I mean let’s be real here, I’m the girl who walked through haunted houses with her eyes closed the entire time while clutched to the person ahead until I hit my mid-twenties.
I fast-forward through scary movie trailer commercials because if not, I’ll have nightmares for no less than 3 days.
And I always prefer pretty fall decor that can stay out until Thanksgiving. Halloween popcorn balls are about as spooky as I prefer to get.
But Elle is a certified Halloween Girl. I think it started the year our neighbors decided to creep out their house with glowing-eye ghosts, witch legs shoved into bushes, faux headstones with bones, and creepy handprints on their garage windows.
Literally the stuff my nightmares are made of. But Elle loves it.
I finally decided I could give in just a little, so we now have a flickering lightbulb for our light post and some adorably creepy ghosts. And we make sure to pick up all the toppings and decorations to make Halloween monster sugar cookies and these brownie dirt puddings dressed up like mini graveyards.
Halloween brownie dirt pudding cups
I don’t think it matters what age you are, kids young and old can appreciate dirt puddings. I mean, what’s not to love about chocolate pudding and crushed Oreos?
To make these extra special, like to add a chewy brownie layer to the base for even more chocolatey goodness. It makes these dirt puddings like an even more fun version of my brownie trifle.
Of course you can make these any time of year – after all, who doesn’t love a gummy worm?? But this is the season when I like to really go all out and dress them up like little graveyards.
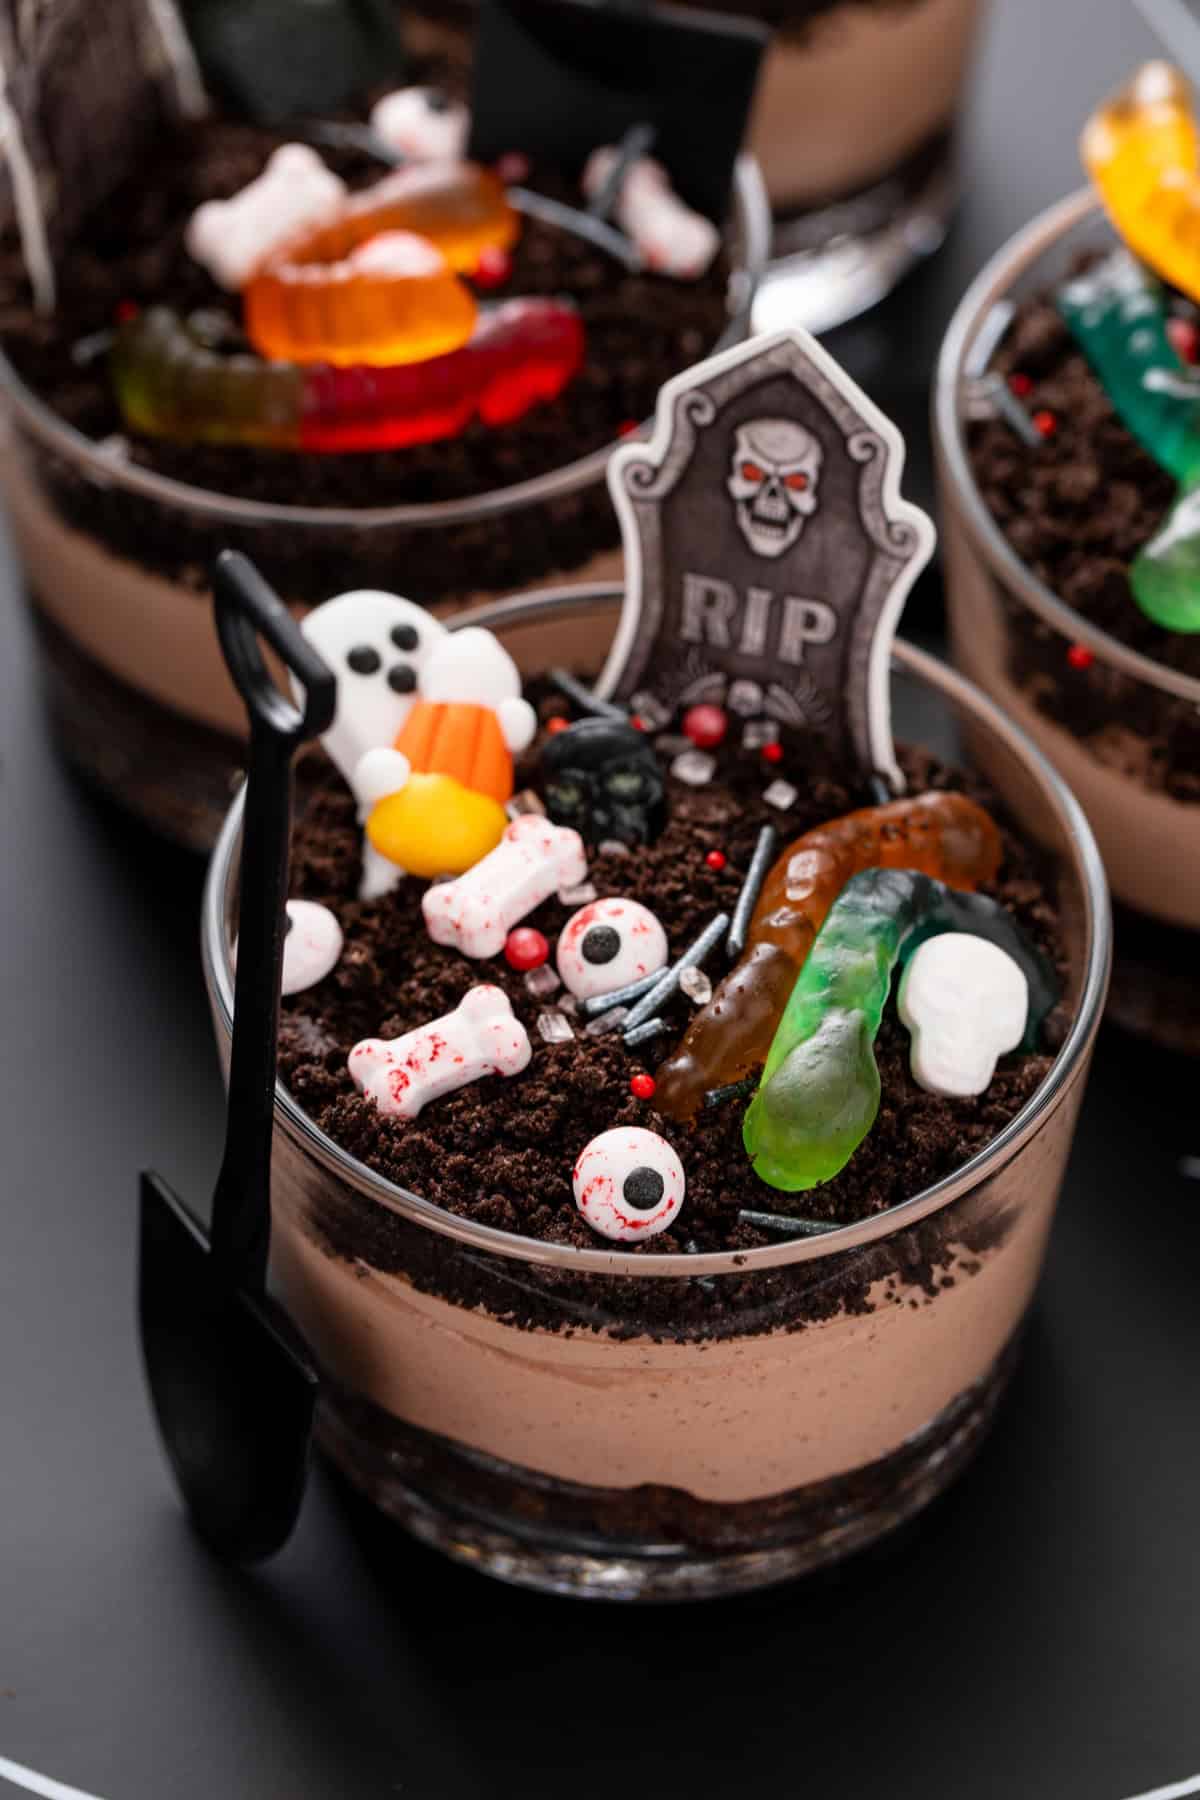
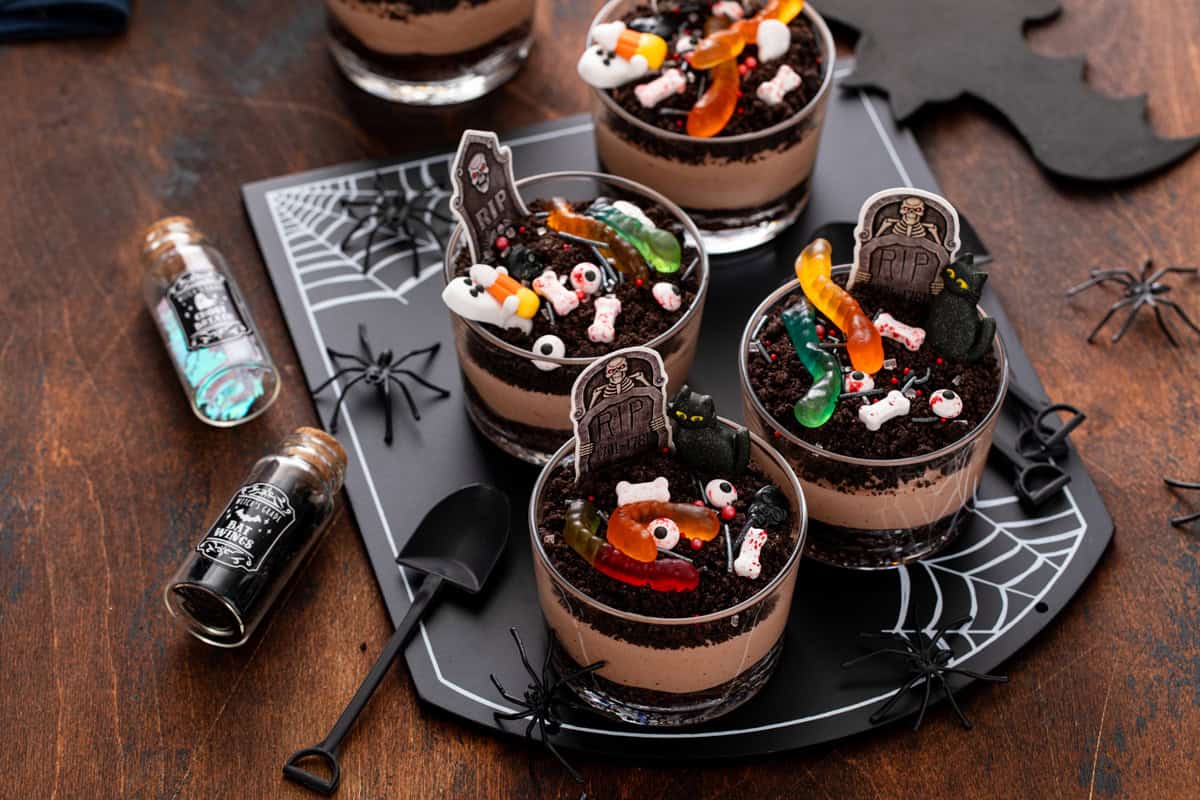
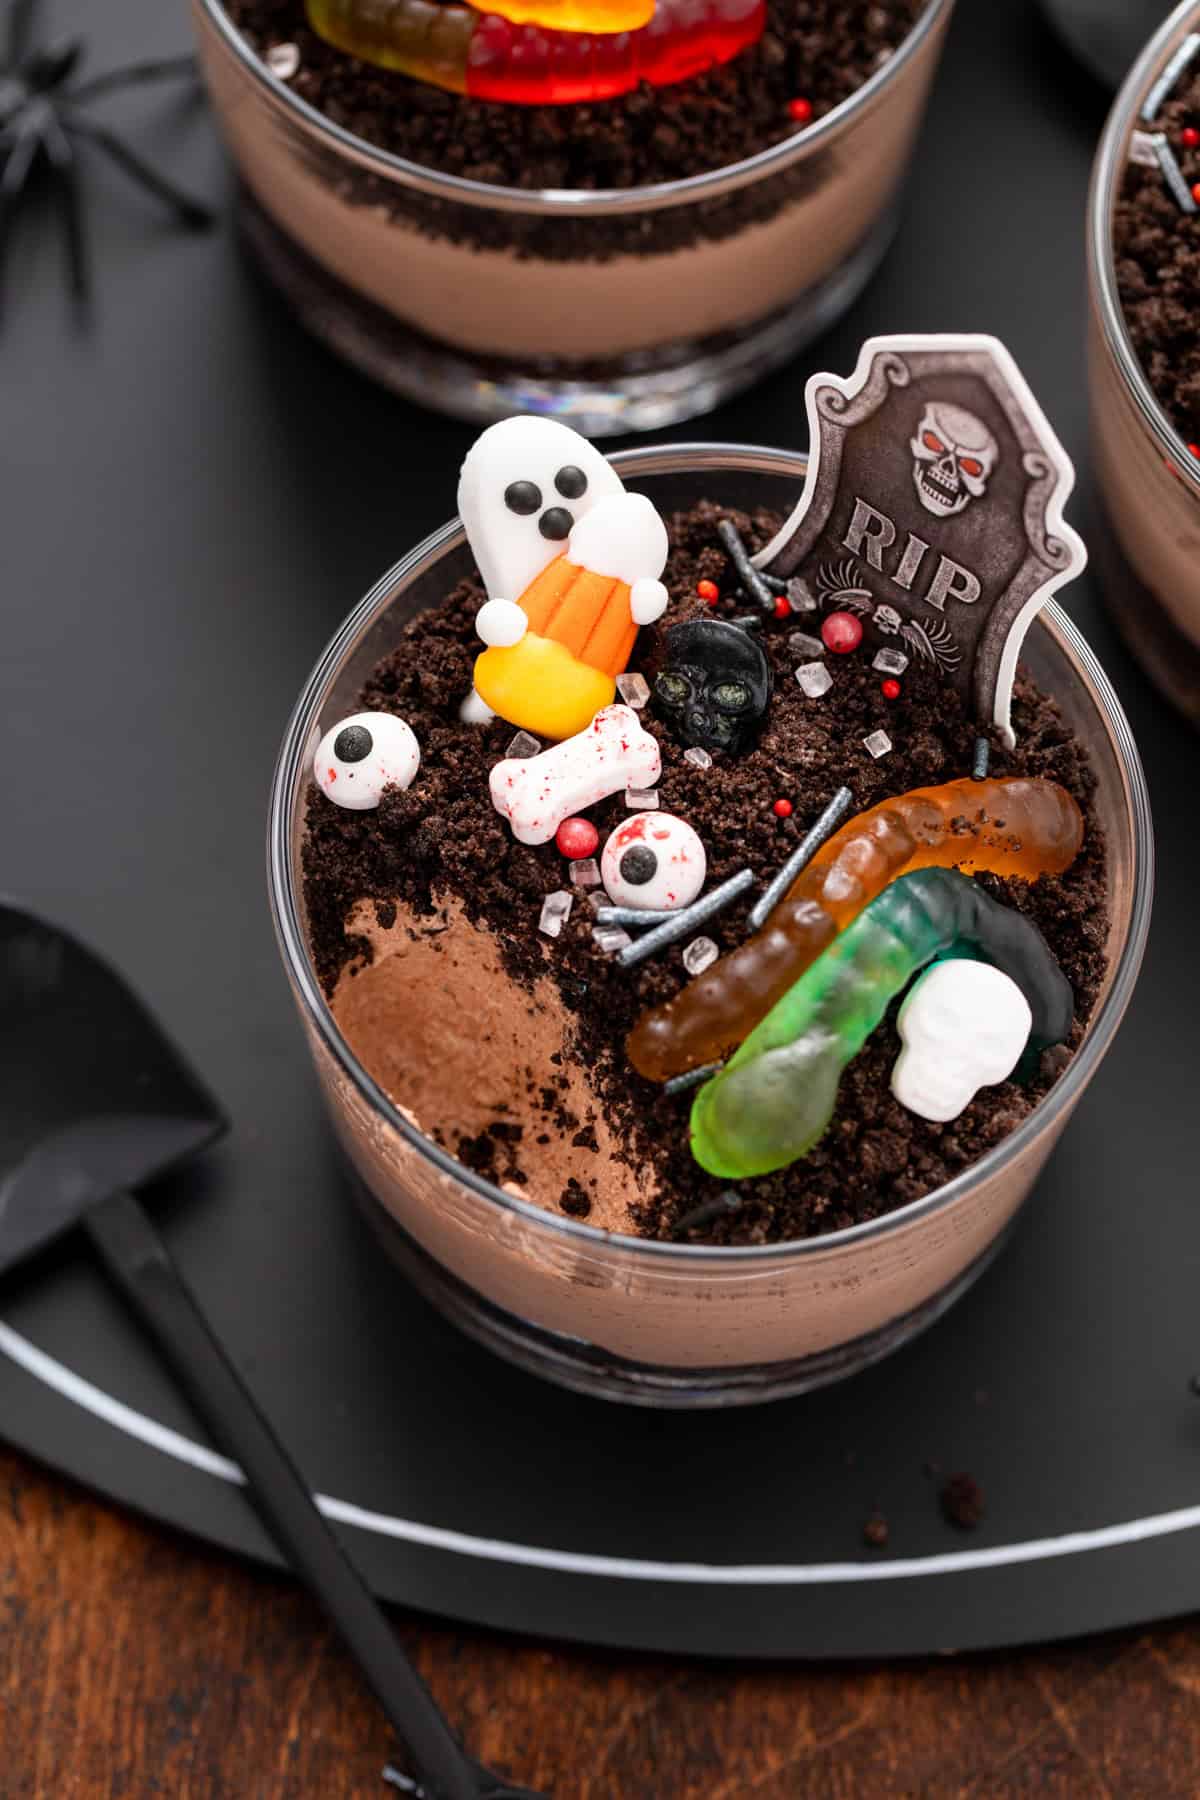
To add this spooky spin, I like to reach for decorations like gummy worms, candy bones or eyeballs, candy black cats, ghosts, or even zombie hands. Check your grocery store or the cake decorating section of your local craft store for these if you don’t want to buy them online.
Sometimes I’ll even throw in a pumpkin or two – after all, you know my love for all things pumpkin runs deep.
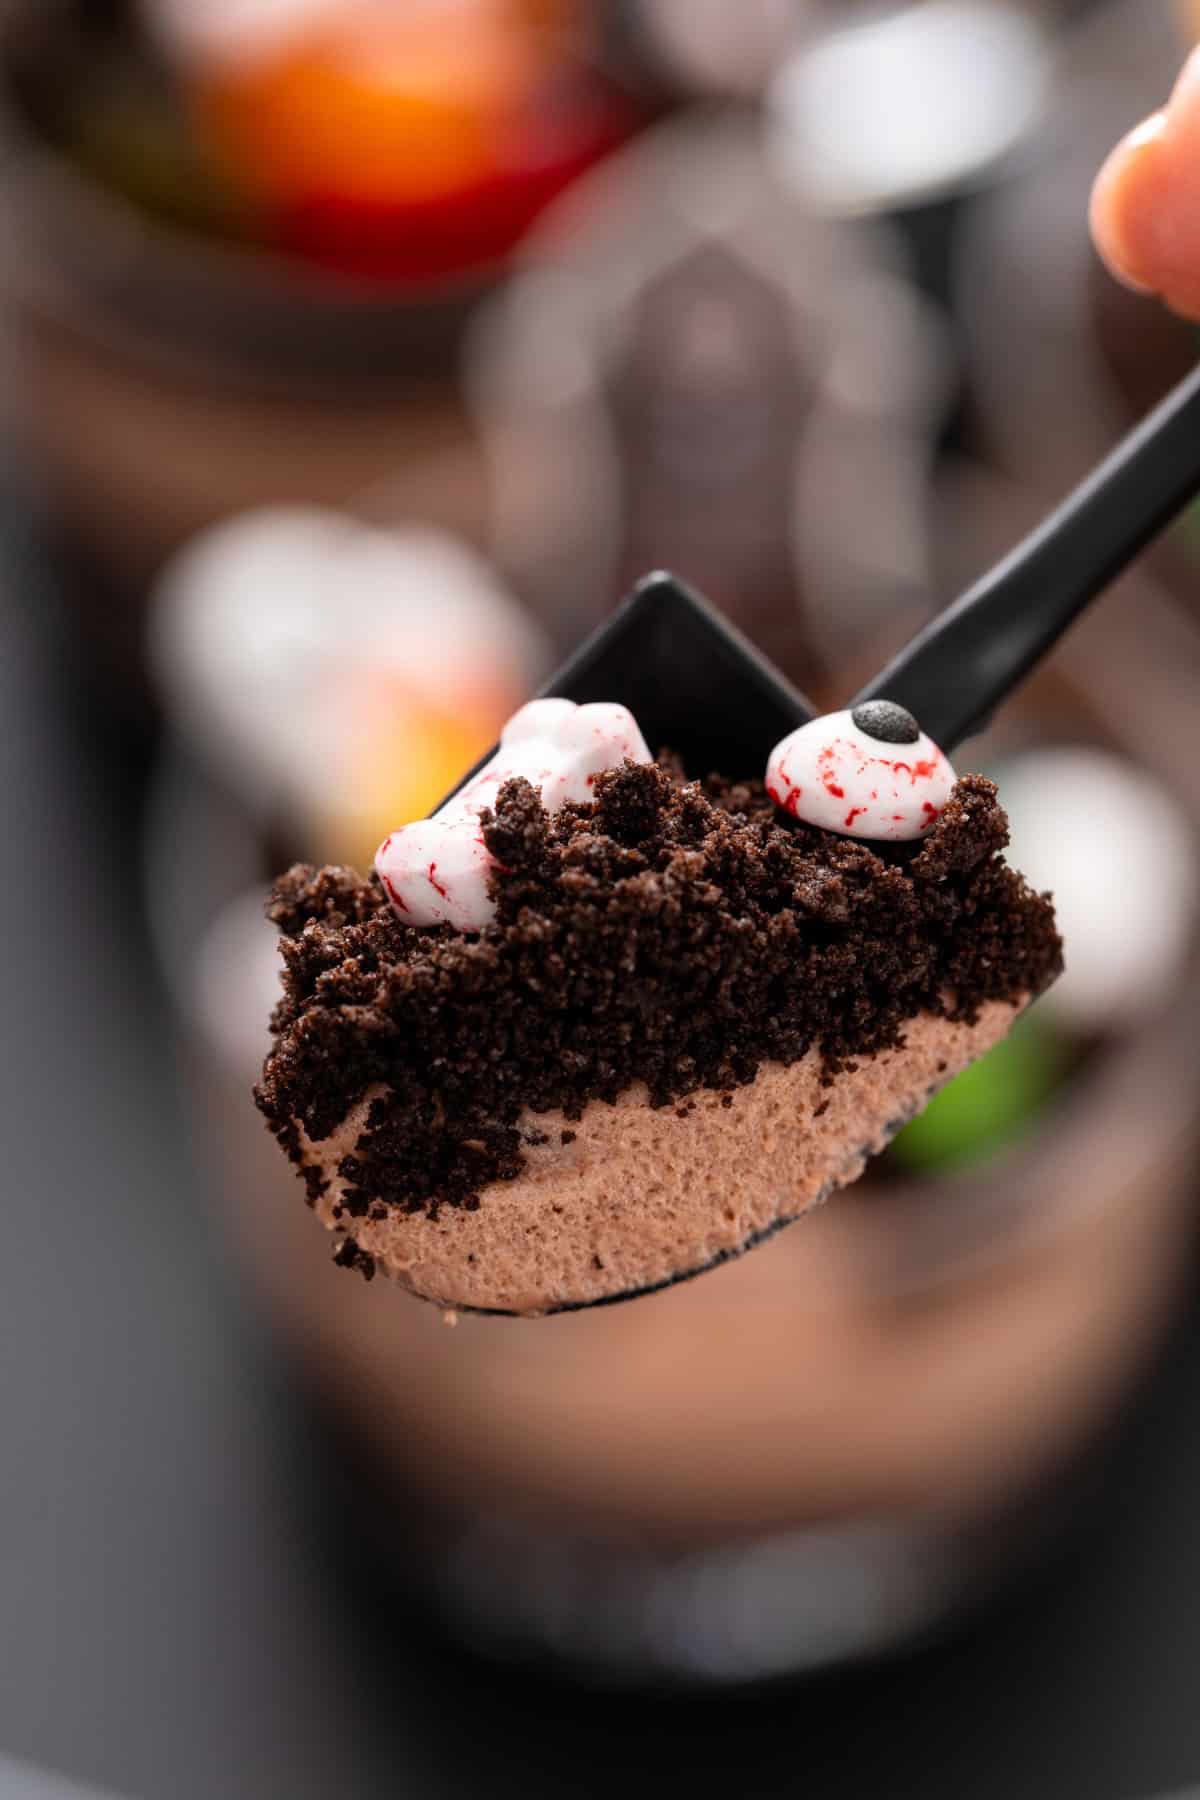
This year I topped them off with paper headstones and shovel-shaped spoons, but you can also DIY these with a headstone printable.
And I have to admit: decorating these brownie dirt puddings with the girls brings out the kid in me, too.
How to make my dirt pudding cups
Even though brownie dirt pudding looks adorable when it’s dressed up like a graveyard and will impress the heck out of any kid (or kid at heart), it’s actually really easy to make.
Parents, I gotcha. I know you don’t have tons of extra time to create elaborate Halloween treats; we’re in this busy season together!
Ingredients you’ll need
To make these adorable dirt puddings, you will need:
- 1 9×9-inch pan of baked and cooled brownies
- 1 (3.9-ounce) box instant chocolate pudding
- ½ cup cold milk
- 1 (14-ounce) can of sweetened condensed milk
- 8 ounces thawed Cool Whip
- 8 crushed Oreos
- Plus your edible Halloween-themed candy and headstone toppers
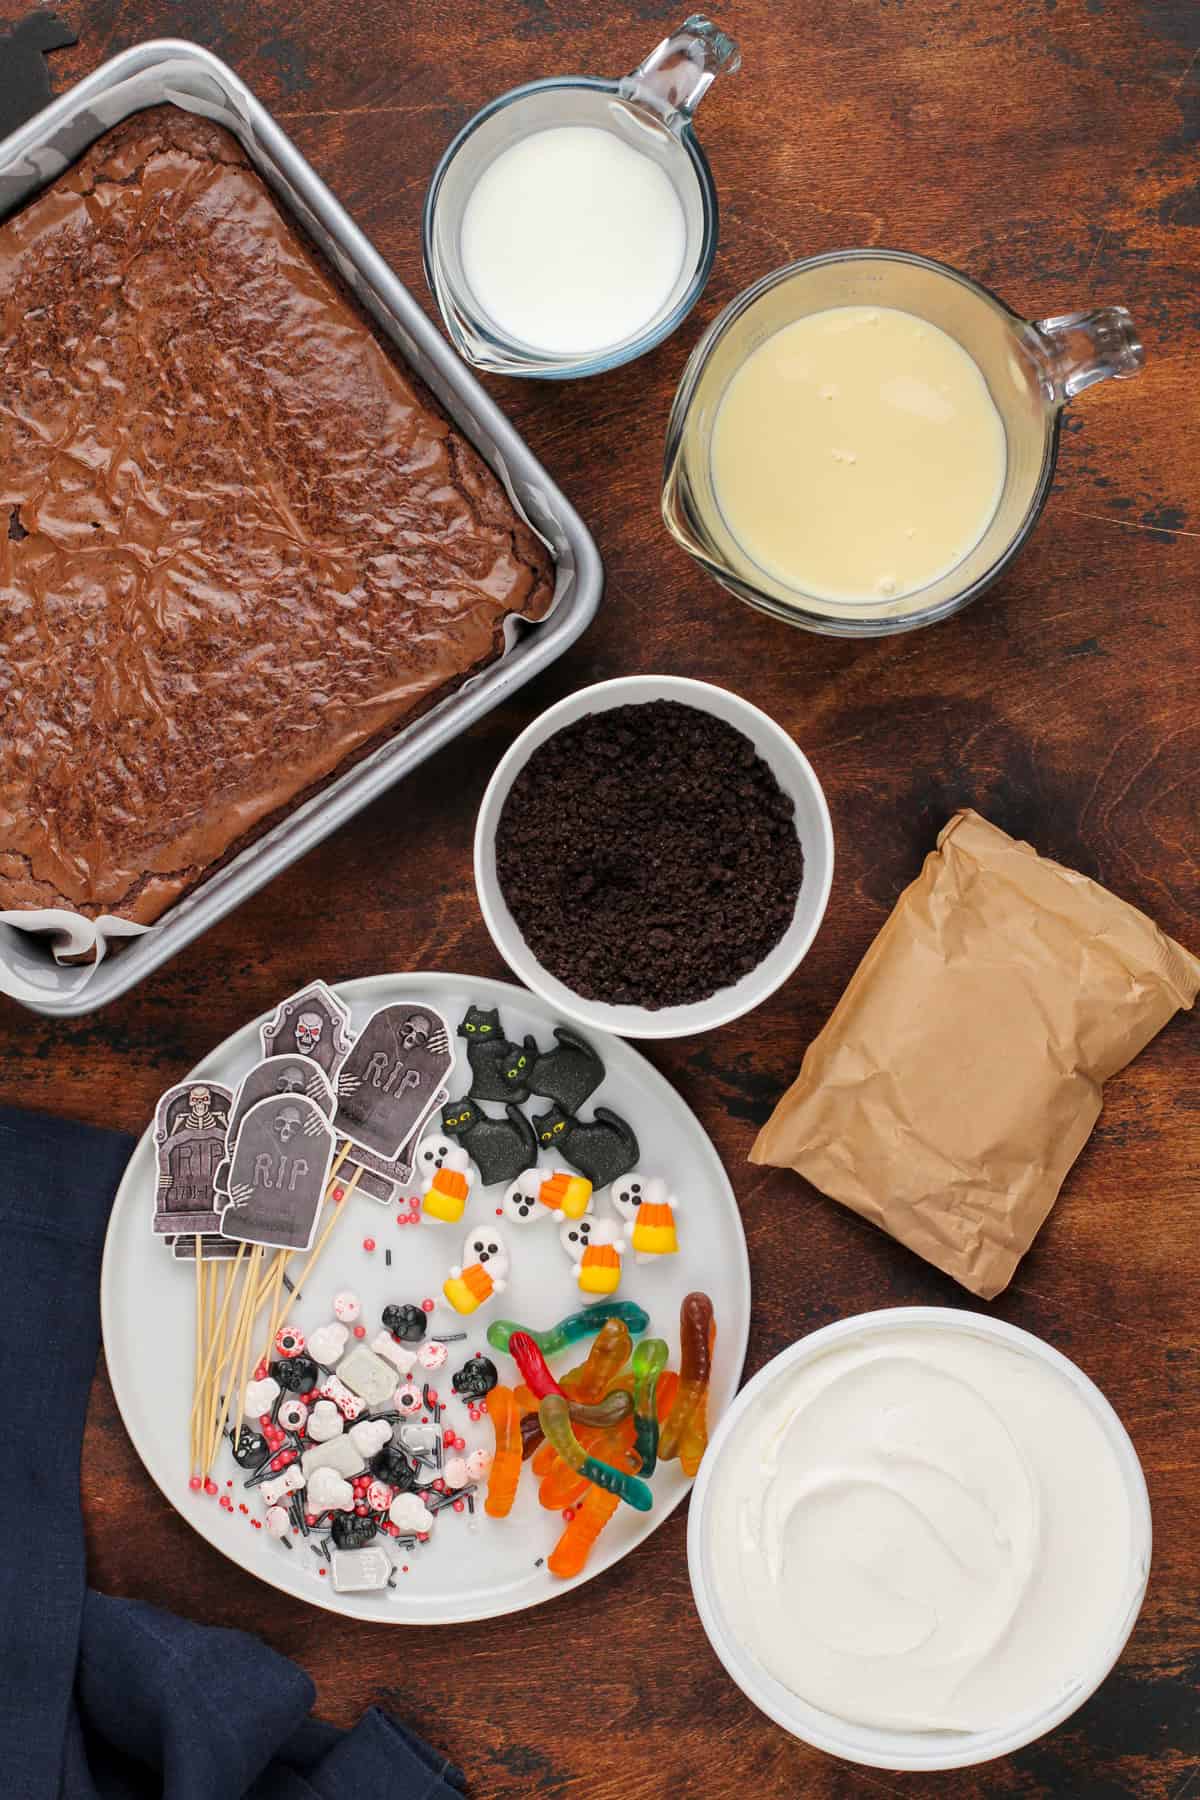
For the brownies, you can use any brownie recipes that you like. But I’ll be honest with you: this dirt pudding tastes just as good if you start off with your favorite boxed brownie mix (mine are the Ghirardelli brownie mixes).
If you want to buy a pan of pre-made brownies from your local bakery for a totally no-bake dessert, I won’t tell on you for that either!
The pudding layer is extra quick and easy by using instant pudding. I’m telling ya, we’re keeping this simple!
For the “dirt” layer, I like to use Oreo cookie crumbs. But you can also mix in some brownie crumbs – that is, if you haven’t eaten them all already!
Making this recipe
If you are making individual dirt pudding cups, you’ll want 4-ounce ramekins or 6-ounce ramekins. (Or use plastic dessert cups for a kid-safe version!)
To prep the brownie base, cut the pan of brownies into circles using cookie or biscuit cutters or even a small drinking glass.
Just make sure the brownies fit snugly into the bottom of the serving dishes you’re using. Don’t worry about having enough for all of your serving dishes – we’re going to halve them, so you just need enough for half of the dishes.
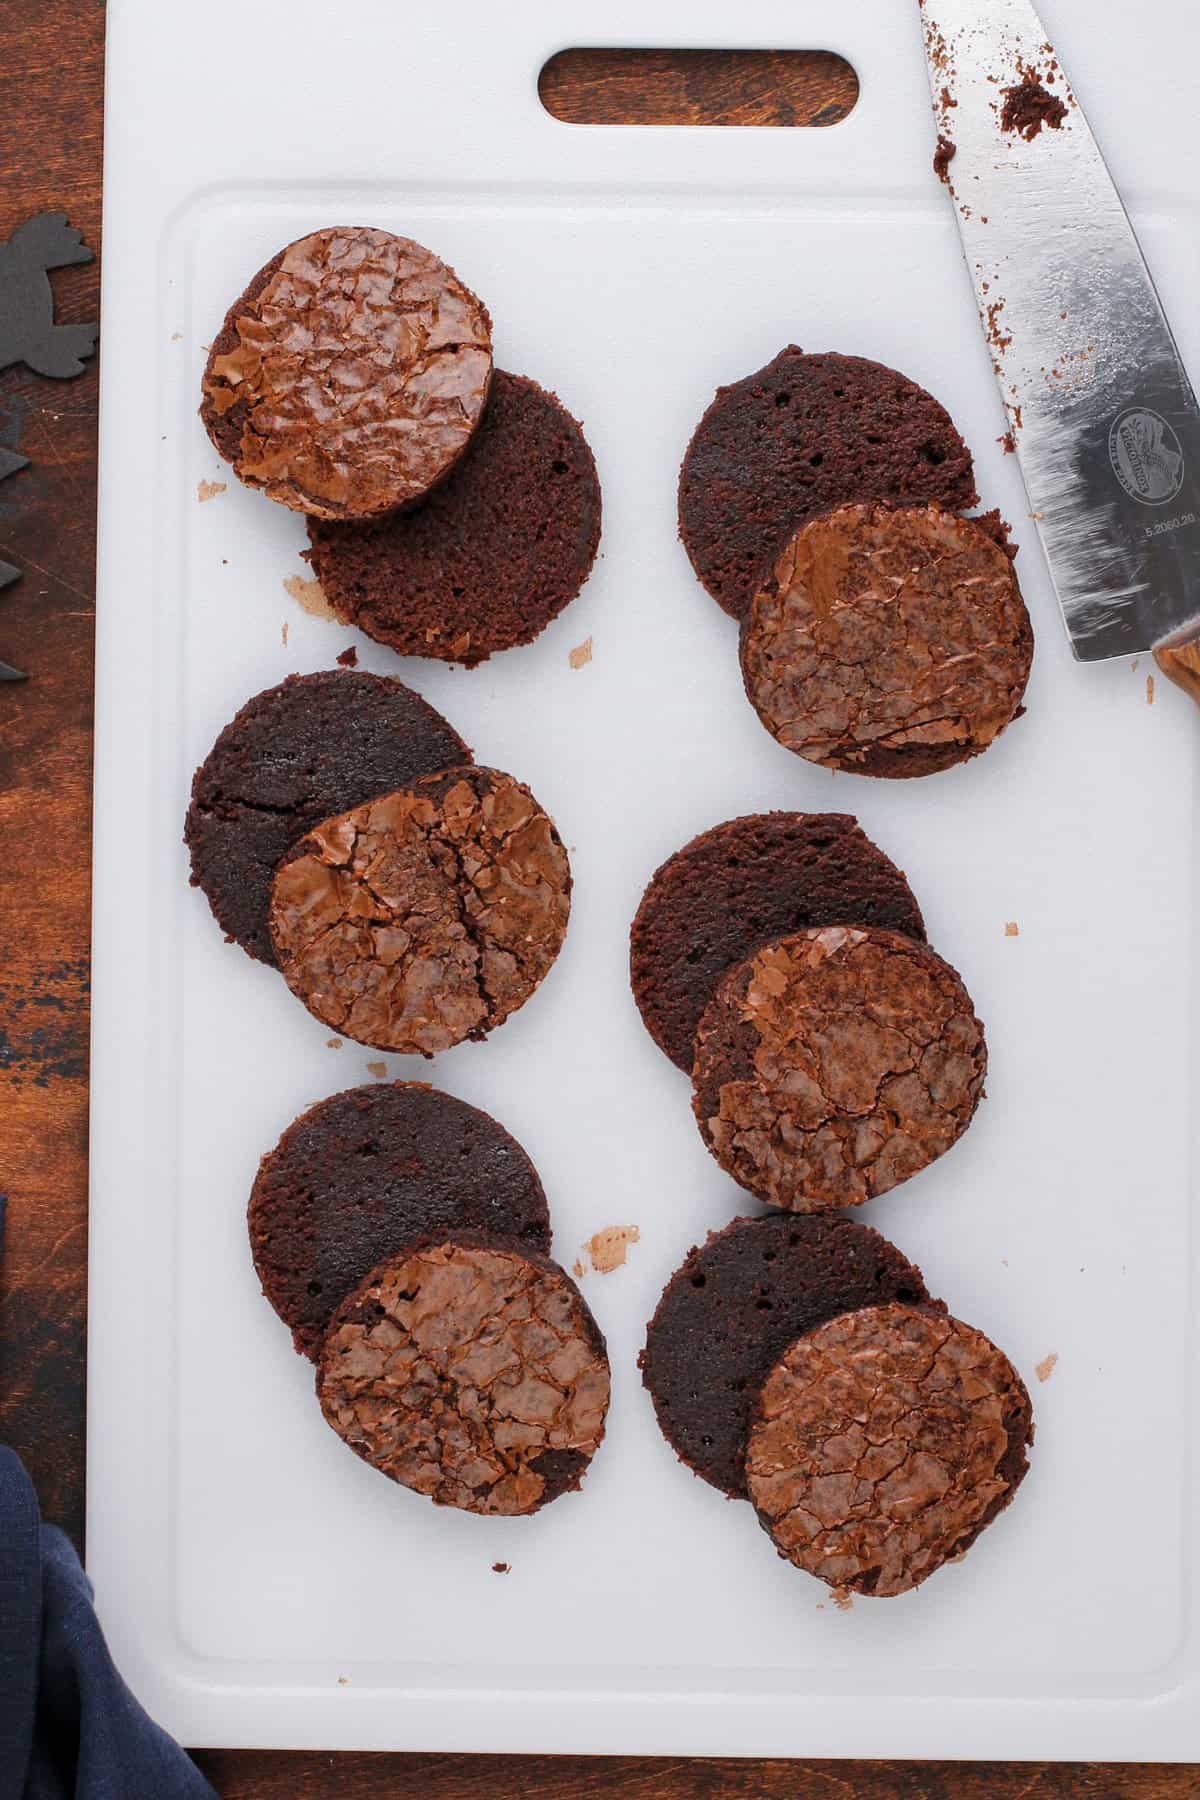
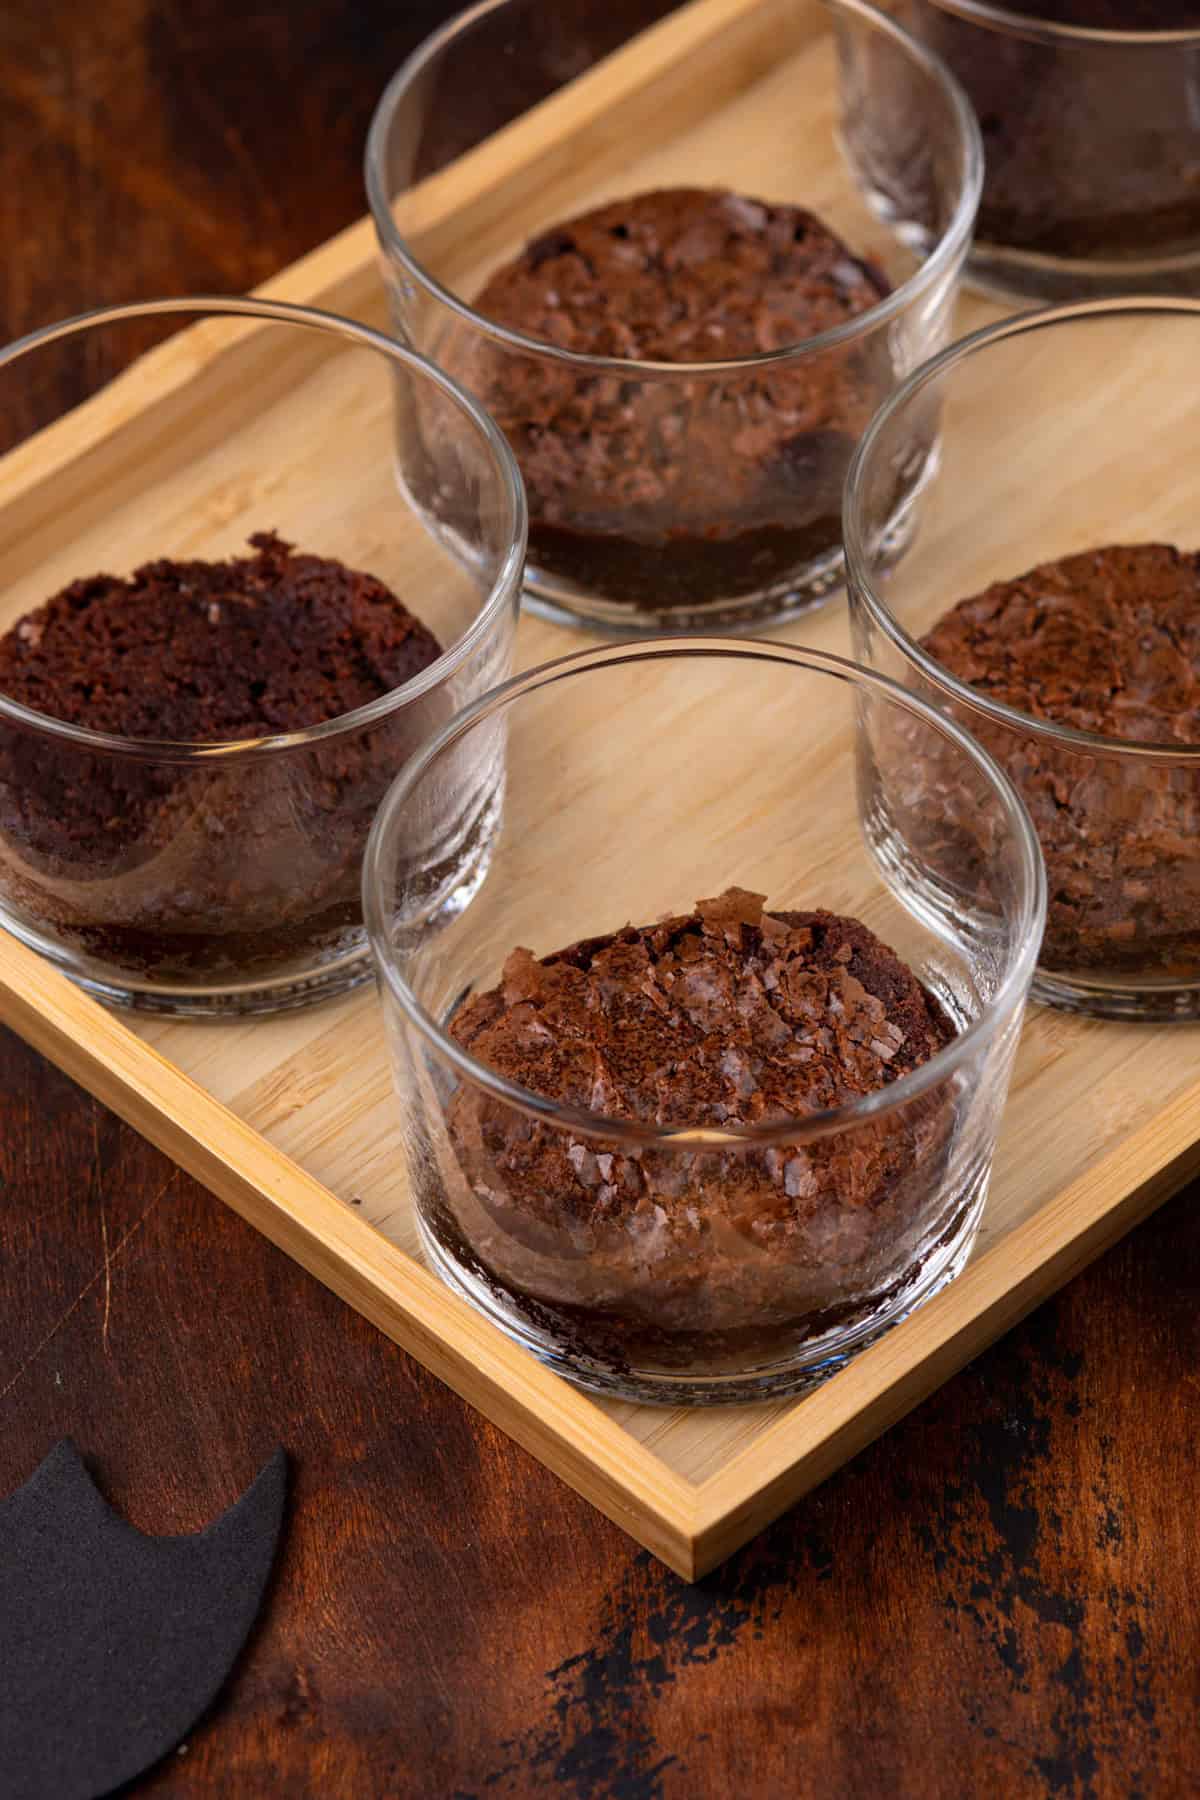
Once the brownie circles are cut, slice each one in half horizontally so you each one is now two thinner brownie circles.
Place one brownie circle into the bottom of each serving dish.
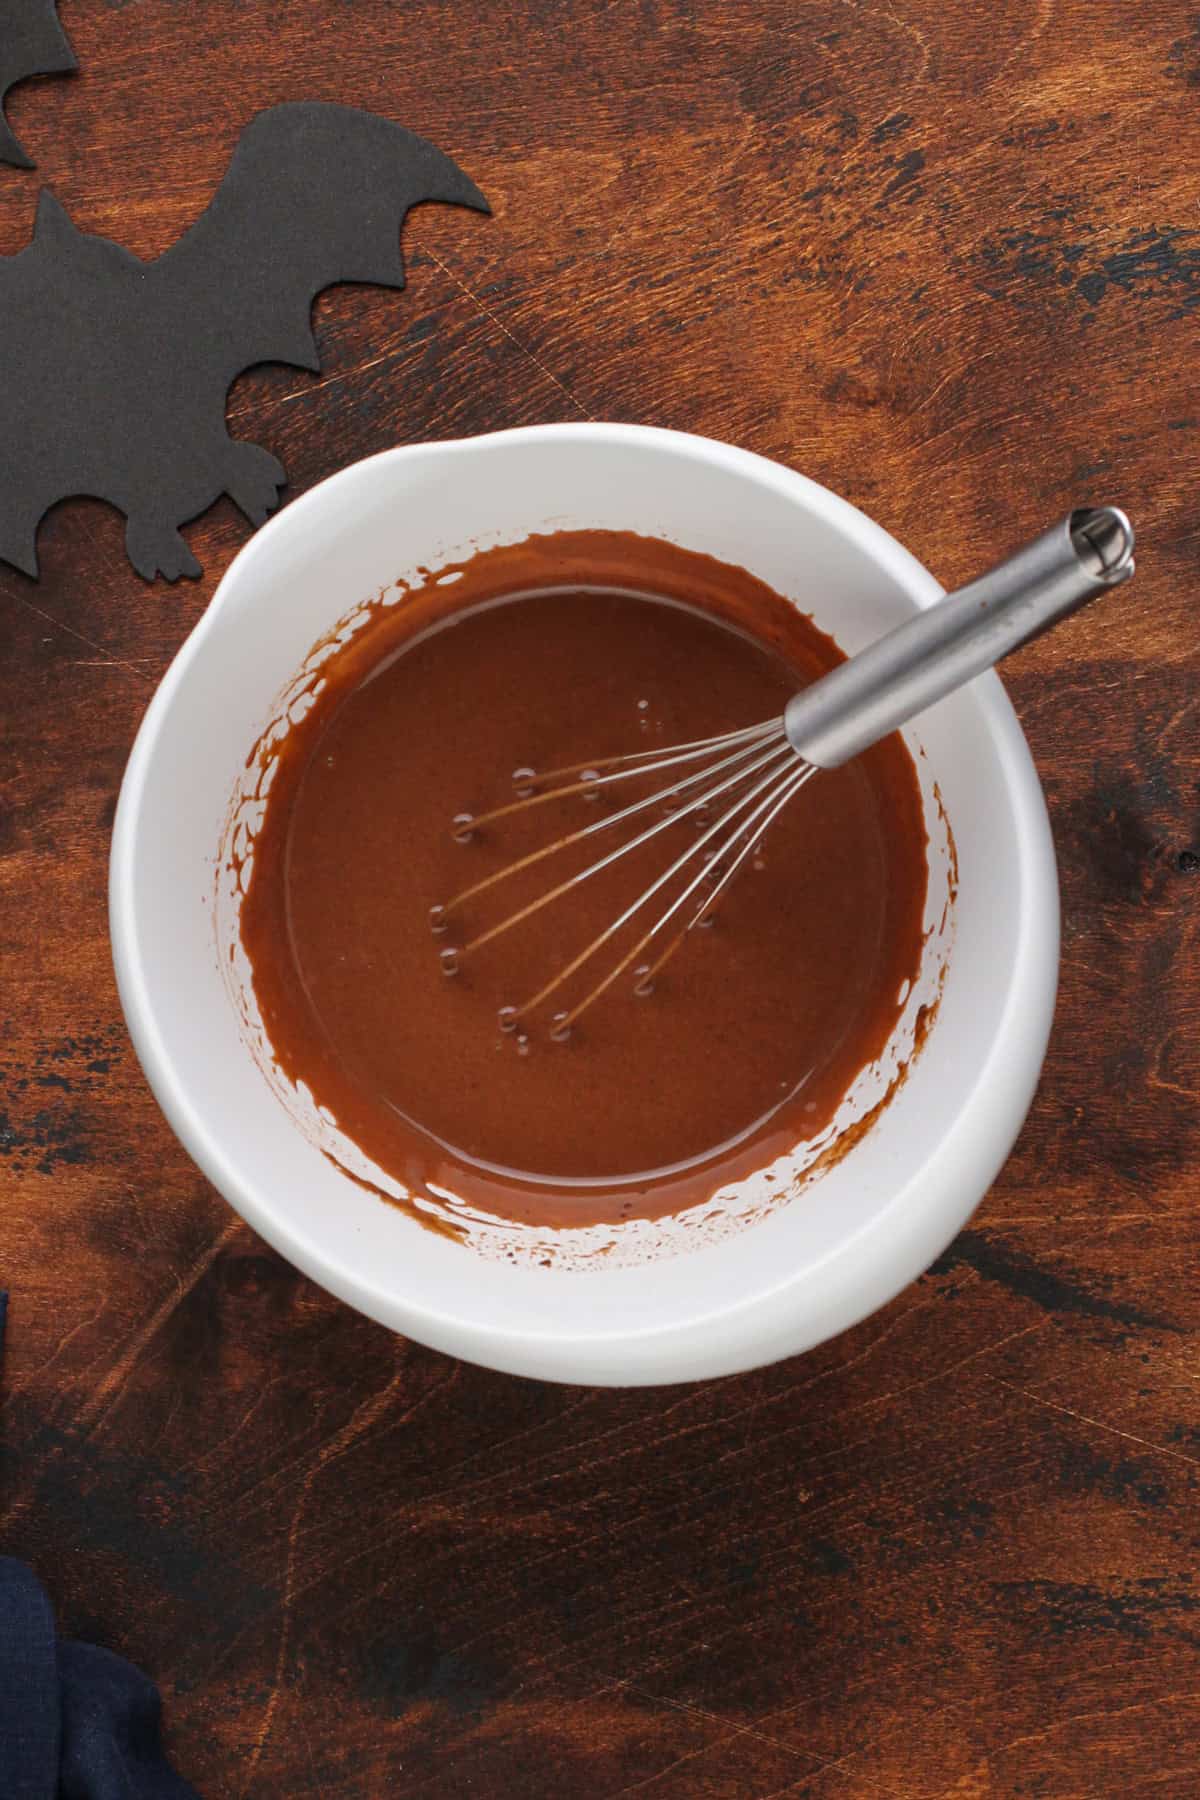
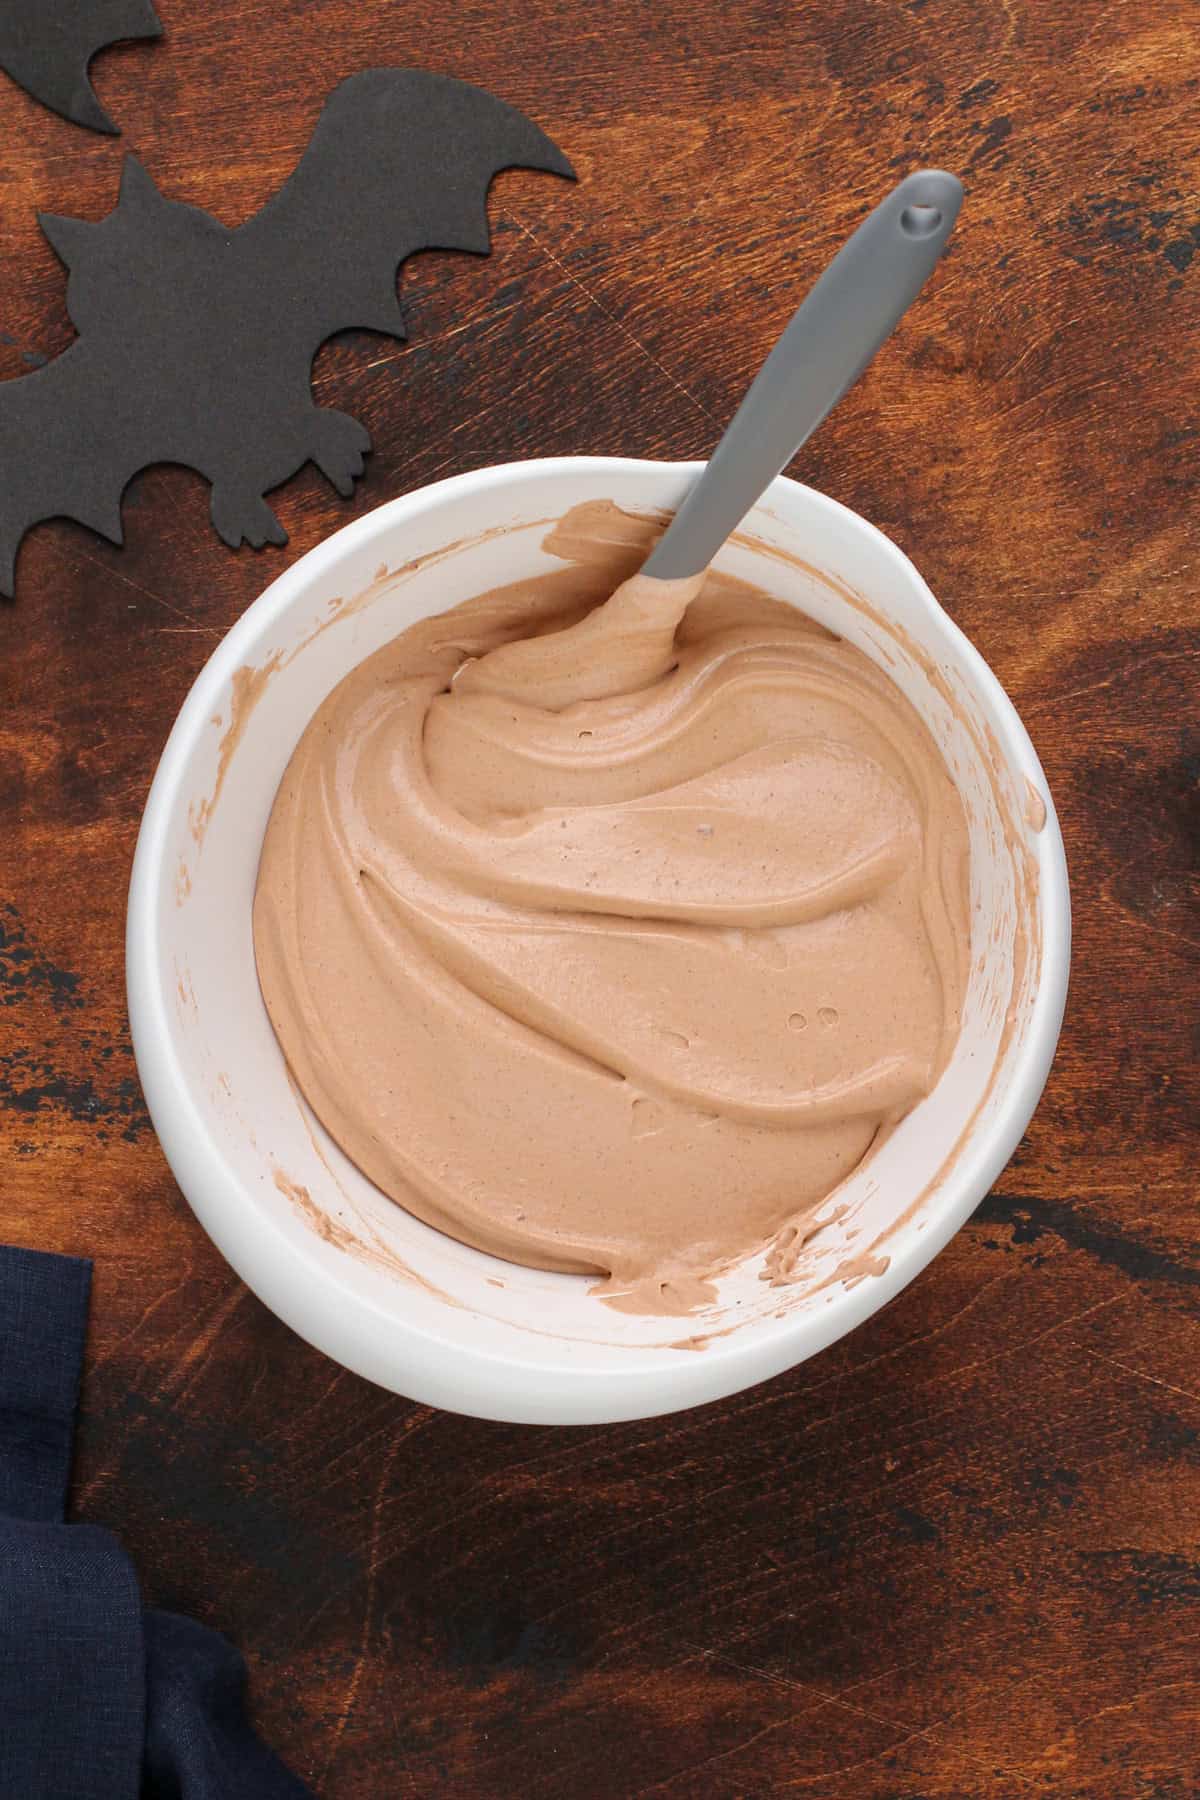
Using a large bowl, whisk together the instant pudding mix, cold milk, and sweetened condensed milk. Mix until smooth, then fold in the Cool Whip gently until no streaks remain.
Spoon or pipe the chocolate pudding mixture into each of the serving dishes.
Top the pudding layer with the crushed Oreos or a mixture of crushed Oreos and brownie crumbs.
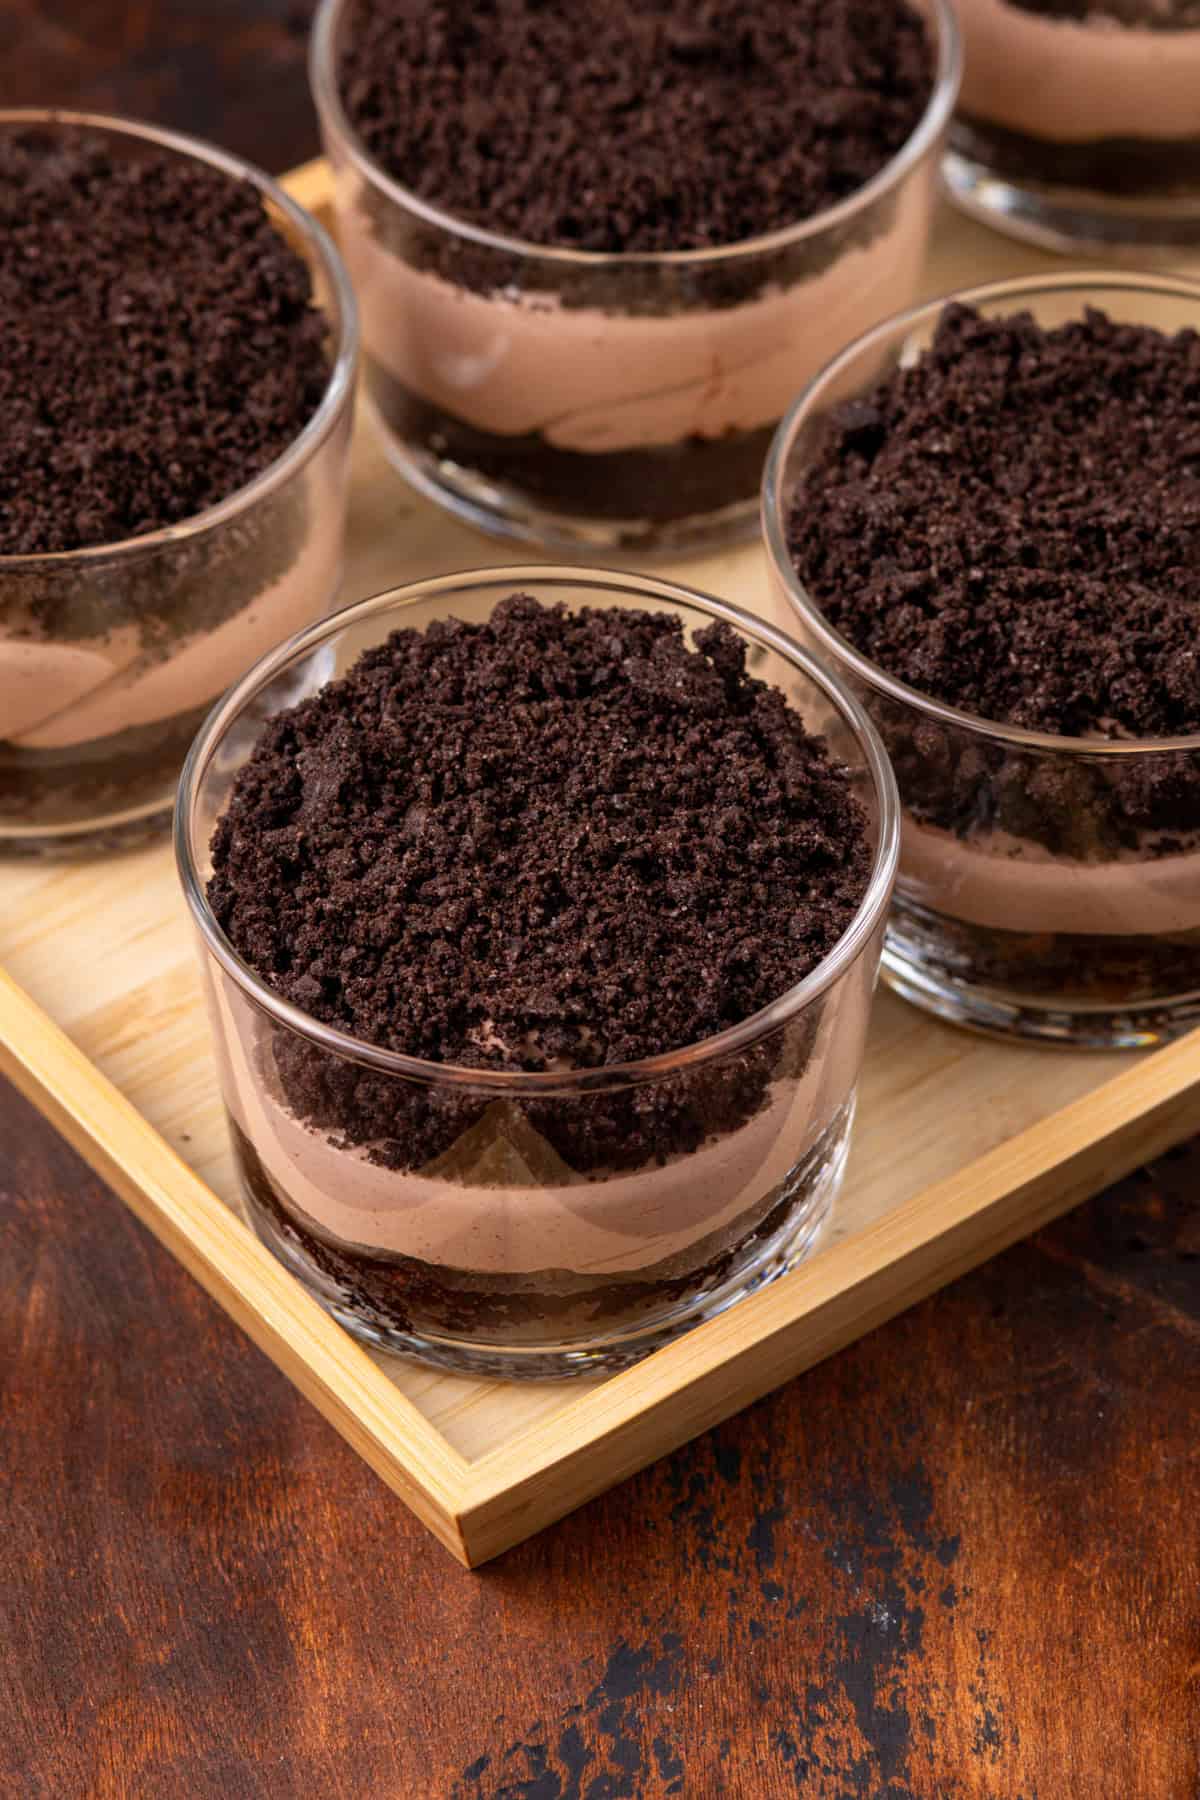
Refrigerate the puddings for at least 2 hours before serving. Decorate as desired with your paper headstones and Halloween candies just before serving.
Make-ahead tips
If you’re making this brownie dirt pudding for a Halloween party, here are some tips for making them ahead of time:
- Make the brownies and the chocolate pudding mixture up to a day ahead of time. Store the pudding in the refrigerator overnight.
- Assemble the individual cups up to 8 hours ahead of time. Add any decorations, such as the paper headstones or gummy worms, that won’t weep from condensation in the fridge. Keep chilled until ready to serve.
- Before serving, add any decorations made with royal icing that wouldn’t hold up well in the fridge.
FAQs
If you don’t want to make individual dirt cups, you can absolutely make this into one big dirt pudding!
For that, use a trifle dish or clear serving bowl and layer in cubes of the brownies before topping with the pudding and cookie crumbs. Chill in the fridge and decorate as before with the Halloween candies.
Feel free to garnish with additional whipped topping or whipped cream if you want, especially if you’re dressing this up for adults!
For the best “dirt” effect, you want to make sure your Oreos are crushed into pretty fine crumbs.
The easiest and quickest way to do this is with a mini food processor. You can also place the cookies in a zip-top bag and crush them with a rolling pin, but it will take a little more time to turn them into fine crumbs.
Brownie Dirt Pudding Cups
Equipment
- Plastic dessert cups for a kid-safe option
Ingredients
- 1 9×9-inch pan of brownies baked and cooled
- 1 package instant chocolate pudding mix 3.9 ounces
- ½ cup cold milk
- 1 can sweetened condensed milk 14 ounces
- 8 ounces frozen whipped topping thawed
- 8 Oreo cookies crushed into fine crumbs
- edible Halloween-themed candy and headstone toppers
Instructions
- Use a small glass or round biscuit cutter to cut the brownies into 5 to 6 circular shapes. The size will depend on the type of serving dish you are using. You want the brownie to fit snuggly into the bottom of your serving dish. Once you have the brownie circles, slice each brownie in half horizontally, directly through the centers of the brownies, so each brownie is now two thinner circular brownies. Place one brownie circle into the bottom of each serving dish.
- In a large bowl, whisk together the dry pudding mix, milk, and sweetened condensed milk until smooth. Fold in whipped topping and gently mix until no streaks remain.
- Evenly spoon or pipe the pudding mixture directly onto each brownie slice. Top with crushed cookie crumbs and decorate as you wish.
- Refrigerate for at least 2 hours before serving.
Video
Notes
- To turn these into mini graveyards, I like to reach for decorations like gummy worms, candy bones or eyeballs, candy black cats, ghosts, or even zombie hands. Check your grocery store or the cake decorating section of your local craft store for these if you don’t want to buy them online.
- Finish with paper headstones and shovel-shaped spoons. You can also make and print your own paper headstones.
- Make the chocolate pudding mixture up to a day ahead of time, storing in the refrigerator. Assemble the puddings up to 8 hours head of time, storing in the refrigerator until ready to serve.
Nutrition
Nutrition information is automatically calculated, so should only be used as an approximation.




Do you remove the cream filling from the cookies before crushing and adding to the top? Thanks!
Hana-
Hello! Nope, you can leave the cream inside the cookies.
-Jamie
Have you made the day before? Does it still turn out ok?
Yes, totally fine!
This is such a cute Halloween desert recipe! Love the layers of brownie and pudding. Yum!
Thank you so much! It’s so easy and so darn delicious!
Such a cute idea! Can’t wait to try this with the kids as a fun family project.
Thanks so much, Lisa! I hope you love it as much as we did!
My kids go crazy for brownie dirt pudding and it’s such an easy dessert! Milk is the #1 drink for my kids even the grown ones. I buy milk 2 gallons at a time and it’s a for real crisis if we run out!
Ha! Sounds like my house. My husband freaks if we don’t have at least one gallon as backup! Thanks for stopping by!
-Jamie
can I ask where you got the candies you used (particularly the ghost hugging the candy corn and the hard candy monster body parts)?
Hello! I picked them up at Michael’s. I was actually just there today and they still had them and now they’re 50% off! I hope this helps!
-Jamie
These are as much fun to make as they are to eat!
Most definitely! They were a huge hit over here! Thanks so much for stopping by!
-Jamie
They are so beautiful! Awww. I really love the Halloween atmosphere coming, so many inspirations arises
– Natalie
Thanks so much for stopping by! I appreciate you taking the time to comment. Happy Baking!
-Jamie
So curious about the look on my son’s face after I make this :-)
Thanks so much for stopping by! I appreciate you taking the time to comment. Happy Baking!
-Jamie
This looks so good! Perfect for Halloween!
Thanks so much for stopping by, Natalie! Aren’t they fun? I appreciate you taking the time to comment. Happy Baking!
-Jamie