This post may contain affiliate links. Please read our privacy policy.

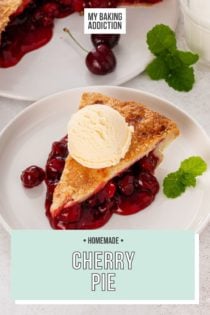

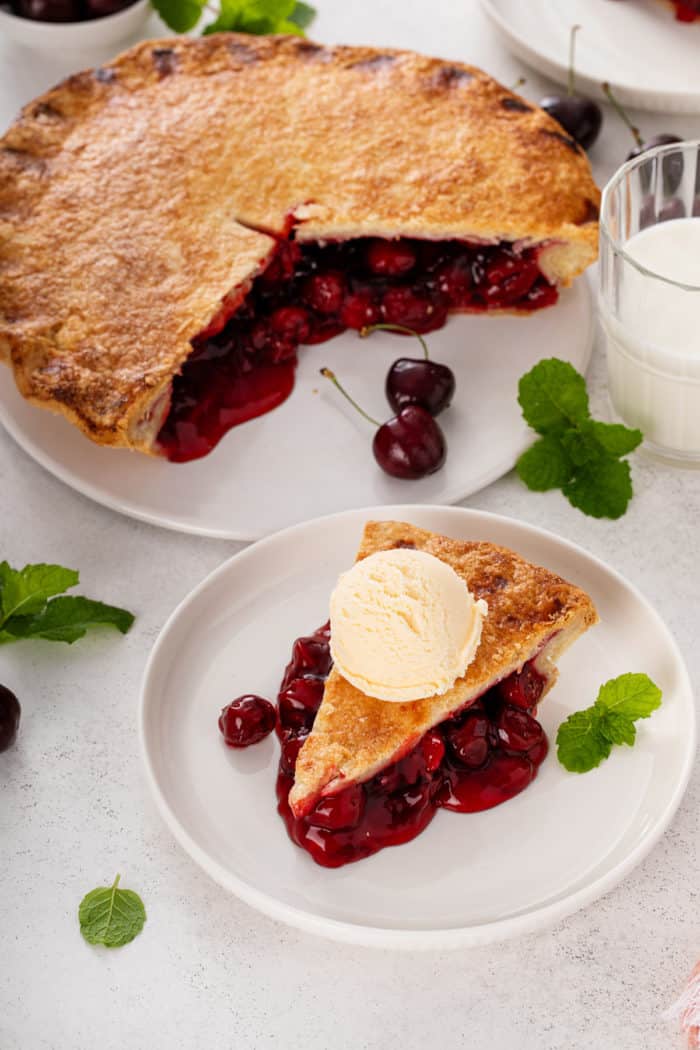
Cherry pie is a classic for a reason! With a crisp, flaky crust and juicy, sweet cherries, this pie is one you will crave all year round.
I know we only have a few more weeks of summer. Depending on where you live, some kids already headed back to school this week.
So let’s soak up every last drop of summer that we can. After all, the farmer’s markets are still bursting with fresh summer fruits and veggies!
Nothing is more classically summer than a fresh, homemade cherry pie. It’s one thing you need to make before the fall weather blows in.
MY FAVORITE CHERRY PIE
I have been sharing my delicious homemade cherry pie filling with you all for years now. And I’m not the only one who thinks it’s delicious – it has hundreds of comments and reviews saying so, too!
But I realized something earlier this summer: I’ve never talked to you about how to actually make a homemade cherry pie using the filling.
Sure, you can use the cherry pie filling to make all kinds of other things: cherry turnovers, cherry hand pies, cherry crisp, and cherry cheesecake are just a small handful of examples. But is there anything more classic than a fresh-from-the-oven cherry pie?
I don’t think so.
And that filling makes the absolute best homemade cherry pie. There’s no need to over-complicate things when you can make something incredibly delicious that’s also really easy!
I know that double-crust pies can be more intimidating than single-crust pies like classic pecan pie and apple crumb pie, but I’m going to walk you through the process and give you some shortcut options along the way.
HOW TO MAKE HOMEMADE CHERRY PIE
Like I said, homemade cherry pie doesn’t have to be complicated. If you have ever made my cherry pie filling, you already know how easy and delicious it is – and you’re already halfway to pie!
Crust options
You have two main options when it comes to pie crust: make it yourself, or go the refrigerated pie crust route.
I have a friend who almost always makes her own homemade pie crust, and that’s something that you’re welcome to do!
But I also think that if you’re making your own pie filling, it’s ok if you take a little shortcut and use a pre-made pie crust.
Since this is a double-crust cherry pie, you will want to grab one of the refrigerated pie crusts that come two in a package. Pillsbury is a really reliable brand and usually the one that I buy.
Other ingredients you’ll need
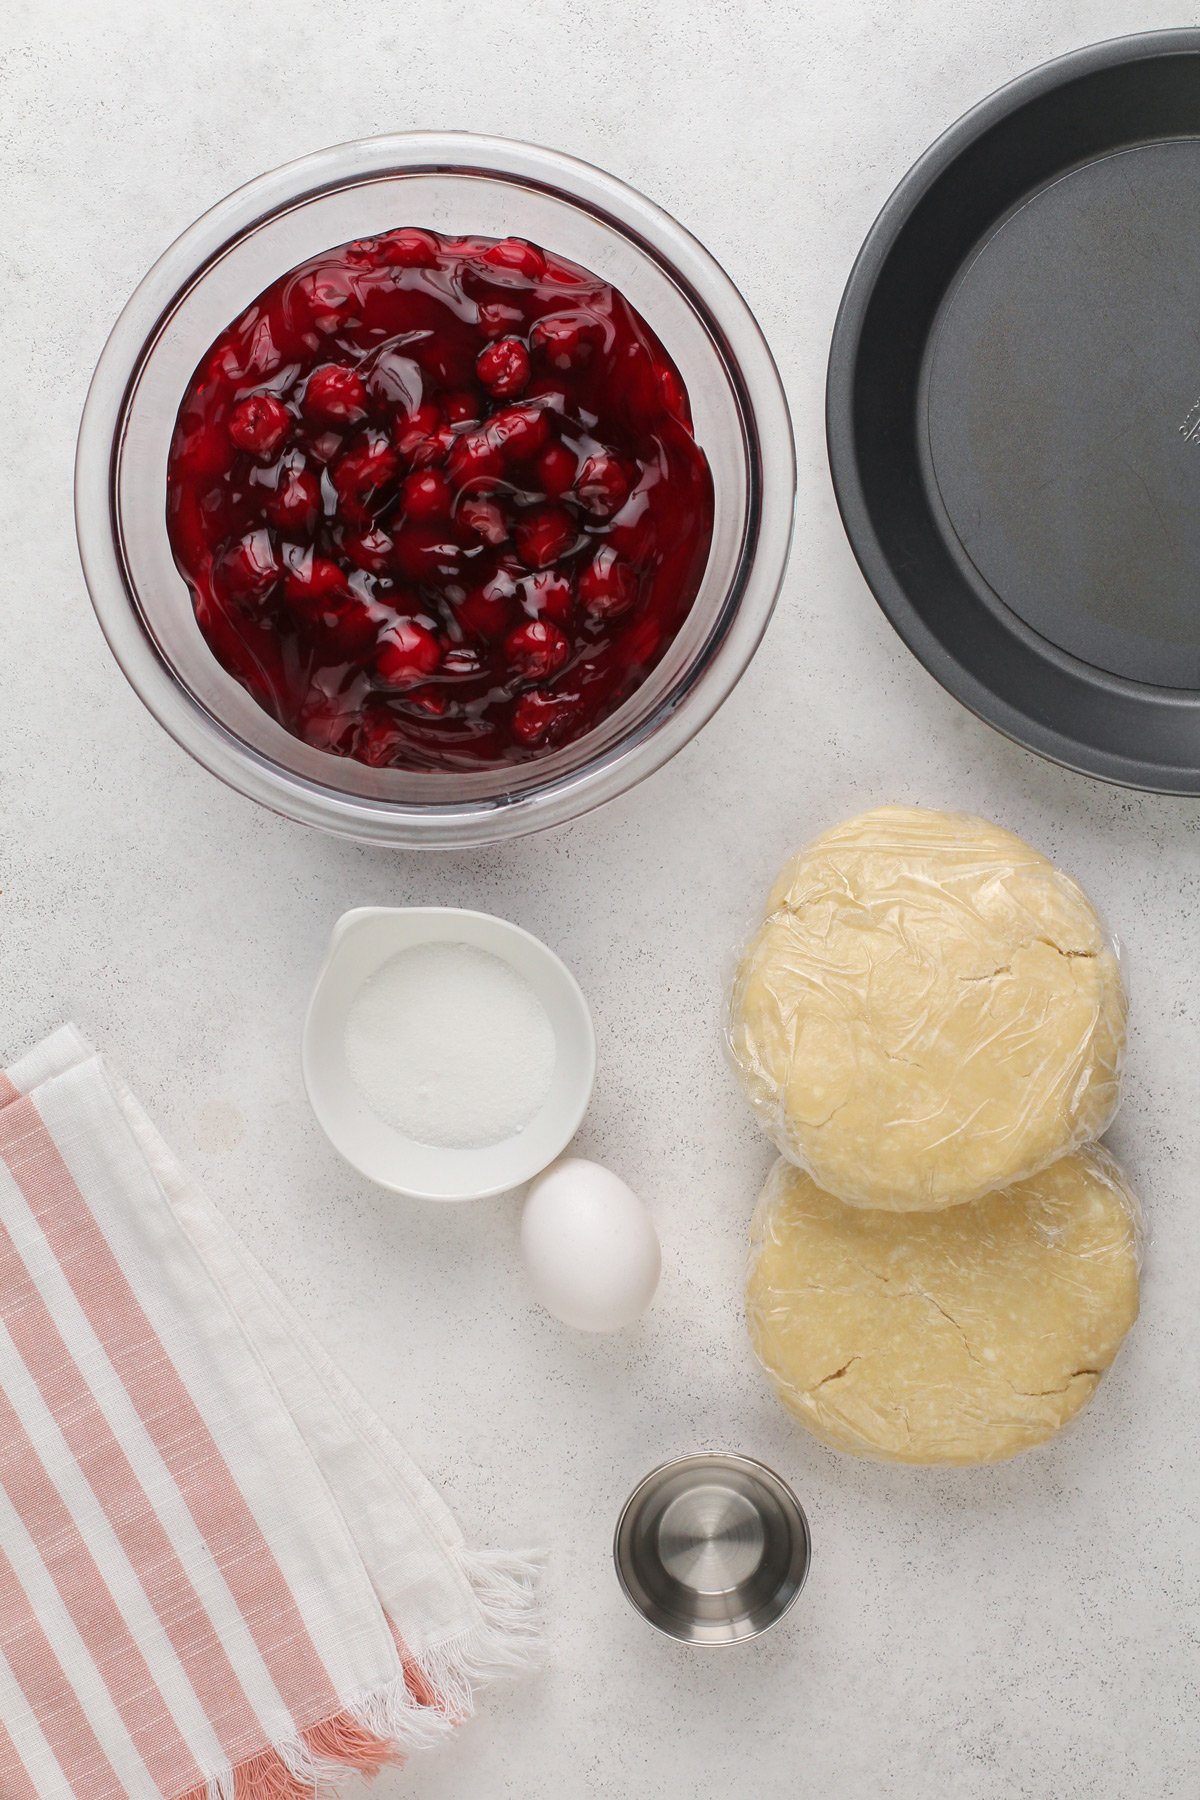
Once you have your pie crust and your pie filling, you will also need:
- 1 egg
- 1 tablespoon of water
- Granulated sugar or coarse sugar
These three ingredients are for making the pie crust look really pretty once it’s baked. They will add that special finishing touch that make for a really impressive pie, even if this is your first time making a homemade cherry pie.
Making cherry pie
Preheat the oven to 400°F and let it come to temperature while you assemble the pie.
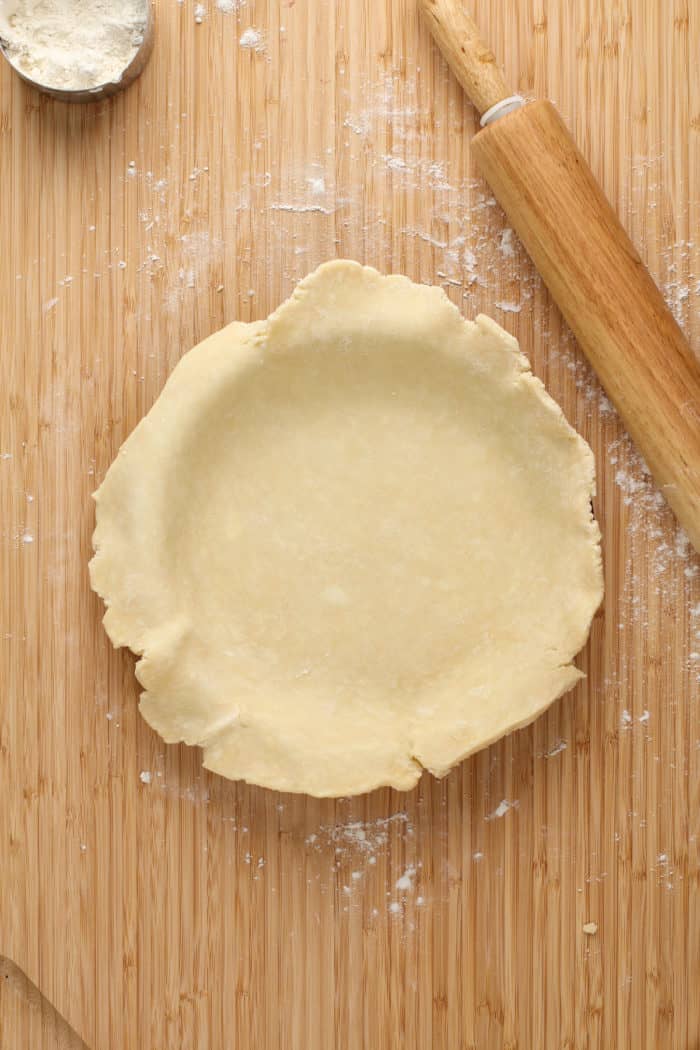
On a lightly floured surface, roll out half of the pie dough. To make sure it is big enough, grab a 9-inch pie plate and hold it over the circle of dough. For the bottom crust, make sure the circle extends at least 1 inch past the edge of the pie plate.
Use your rolling pin to pick up the pie dough by gently rolling the pie dough onto the rolling pin. Lift the rolling pin, and gently place the dough into the pie plate.
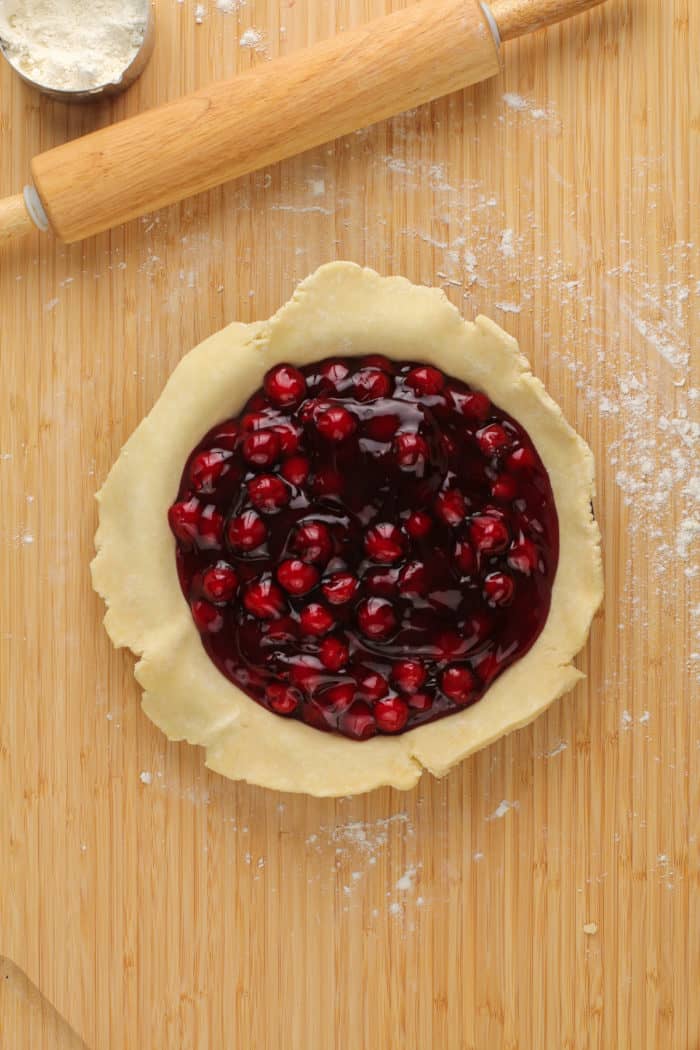
Add the cooled homemade cherry pie filling, spreading it out evenly in the pie plate. Set this aside.

Roll out the second half of the crust, making sure it is just barely bigger than the edge of your pie plate. Using the same rolling pin method, gently place the pie dough on top of the pie, covering the filling.
Trim the edges as needed and/or tuck excess pie crust under at the edges, then use your fingers or a fork to crimp and seal the edges of the pie.
You will need a way for steam to escape, so use a sharp paring knife to cut slits into the top of the crust. I often do a simple “X” on the top, but you can get more creative if you’d like (see “recipe FAQs” below).
Whisk together the egg and tablespoon of water and brush this evenly over the top of the pie. Sprinkle with some sugar – coarse sugar makes for a beautiful sparkle and crunch, but even granulated sugar will work well.
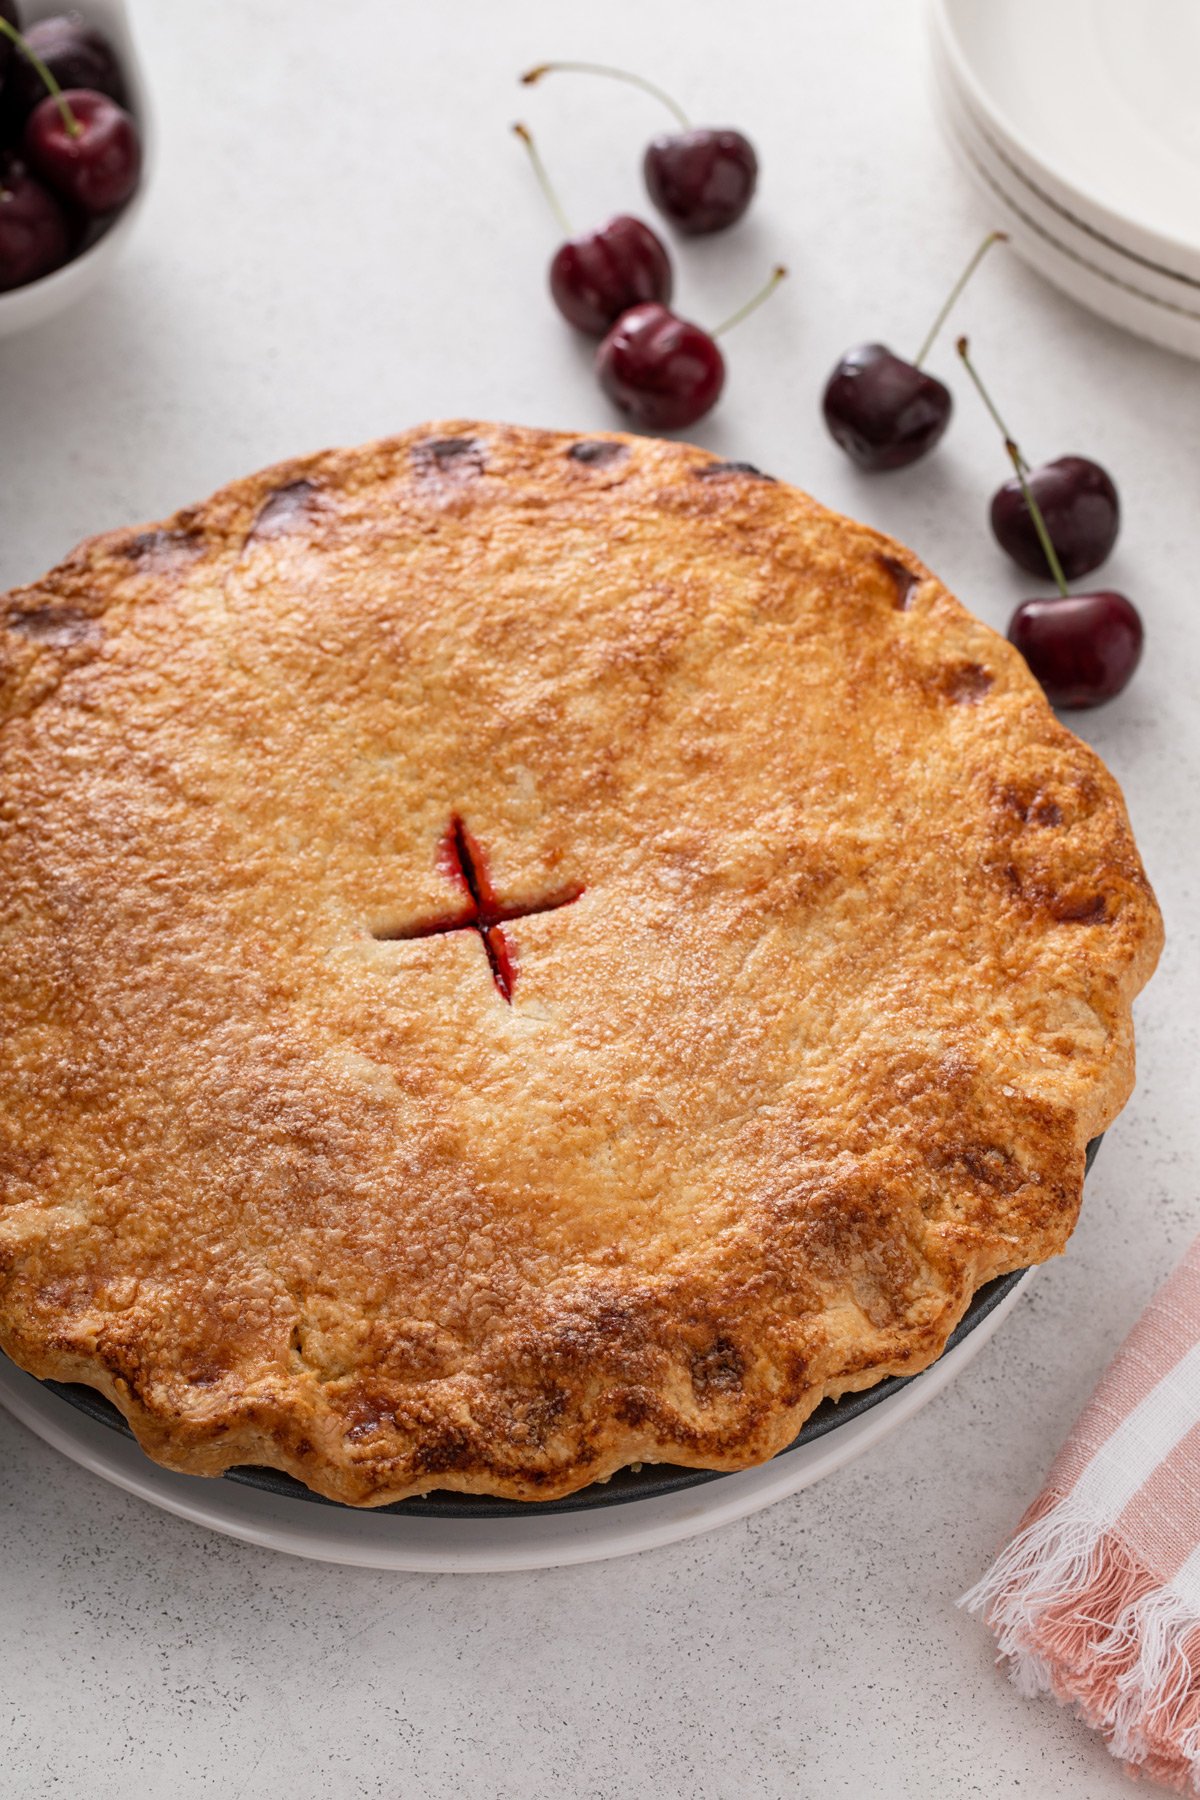
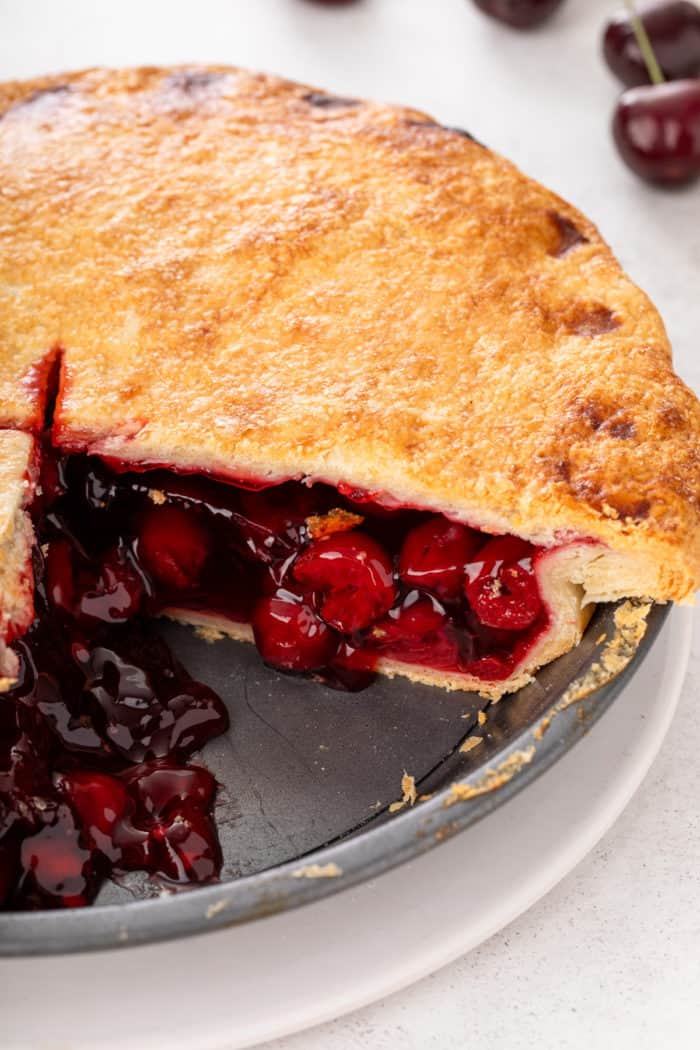
Bake the pie on a rimmed baking sheet for 40-45 minutes or until the crust is nicely golden.
Check the pie around the 20-25 minute mark just to make sure the edges are browning too quickly. If they are, gently cover the edges with foil or a pie guard.
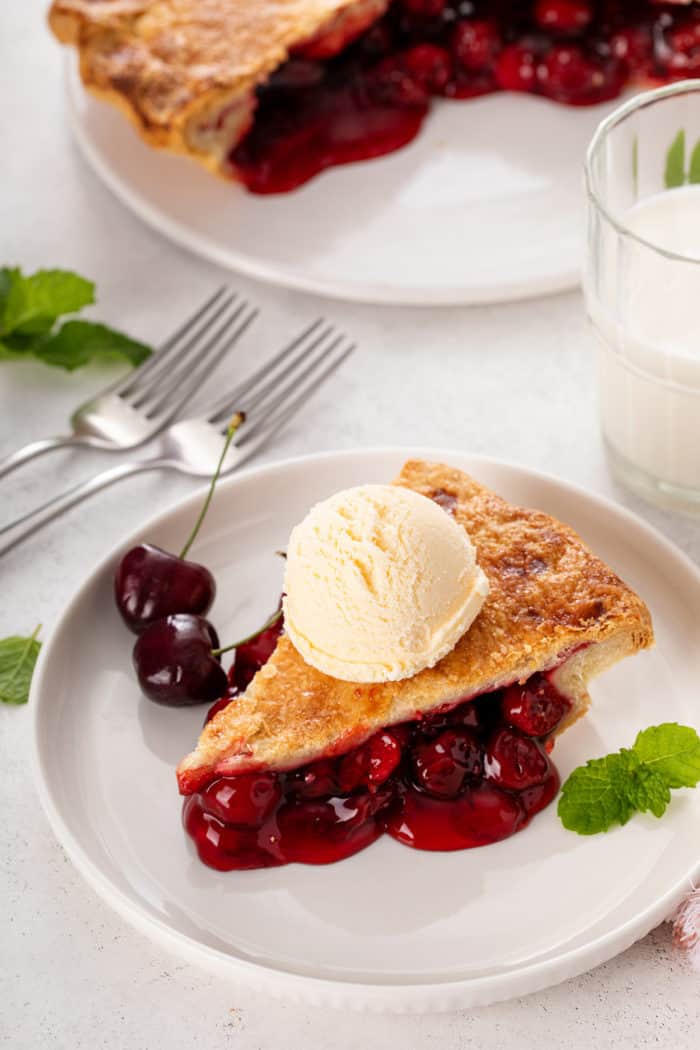
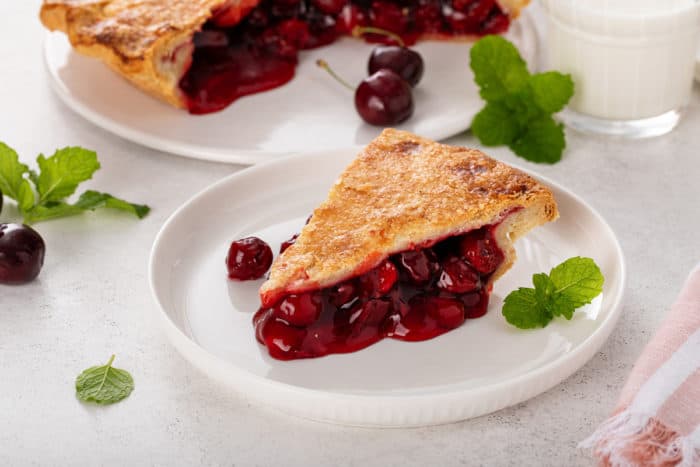
As difficult as it will be, try to let the cherry pie cool before cutting and serving. This will allow the filling to set back up and not run everywhere when you slice and serve the pie.
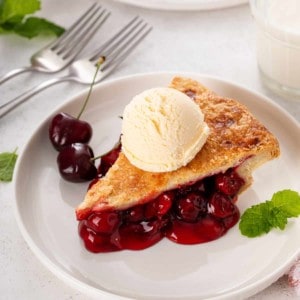
Try topping each slice with a scoop of vanilla ice cream for the dreamiest dessert.
STORAGE
If you plan to serve the pie within the day, feel free to leave it at room temperature. Otherwise, it can be stored, covered, in the refrigerator for up to 3 days.
You can rewarm slices in the microwave for 30-60 seconds if you’d like.
RECIPE FAQS
What type of cherries does this pie use?
This is a sweet cherry pie recipe, so it uses sweet cherries (such as bing cherries). You can adapt the filling recipe to use sour cherries, but you will need to add additional sugar to the filling.
Sweet cherries are typically easier to find year-round (especially frozen), so I prefer them to sour cherries for baking.
Can I use frozen cherries instead of fresh?
Don’t stress if it’s not the middle of summer and you can’t find fresh cherries at your store. You can definitely use frozen cherries to make the filling and the final cherry pie.
There is no need to thaw the frozen cherries before making the filling. It’ll also save you from the work of pitting them, so it’s a faster process overall!
What are some ways to make a decorative top crust for this cherry pie?
If you want to go more decorative with your pie crust than what you see in these photos, I have a few suggestions, ranging from super easy to more difficult.
- Super easy: When cutting the slits in the top of the crust, use the paring knife to cut a 6- or 8-pointed star design in the center. You can also use the knife to cut a more intricate design if you like.
- Slightly harder: Roll out the top crust. Before placing it on the pie, use a cookie cutter – such as a heart-shaped cutter – to cut shapes out of the crust. You can save the pieces you cut out and “glue” them along the edges of the pie using the egg wash if you like, or leave them off entirely.
- More difficult: Roll out the top crust then cut it into strips. Place half of the strips on top of the pie, leaving space between them. Weave the remaining strips going across the pie in the other direction. You can find a detailed post on how to make a lattice pie crust.
How do you prevent the edges of the pie from burning?
The edges of a pie tend to brown quicker than the rest of the crust, so you want to make sure they don’t burn before the cherry pie has fully baked.
I like to check on the pie periodically starting around the 20-30 minute mark. If you see that the edges are beautifully browned, but the rest of the pie is not, you want to cover those edges.
You can use strips of foil and gently wrap them around the edges, or you can buy a pie guard/pie shield and gently place that over the pie.
This will allow the rest of the cherry pie to finish baking while preventing the edges from getting too dark.
Cherry Pie
Ingredients
- Pie crust for a 9-inch double-crust pie
- 1 batch homemade cherry pie filling
- 1 egg
- 1 tablespoon water
- Granulated sugar or coarse sugar for topping
Video
Instructions
- Preheat oven to 400°F.
- Roll out the bottom pie crust and gently place it into a 9-inch pie plate. Add the homemade cherry pie filling, spreading out evenly into the pie plate.
- Roll out the top crust large enough to cover the pie with a bit of overhang. Gently place the crust over the pie. Trim the edges as needed and/or tuck excess pie crust under, then use your fingers to crimp and seal the edges of the pie. Use a sharp paring knife to cut slits into the top crust.
- Alternatively, you can cut the top crust into strips to create a lattice crust for your pie.
- Whisk together the egg and water. Lightly brush over the top crust. Sprinkle with granulated or coarse sugar.
- Place on a rimmed baking sheet and bake for 40-45 minutes, or until the crust is golden. I recommend checking the pie after 20-25 minutes and tenting it with foil if it is getting too golden too early. If only the edges are getting dark, you can gently cover the edges with foil or a pie guard.
- Let cool before serving.
Nutrition
Nutrition information is automatically calculated, so should only be used as an approximation.


Hi!
You are my go to “teach me how” page! I literally don’t even use google I come here first! I’ve learned how to make various pies, pie crust, cookies, cakes and more! Thank you for showing a mama of 4 all the tricks of the trade! You are one of the main reasons I bake so well! I want to keep
You a secret but I share your page! Never had a bad recipe!
Thank you so much, Mimi! So happy to help you in your baking journey!