This post may contain affiliate links. Please read our privacy policy.
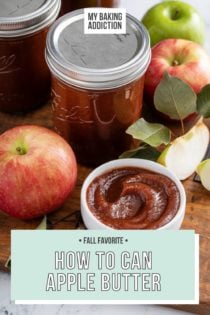
Want to store your homemade apple butter long-term but don’t have freezer space? Learn how to can apple butter and enjoy this fall favorite all year long.
Without a doubt my most popular recipe this time of year is my slow cooker apple butter. And there’s really no question why! It’s incredibly easy and absolutely delicious.
One of the most common questions I get about the recipe is: Can I can this apple butter?
I didn’t grow up with a grandmother who canned food, so I never messed around much with it. It always seemed really intimidating to me. But I called up my friend Megan and asked her to teach me what I needed to know to can my apple butter.
I don’t think I’ll become a master canner, but it’s nice to know how to preserve one of my favorite fall foods without taking up a bunch of space in my freezer.
So let’s talk through the basics on how to can apple butter!
Why can apple butter?
In the past, I have always just stored my homemade apple butter in the fridge for up to 2 weeks or in my freezer for up to 3 months.
Of course, there are some downsides to this. For one, it takes up space in the freezer, and not everyone has extra freezer space to spare.
It also is great for 3 months, but after that you risk freezer burn and that isn’t great. So even though it can get you through the winter, you might not have apple butter come spring or summer.
When you can your apple butter, you can simply store it in the pantry and it’s good for up to 18 months!
My friend Rebecca has some canning basics tips that share how to know when your canned food has gone bad. Food in Jars is also a great resource for beginner canners.
Canned apple butter also makes a really great gift for family and friends or as a Thanksgiving hostess gift. And because it’s preserved, you don’t have to worry about telling them to keep it in the refrigerator or freezer.
How to can apple butter
If you’ve never canned your own food before, I know that it seems intimidating. But I promise that it’s not as scary as it seems.
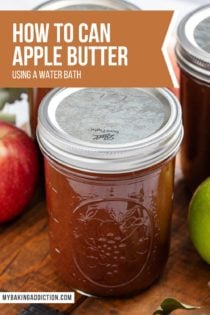
We’ll be doing water-bath canning for this recipe. It’s a lot less scary than pressure canning and requires fewer special tools.
In fact, once you try it out, you might even want to learn how to make pickles and other foods to can, too!
What you’ll need
Obviously you will need a batch of homemade apple butter. Because apples are naturally quite acidic, the good news is you don’t need to make any changes to my apple butter recipe before canning.
You can even use my Instant Pot apple butter or stovetop apple butter recipes if you like.
As for the tools, you will need:
- A large stockpot or canning pot, big enough so there is at least 3 inches of space between the tops of your jars and the top of the pot.
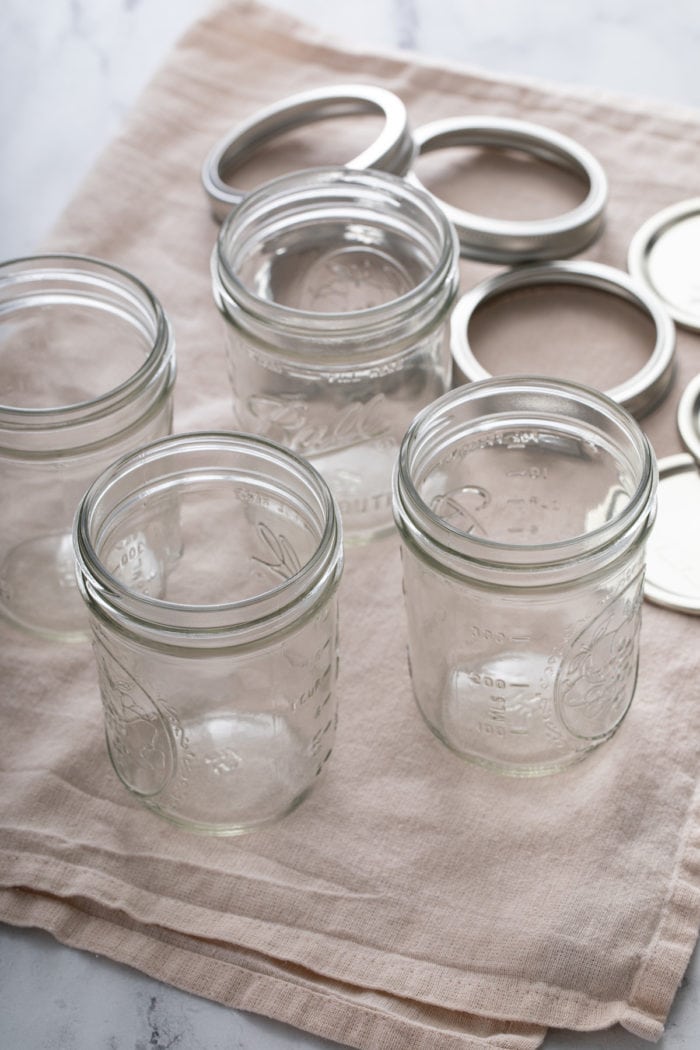
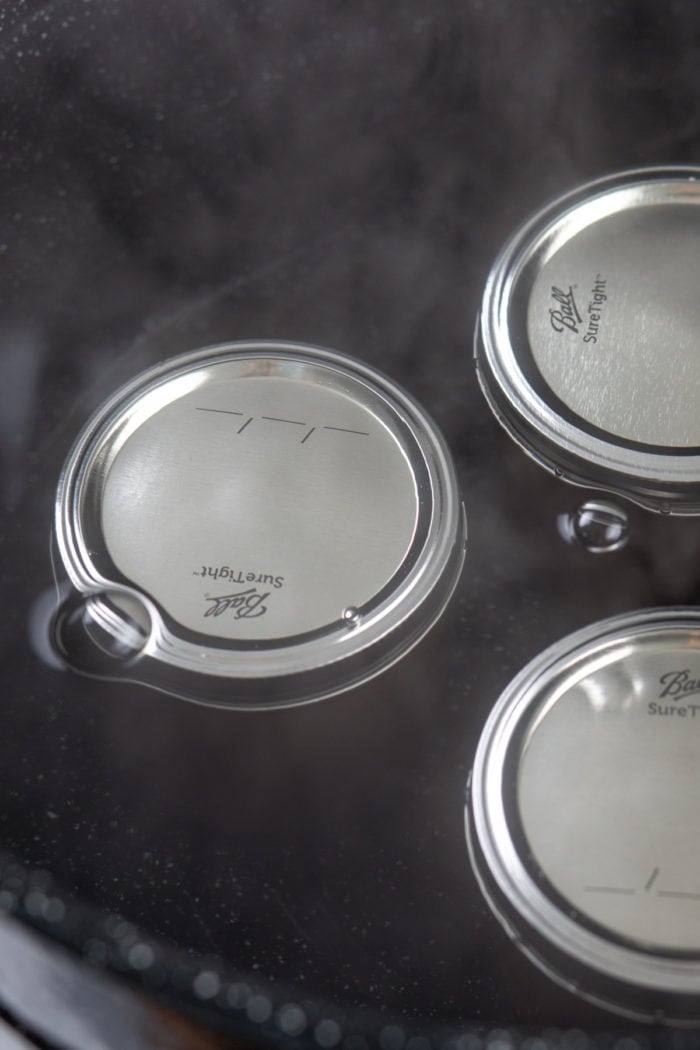
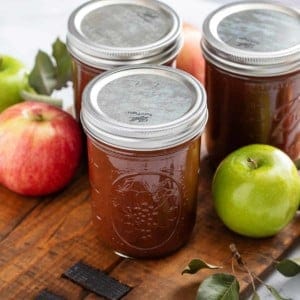
- 4 pint jars or 8 half-pint jars with brand-new lids and rings.
- Tongs for dunking the jars in the hot water.
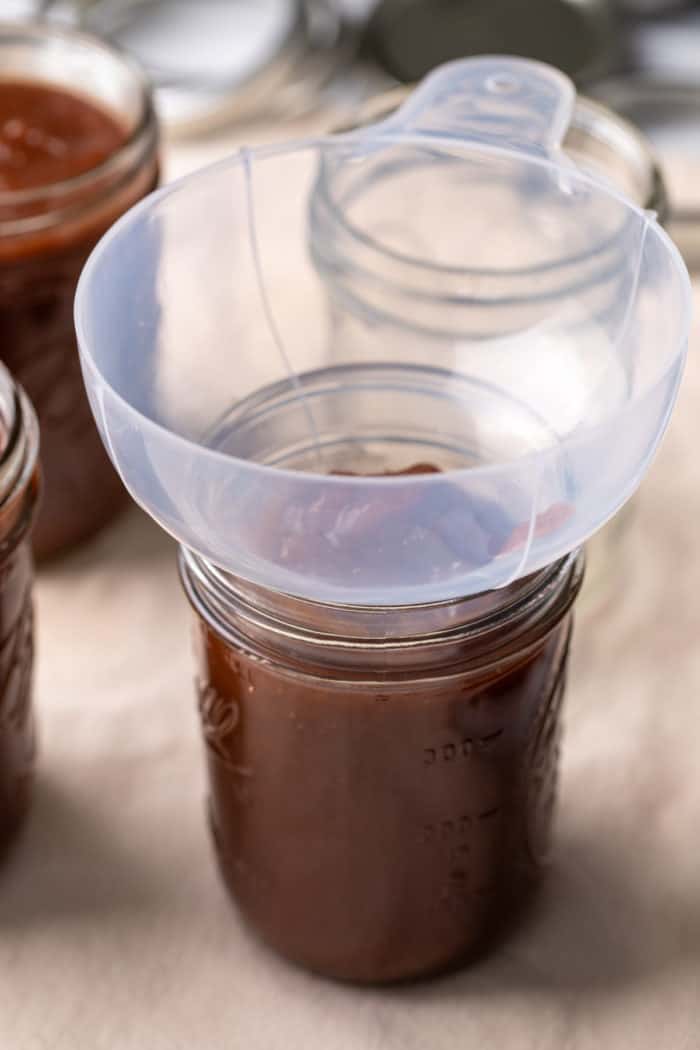
- A ladle and wide-mouth (canning) funnel for filling the jars.
- A chopstick or kitchen dowel to remove any air bubbles.
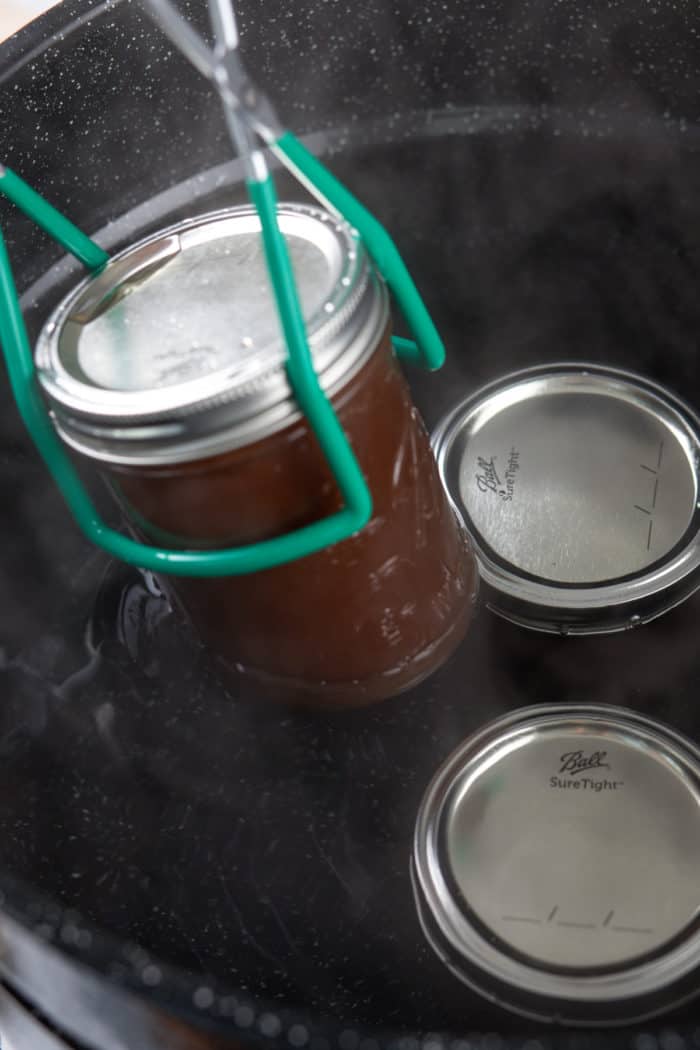
- A jar lifter for lowering the filled jars into the water.
In the recipe card below, I have linked to a set that includes everything you will need aside from the jars and lids, which you can pick up at just about any grocery store or hardware store.
You can also get most of the other tools at kitchen or hardware stores, but I like the convenience of getting everything you need in one order.
Canning the apple butter
Before you start, make sure your jars and equipment are very clean. Use hot, soapy water or run everything through the dishwasher.
You also want your apple butter to be freshly made and still hot when you add it to the jars. So have everything ready to go when the apple butter is done.
Fill the stockpot or canning pot with water. There should be enough water in the pot to cover the filled jars by at least 1 inch.
Cover the pot and set it to boil.
Lay a clean kitchen towel out on the countertop and set your jars, lids, and rings out on the towel.
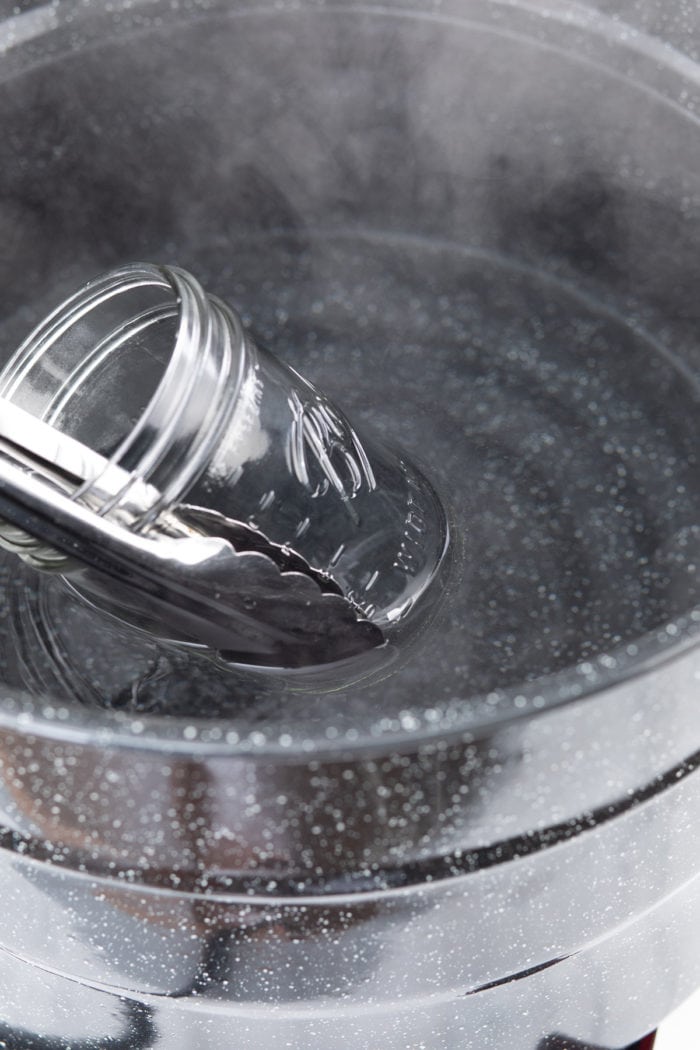
Use the tongs (or jar lifter) to dunk the jars into the hot water. Empty them out back into the pot and set them on the towel again. This warms the jars and helps prevent the glass from cracking when we add the hot apple butter.
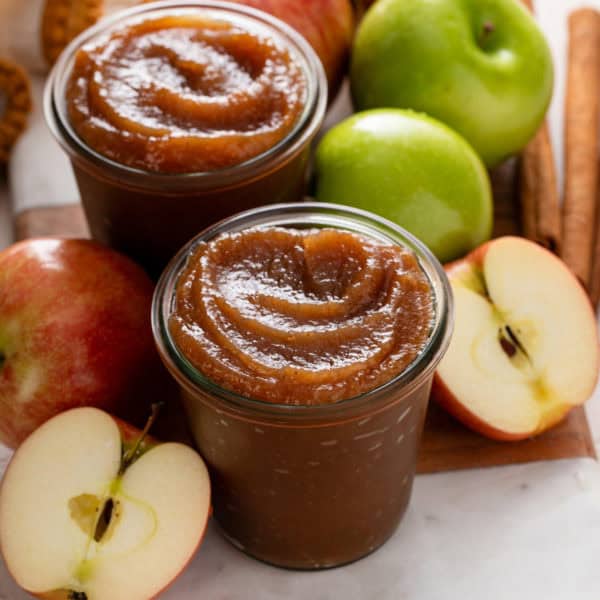
Use the ladle and funnel to add the hot apple butter into the jars. Leave ¼-inch of space at the top of the jars, then use a chopstick to gently remove any trapped air bubbles.
Use a damp paper towel to wipe the rims clean, then place on the lids. Screw the rings on to fightertip tight. You don’t want the rings to move freely, but they should be easily unscrewed.
Use your jar lifter to carefully lower the jars into the boiling water.
Return the water to a boil and cover the pot. If using pint jars, boil the jars for 15 minutes. If you’re using half-pint jars, boil them for 10 minutes.
After the boiling time is over, turn off the heat and let the jars sit in the water for 5 minutes. Use the jar lifter to carefully lift the jars from the pot and place them on the towel.
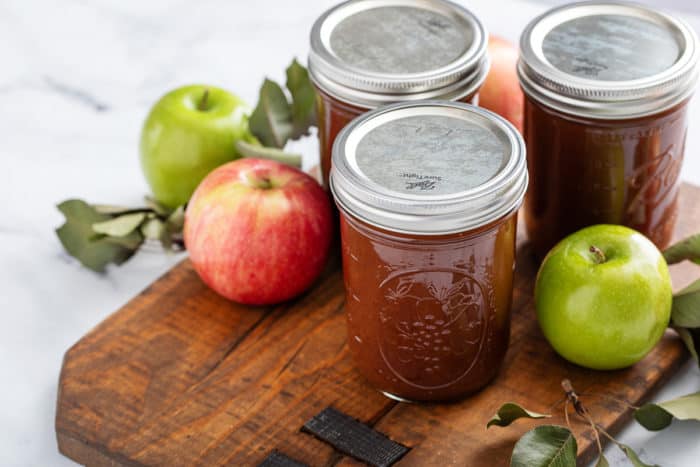
Now let the jars rest, undisturbed, for 24 hours. It’s likely you may hear a pinging noise as the jars seal, so don’t freak out if you do.
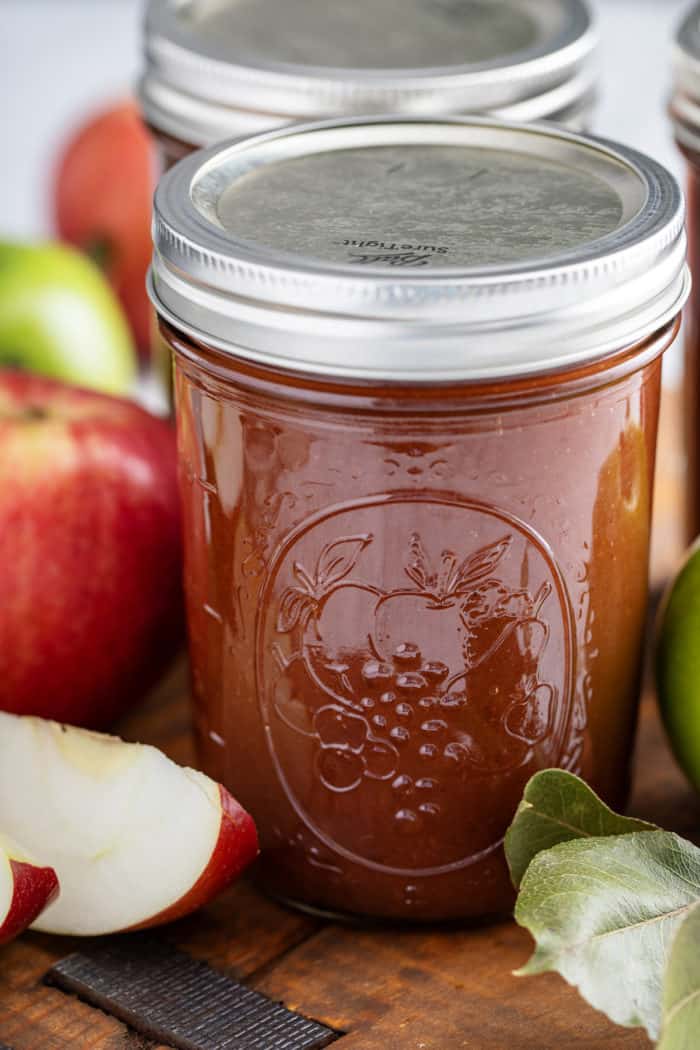
Once the jars have rested for 24 hours, check the seals. Label the jars and store them in the pantry for up to 18 months.
Any jars that didn’t seal properly can still be enjoyed but they must be stored in the refrigerator for up to 2 weeks.

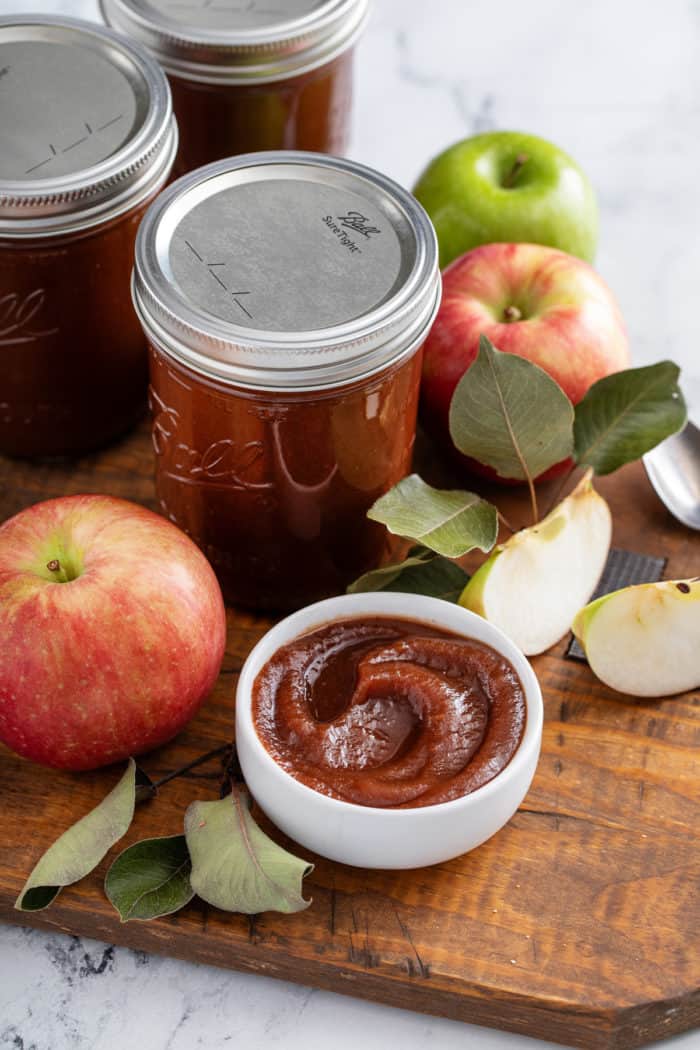
Uses
Looking for ways to use your canned apple butter?
Try it on a slice of toasted english muffin bread or on a warm, buttered buttermilk drop biscuit.
But breakfast isn’t the only way to enjoy it! It’s great in savory applications, too. Swap out the cranberry sauce for apple butter in cranberry brie bites for a simple and delicious Thanksgiving appetizer.
Or use it to make an amazing apple butter BBQ chicken sandwich!
And don’t forget about charcuterie boards. A small bowl of it alongside your favorite cheeses, meats, and crackers is an incredible addition.
There are so many delicious reasons to learn how to can apple butter!
Canned Apple Butter
Ingredients
- 6 ½ pounds apples peeled, cored and sliced
- 1 cup granulated sugar
- 1 cup light brown sugar lightly packed
- 1 tablespoon ground cinnamon
- ½ teaspoon freshly grated nutmeg
- ¼ teaspoon ground cloves
- ¼ teaspoon salt
- 1 tablespoon pure vanilla extract
Video
Instructions
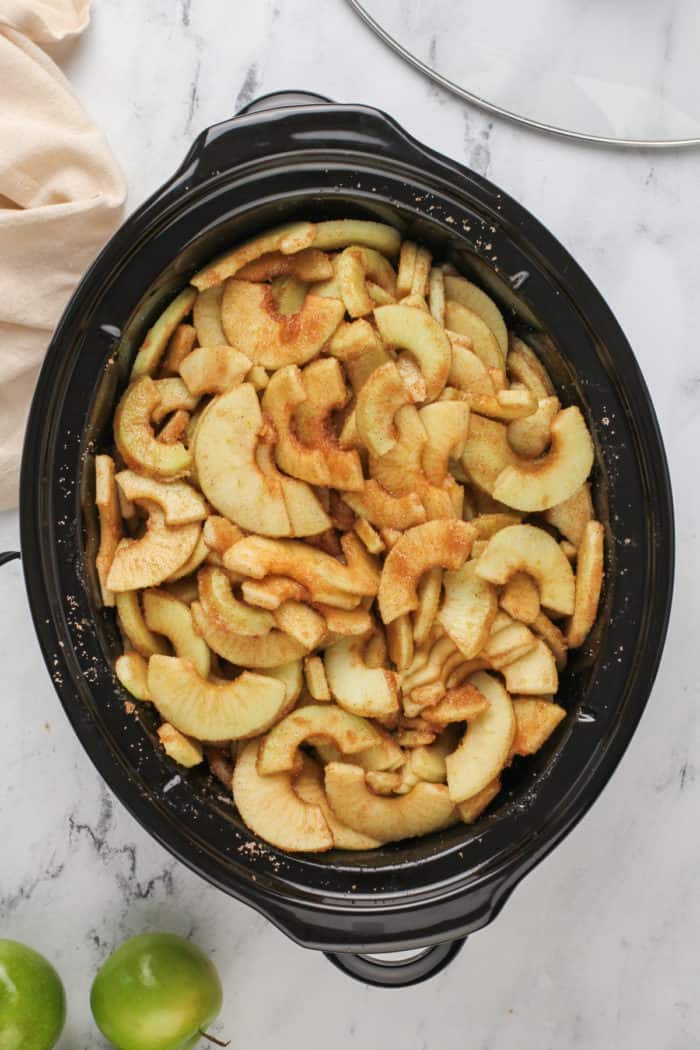
- Place the apples in a slow cooker. In a medium bowl, combine sugars, cinnamon, nutmeg cloves and salt. Pour the mixture over the apples and mix well.6 ½ pounds apples , 1 cup granulated sugar, 1 cup light brown sugar, 1 tablespoon ground cinnamon, ½ teaspoon freshly grated nutmeg, ¼ teaspoon ground cloves, ¼ teaspoon salt
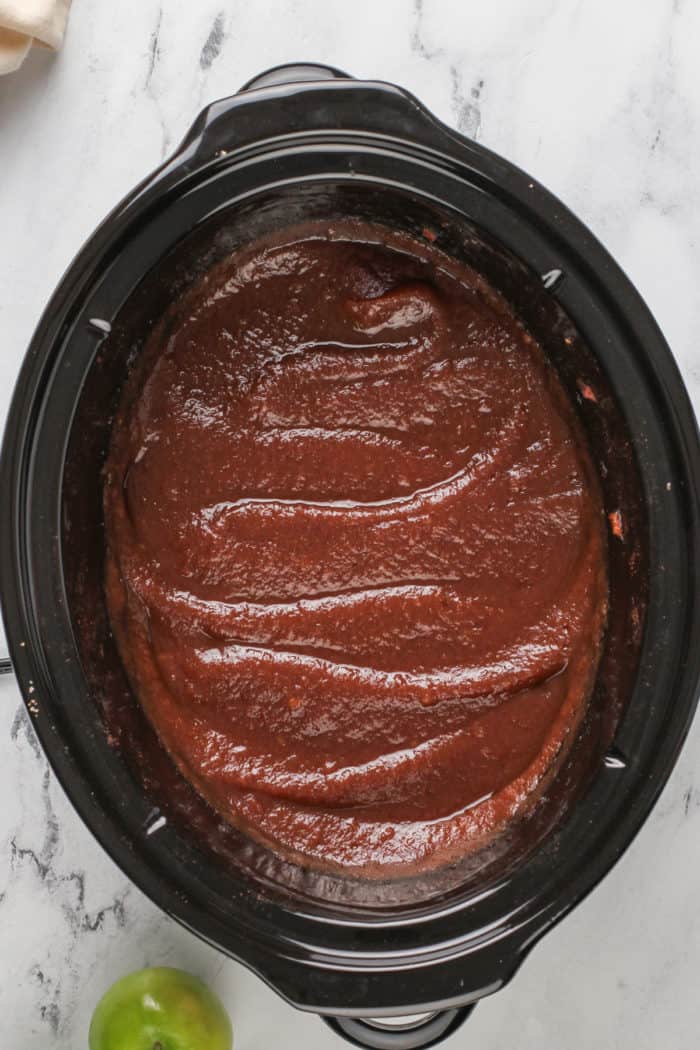
- Cook in slow cooker on low for about 10 hours, stirring occasionally, until the mixture is thickened and dark brown.
- Uncover, stir in vanilla and continue cooking uncovered on low for about 2 hours.1 tablespoon pure vanilla extract
- Use an immersion blender to puree the apple butter until smooth.
- Fill a large stockpot or canning pot with water. It should be enough so that your filled jars will be covered by at least 1 inch. Cover and set to boil.
- Set 4 pint jars or 8 half-pint jars, lids, and rings on a towel-lined countertop.
- Using a pair of tongs, dunk the jars into the hot water and empty, then set on the towel again. This is to warm the jars to prevent cracking when the hot apple butter is added.
- Ladle the hot apple butter into the jars, leaving ¼ inch of space at the top of the jars.
- Use a chopstick or kitchen dowel to gently remove any trapped air bubbles.
- Wipe rims of the jars clean with a damp paper towel.
- Place the lids, then screw on the rings to fingertip tight – it should not be able to move freely, but can be easily unscrewed.
- Using a jar lifter, carefully lower the jars into the boiling water bath.
- Return the water to a boil, cover, and boil jars for 15 minutes for pint jars, or 10 minutes for half-pint jars.
- Turn off the heat and let the jars sit for 5 minutes. Then use the jar lifter to carefully remove the jars and place on the towel-lined countertop.
- Let the jars rest, undisturbed, for 24 hours. You might hear a pinging noise as the jars seal.
- After the jars have rested, check for seals, label, and store in the pantry for up to 18 months.
- Any unsealed or opened jars of apple butter must be stored in the refrigerator.
Notes
Nutrition
Nutrition information is automatically calculated, so should only be used as an approximation.


This was the most helpful explanation for canning for a beginner! Thank you so much for this!
Yay! So happy to hear you enjoyed the recipe. Thanks so much for stopping by and leaving your feedback and 5-star rating – it is so appreciated! Happy baking!
-Jamie
I have not used this Yet, but I like how it reads and I will use it. Thank you
Everytime I make it. It is a winner in my family.
Just made this recipe and have it in the crockpot now but I only had half the amount of apples so I cut everything else in half. I just saw in one of the comments that you said the weight was based on before peeling and coring I used just over 3 lbs cored and peeled. Do you think this will still be able to be canned safely?
Hi Aimee-
Honestly, I am not sure as this was tested with the full proportions re: canning.
-Jamie
I am concerned about the lack of acidity in this recipe. Has it been tested? The National Center for Home Food Preservation [https://nchfp.uga.edu/how/can02/applebutter.html] provides for 2 cups of vinegar for 8 lbs of apples. The ph seemed rather important when you are canning it rather than freezing. I am not a regular canner and am a bit scared of the process here.
Hi Kay!
Yes, it’s been tested and works just fine.
Since I keep my jars in the garage even though they are clean and the boxes are closed I run the jars I plan to use through the dishwasher. This cleans them and heats them up. I put the rings in as well and when the cycle is done I leave it until I am ready to use the jars.
Clean, Hot jars ready to go and they take up no room while I am cooking down the apples or whatever I am canning.