This post may contain affiliate links. Please read our privacy policy.
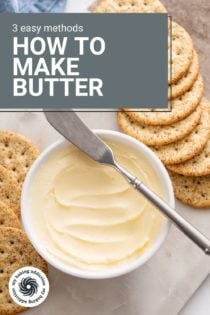
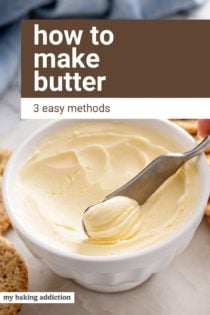
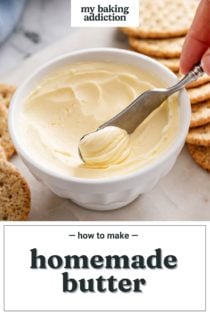
Making rich, creamy butter at home is so much easier than you think! Once you know how to make butter, you’ll find yourself making it every week and flavoring it in a hundred different ways.
If you’ve been around for a while, you know how much I love being able to make things at home.
Whether it’s having a buttermilk substitute recipe up my sleeve or knowing how to make an amazing pumpkin pie spice, I like knowing how to make some key baking basics in my own kitchen.
You might think that making butter is just for your ancestors, but I can promise you that it’s not. Homemade butter has an incredible flavor and it’s unbelievably easy!
Whether you’re making it to impress dinner guests, turning it into a delicious compound butter, or simply looking for a way to use up excess heavy cream, knowing how to make butter is a trick that’s worth keeping in mind.
There are 3 easy ways to make your own butter using tools you likely already have on hand, so let’s talk through them.
Ingredients You’ll Need
Before we dig into the 3 methods I like to use for making butter, let’s talk about what you’ll need.
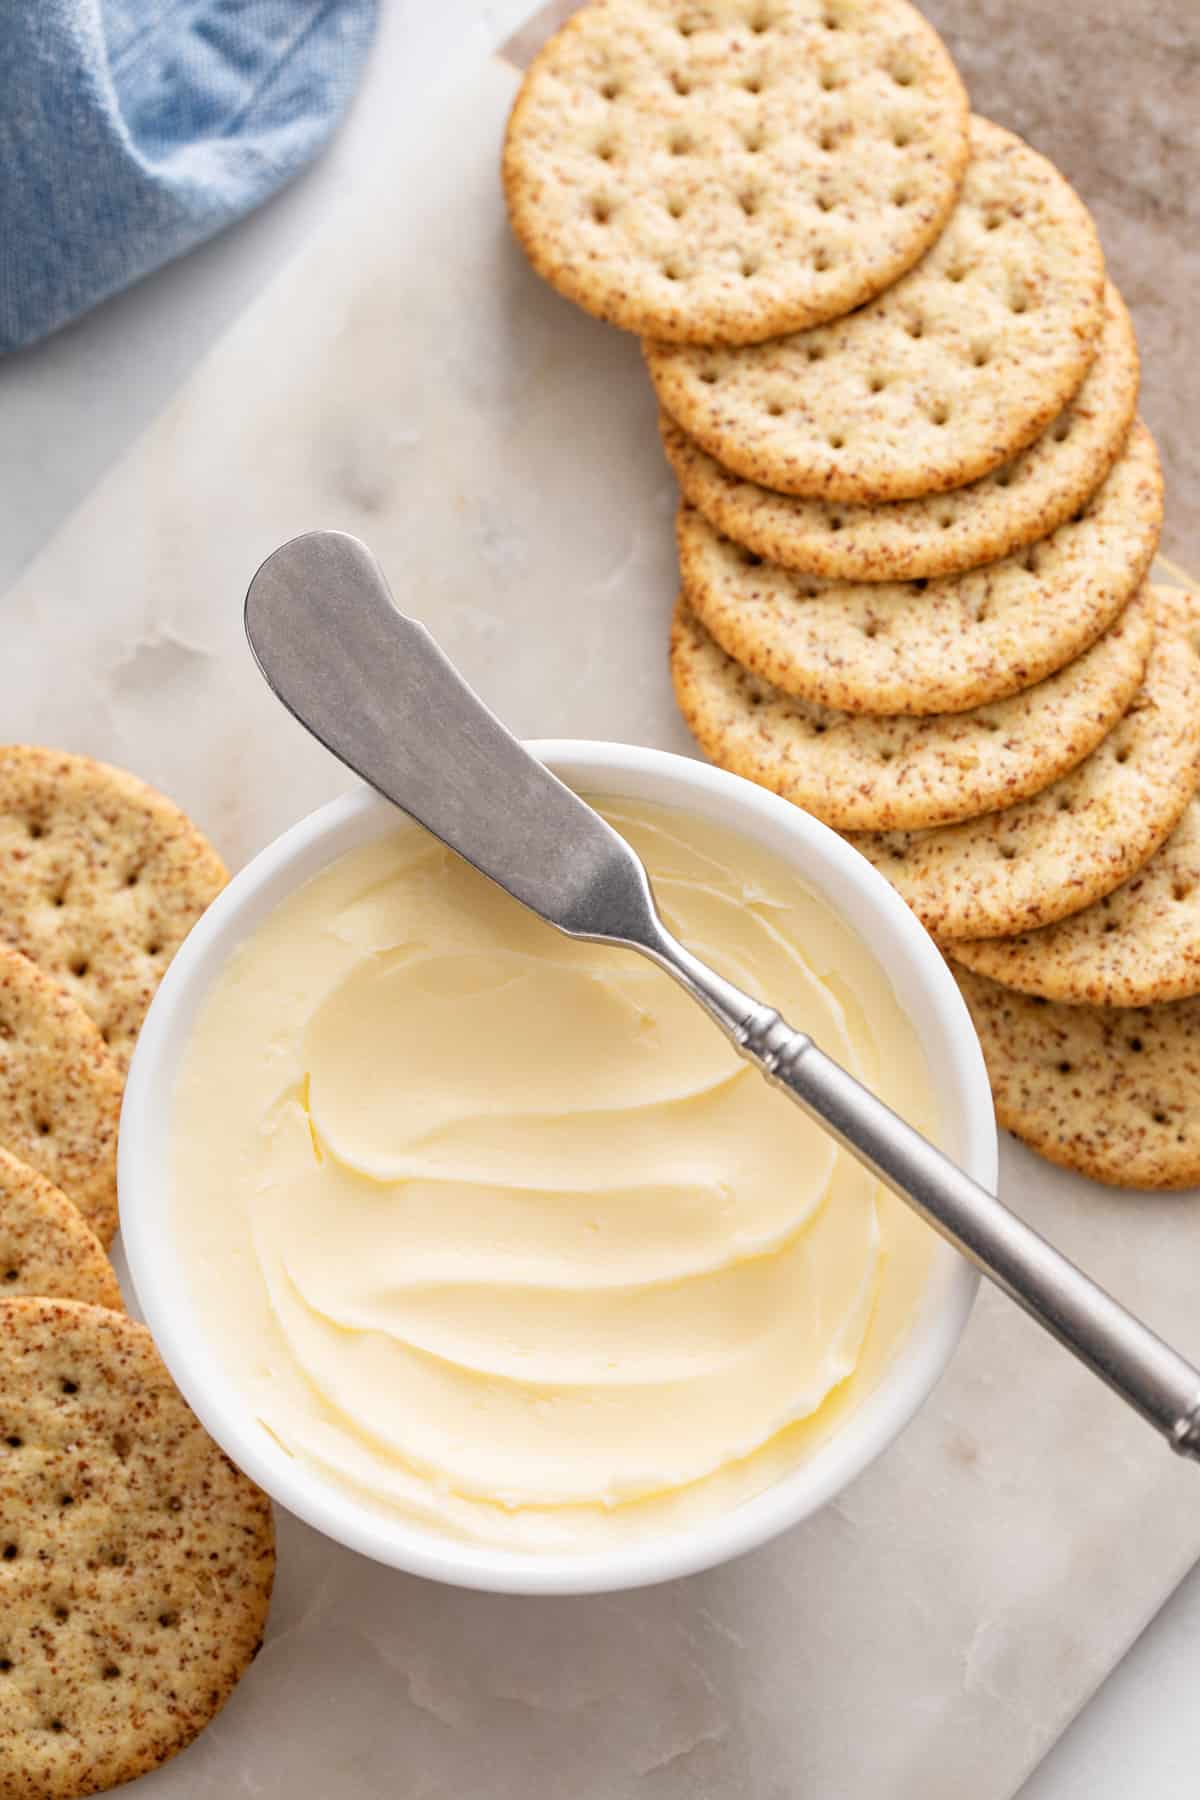
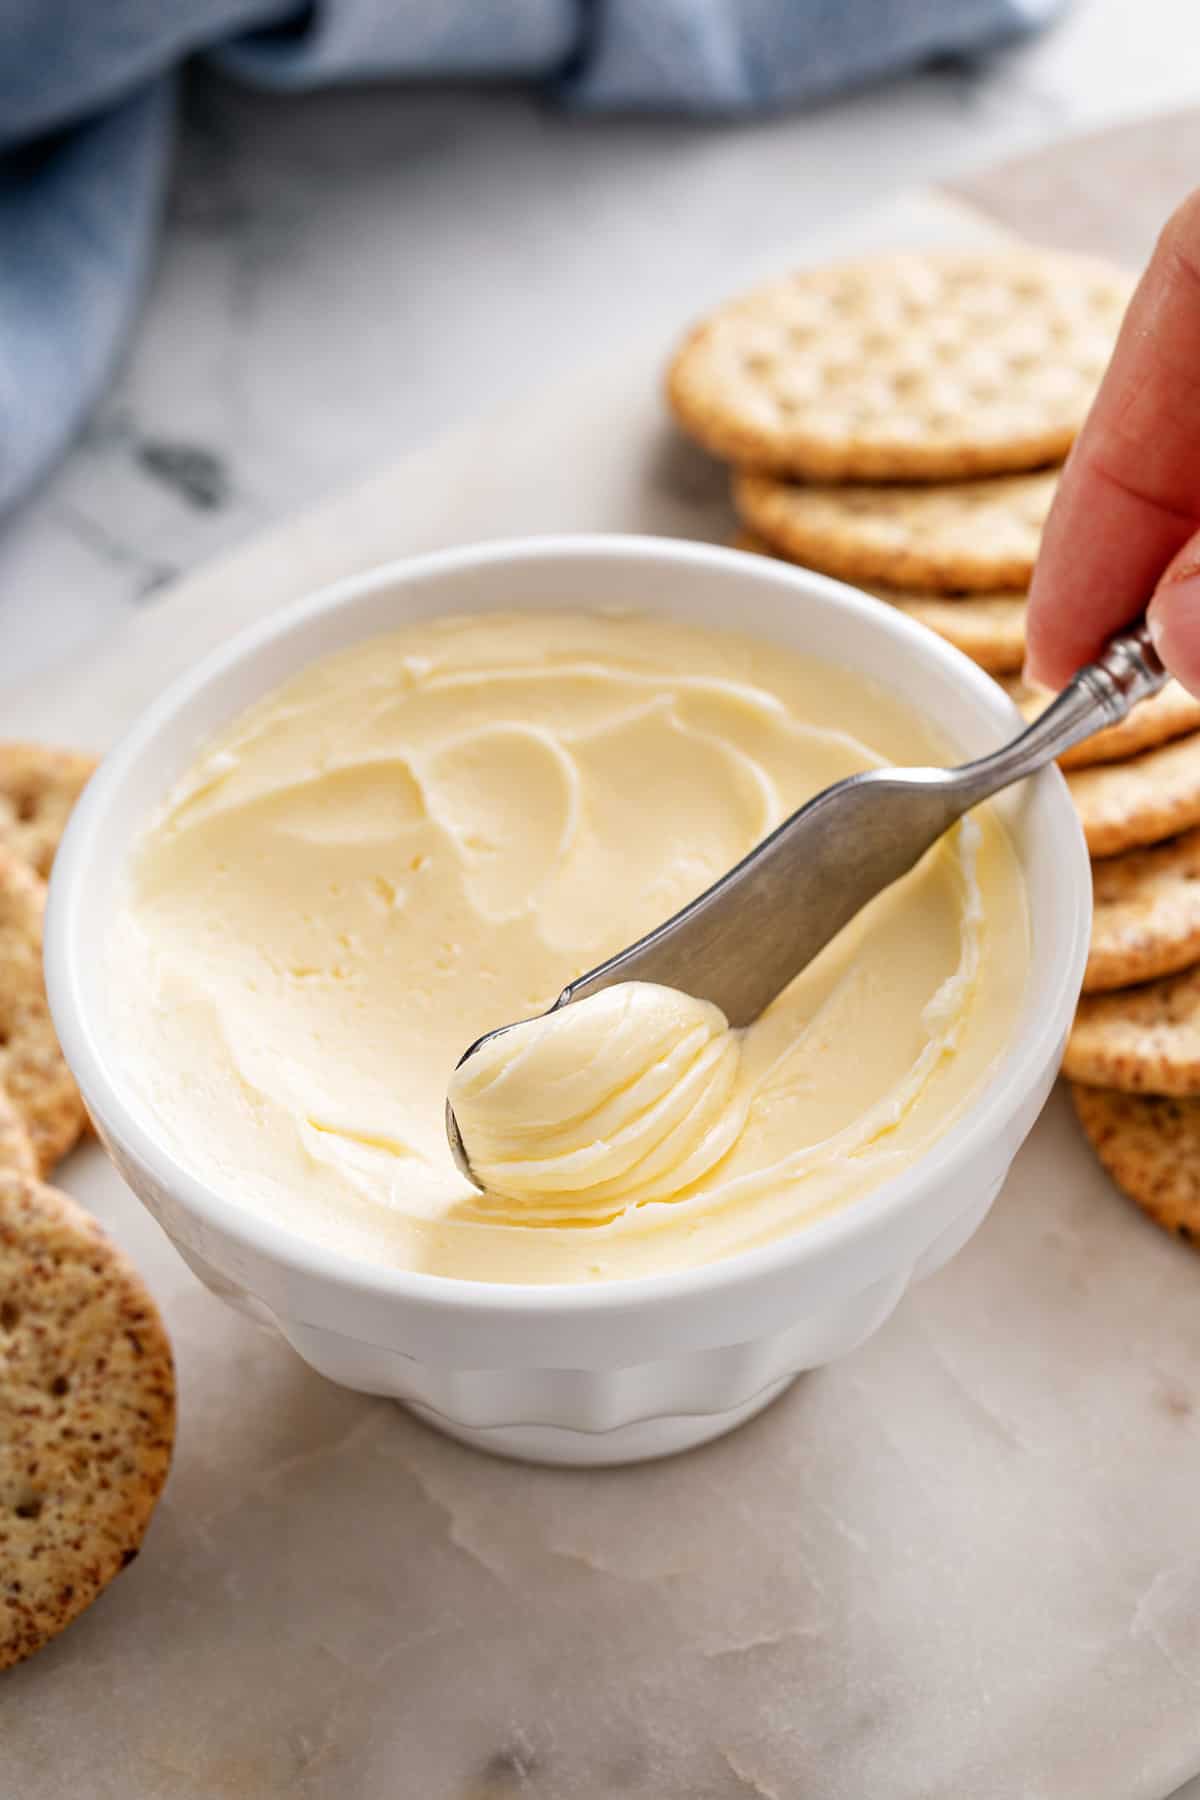
The only required ingredient for homemade butter is heavy cream.
That’s it!
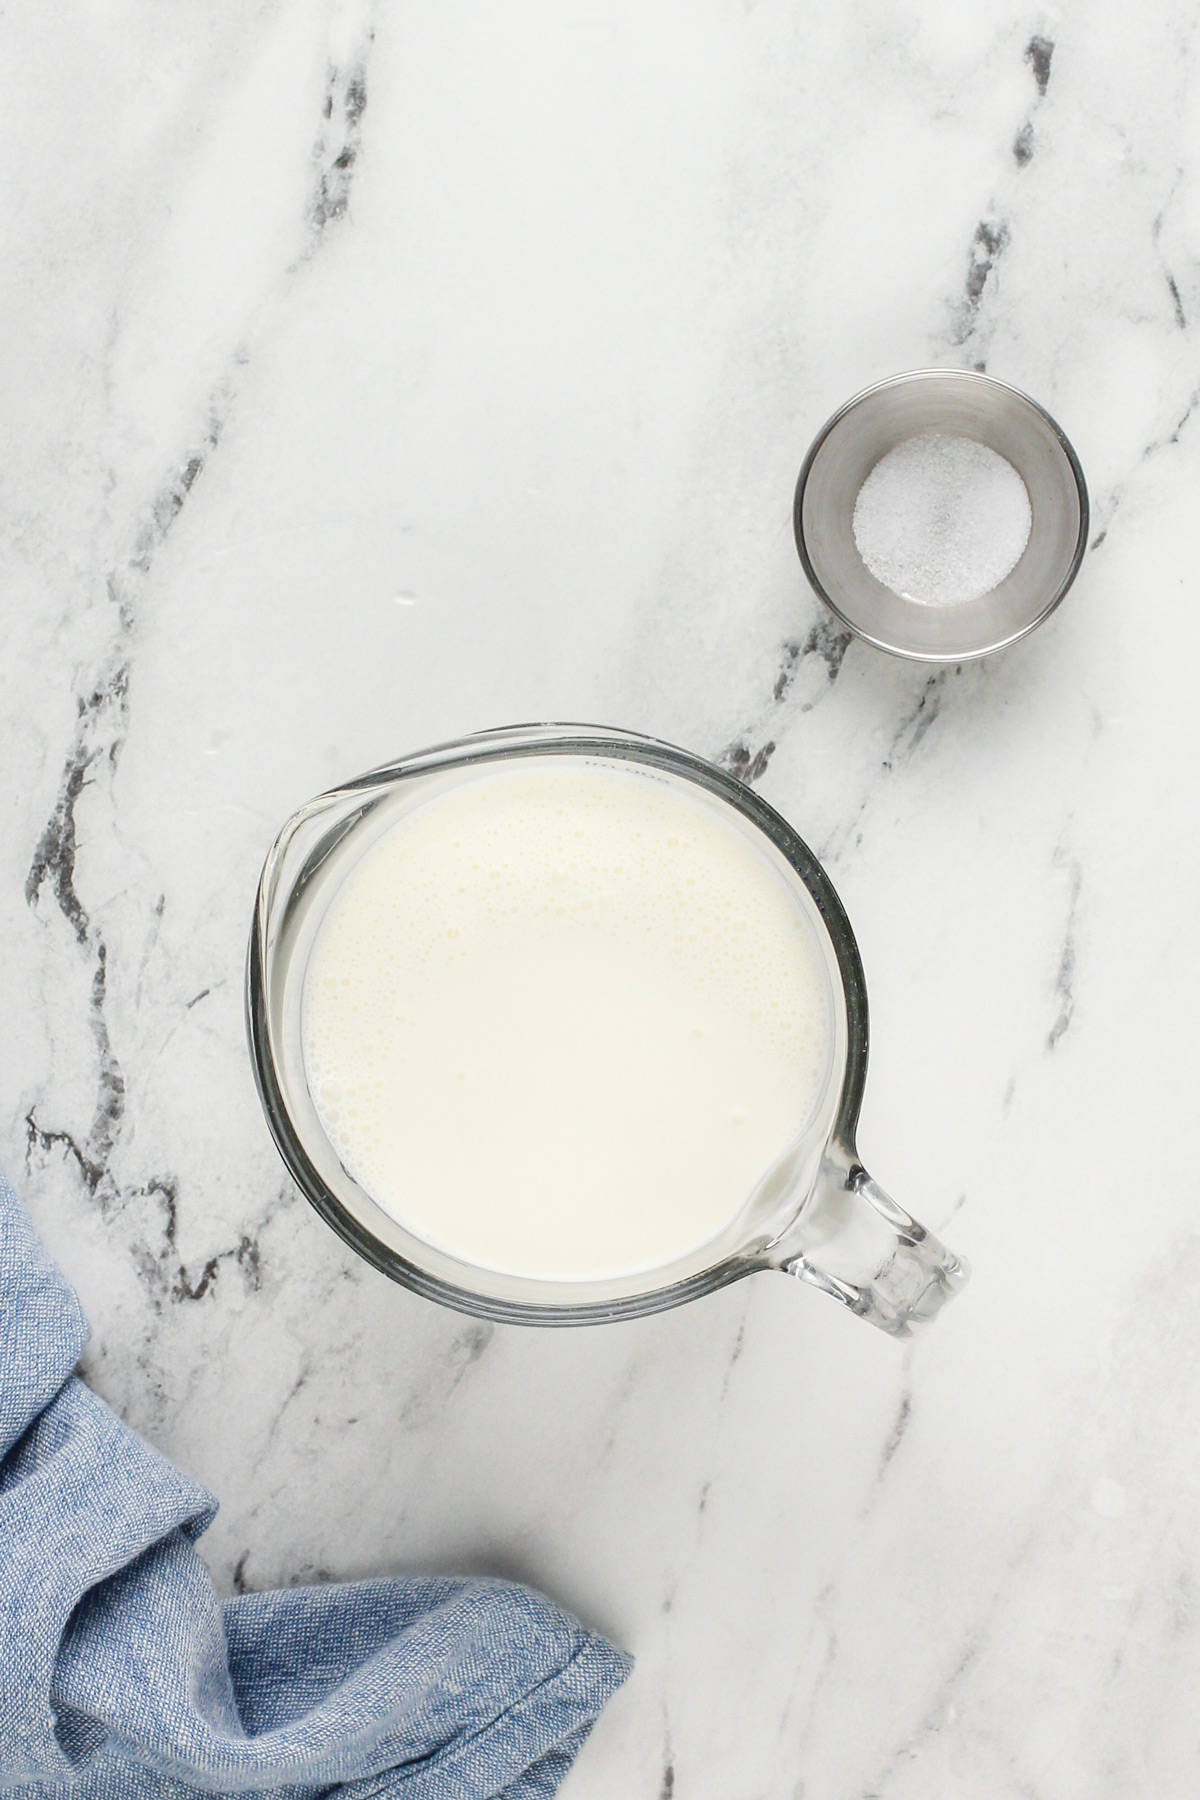
If you want to salt your butter, you’ll need anywhere from ¼ teaspoon to ½ teaspoon of salt per 16 ounces (2 cups/1 pint) of cream, but this is optional. We’ll also talk about more flavoring options in a minute.
Method 1: Making Butter in a Stand Mixer
The first method we’re going to talk through is using your stand mixer.
We can use our stand mixer to make homemade whipped cream, so we can absolutely use it to make butter, too. We just have to whip the cream a little bit longer!
How to do it
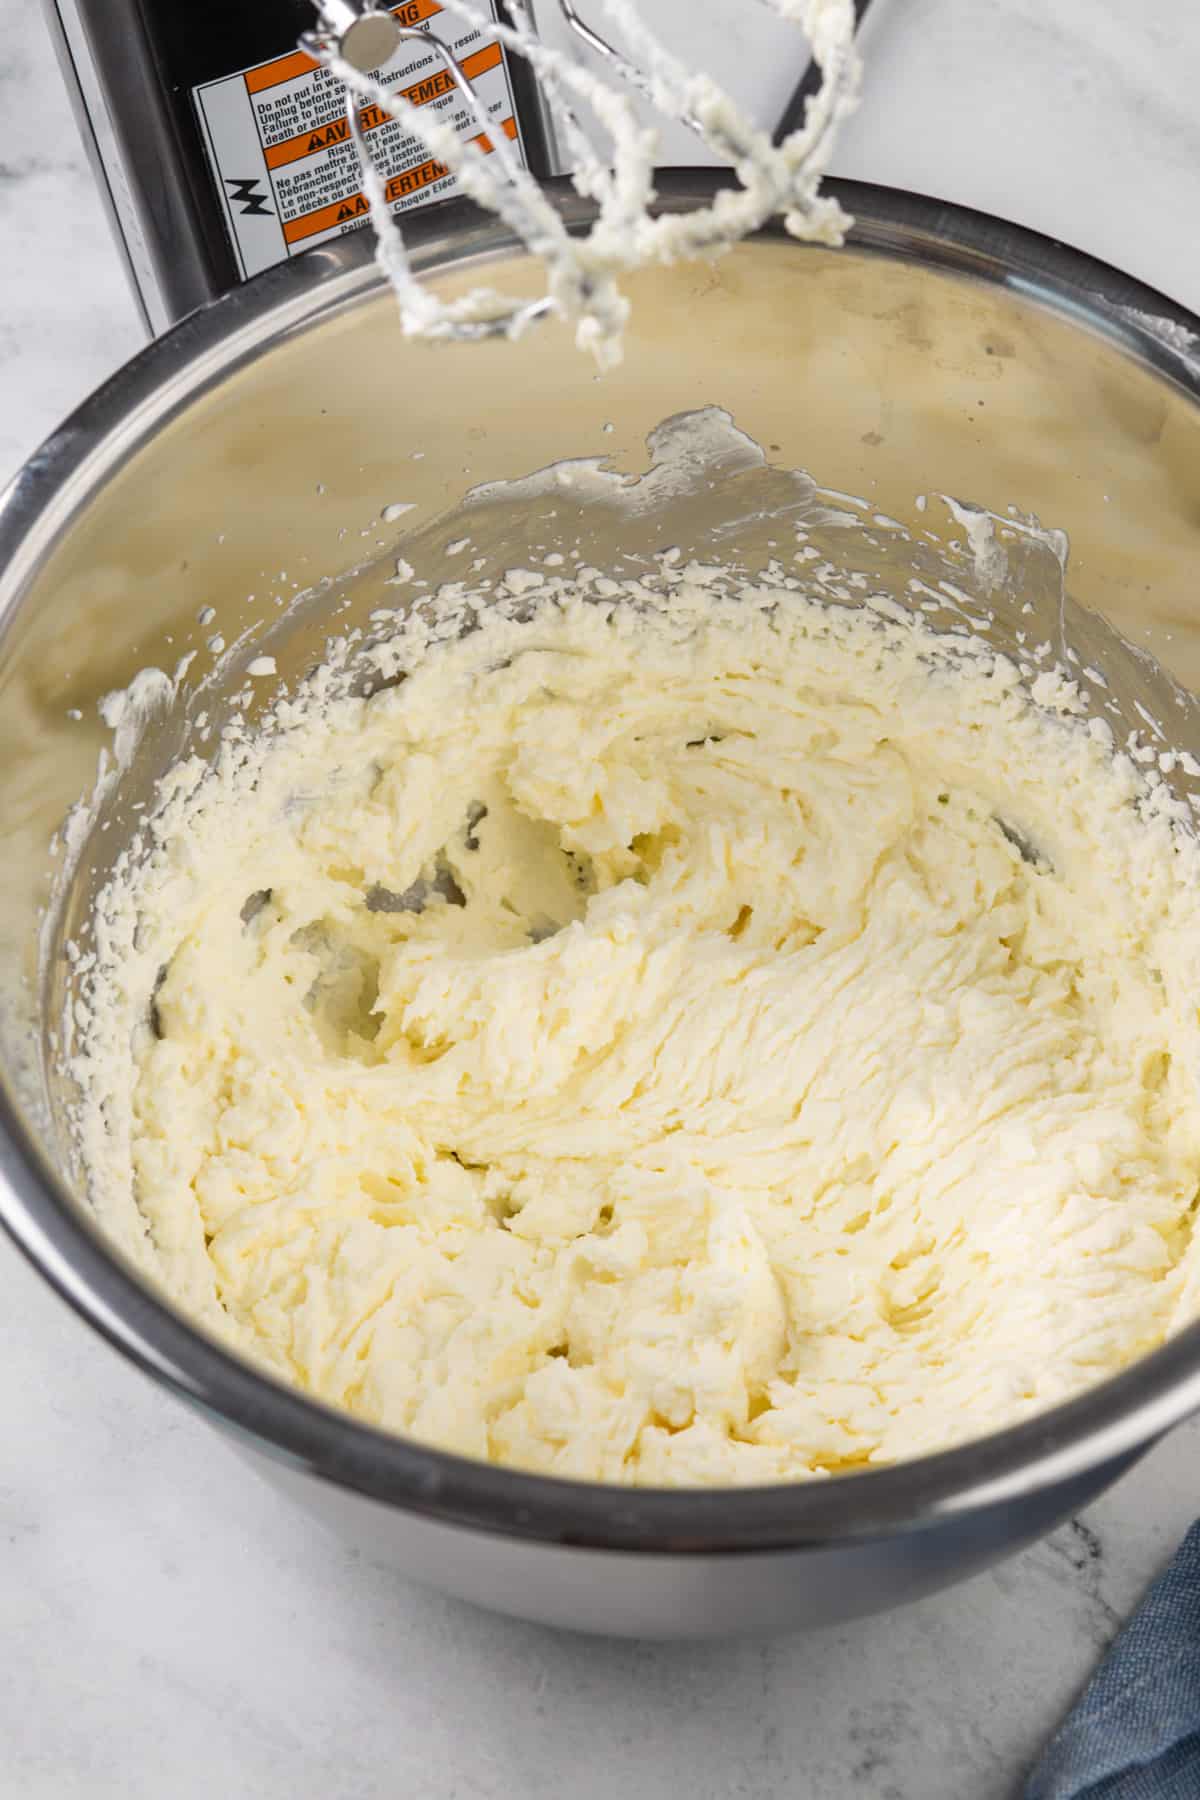
Start by pouring the cream into the bowl of your stand mixer fitted with the paddle attachment. Beat the cream on medium speed for about 1 minute.
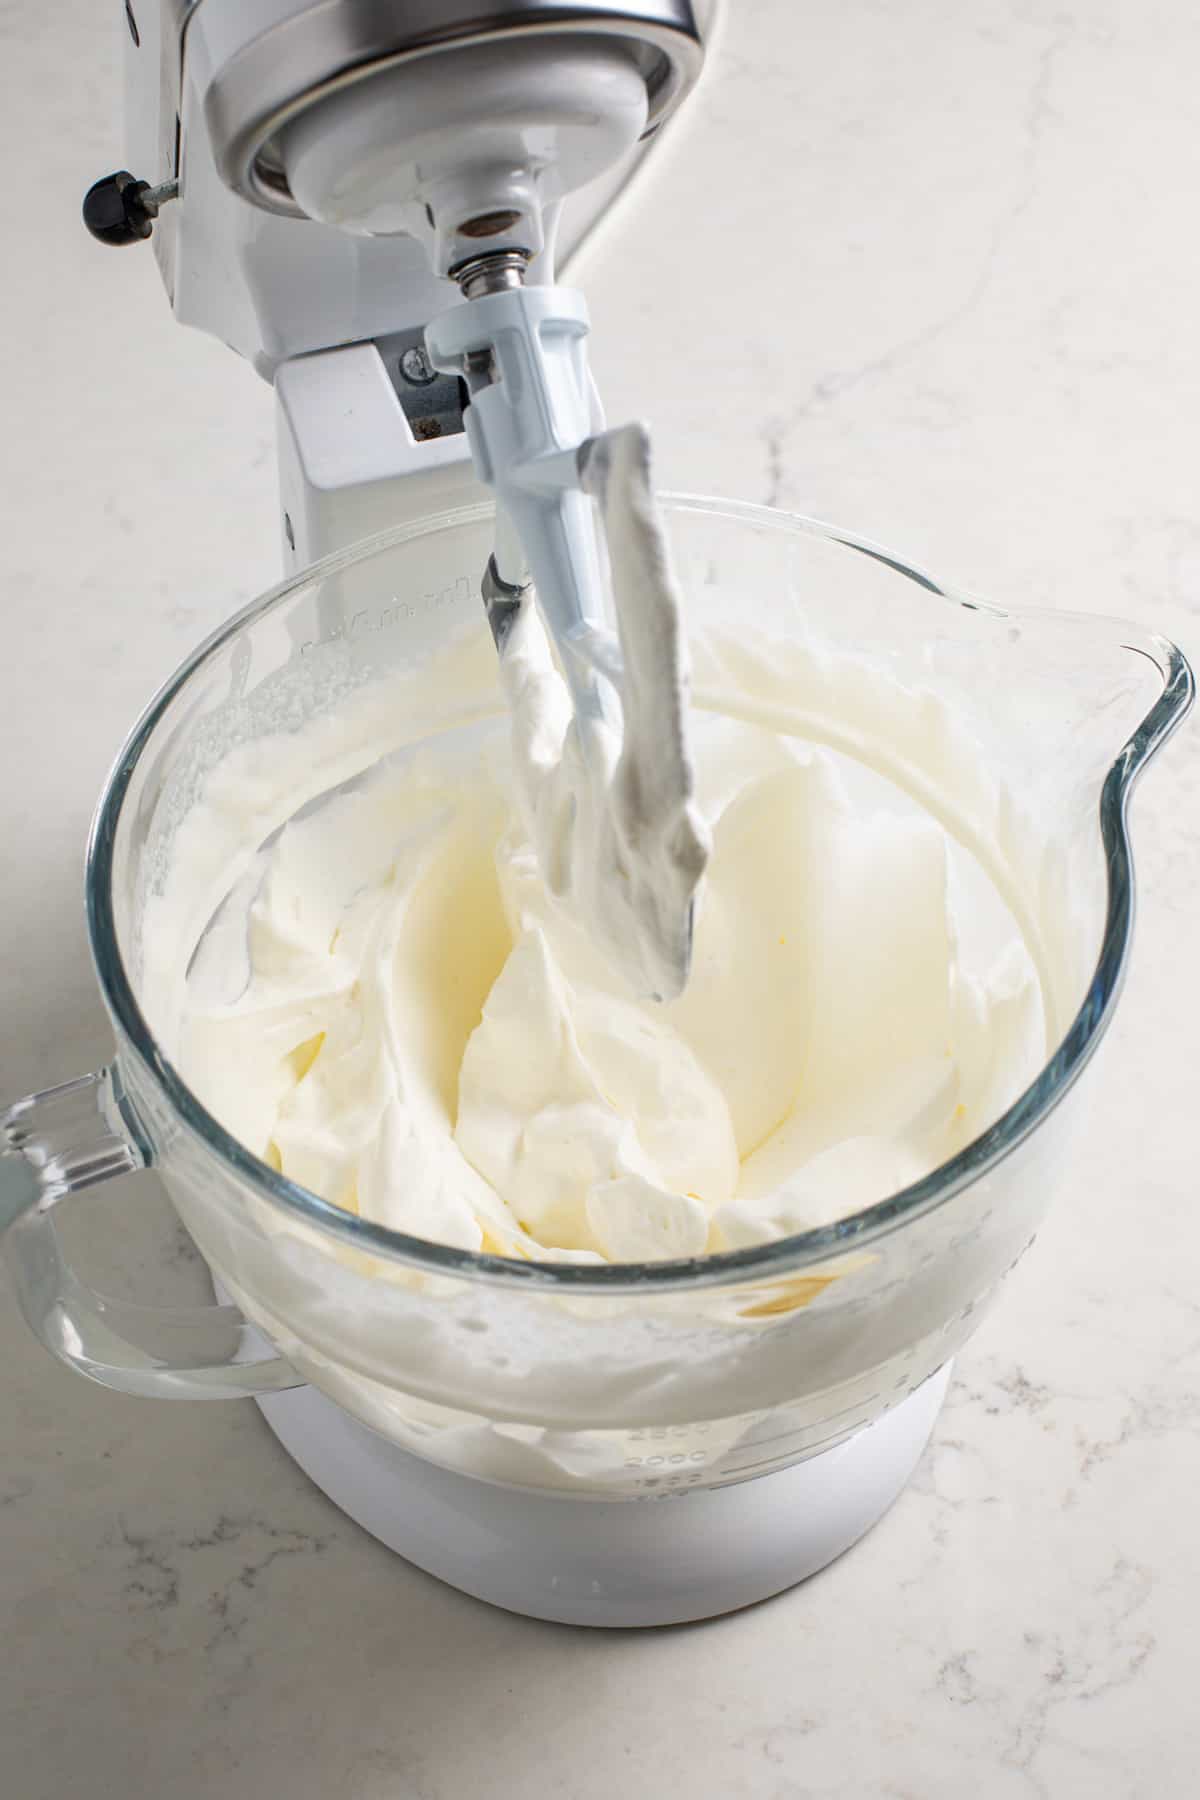
As the cream starts to thicken, bump up the mixer speed to medium high.
After about 5 minutes of mixing, the cream will start to separate. Keep going – you want to beat the mixture until the butter and buttermilk (the liquid) have fully separated from each other.
Since the buttermilk can splash out of the bowl in the last couple of minutes, you may want to drape a clean tea towel over the mixer to keep things clean.
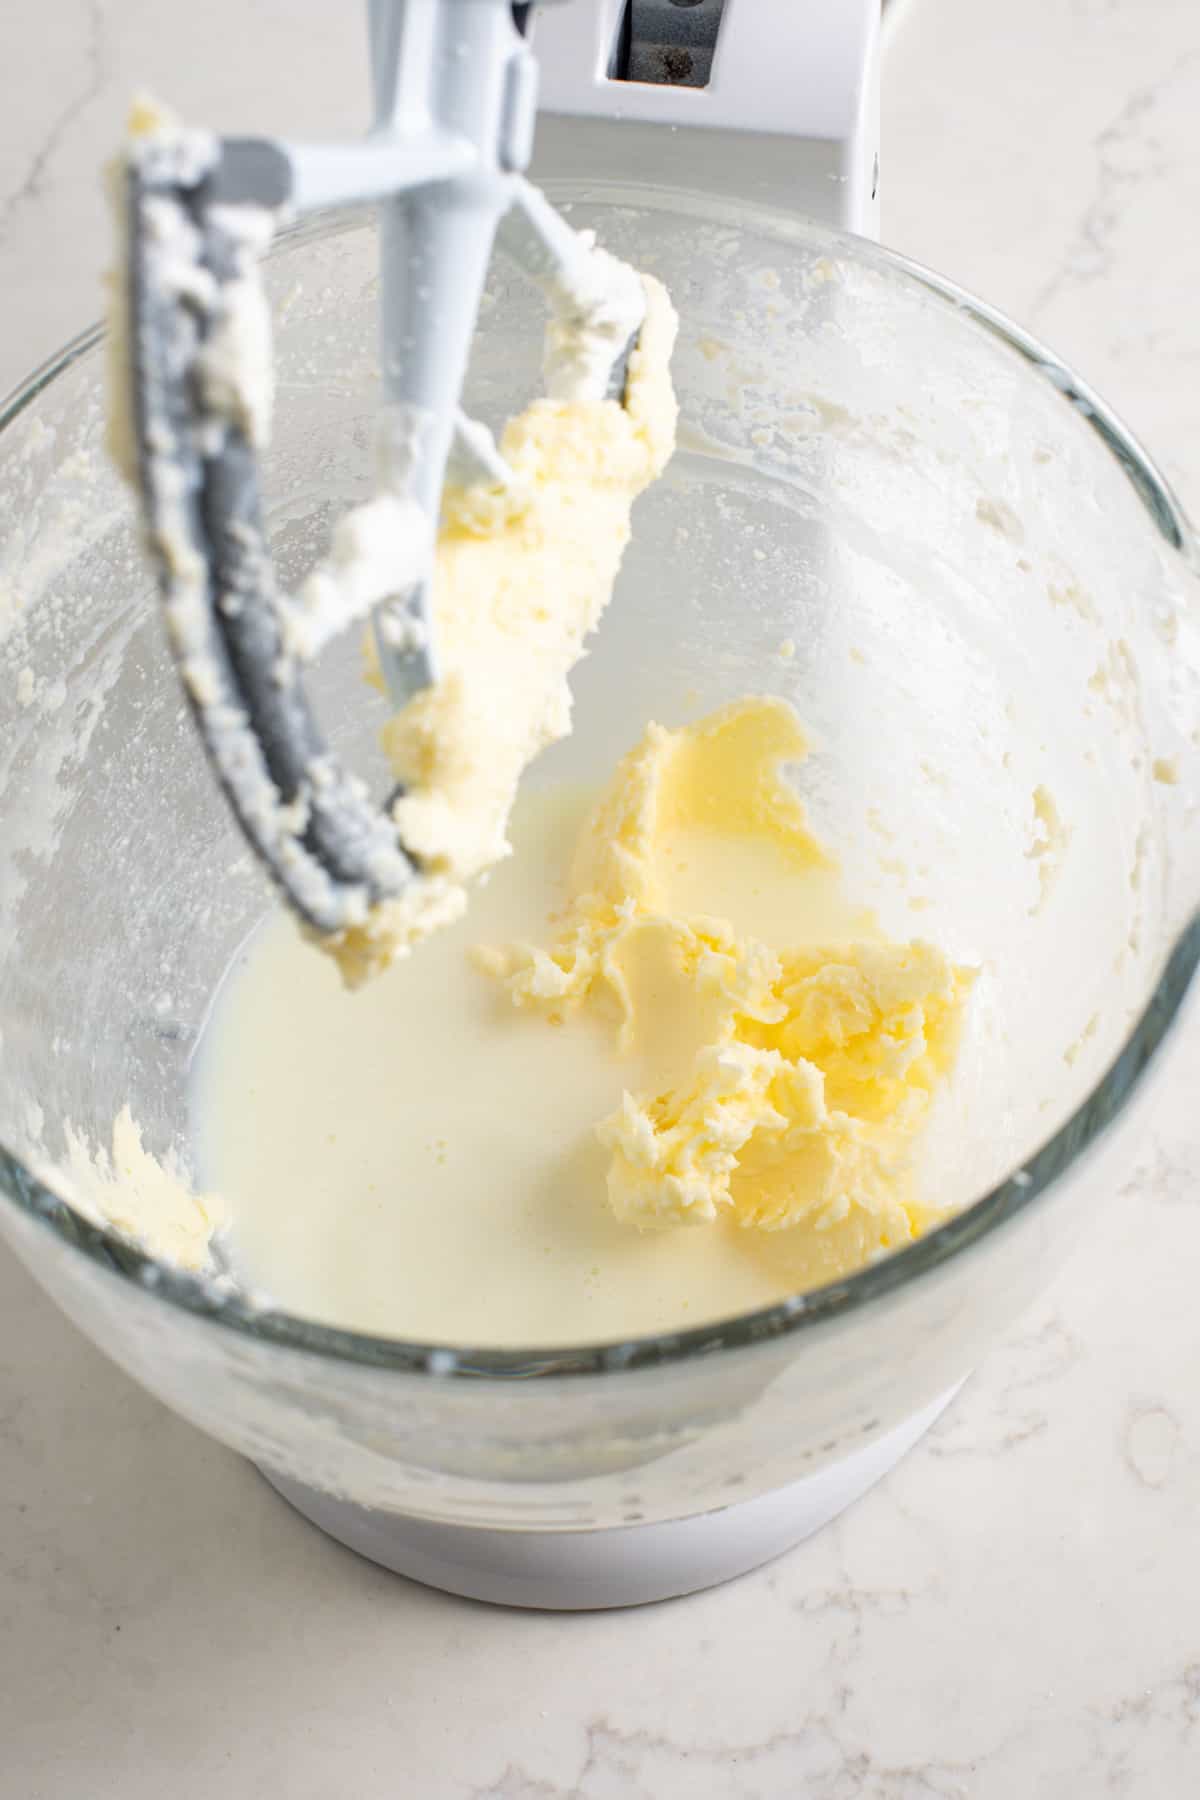
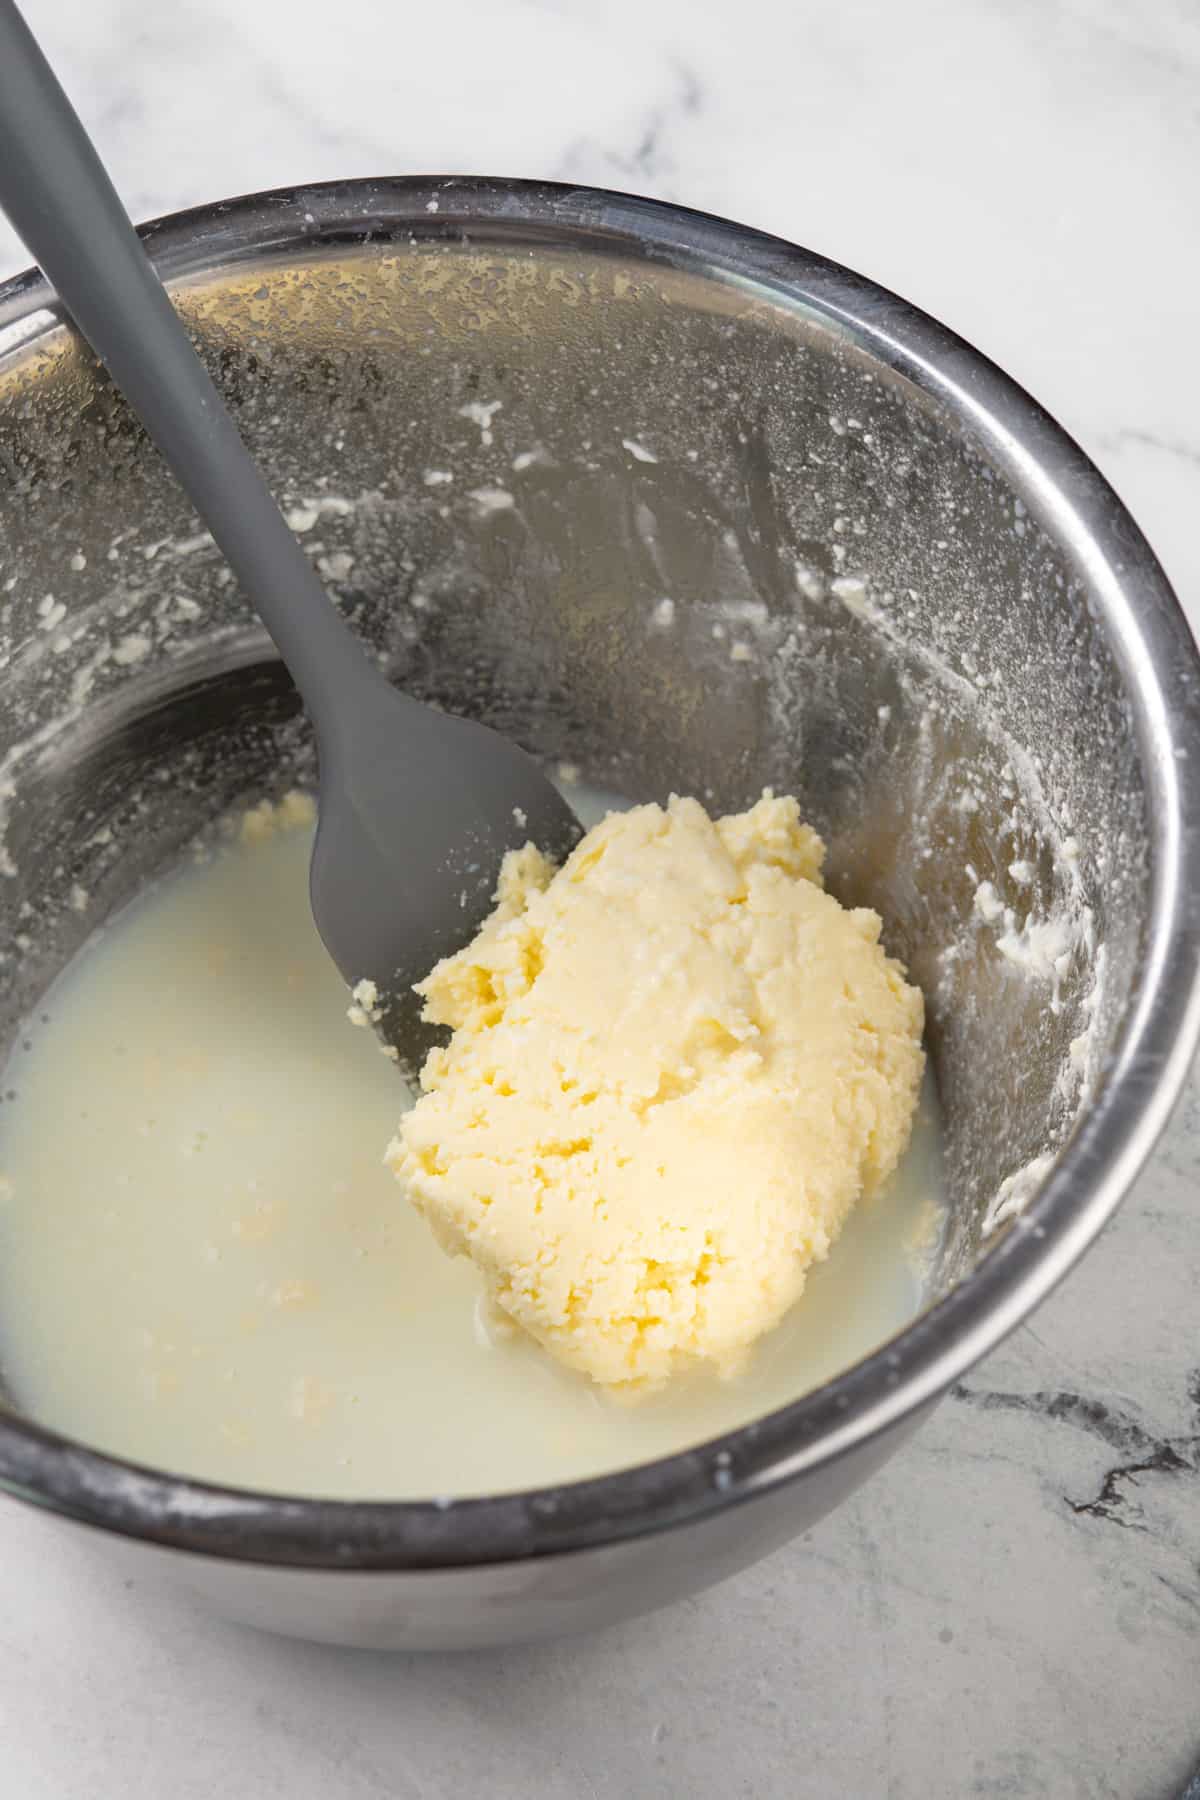
Once the butter solids and the buttermilk have separated, strain off the buttermilk with a fine mesh sieve. (Feel free to save this for use in another recipe!)
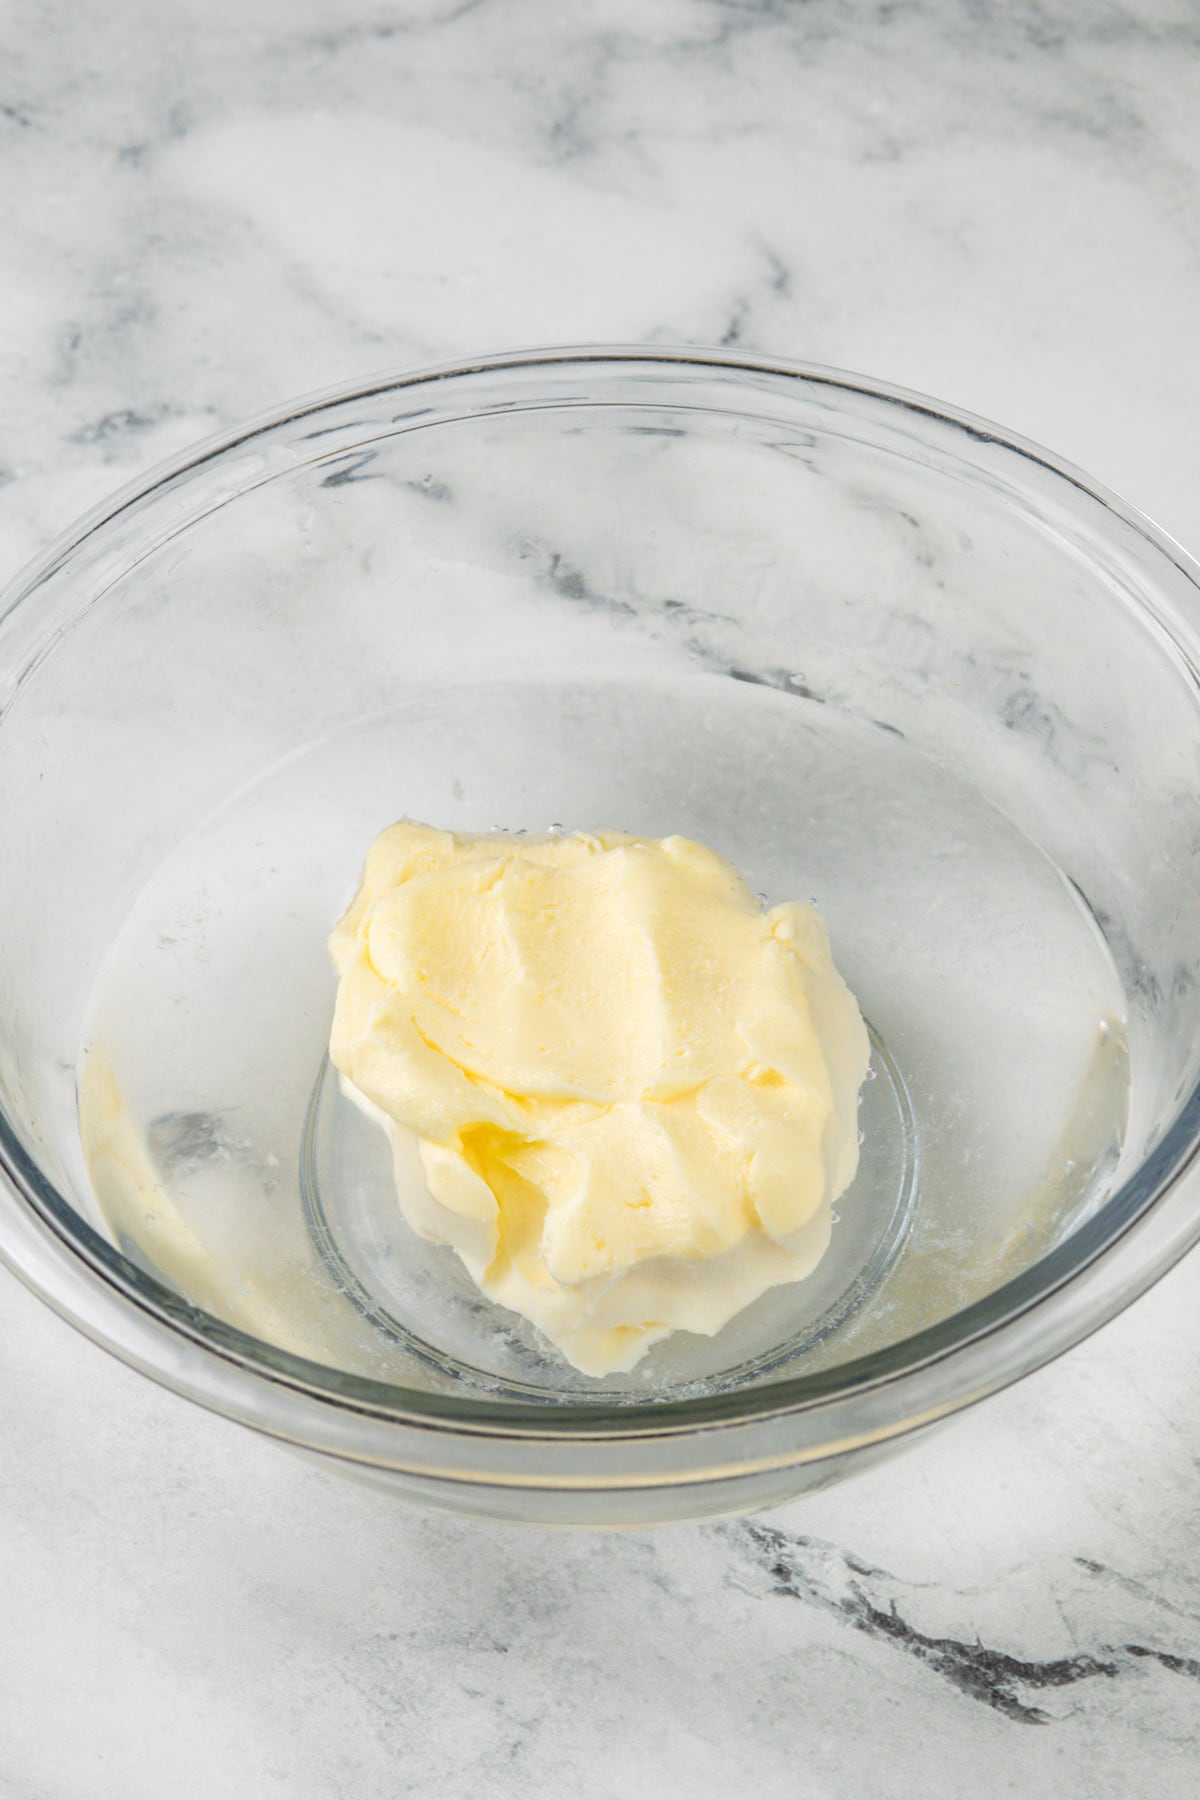
Now we need to “wash” the butter. Do this by placing the it in a clean bowl and covering it with cold water.
Use your hands or a spatula to knead the butter – the water will get cloudy as any excess buttermilk is pressed out. Pour off the cloudy water and repeat the process until the water stays clear.
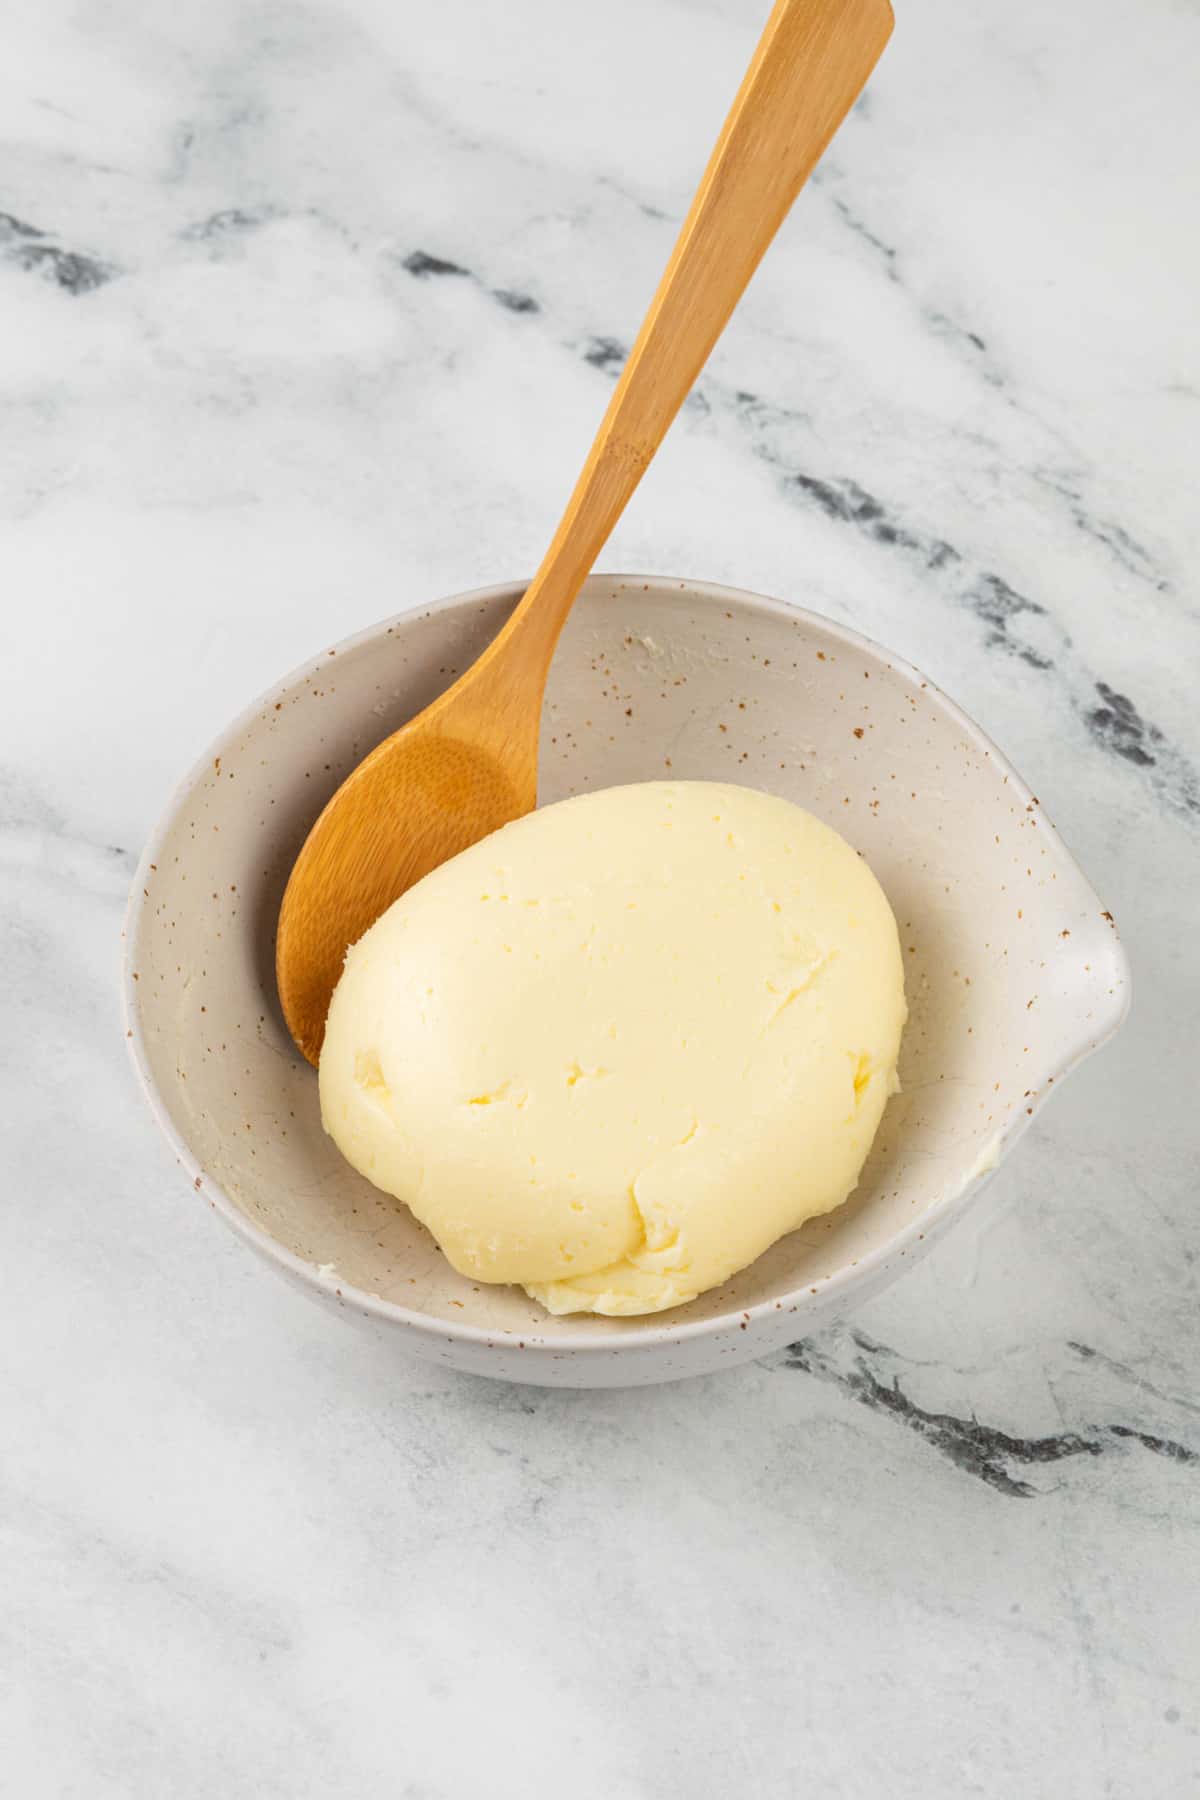
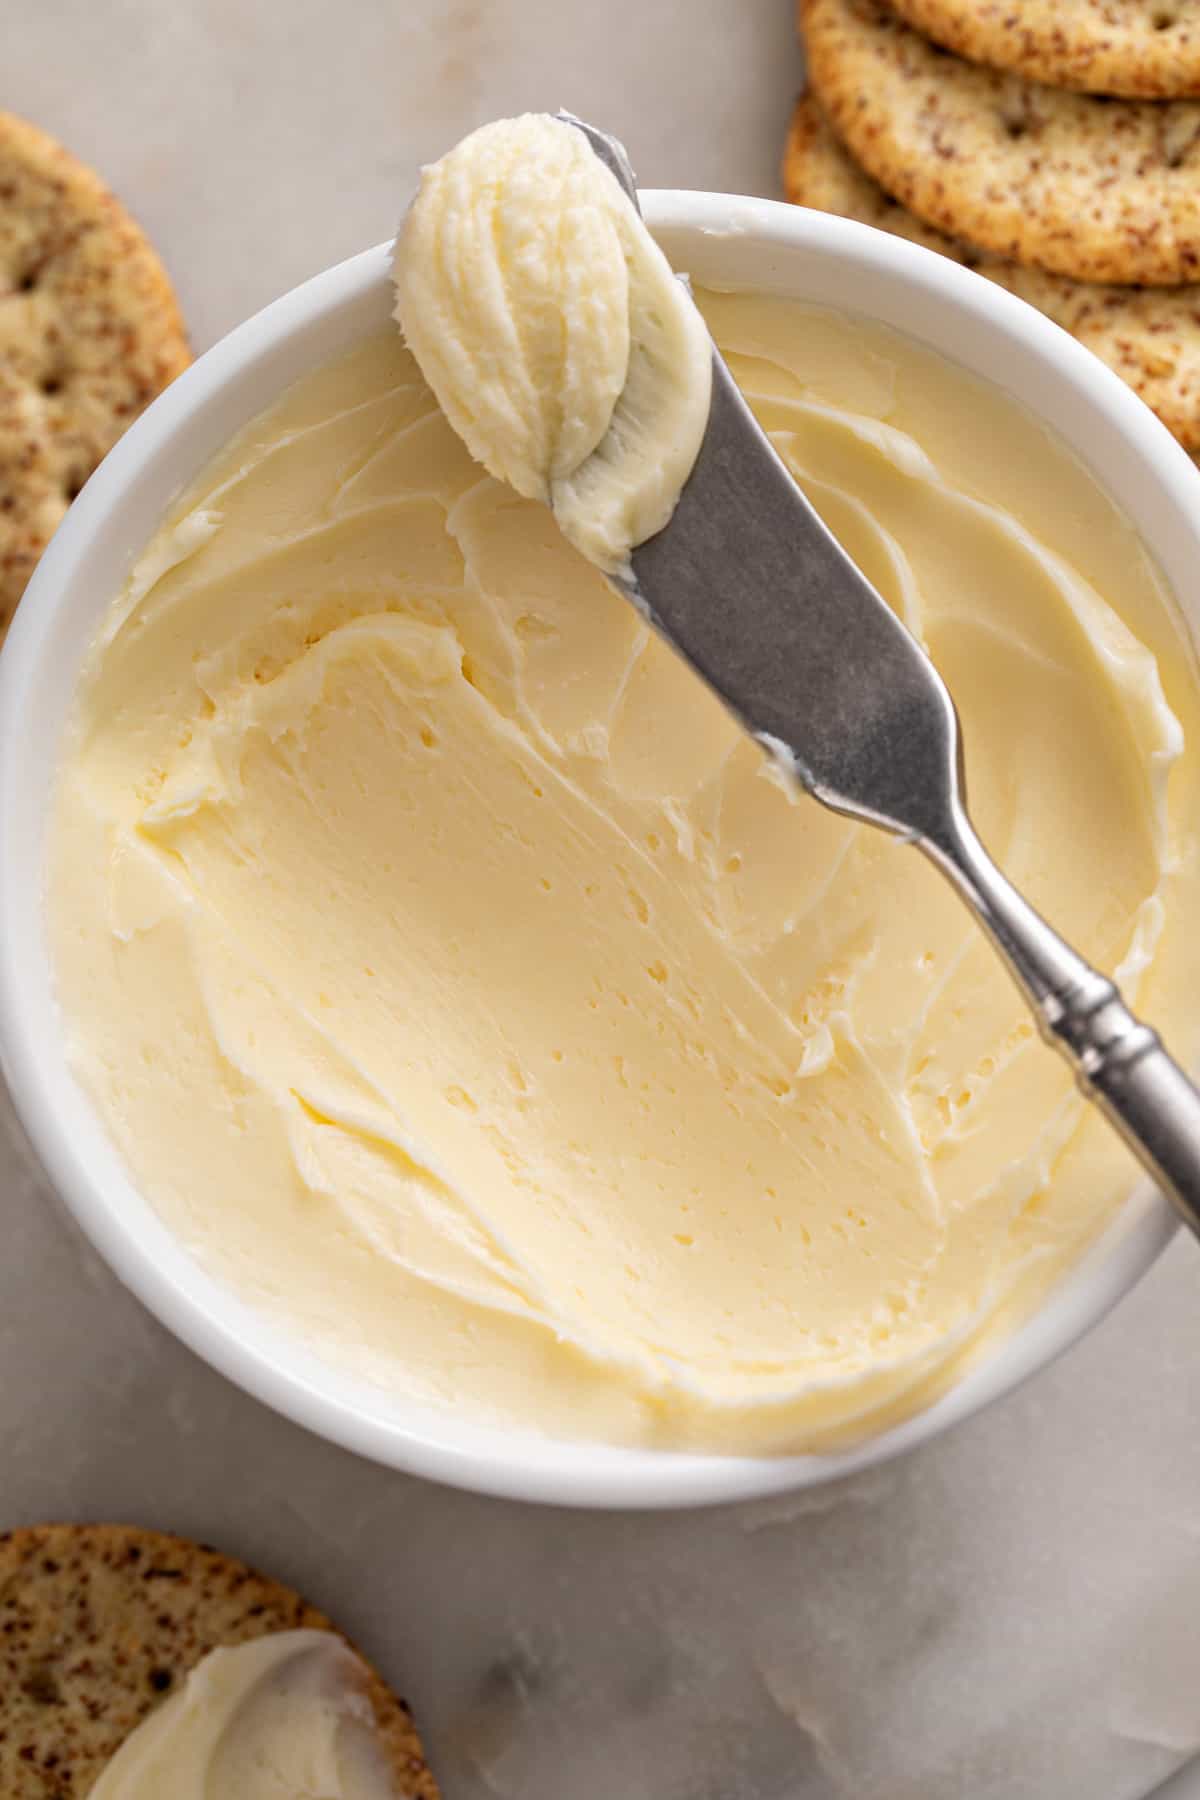
Now you can add salt if you like and voila! Homemade butter!
Method 2: Making Butter with a Hand Mixer
Don’t have a stand mixer? Don’t stress! You can use your hand mixer and a large mixing bowl instead.
How to do it
Add the cream to a large mixing bowl. Beat the cream with your electric hand mixer on medium-high speed until the mixture starts to separate, about 10 minutes.
Keep going until the butter and buttermilk have fully separated. This can get messy, so you might want to drape a clean tea towel over the top of your hands and the edges of the bowl, unless you don’t mind splatters of buttermilk getting everywhere.
Just like with the stand mixer method, now is when you will strain off the buttermilk and wash the butter.
Rinse in cold water until the water runs clear. This will probably take 2-4 rinses.
Add salt or any flavorings you desire and enjoy!
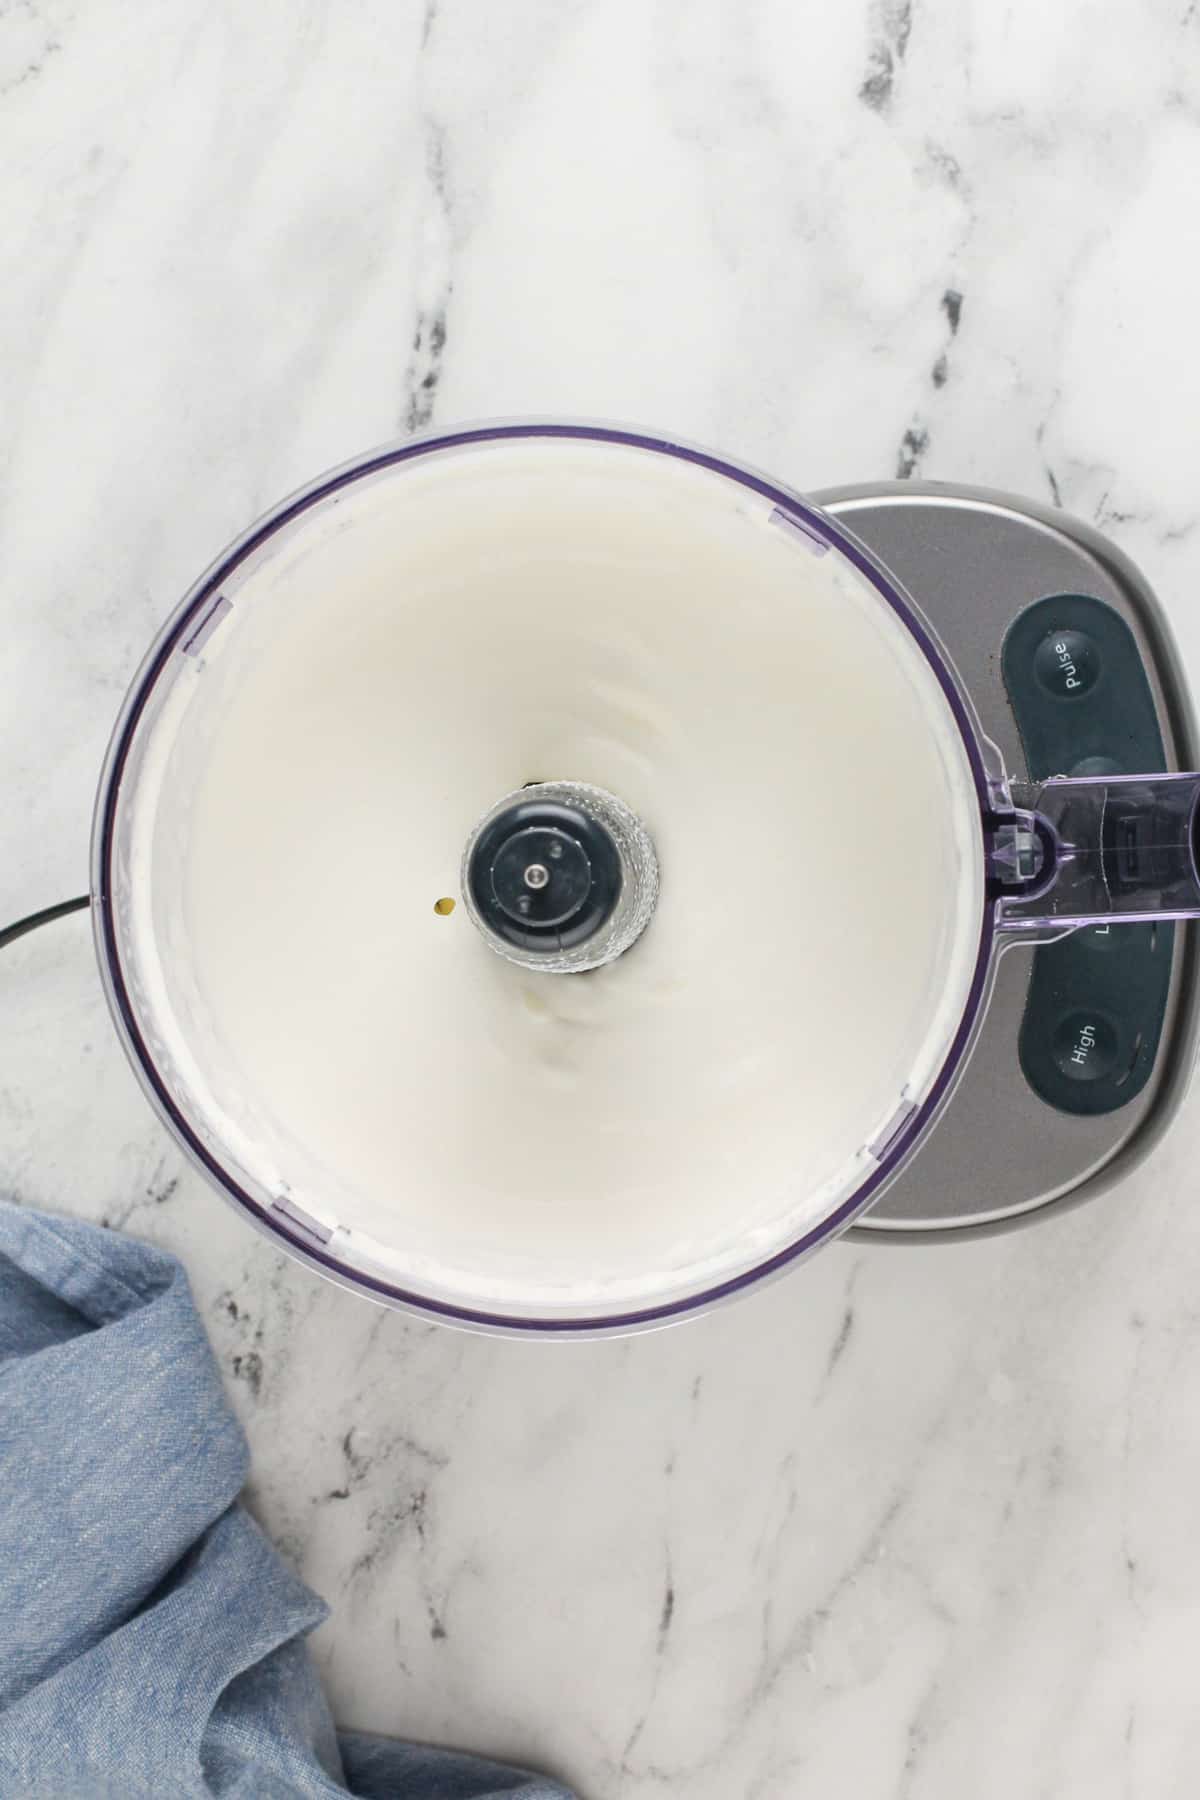
Method 3: Making Butter in a Food Processor
But what if you don’t have a stand mixer OR a hand mixer? Well, that’s where your food processor comes in handy!
This might actually be my favorite method because it is the quickest and the least messy, since the lid of the food processor keeps the buttermilk from splashing all over the kitchen.
How to do it
Add the cream to the bowl of your food processor. Run the food processor on high speed until the butter and buttermilk separate. This takes about 5 minutes.
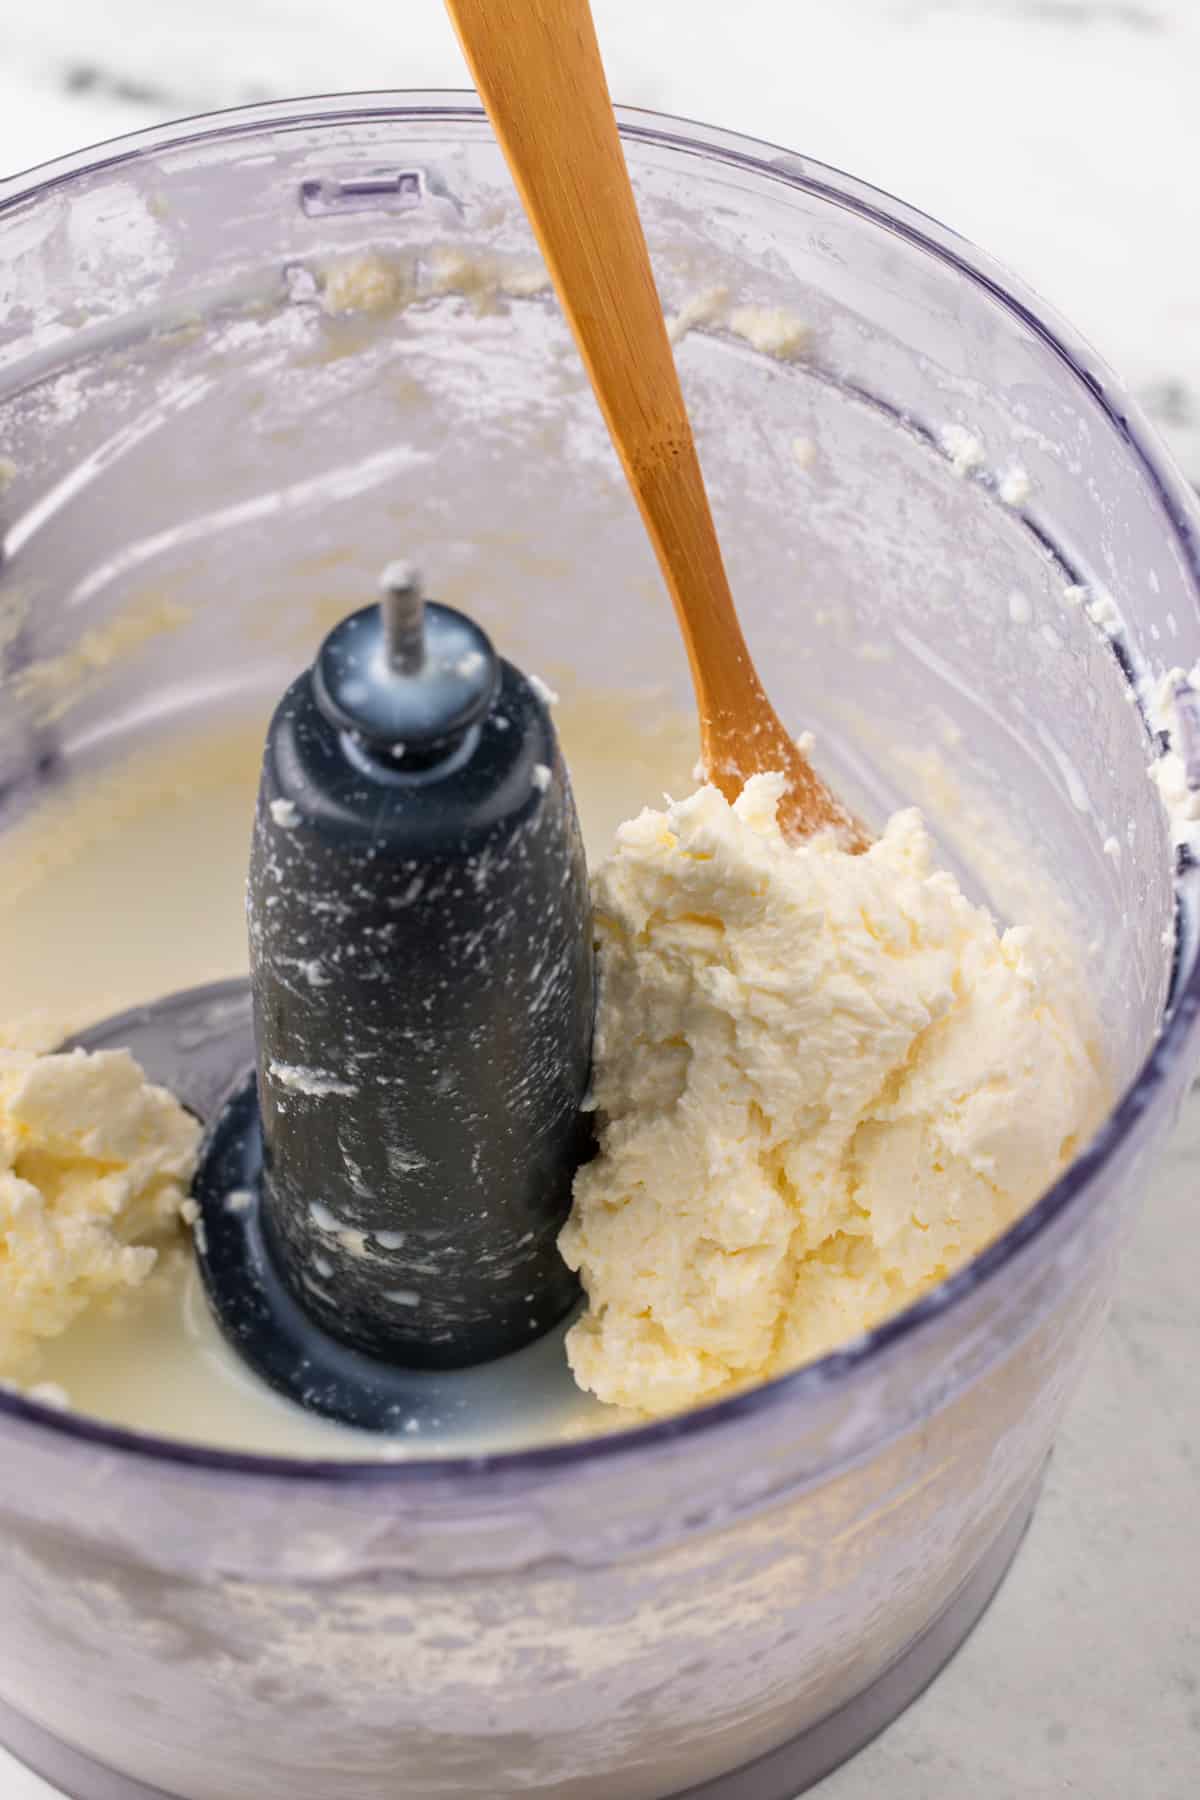
Now you can strain off the buttermilk and wash the butter in cold water until the water runs clear.
Add salt, if desired, and enjoy!
Pin this now to find it later
Pin ItFlavoring Ideas and Options
So, now you know how to make butter, but what can you do with it?
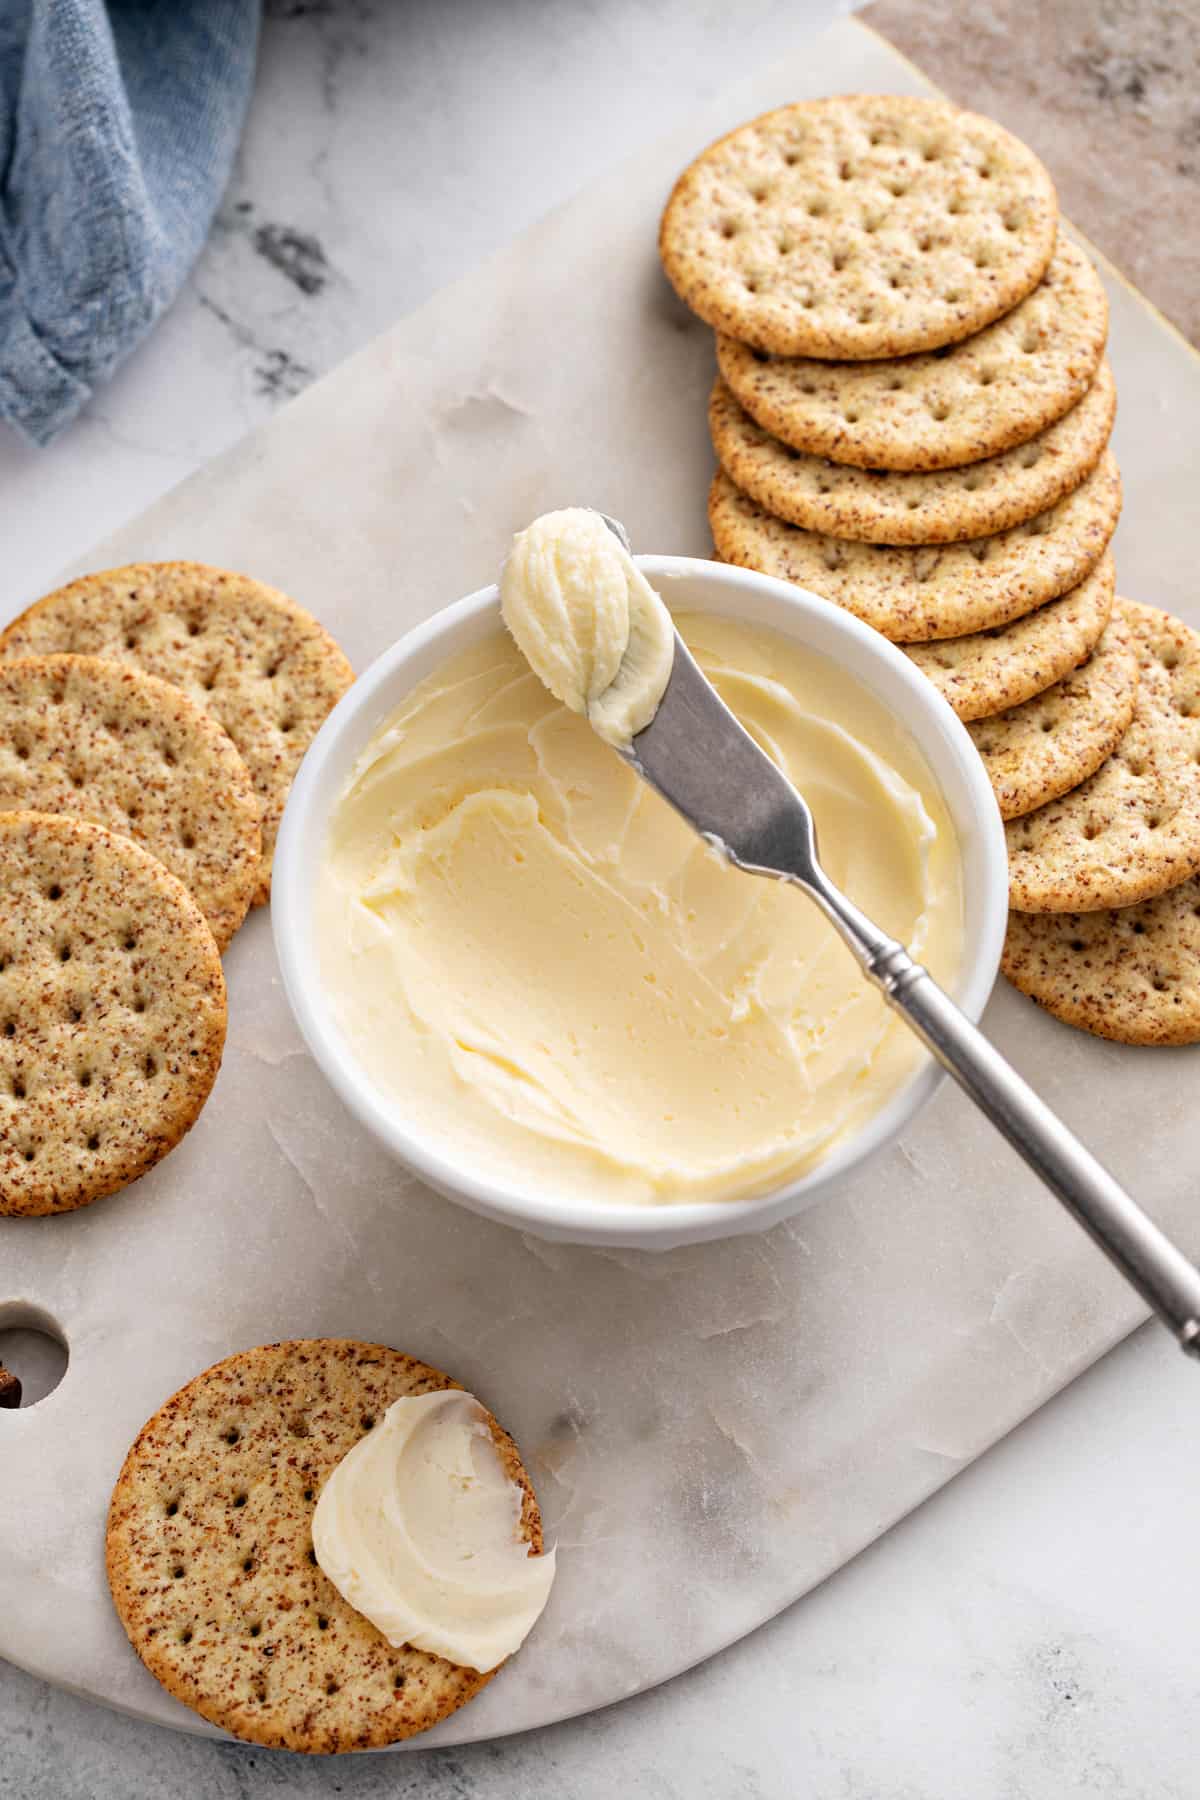
Well, your options are endless! You can leave it unsalted and use it in any of your favorite baking recipes, from cadbury egg cookies to cinnamon roll cake.
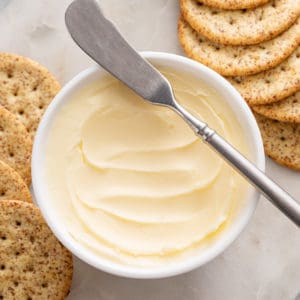
Add some salt and slather it on top of a slice of english muffin bread or a banana nut muffin.
But don’t stop there. There are all kinds of ways you can flavor your butter and turn it into a delicious compound butter!
- Roasted garlic is one of my favorite things to add to fresh butter! Try this on parker house rolls or on top of a steak.
- Fresh herbs are always a great flavoring option. Mix and match your favorite herbs, such as chives, rosemary, thyme, parsley, or tarragon to create your own flavor combos. Make sure to finely chop the herbs, especially woodier herbs such as rosemary.
- Some citrus zest is delicious, too! Add a bit of lemon zest along with some herbs to bring a bit of brightness to the mix.
- Add some powdered sugar and maraschino cherries for a sweet whipped cherry butter that’s incredible on dinner rolls.
- For another sweet option, try a copycat of Texas Roadhouse’s cinnamon honey butter.
And those ideas are only the beginning!
Storage and Freezing
Store your homemade butter wrapped in waxed paper or in a jar in the refrigerator for up to 2 weeks.
If you have a butter bell, you can store salted butter at room temperature so it is always ready to spread onto your morning toast.
You can, of course, store it in the freezer for several months. Just make sure to wrap it well and label it with the date it was made!

FAQs
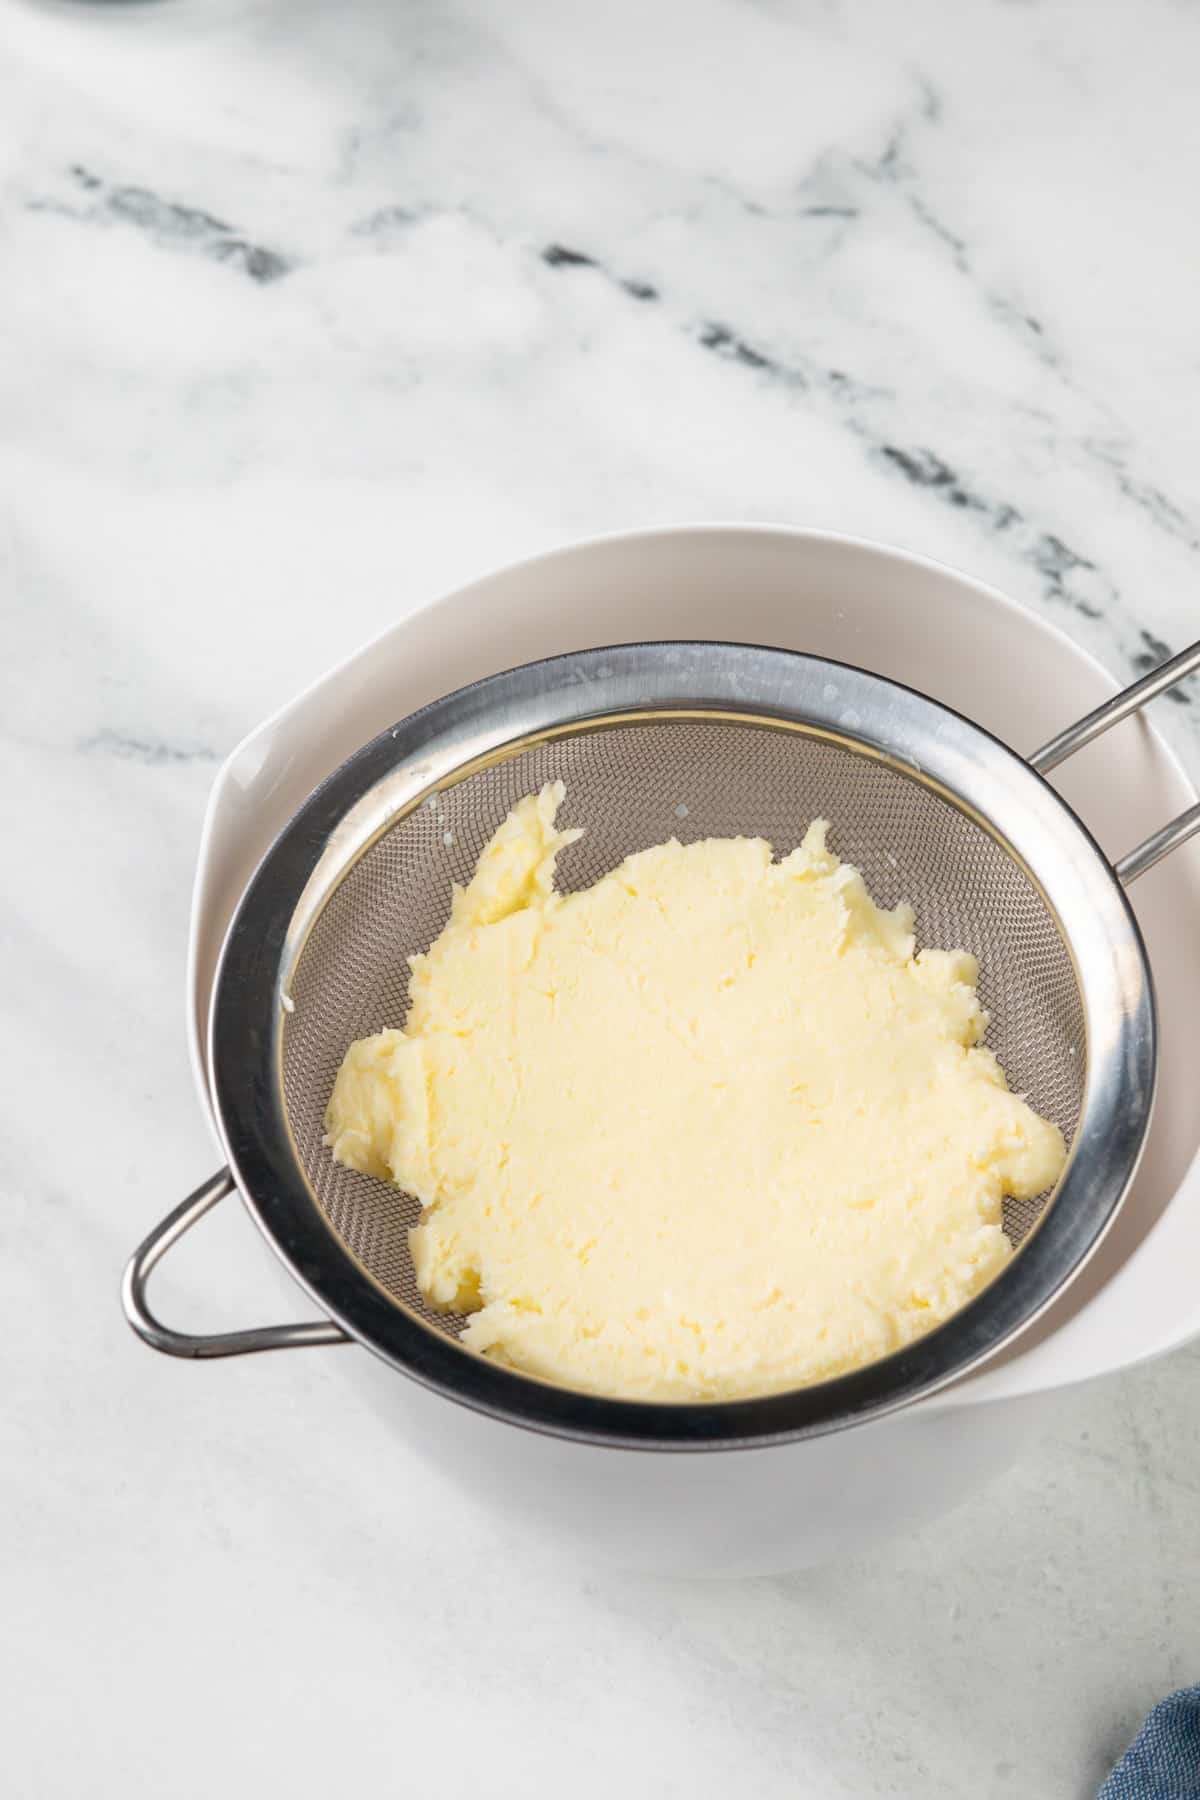
Washing the butter (rinsing it in cold water to remove any excess buttermilk) is not strictly necessary. However, taking this extra step will help the butter to have a longer shelf life.
If you don’t want to bother with the washing process, simply press it with a spatula in a fine mesh sieve to help push out some of the excess buttermilk.
You can discard the buttermilk that comes off as a byproduct of making your own butter, or you can use it.
It’s important to note, though, that this buttermilk is different from the cultured buttermilk you get at the grocery store. It’s more like skim milk with a very slight tang to it.
You can still use it in baking, but you will want to use it in place of regular milk, since it does not have the acidity of cultured buttermilk.
If you want, you can make homemade cultured buttermilk yourself so you can use it in recipes such as buttermilk drop biscuits and buttermilk pancakes!
Homemade Butter
Ingredients
- 16 ounces heavy cream
- Sea salt to taste usually anywhere from ¼ to ½ teaspoon, optional
Video
Instructions
In a stand mixer:
- Pour the cream into the bowl of a stand mixer fitted with the paddle attachment. Beat on medium speed for about 1 minute. Once the cream starts to thicken, increase the speed to medium-high and continue beating.
- After about 5 minutes, the cream will start to separate. Continue beating until the butter and the buttermilk have fully separated. You may want to drape a tea towel over the mixer to keep the buttermilk from splashing onto you during the last couple of minutes.
- Using a fine mesh sieve, strain off the liquid.
- Place the butter in a clean bowl and cover with cold water. Use a spatula or your hands to knead the butter, pressing out any remaining buttermilk. Repeat this process until the water is clear.
- Place the butter on a plate and, if desired, stir in the salt.
Using an electric hand mixer:
- Pour the cream into a large mixing bowl. Using your electric hand mixer, beat at medium-high speed until cream starts to separate, about 10 minutes
- Continue beating until the butter and the buttermilk have fully separated. You may want to drape a tea towel over the top of your hands and the edges of the bowl to keep the buttermilk from splashing onto you during the last couple of minutes.
- Using a fine mesh sieve, strain off the liquid.
- Place the butter in a clean bowl and cover with cold water. Use a spatula or your hands to knead the butter, pressing out any remaining buttermilk. Repeat this process until the water is clear.
- Place the butter on a plate and, if desired, stir in the salt.
In a food processor:
- Pour the cream into the bowl of a food processor. Process on high speed until the butter and buttermilk separate, about 5 minutes.
- Using a fine mesh sieve, strain off the liquid.
- Place the butter in a clean bowl and cover with cold water. Use a spatula or your hands to knead the butter, pressing out any remaining buttermilk. Repeat this process until the water is clear.
- Place the butter on a plate and, if desired, stir in the salt.
Notes
Nutrition
Nutrition information is automatically calculated, so should only be used as an approximation.