This post may contain affiliate links. Please read our privacy policy.
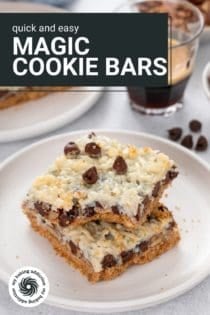

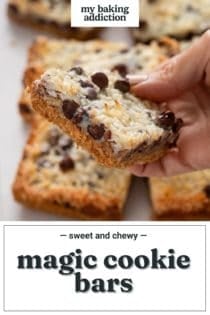
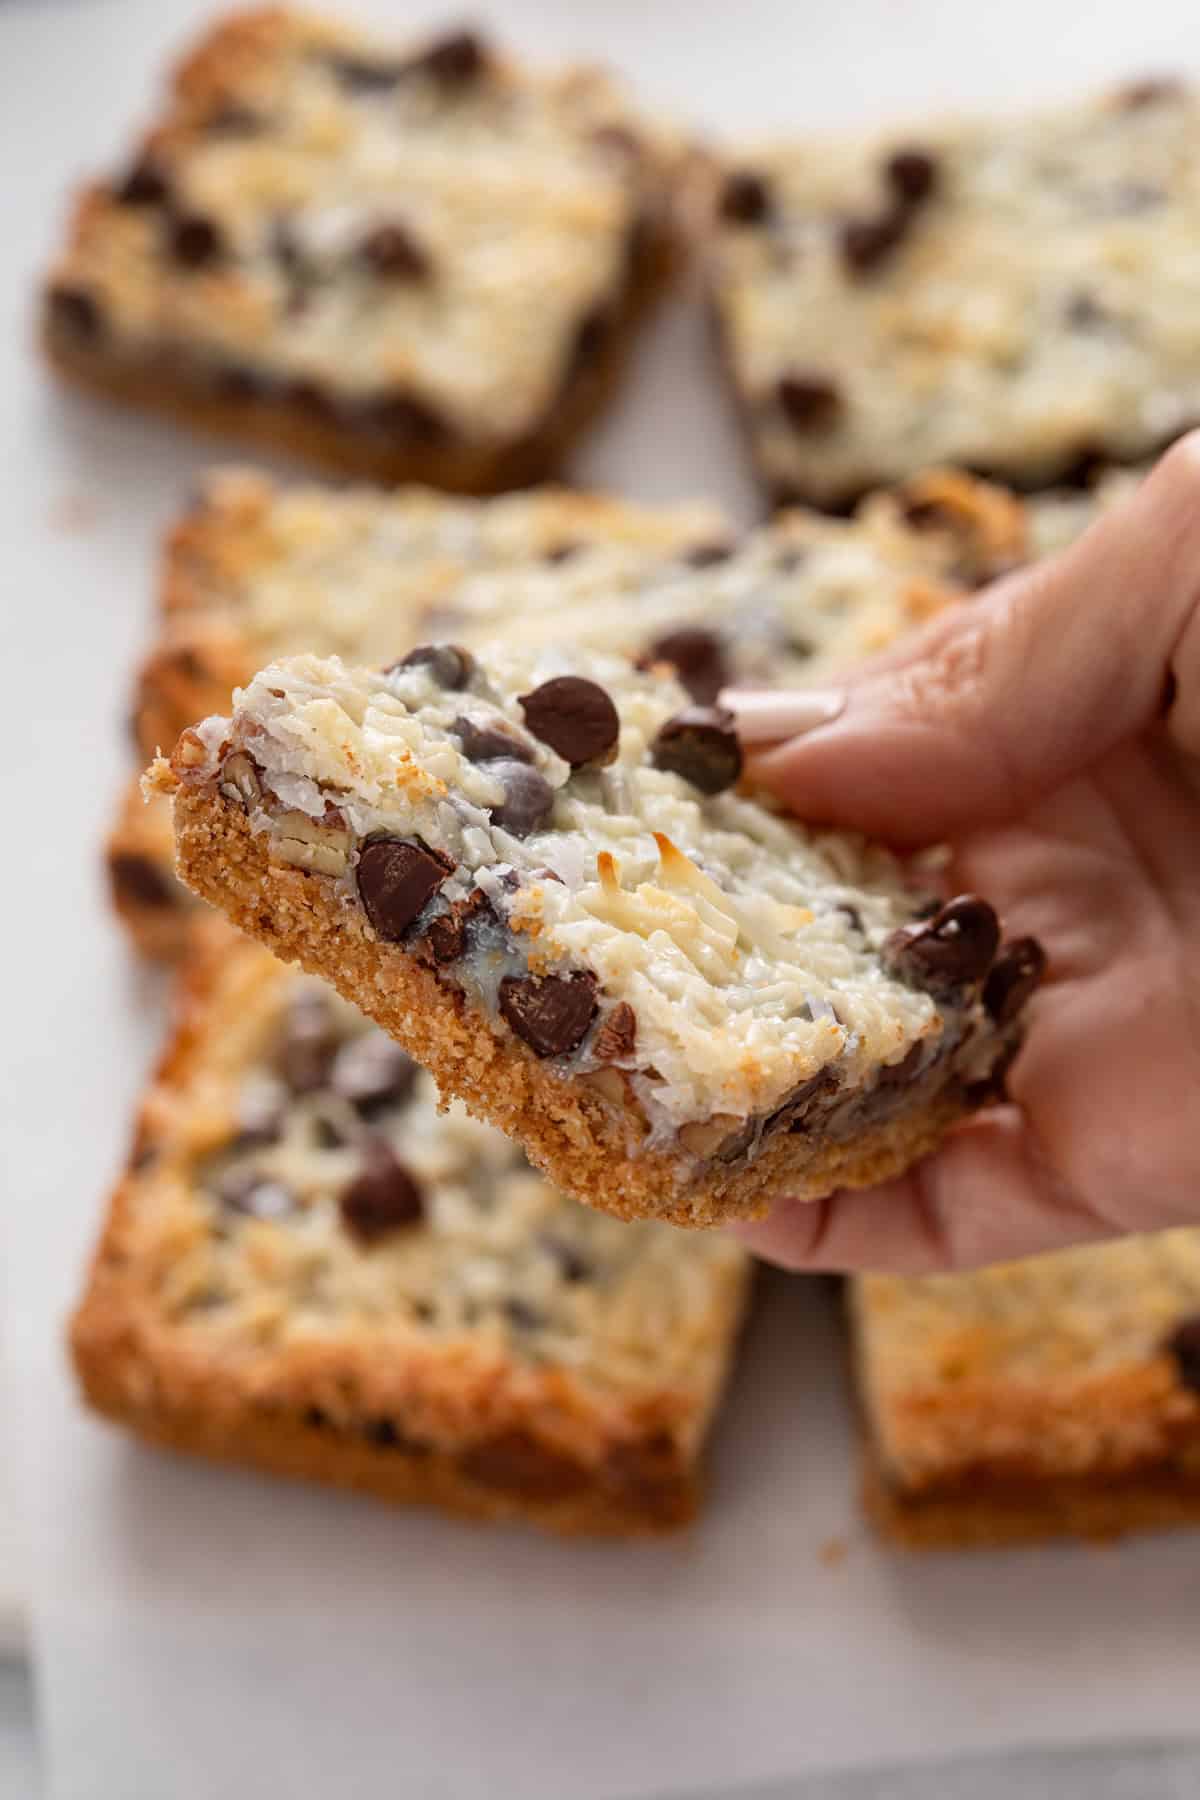
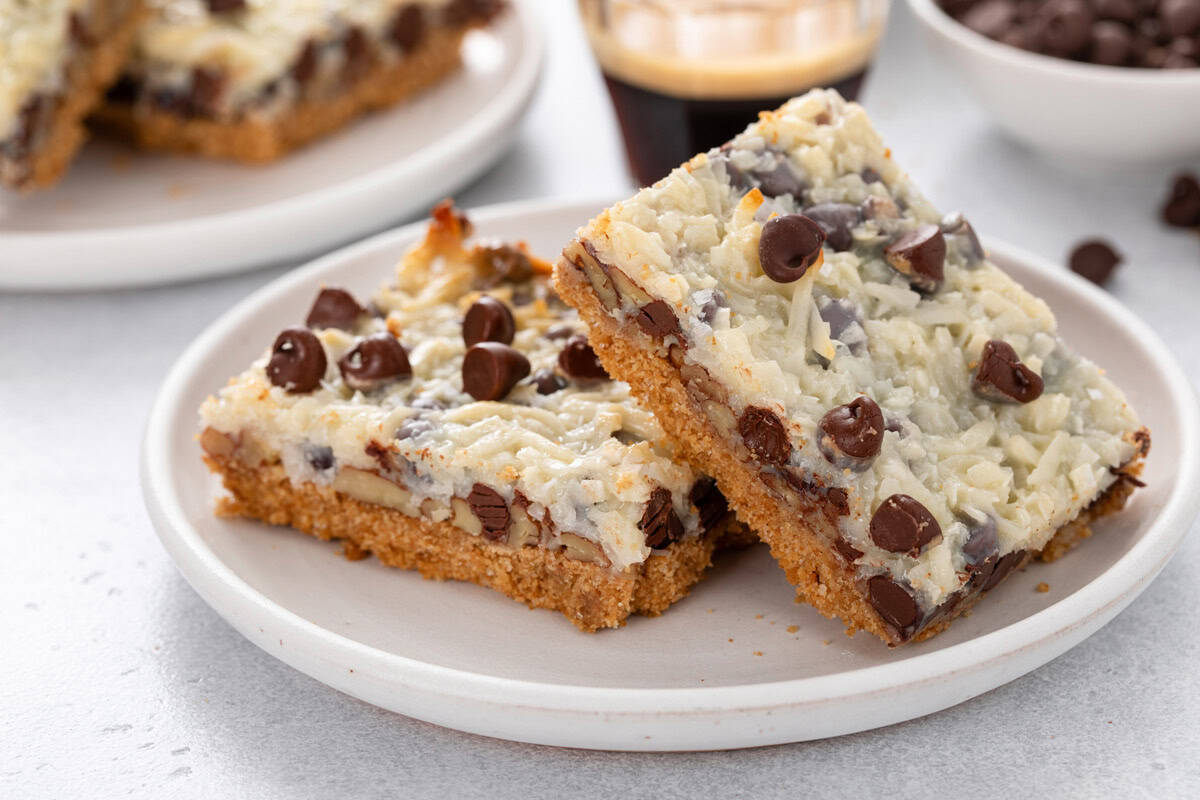
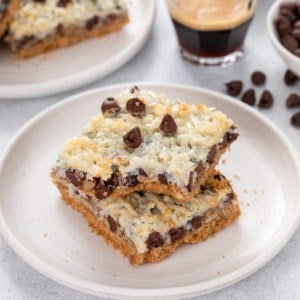
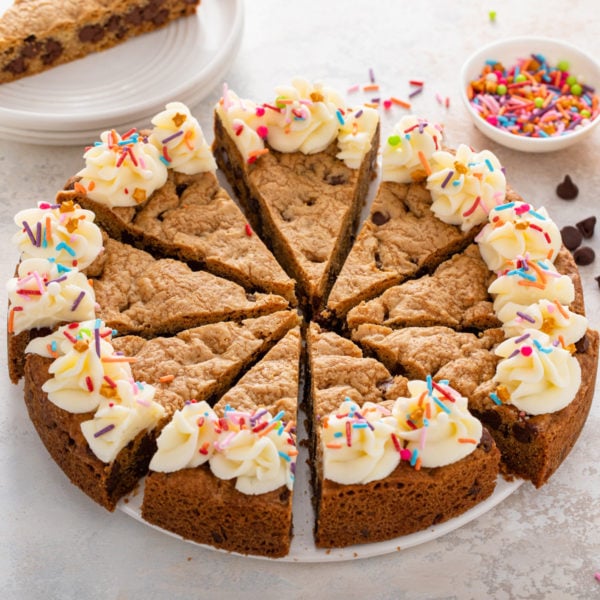
Magic bars are made by topping a graham cracker base with nuts, chocolate chips, coconut, and sweetened condensed milk. The result is a sweet, chewy cookie bar that is always a hit at potlucks and cookie exchanges!
Cookie bars are one of the best ways to make a whole bunch of cookies with minimal effort.
I might not have time to make and frost a batch of sugar cookies, but I can make a pan of sugar cookie bars and cut them into as many pieces as I need. It takes less time to make a pan of monster cookie bars than it does to scoop and bake multiple pans of cookies.
These magic bars are an easy favorite. They only take a few minutes to assemble and you’ve got a whole pan of chewy cookie bars that are bursting with chocolate, coconut, and your favorite nuts.
If you need another treat to add to your holiday menus or cookie exchanges, this magic cookie bars recipe is it.
What are magic bars?
Have you ever had magic bars? They’re so easy they really do feel like magic when they come together.
Magic bars are sweet, chewy cookie bars made by topping a graham cracker crust base with nuts, chocolate chips, coconut, and sweetened condensed milk. They’re also known as Hello Dolly bars or 7-layer bars.
The “magic” part is that you don’t actually mix the topping of the bars. Similar to making cherry dump cake, you just layer the toppings ingredients over the graham cracker crust and drizzle the sweetened condensed milk over the top.
And yet somehow everything comes together in the oven to bring everything together.
Since these are so easy to assemble, they’re great for making with kids. They’re also perfect when you need a last-minute treat to take to potlucks, cookouts, or holiday cookie exchanges!
Give these a try. They’re bound to become one of your favorite cookie bar recipes!
How to make magic bars
Ready to see just how magical these easy cookie bars are to make?
Ingredients you’ll need
First, we’ll make the graham cracker crust base. For this, you’ll need:
- 3 cups graham cracker crumbs
- ¼ cup granulated sugar
- 10 tablespoons melted salted butter
I usually need around 22 full graham cracker sheets pulsed in the food processor to get 3 cups of graham cracker crumbs. You can also buy boxes of graham cracker crumbs for an easy shortcut!
If you only have unsalted butter, just add a small pinch of salt to the crust.
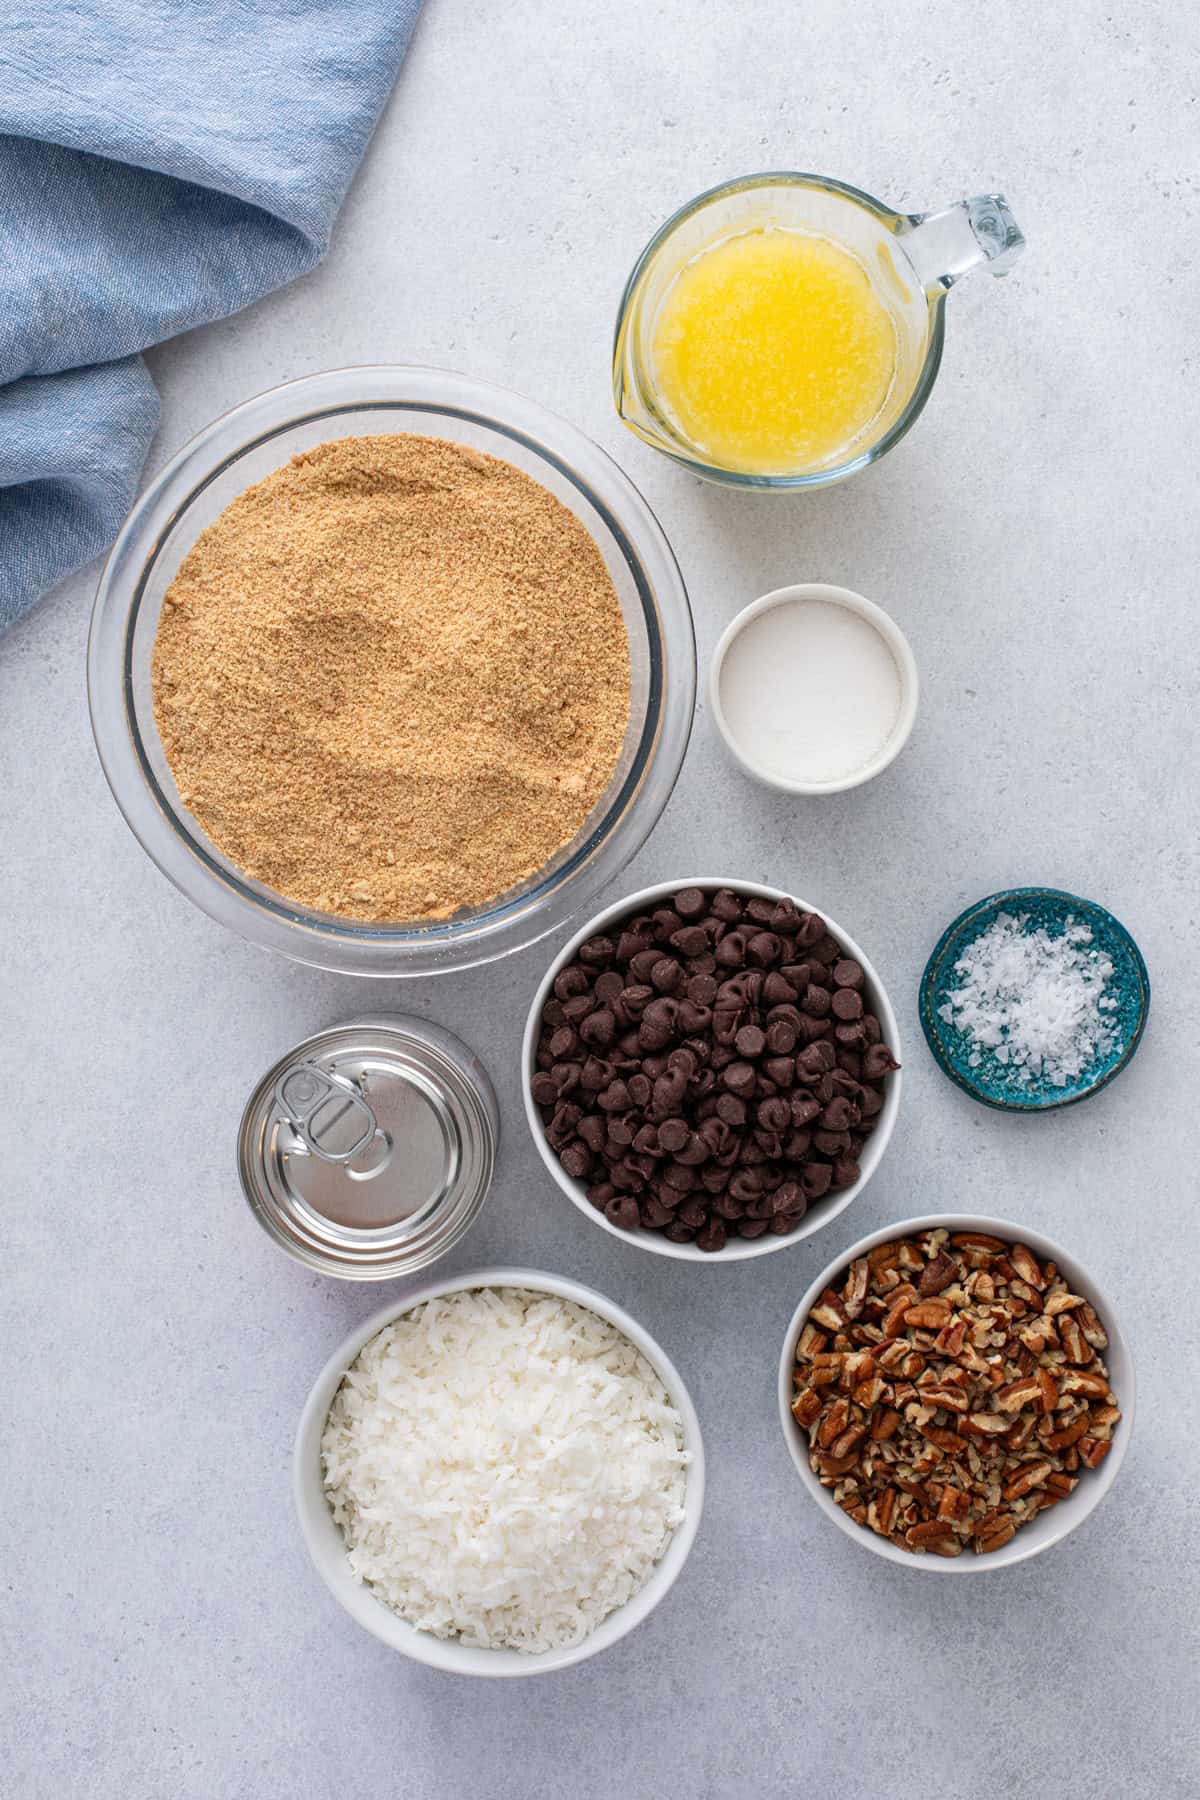
For the topping, you’ll need:
- 1 cup chopped pecans or walnuts
- 1 1/2 cup semisweet chocolate chips
- 1 1/2 cups shredded sweetened coconut
- 1 (14-ounce) can sweetened condensed milk
- flaky sea salt (optional)
When you’re at the store, make sure you buy sweetened condensed milk and NOT evaporated milk. They’re very different and can’t be substituted for each other!
Making these magic cookie bars
These magic bars like to stick to the pan, so I like to line my 9×13-inch baking pan with foil, then spray the foil with nonstick spray.
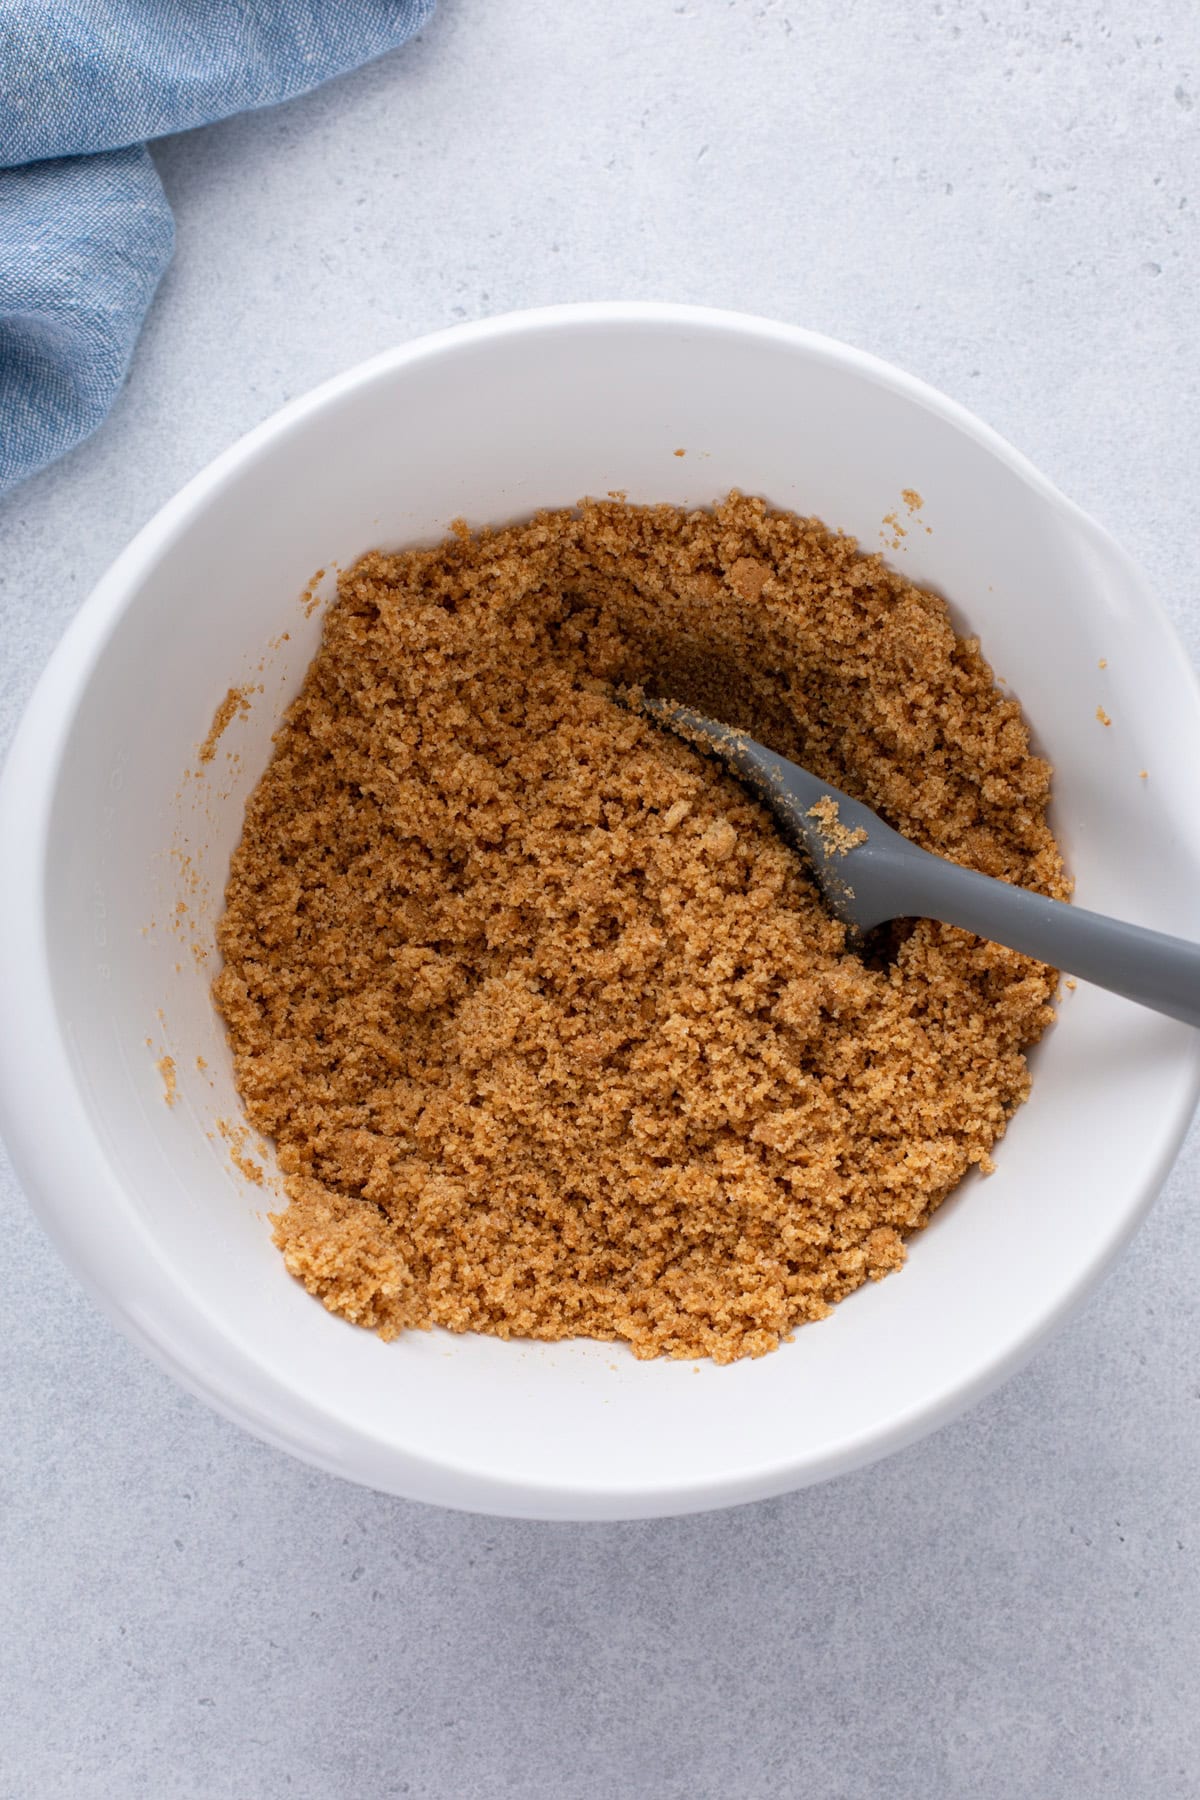
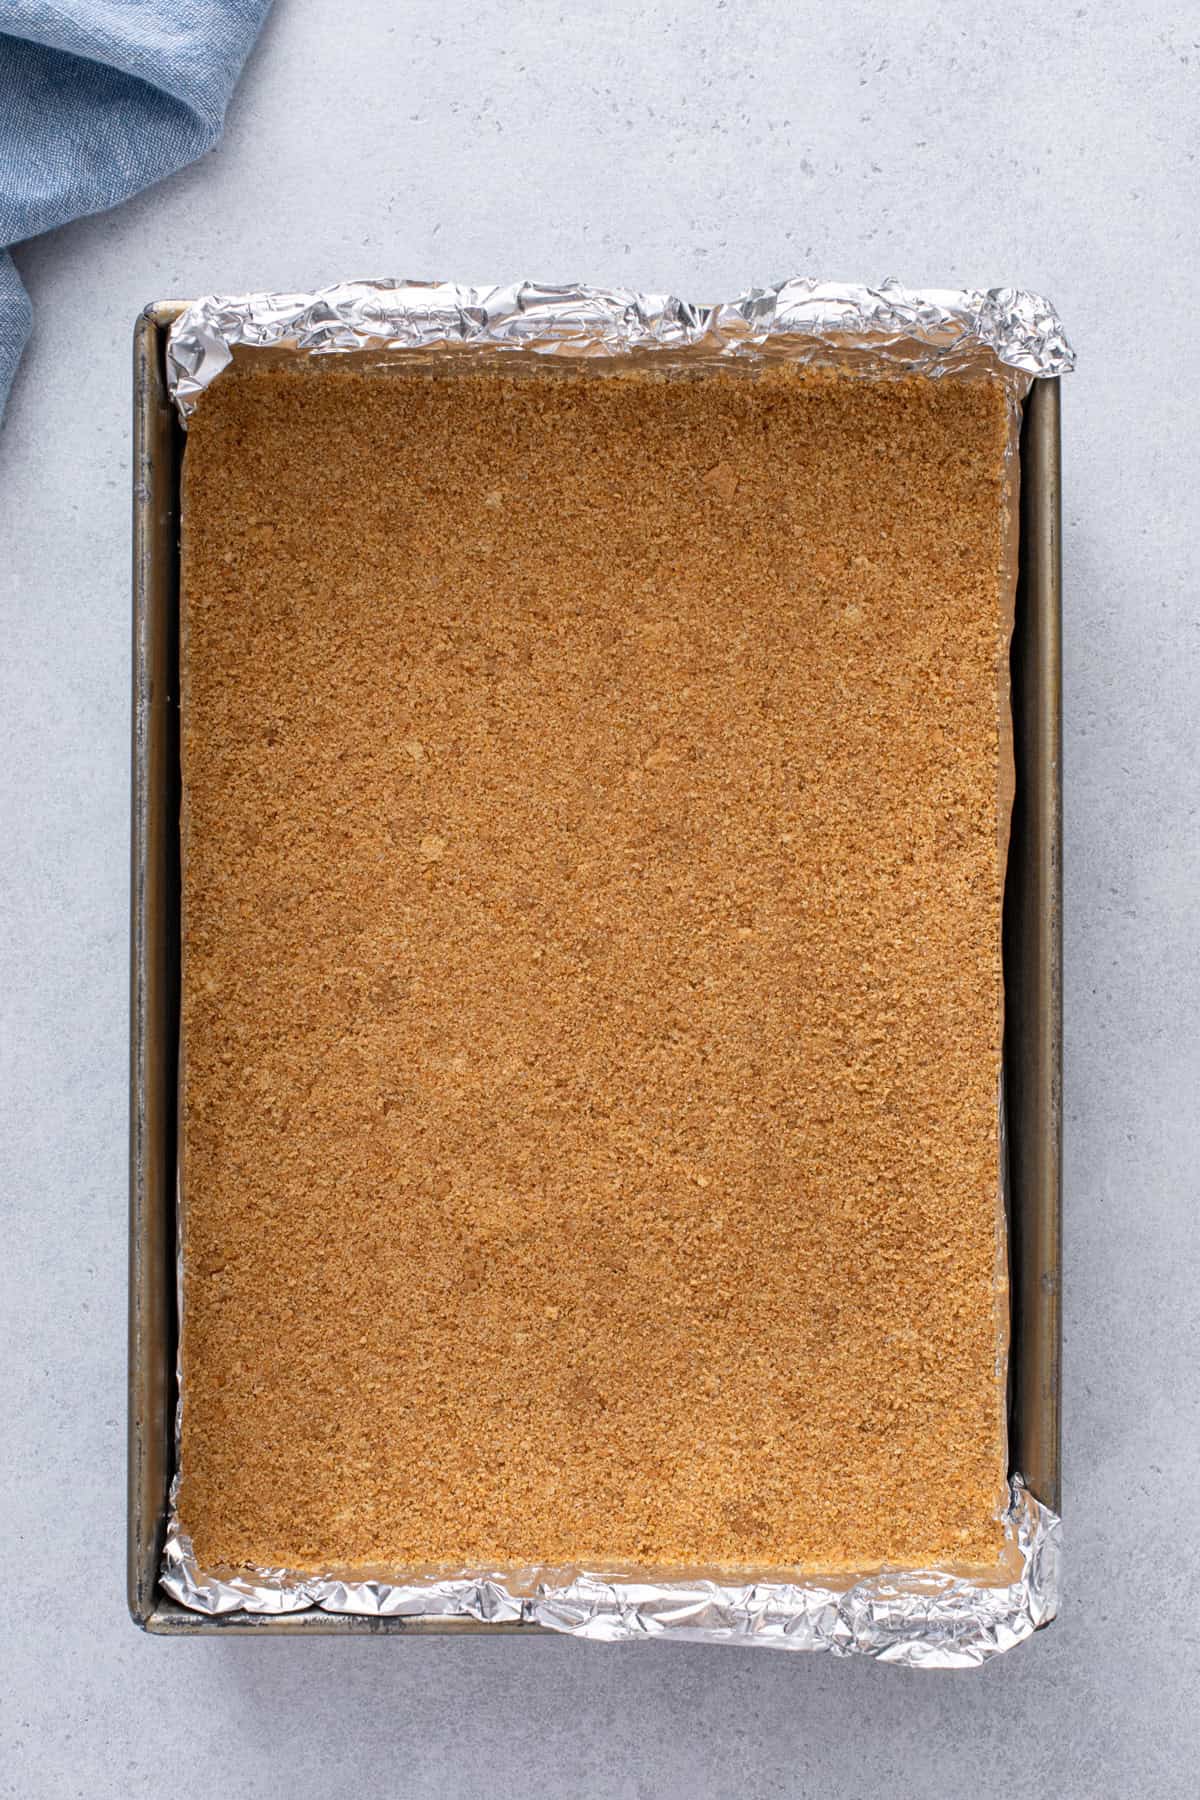
In a large mixing bowl, stir together the graham cracker crumbs, sugar, and melted butter until the crumbs are moistened. Firmly press this mixture into the bottom of the prepared baking pan.
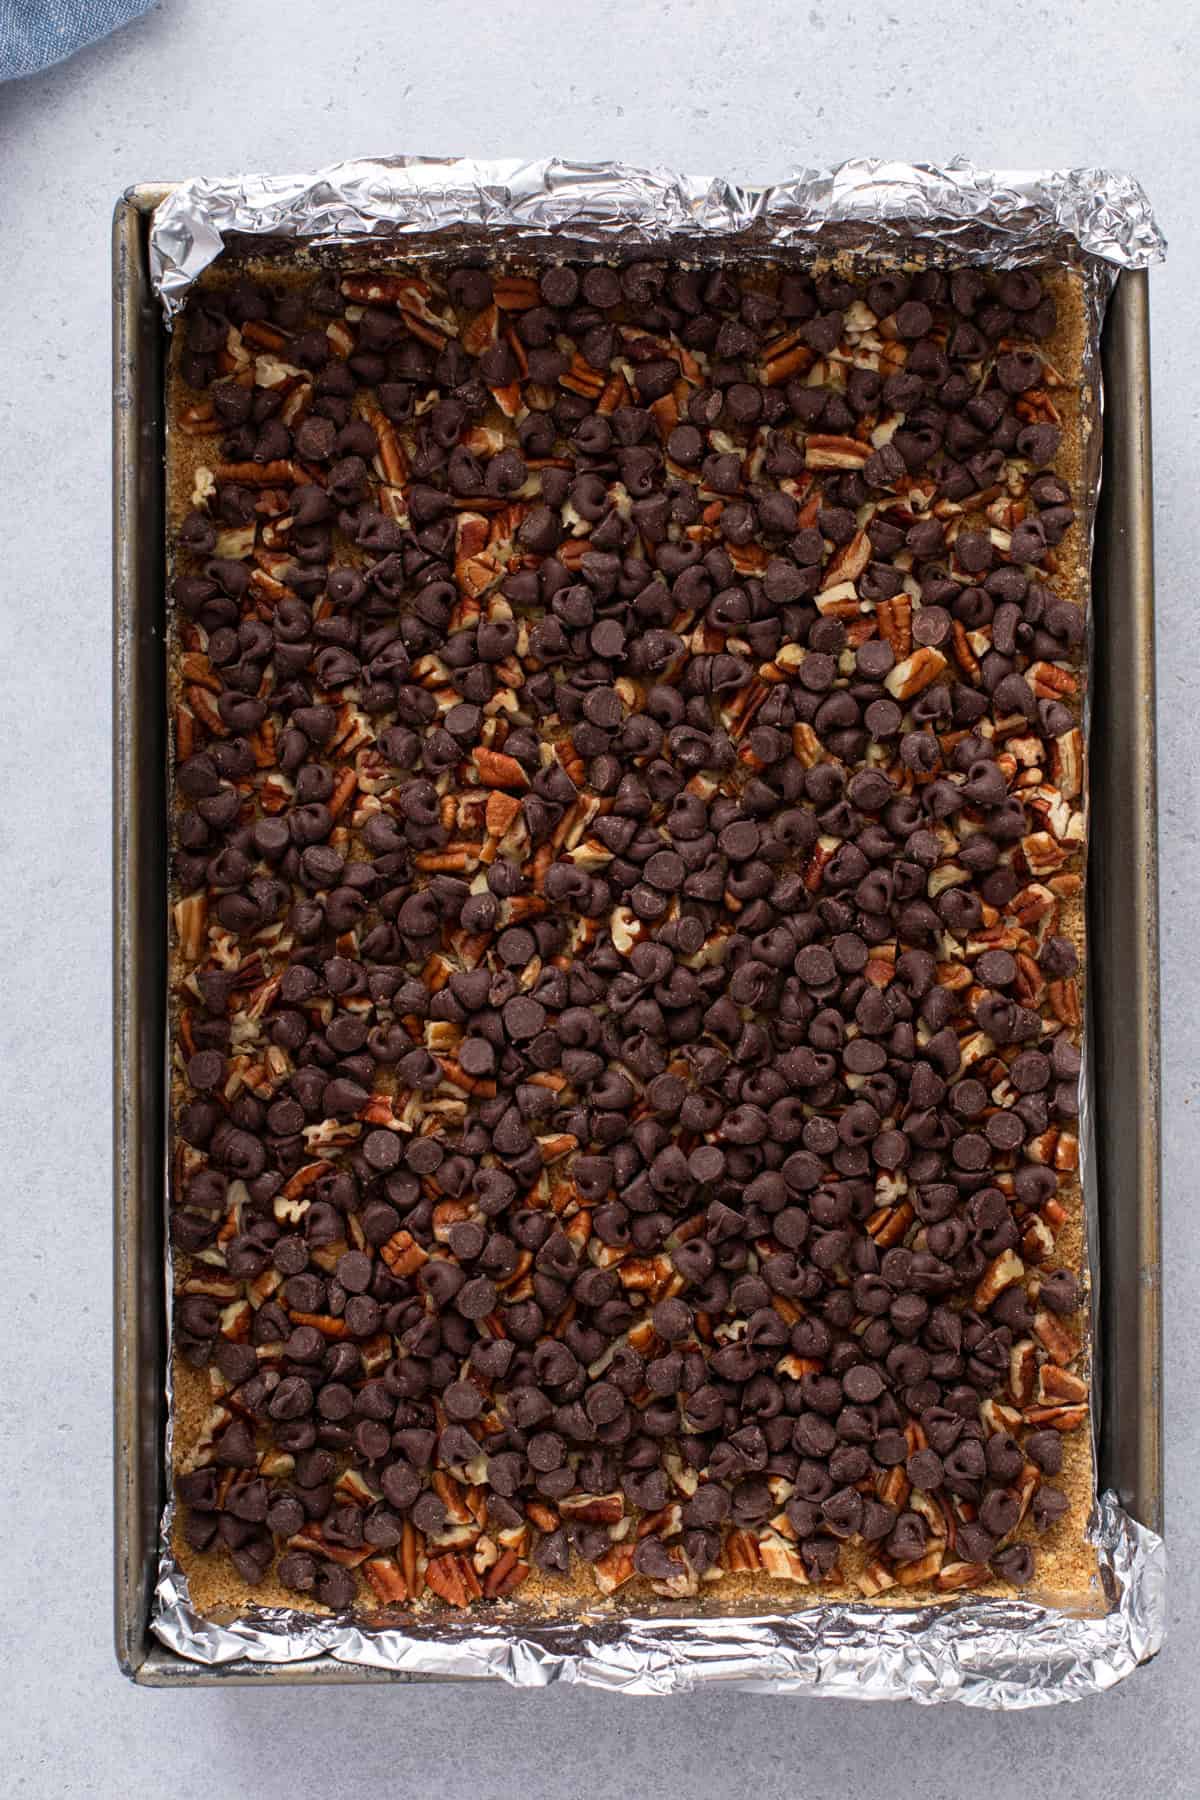
Now evenly sprinkle the in an even layer nuts over the crust, followed by the chocolate chips. Finish with the coconut.
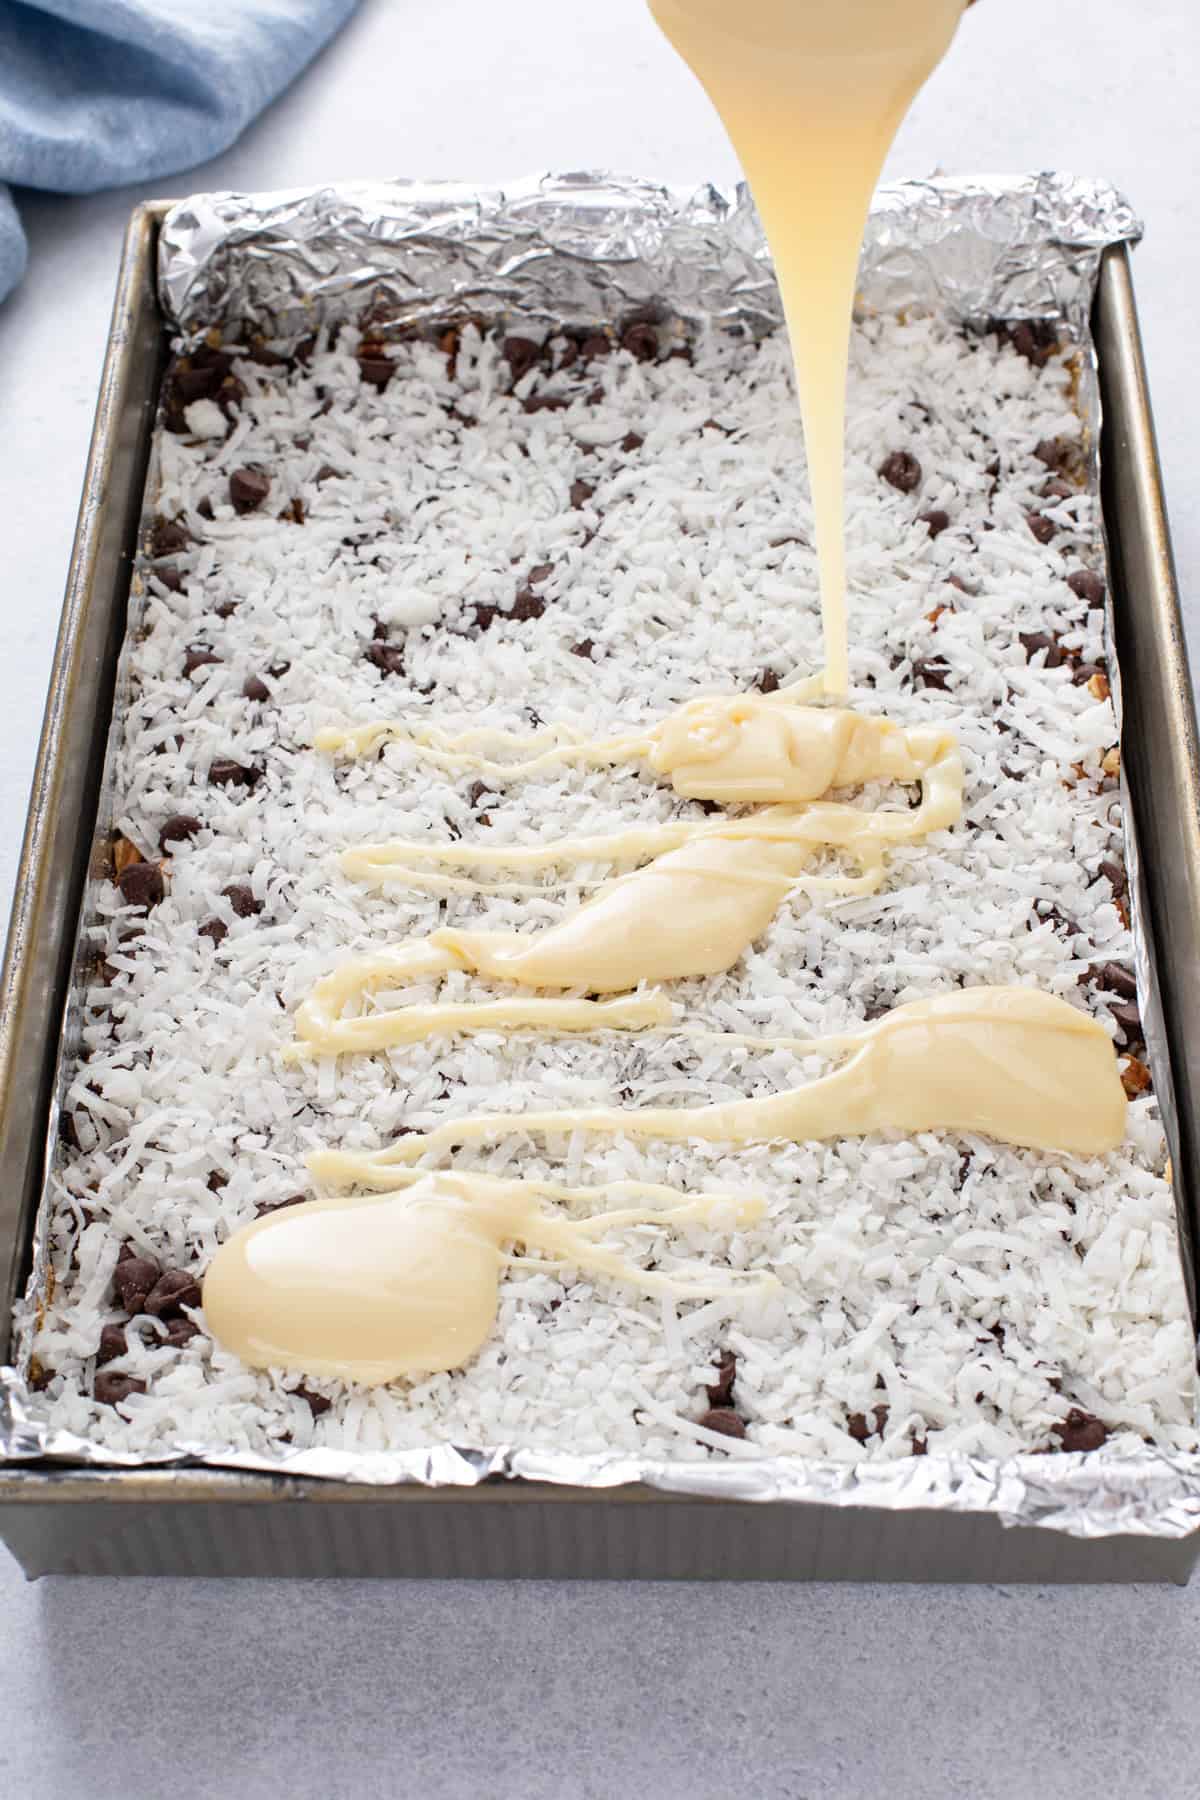
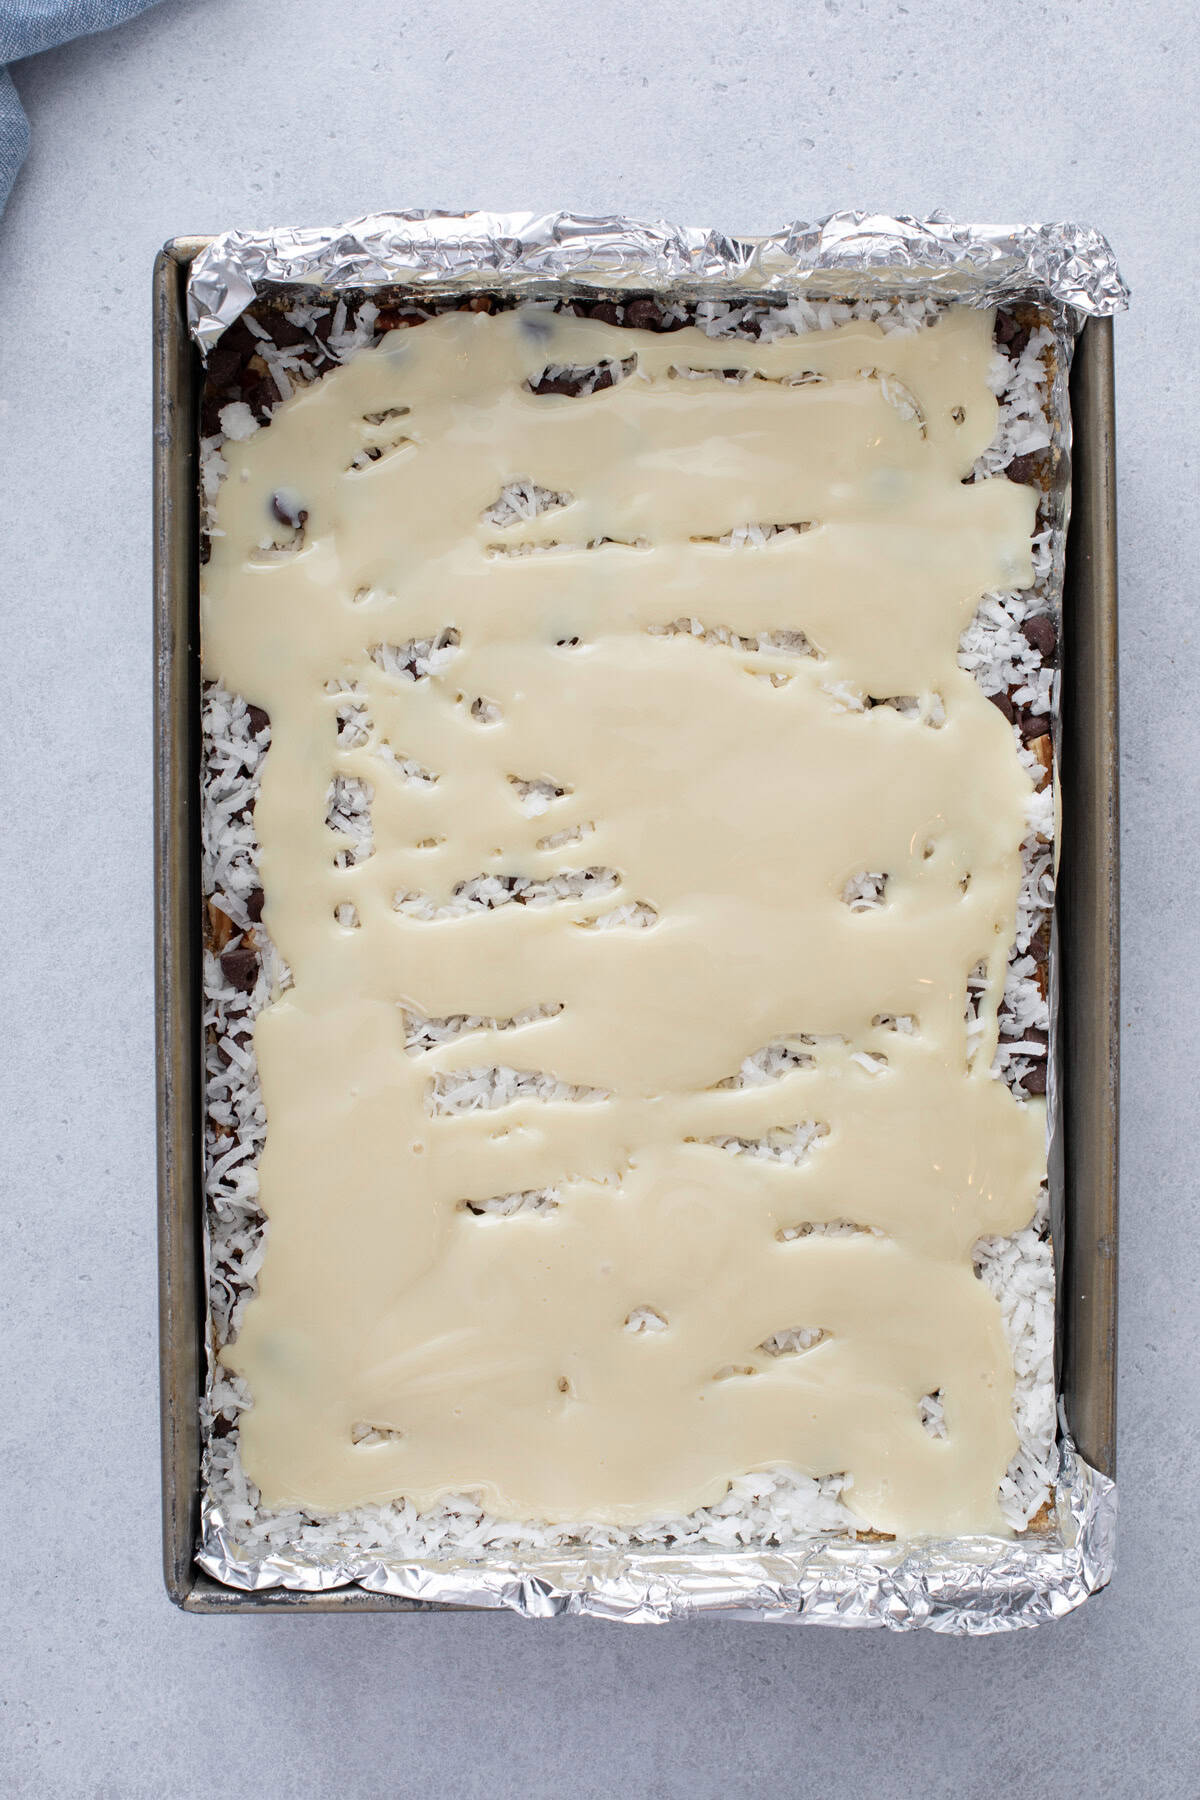
Finally, drizzle the entire can of sweetened condensed milk over the top. Bake at 350°F for 25-30 minutes, or until lightly browned on top.
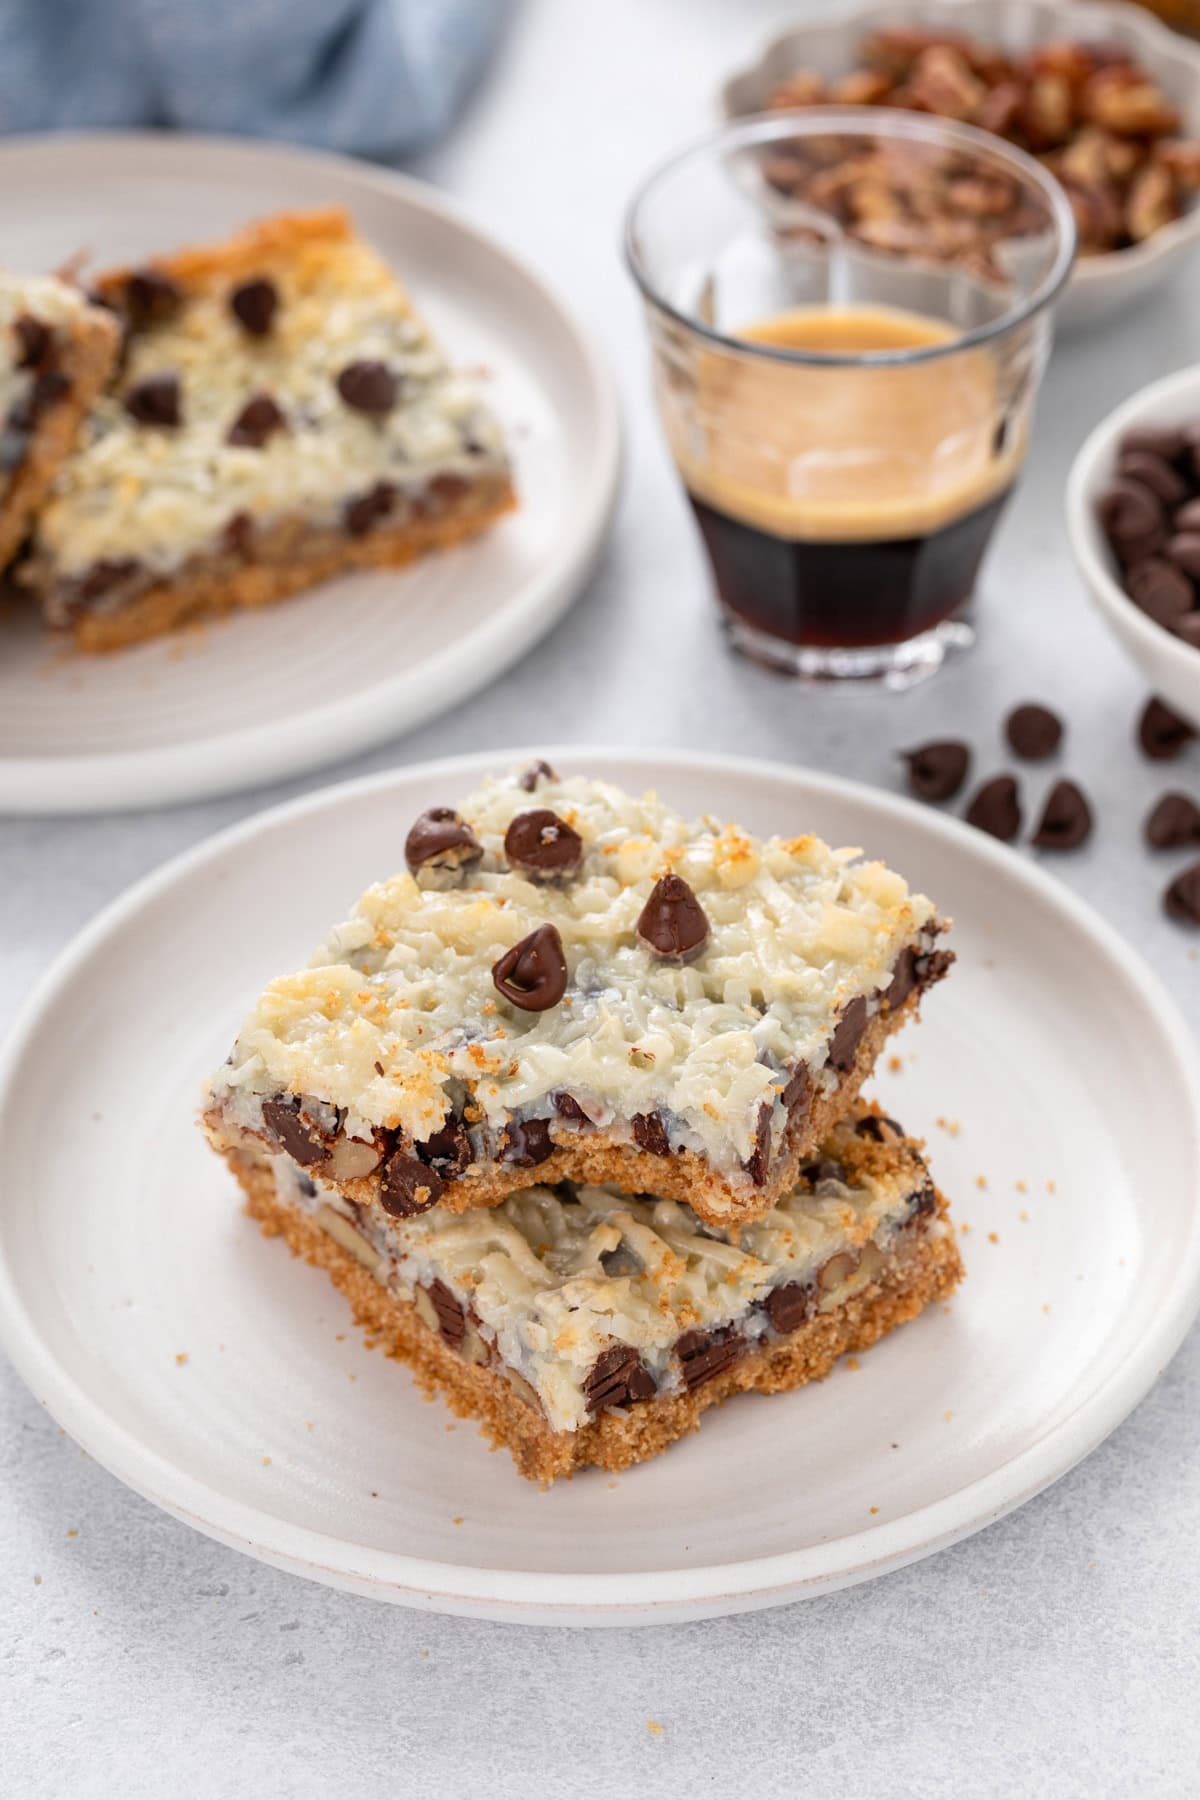
I like to sprinkle the tops of the bars with a bit of flaky sea salt right when they come out of the oven. Similar to adding sea salt to the top of heath bar cookies, chocolate chipless cookies, or easy chocolate chip cookies, I like the way it balances out the sweetness of the cookie bars.
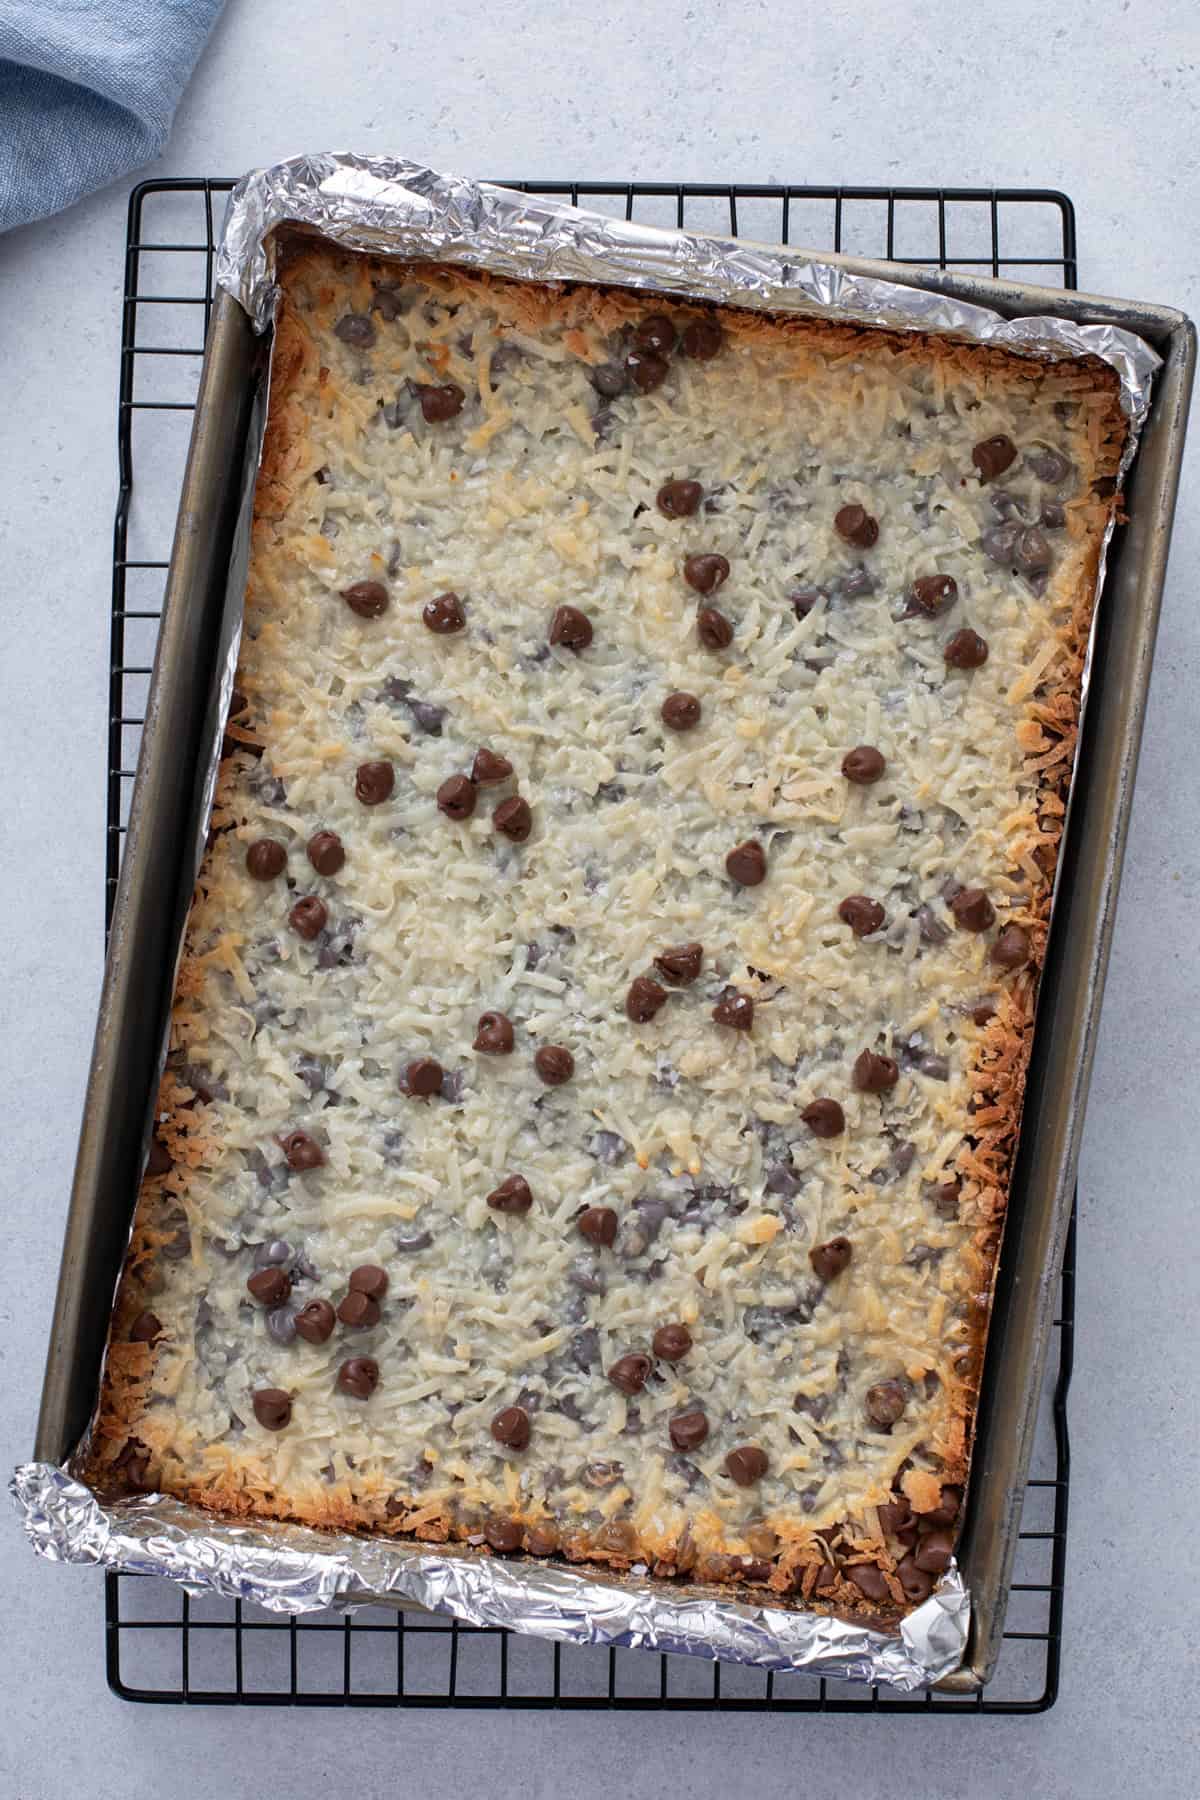
Sometimes I like to sprinkle a few extra chocolate chips over the top right as they come out of the oven, too, just to make them look pretty.
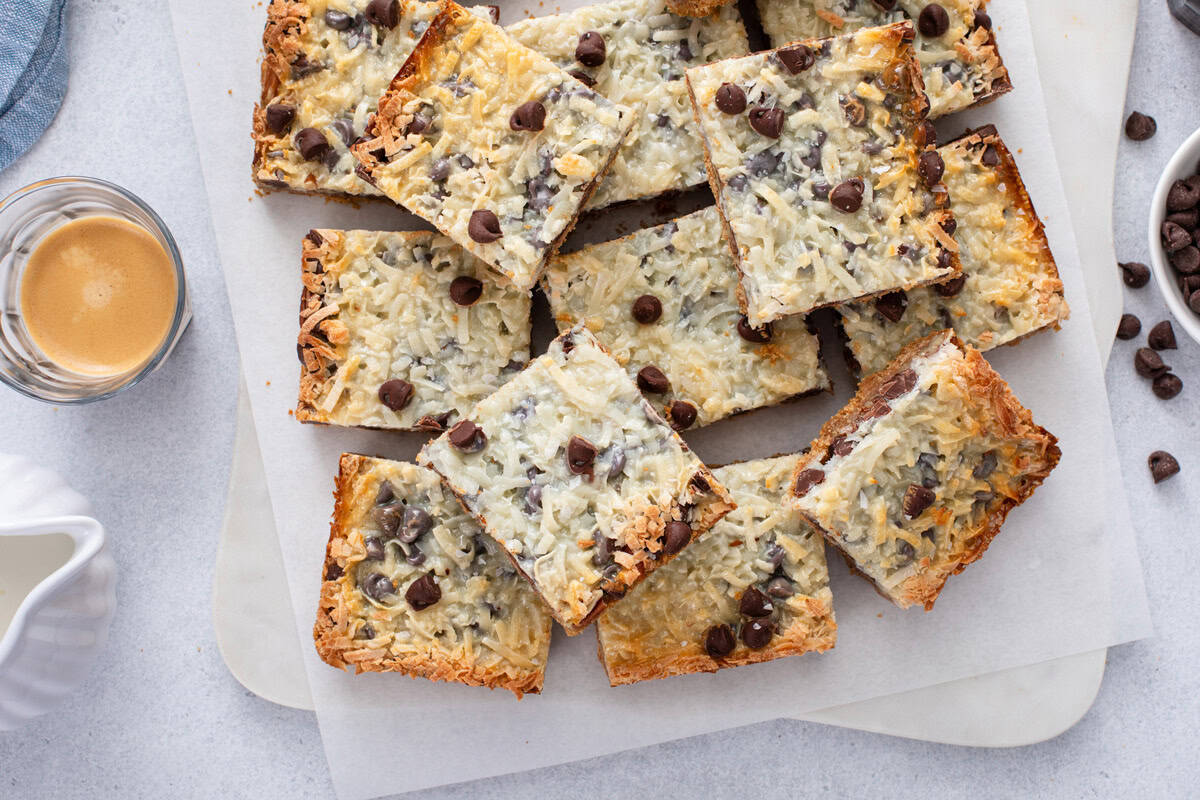
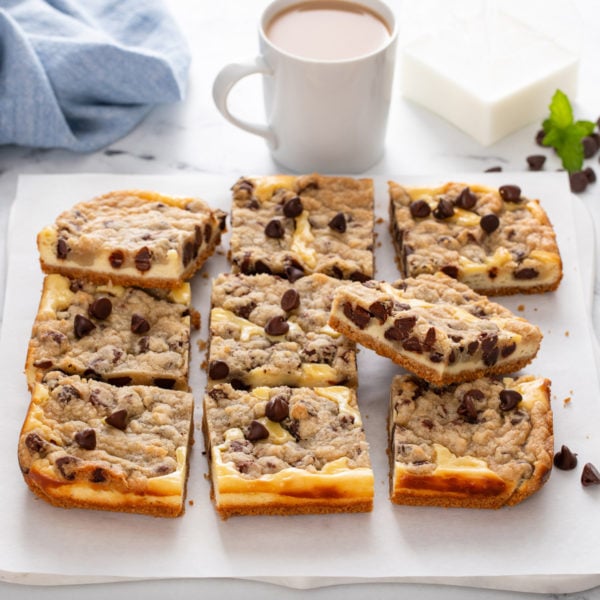
Let the magic bars cool completely before using the foil to lift them out of the pan. Cut into bars and enjoy!
Storage tips
I recommend storing these magic bars in an airtight container in the refrigerator, placing a sheet of parchment paper or waxed paper between stacked layers. They’ll stay good for up to 5 days.
Magic bars also freeze well. Store them in a freezer-safe airtight container with parchment or waxed paper between the layers.
If you want extra insurance against the bars sticking together, freeze them on a single layer on a baking sheet before adding them to the container.
Store in the freezer for 2-3 months. Let them thaw overnight in the fridge or for a couple of hours at room temperature before serving.

Variations and ingredient substitutions
The beauty of making magic bars is there are a variety of ways they can be adapted to your preferences.
- Use gluten-free graham cracker crumbs for a gluten-free version. Make sure the rest of your ingredients are also certified gluten free if you go this route.
- Use pecans or walnuts, depending on your favorite. Chopped cashews could even work!
- Omit the nuts if you don’t like them or have a tree nut allergy.
- Change up the type of chips you use! White chocolate chips are a common swap, but dark chocolate chips, peanut butter chips, and butterscotch chips would also work well.
Just make sure you do NOT omit or substitute the coconut or the sweetened condensed milk in this recipe. The coconut is needed for getting the right chewy texture and the condensed milk is needed for flavor and for bringing everything together in the oven.
Magic Cookie Bars
Ingredients
For the crust:
- 3 cups graham cracker crumbs
- ¼ cup granulated sugar
- 10 tablespoons salted butter melted
For the bars:
- 1 cup chopped pecans or walnuts
- 1 ½ cup semisweet chocolate chips
- 1 ½ cups shredded sweetened coconut
- 1 can sweetened condensed milk 14 ounces
- flaky sea salt optional
Instructions
- Preheat oven to 350°F. Line (1) 9×13-inch baking pan with foil and spray with nonstick cooking spray.
- In a large bowl, combine the graham cracker crumbs, sugar, and melted butter. Mix until the crumbs are moistened. Evenly press crumb mixture into the bottom of the prepared pan.3 cups graham cracker crumbs, ¼ cup granulated sugar, 10 tablespoons salted butter
- Evenly sprinkle the nuts over the crust, followed by the chocolate chips and then the coconut. Drizzle the sweetened condensed milk over the toppings. Bake in preheated oven for 25-30 minutes, or until lightly browned on top. If desired, sprinkle the top with a little flaky sea salt. Allow the magic bars to cool completely before cutting into bars.1 cup chopped pecans or walnuts, 1 1/2 cup semisweet chocolate chips, 1 1/2 cups shredded sweetened coconut, 1 can sweetened condensed milk, flaky sea salt
Notes
- I use about 22 full graham cracker sheets crushed in a food processor to get 3 cups of graham cracker crumbs.
- We prefer these bars with a thicker crust. If you prefer a thinner crust, you can divide the crust ingredients in half.
- Store bars in an airtight container in the refrigerator for up to 5 days.
Nutrition
Nutrition information is automatically calculated, so should only be used as an approximation.


Oh, yeah! Whenever I make these, I do chocolate chips and butterscotch chips, just to add a little more sweetness. I usually can't keep my hands off of these. Fab pictures yet again.
These are a personal fave – easy to make and a crowd pleaser. Plus, I almost always have the ingredients on hand. I've always added chocolate chips AND butterscotch chips though
I grew up on these as "Hello Dollies" too! They are so good that they don't even last a day in our house.
The magic of these bars is that they probably quickly disappear as soon as you them out because they look great.
I've made so many of your recipes & have enjoyed them all!
Like the other commenter I had to make more of the crust, I'd say use 2 cups of grahams & a little extra butter. But yummy as always Jamie!
yumyumyum I remember seeing these on your Twitter! Bookmarked these and will be making them this Friday!
– Whitney
On Saturday, I just made two batches of these for my daughter's confirmation class. One with chocolate chips and one with butterscotch and chocolate chips. Personally, I prefer the chocolate chip ones but there weren't any left at the end of class.
I've been making these for years and my mom made them before that…in fact, I made up a batch on Saturday, too. Glad to know I'm not the only one who loves them. Great post…
Runescape_crackhead~
I do not remember having an issue with the crust, but thanks for posting the info!
-Jamie
Hi! Just so your readers are aware, I made these and they were delicious but the crust will NOT cover a 9 x 13 pan. I would use an 8 x 8 pan instead. If you go to allrecipes, you will see that others have had the same problem.