This post may contain affiliate links. Please read our privacy policy.

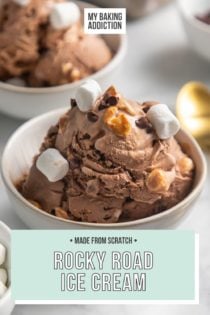


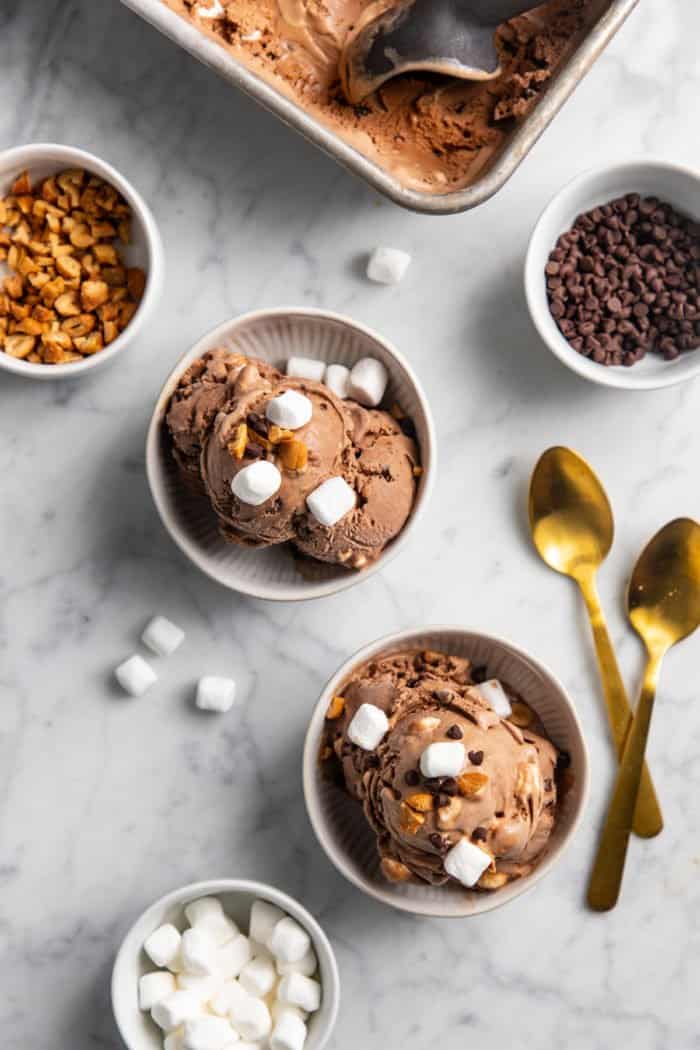
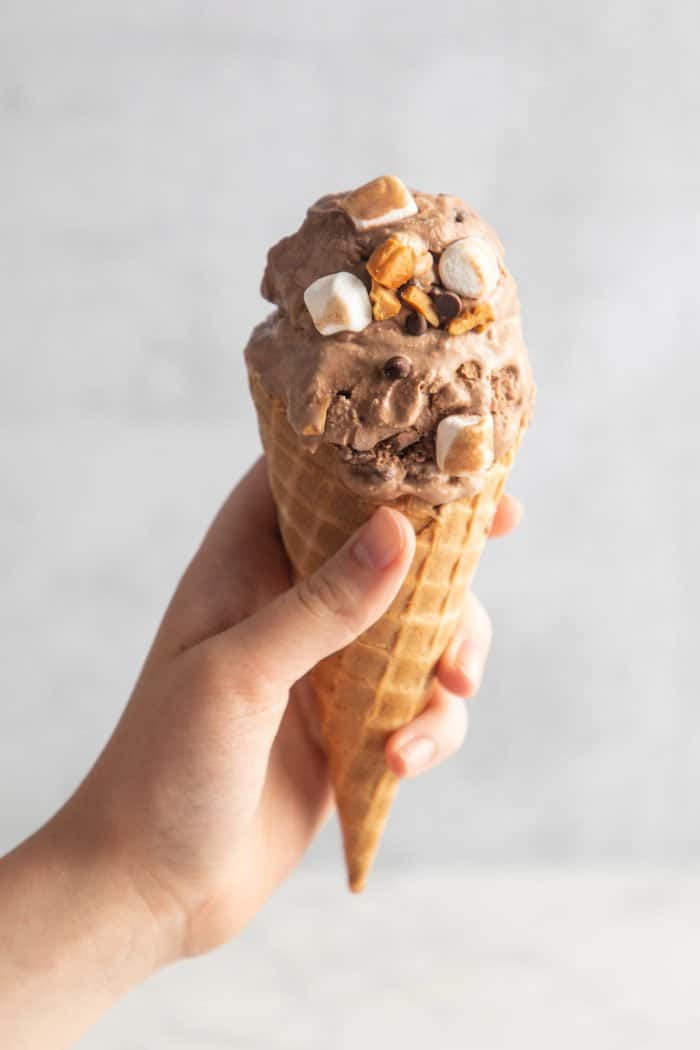
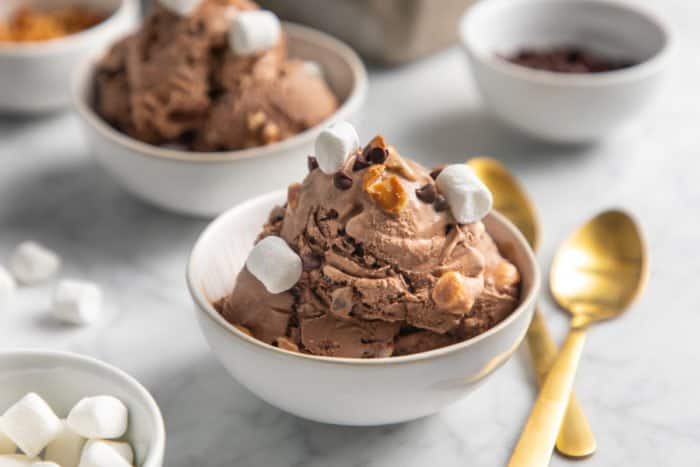
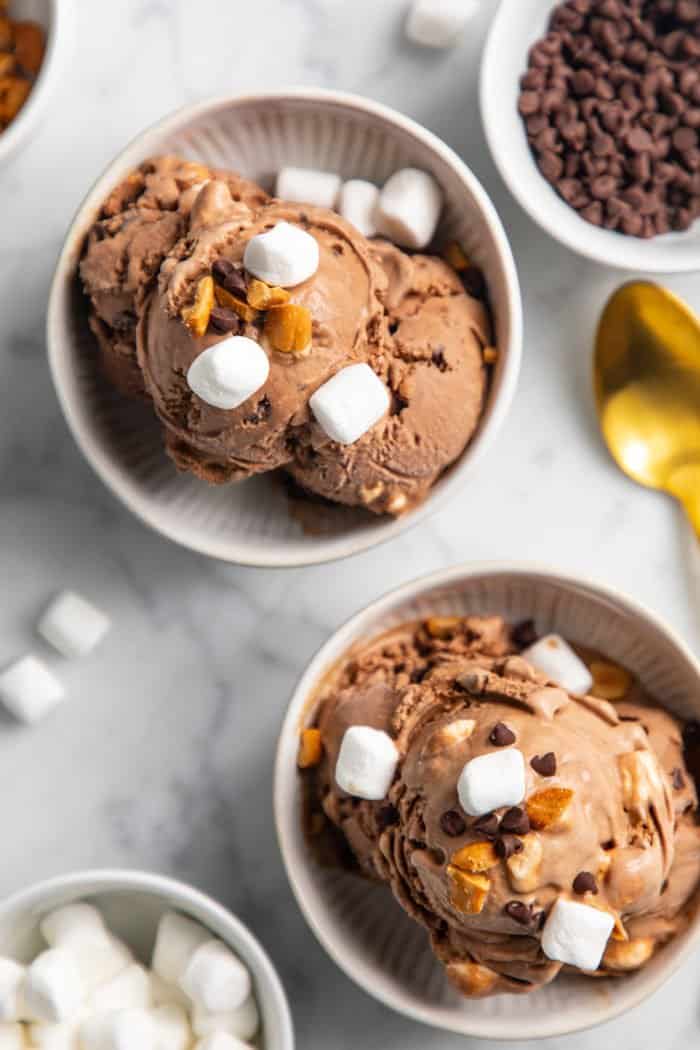
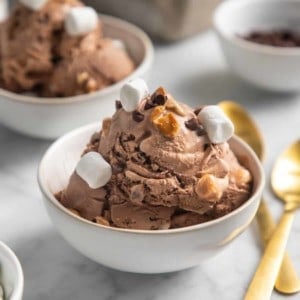
Rocky road ice cream is a classic for a reason! This combination of creamy egg-free chocolate ice cream with peanuts, chocolate chips, and mini marshmallows makes for a dreamy treat on a hot summer day.
This post contains affiliate links.
If you happen to live in Ohio, you know that us Ohioans are usually complaining that it’s either too hot or too cold and rarely is it just right.
My idea of just right falls around 78 degrees with loads of sunshine and a nice breeze.
Despite cooler temperatures the past few days, this week is supposed to be a “scorcher” according to our local news station.
Although we have the freezer stocked with ice pops, rocket pops and even homemade Strawberry Popsicles for those long pool days, I thought I’d whip up a batch of ice cream or two for a little variety.
WHAT IS ROCKY ROAD ICE CREAM?
It’s possible that you’ve eaten rocky road ice cream throughout your life but never really considered: what IS rocky road ice cream??
Rocky road ice cream is chocolate ice cream that has nuts and marshmallows mixed in.
In looking up the history of rocky road ice cream, I discovered that walnuts were the original nut used. But it seems that over the years, the recipe has come to commonly include other types of nuts, such as almonds or peanuts.
Rocky road was one of the first types of ice creams to include mix-ins. I guess it paved the way for us to make things like strawberry s’mores ice cream!
Some variations, such as my recipe, also include chocolate chips as one of the mix-ins.
After all, who could say no to some extra chocolate??

ICE CREAM MAKER TIPS AND TRICKS
Unlike making no-churn ice cream, you will need to churn the base in an ice cream maker for this recipe.
It’s totally a worthwhile purchase! I use it for making everything from this rocky road ice cream to baklava ice cream and everything in between.
I recommend using a 2-quart ice cream maker to allow plenty of room for the ice cream to aerate and expand as it churns. If you use a smaller ice cream maker, you may want to churn it in batches to keep it from overflowing.
Make sure you freeze the base of your ice cream machine for at least 24 hours before you churn the ice cream. You can even store the base in your freezer at all times if you make homemade ice cream a lot!
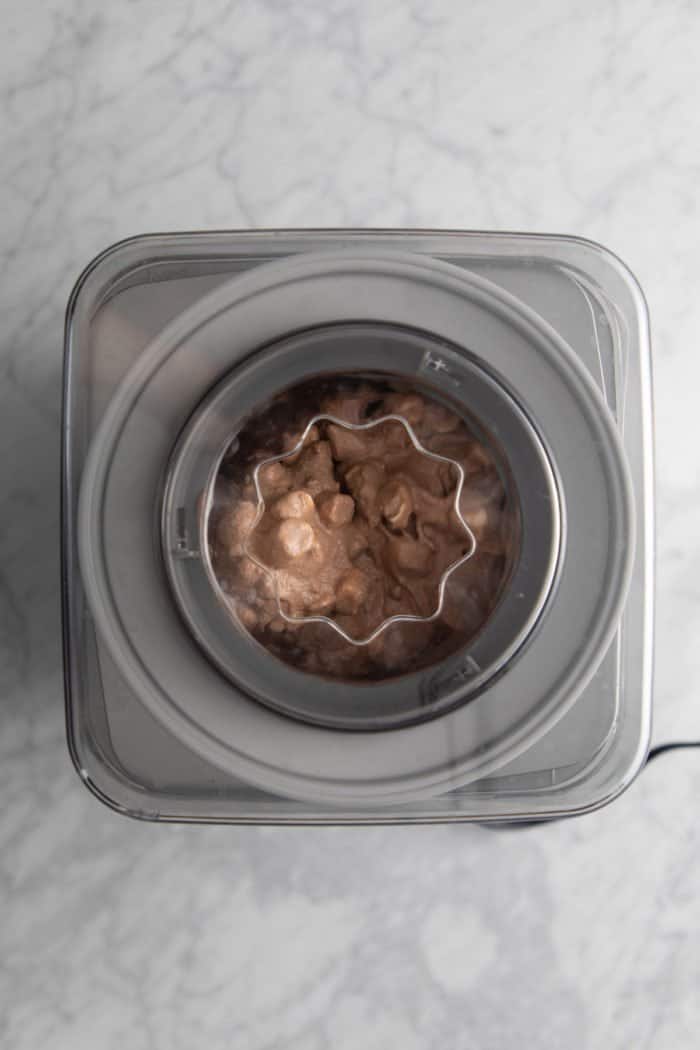
Make sure you follow the manufacturer’s directions for your ice cream maker, but typically it will take about 20-30 minutes to churn a batch of ice cream.
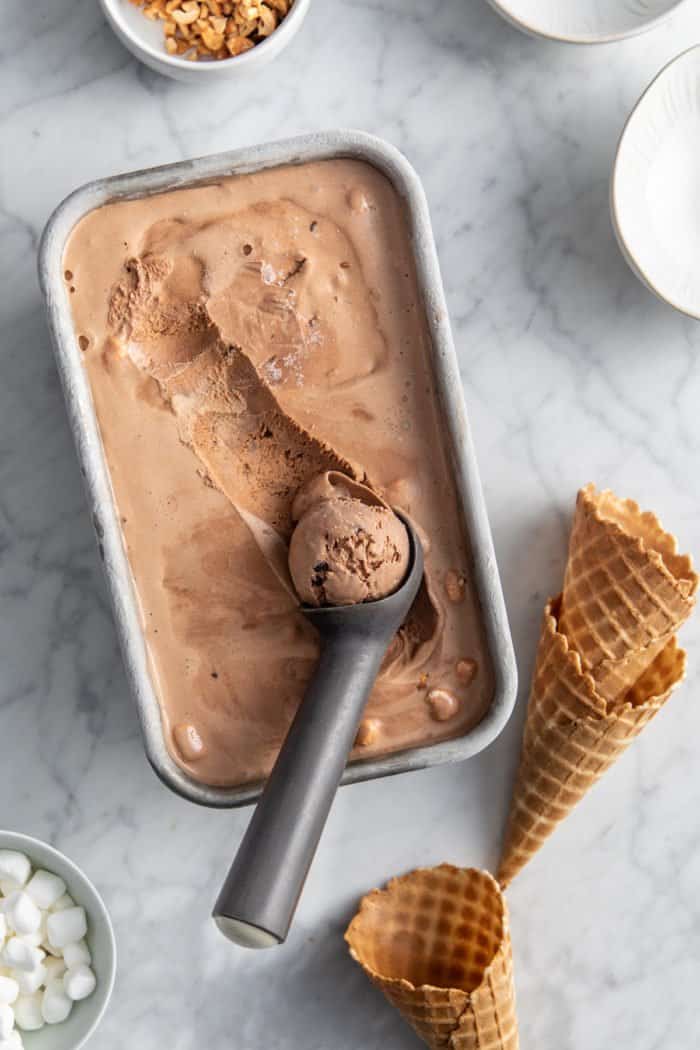
When the ice cream is done churning, it will be a soft-serve consistency. Gently pour it into an ice cream container and place it in the freezer for several hours to harden if you prefer a more scoopable ice cream.
HOW TO MAKE THIS RECIPE
If you’ve never made your own ice cream before, don’t be intimidated to give it a try! It’s much easier than you would think.
While, unlike my key lime pie ice cream, you do have to cook and chill the ice cream base, these are pretty simple steps.
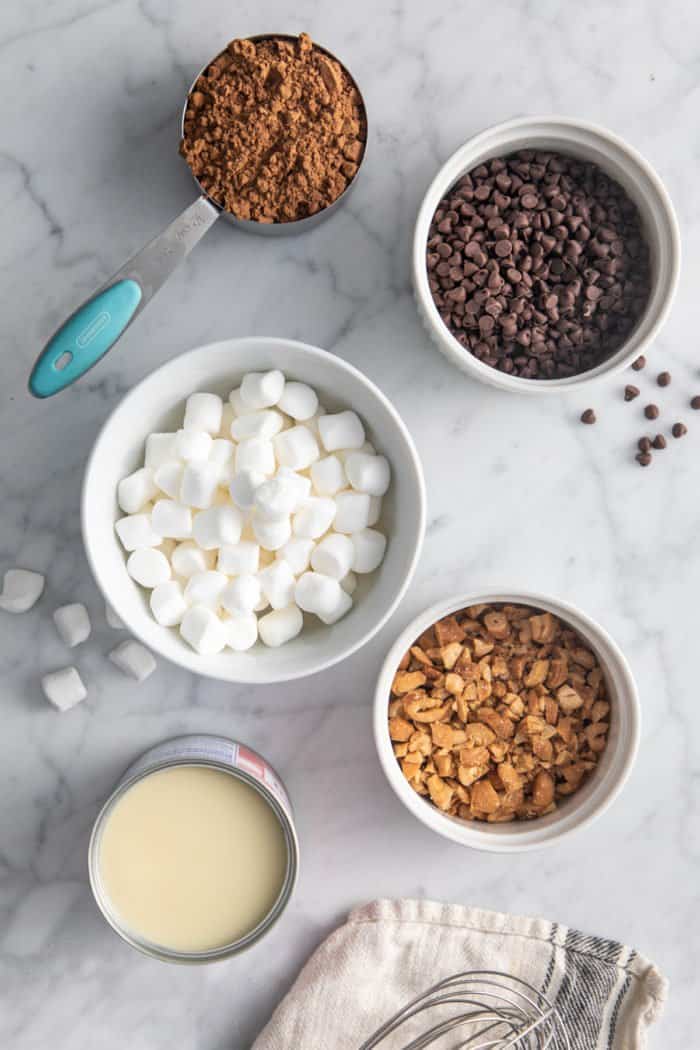
Rocky road ice cream ingredients
The chocolate ice cream base for this recipe includes:
- 1 (14 ounce) can sweetened condensed milk
- 1/2 cup unsweetened cocoa powder
- 1 1/2 cups heavy cream
- 1 1/2 cup 2% milk
- 1 tablespoon vanilla extract
As you can see, this is an egg-free ice cream base. This makes it super easy to make and perfect for anyone with an egg allergy to enjoy.
If you want a classic chocolate ice cream, you could churn the base and omit the mix-ins. But the mix-ins are where all the fun is here! I like to include:
- 1/2 cup chopped peanuts
- 1/2 cup miniature chocolate chips
- 1 cup miniature marshmallows
If you don’t like peanuts or have a peanut allergy, try using ½ cup of chopped walnuts or almonds instead.
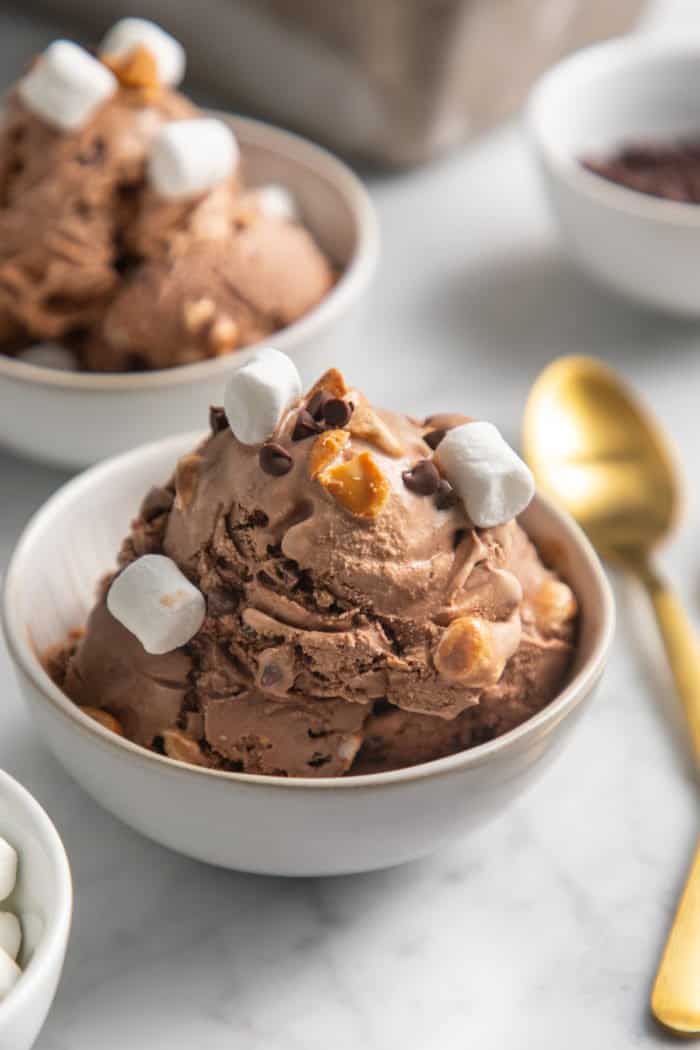
And if you’re wondering what the marshmallows are like after freezing the ice cream: they stay nice and soft!
Making this ice cream
The first step to making rocky road ice cream is to make the chocolate ice cream base.
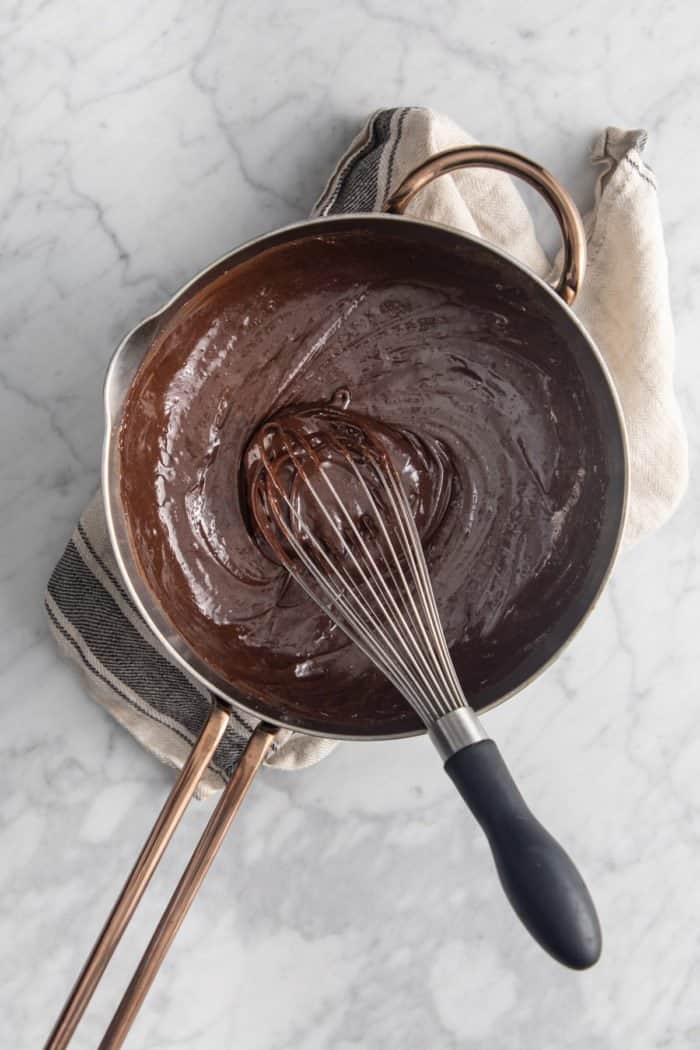
Add the sweetened condensed milk and the cocoa powder to a medium saucepan. Cook this over low heat until the mixture is smooth and has thickened slightly. This will take about 5 minutes.
Remove the pan from the heat and let the mixture cool slightly before whisking in the heavy cream, milk, and vanilla.
Pour the base into an airtight container and refrigerate until it is cold. You can even let it chill for up to a day if you’d like!
When you’re ready to churn the ice cream, add it to your ice cream maker according to the manufacturer’s directions. Halfway through the churning process, add the nuts, chocolate chips, and mini marshmallows.
I like to top my rocky road ice cream with a few extra marshmallows (homemade marshmallows would be incredible!) and chopped nuts, but feel free to dig in as-is! Or pile it into a homemade ice cream cone for a really special treat.
No matter how you enjoy this rocky road ice cream, you can’t go wrong!
Rocky Road Ice Cream
Ingredients
- 1 14 ounce can sweetened condensed milk
- ½ cup unsweetened cocoa powder
- 1 ½ cups heavy cream
- 1 ½ cup 2% milk
- 1 tablespoon vanilla extract
- ½ cup chopped peanuts
- ½ cup miniature chocolate chips
- 1 cup miniature marshmallows more for garnish if you desire
Instructions
- In a medium saucepan over low heat, cook and stir condensed milk and cocoa until smooth and slightly thickened, about 5 minutes.
- Remove from heat and allow to cool slightly. Whisk in heavy cream, milk, and vanilla.
- Refrigerate until cold.
- Pour mixture into the canister of an ice cream maker, and freeze according to manufacturer’s directions. Stir in nuts, chocolate chips and marshmallows halfway through the freezing process.
Video
Notes
- Makes about 1 ½ quarts.
- If you don’t like peanuts or have a peanut allergy, try using ½ cup of chopped walnuts or almonds instead.
- If you want a classic chocolate ice cream, churn the base and omit the mix-ins.
- I recommend using a 2-quart ice cream maker to churn this recipe. If you have a smaller ice cream maker, you may need to churn the ice cream in batches.
- Churning time may vary based on your ice cream maker.
- Adapted from allrecipes
Nutrition
Nutrition information is automatically calculated, so should only be used as an approximation.


My family loved this and it worked exactly as written, thanks! (We added chopped walnuts instead of peanuts) I will save this recipe to make again.