This post may contain affiliate links. Please read our privacy policy.

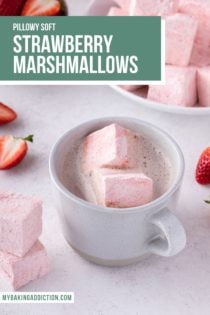
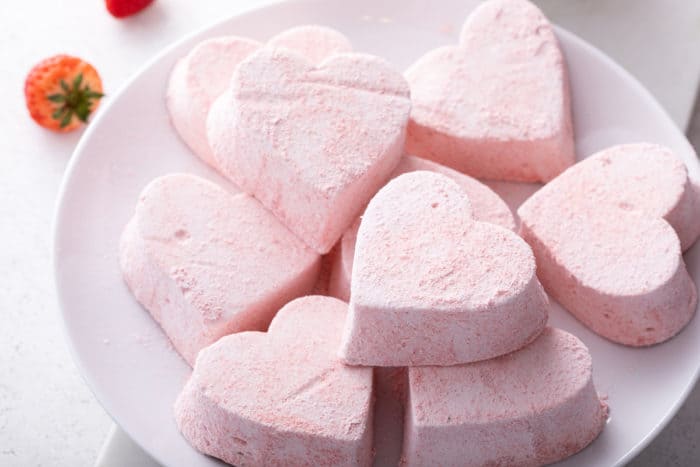
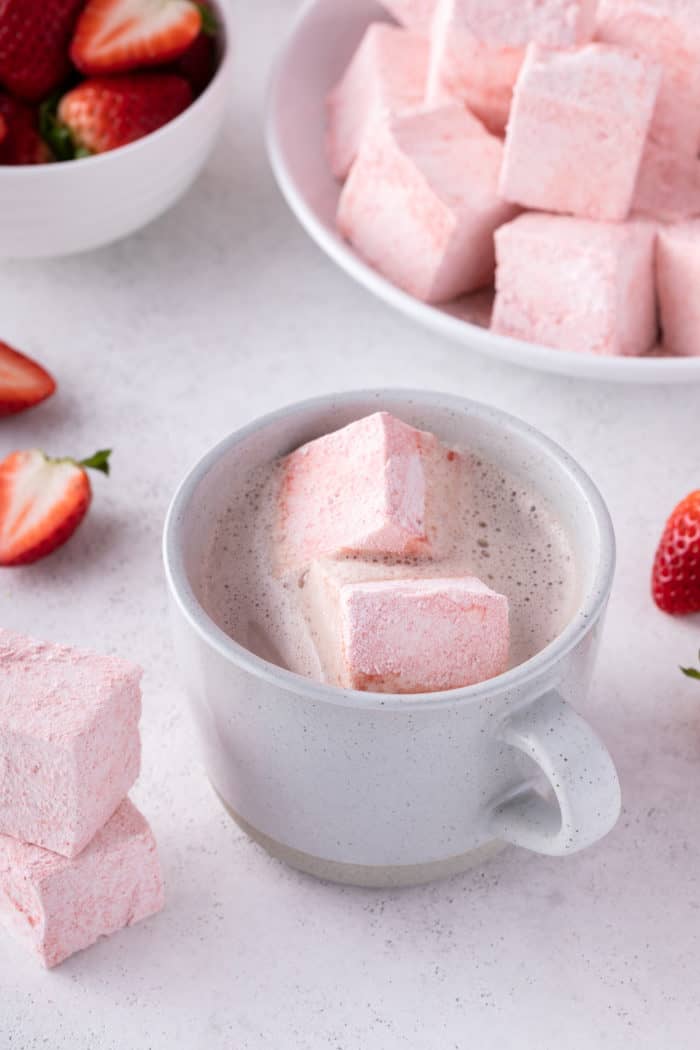
Homemade strawberry marshmallows are sweet, fruity, and soft as a cloud! Add them to hot cocoa, dip them in melted chocolate, or package them up and gift these pretty pink marshmallows for Valentine’s Day.
This post contains affiliate links.
Valentine’s Day is coming up, so I know you guys are starting to hunt for recipes you can make for your sweetheart or for your kiddos.
Last week I shared a simple one-layer eggless chocolate cake that is perfect for any chocolate lover.
This week, we’re going fruity with these strawberry marshmallows.
Homemade marshmallows are a weakness of mine and these strawberry ones are out of this world. They’re super soft and pillowy, perfectly sweet, and have just the right amount of strawberry flavor.
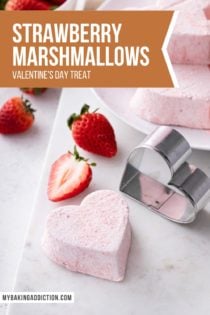
I think they’d be so cute for a Valentine’s party or packaged up for your best friends or neighbors. After all, homemade gifts are the best gifts!
HOMEMADE STRAWBERRY MARSHMALLOWS
I know that someone is probably wondering if making homemade marshmallows is worth it, and I’m here to tell you: If you’ve never had a freshly made marshmallow, you have no idea what you’re missing out on.
Marshmallows are surprisingly easy to make and the texture and flavor of a homemade marshmallow literally cannot be beat. Store-bought marshmallows are great for a lot of stuff, but there is something really special about a marshmallow that you’ve made from scratch.
And the best part about making your own marshmallows is that you can make them into a whole bunch of different flavors!
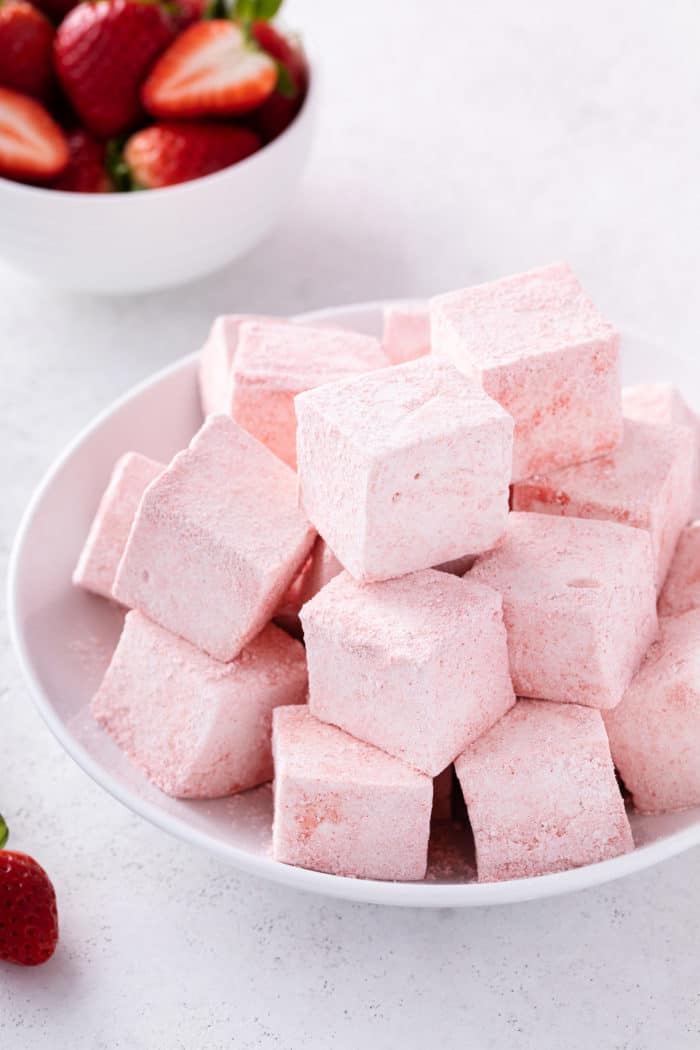
Since Valentine’s Day is coming up, I decided to play around with making strawberry marshmallows. After all, what is prettier than a fluffy, pink marshmallow full of strawberry flavor?
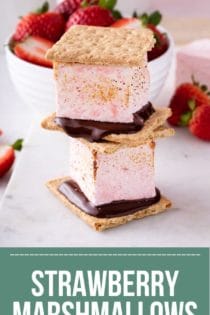
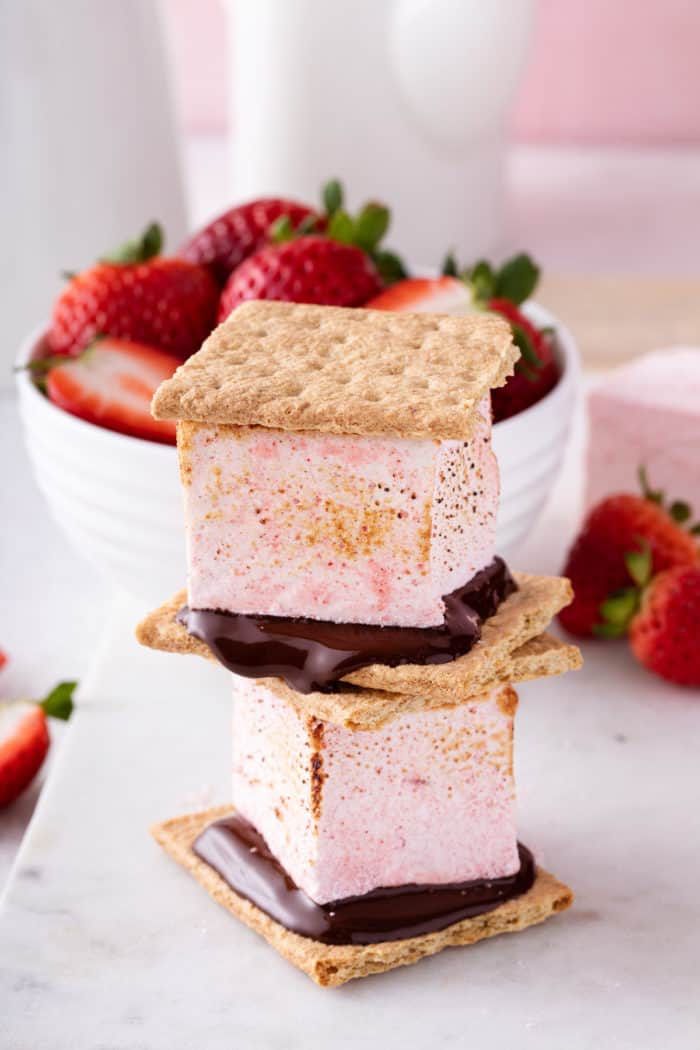
These sweet little marshmallows would make for the most delicious Valentine’s Day gift, but you can bet I’ll be enjoying them all year ‘round. Imagine how amazing they would be in a summer s’more!
HOW TO MAKE STRAWBERRY MARSHMALLOWS
I know that making candy can feel intimidating. But read through the recipe a couple of times before you start, measure out your ingredients ahead of time, and you’ll be good to go!
What are marshmallows made of?
The main components in marshmallows are sugar, corn syrup, gelatin, and water. From there, everything else is either going to flavor the marshmallows or coat them to keep them from sticking together.
Here’s what you’ll need to make your own strawberry marshmallows:
- ¾ cup water
- ¾ cup freeze-dried strawberry powder
- 3 (.25 ounce) packages unflavored gelatin
- ⅔ cup light corn syrup
- 2 cups white sugar
- 1 tablespoon vanilla extract
- ¼ cup cornstarch
- ¼ cup confectioners’ sugar
To pack these marshmallows full of strawberry flavor, I decided to use freeze-dried strawberry powder. This added lots of flavor without adding extra moisture to the recipe.
If you can’t find freeze-dried strawberry powder, you can make your own by pulverizing about 3.6 ounces of whole or sliced freeze-dried strawberries in a food processor. Pulse into a fine powder, then sift to remove the seeds.
Make sure that you use unflavored gelatin in this recipe. You do NOT want to use Jell-o, as it has extra sugar and flavoring in it.
I have not tried making these strawberry marshmallows with any substitutes for the corn syrup, so I can’t attest to the results if you choose to use a substitute such as honey.
Making this recipe
Before you start making the strawberry marshmallows, prep your pan. Line a 9×9-inch baking dish with plastic wrap and spray it with nonstick cooking spray. Go ahead and spray one additional piece of plastic wrap as well and set it aside – we’ll use this to cover the top of the marshmallows.
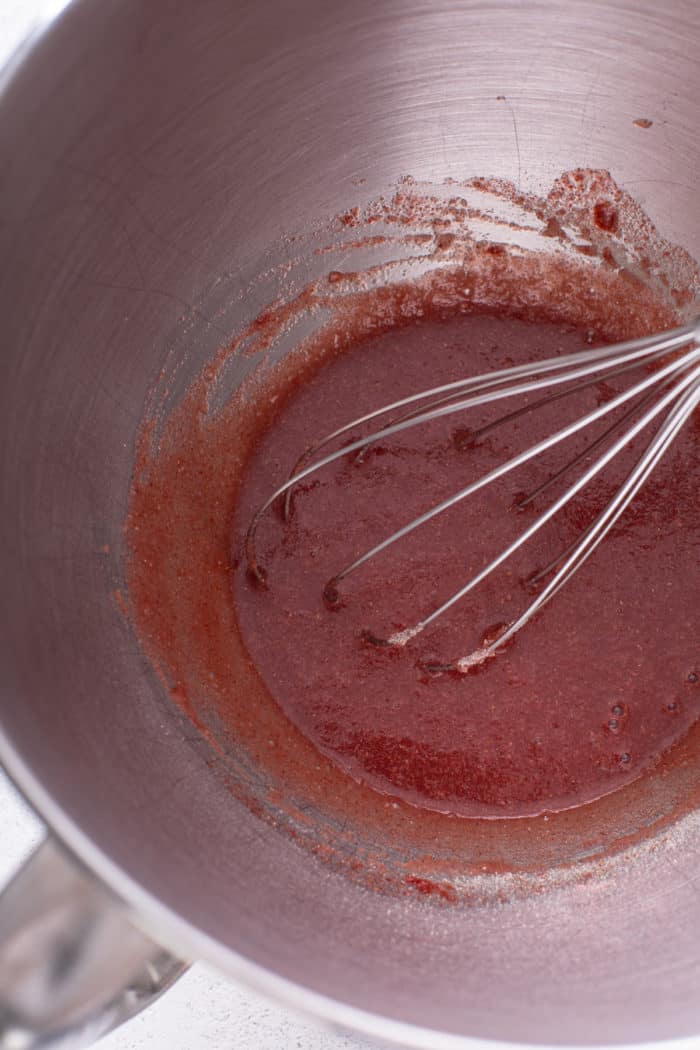
In the bowl of a stand mixer fitted with the whisk attachment, add ½ cup of the water and ½ cup of the strawberry powder, along with the gelatin. Whisk to combine.
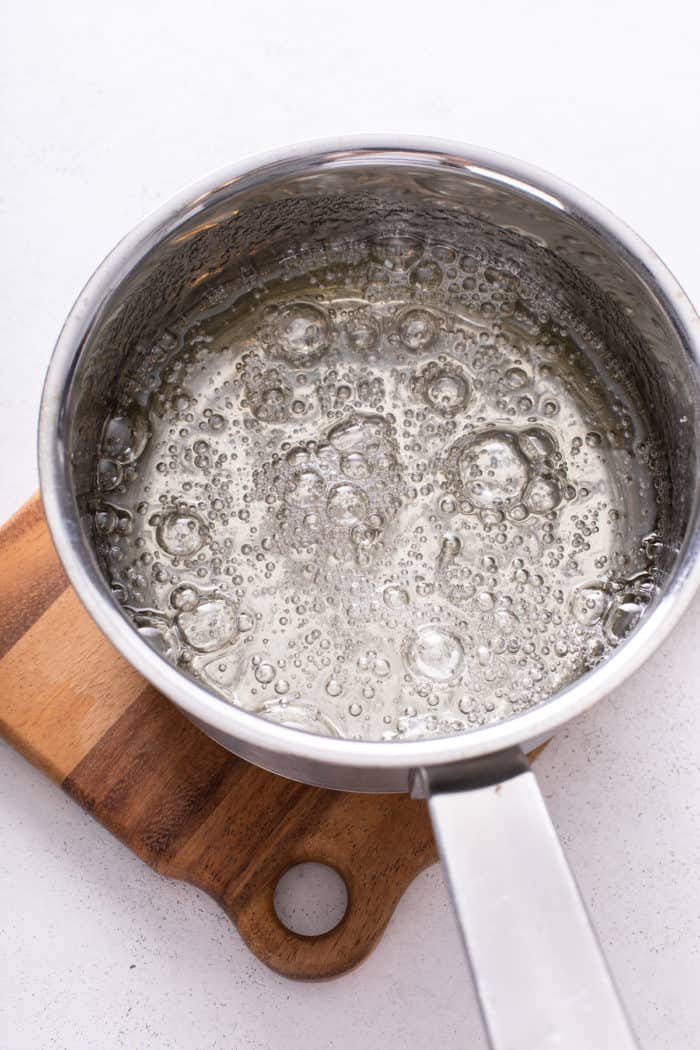
In a saucepan, add the rest of the water, the corn syrup, and the granulated sugar. Place the pan over medium heat and bring the mixture to a boil. Once it has reached a hard boil, set a time and boil it for 1 minute.
Turn off the heat and remove the pan. Turn the mixer onto low speed and slowly (and carefully!!) pour the hot sugar mixture into the bowl with the gelatin mixture.
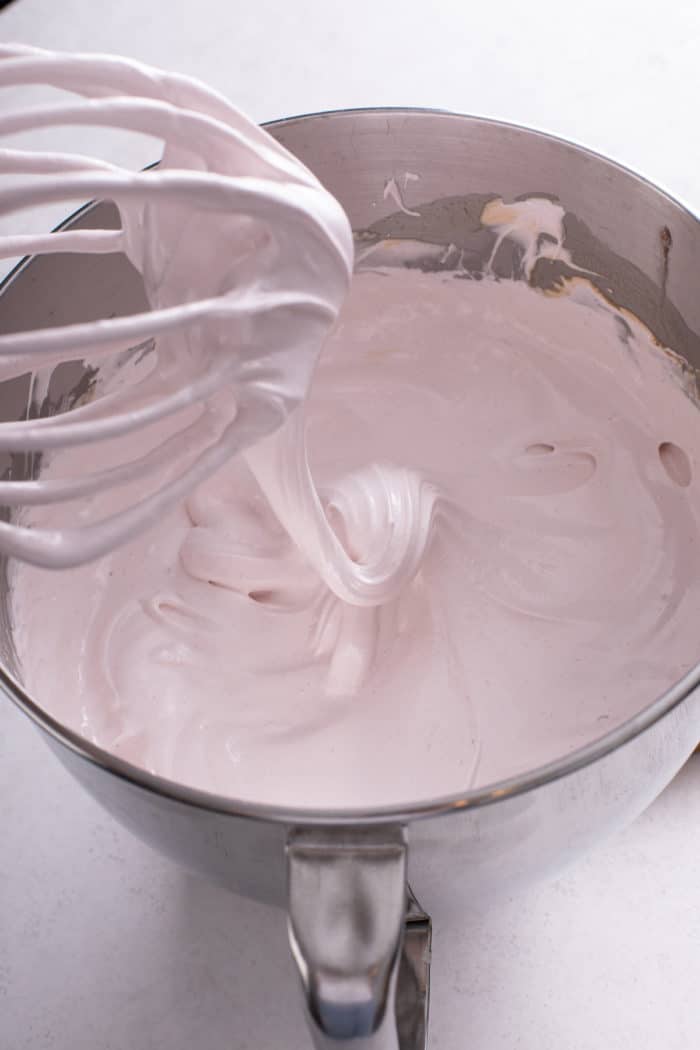
Once the sugar mixture is all in the bowl, gradually increase the speed to high and beat on high for 12 minutes. As it mixes, it will get fluffy and form stiff peaks.
Add in the vanilla and beat just until the vanilla is incorporated.
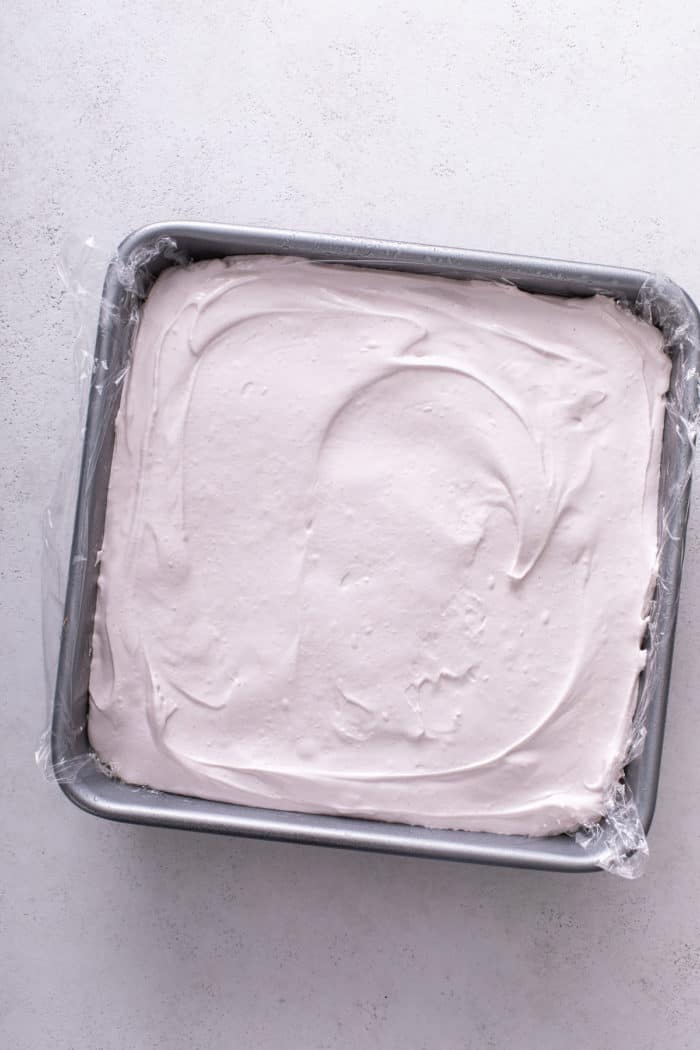
Pour the marshmallow mixture into the prepared baking dish. Spray a spatula with cooking spray and use that to smooth the top. Cover with the sprayed piece of plastic wrap and allow the candy to rest on the counter for 8 hours or overnight to set.
Cutting the marshmallows
Once the marshmallows have set, it’s time to cut them and coat them with more sugar and strawberry powder.
In a shallow dish, mix together the rest of the strawberry powder, the cornstarch, and the powdered sugar. This is our coating mixture.
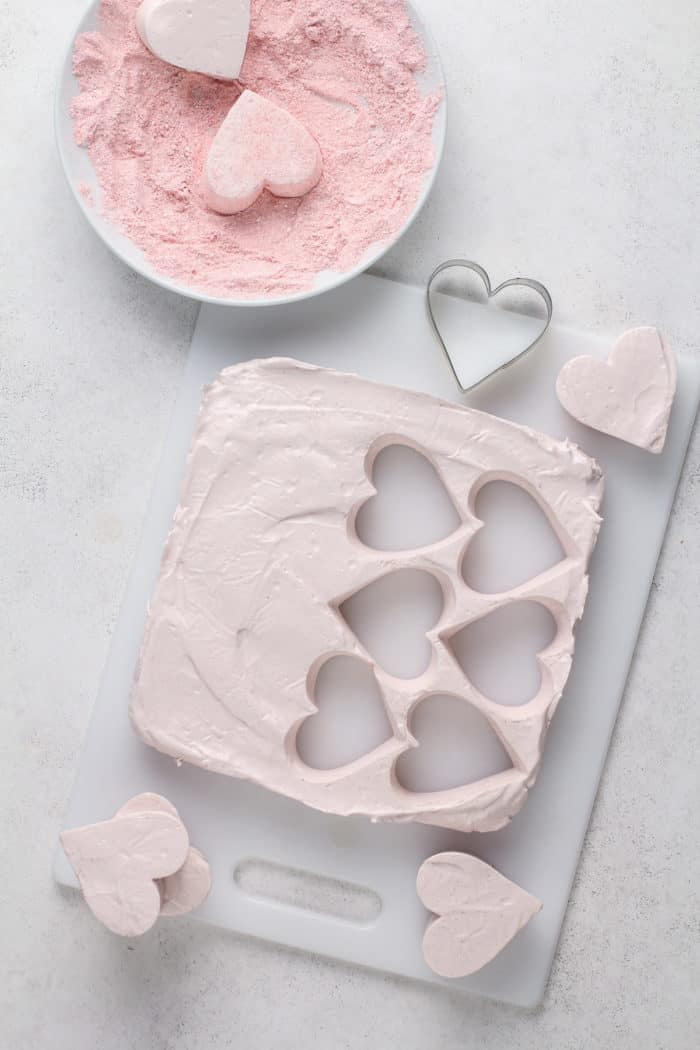
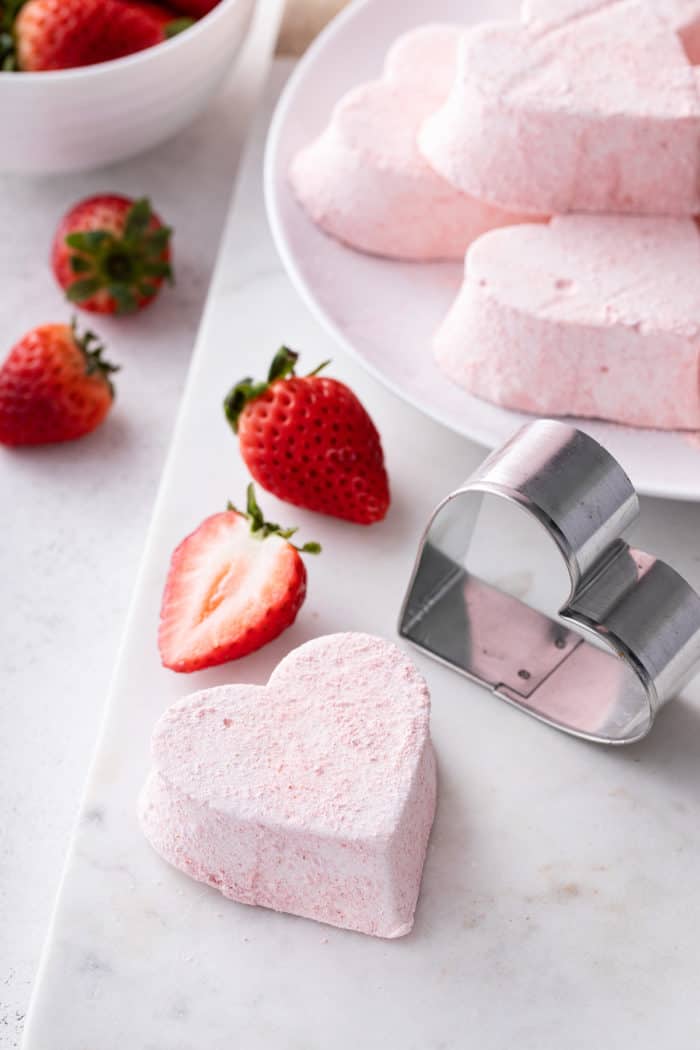
The strawberry marshmallows are going to be super sticky, so you will need to use nonstick spray on anything you use to cut them, whether it’s a large knife, scissors, or a cookie cutter. You will likely need to re-spray a few times during the cutting process.
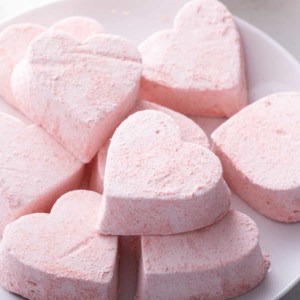
Cut the marshmallows into your desired shapes (1-inch squares are great, but you can also use cookie cutters to cut into heart shapes or other shapes as desired). Once they are cut, lightly dredge the marshmallows in the cornstarch mixture to prevent them from sticking together.

STORAGE TIPS
Store your homemade strawberry marshmallows in an airtight container at room temperature.
Moisture is the enemy of candies like this, so keep them out of the fridge and the freezer.
If you keep them in a cool, dry place away from humidity, they will last for 3-4 weeks!
SERVING AND GIFTING SUGGESTIONS
Since strawberry marshmallows are so pretty and delicious and have such a long shelf life, it makes them perfect for gifting.
Cut them into hearts and package them in pretty treat boxes or in cellophane bags. You could even put them on lollipop or cake-pop sticks for a sweet marshmallow pop!
Want to really go the extra mile? You could dip them in chocolate and top them with seasonal sprinkles for chocolate-covered marshmallows.
When you’re ready to enjoy your marshmallows, try adding them to Instant Pot hot chocolate, tucking them into chocolate chip cookie s’mores or chocolate berry s’mores, or including them in an indoor s’mores kit.
Or just pop them into your mouth any time you get a craving for something sweet. Honestly, there’s no wrong way to enjoy these strawberry marshmallows!
Strawberry Marshmallows
Equipment
Ingredients
- ¾ cup water divided
- ¾ cup freeze-dried strawberry powder divided (see notes)
- 3 0.25-ounce packages unflavored gelatin
- ⅔ cup light corn syrup
- 2 cups granulated sugar
- 1 tablespoon pure vanilla extract
- ¼ cup cornstarch
- ¼ cup confectioners’ sugar
Video
Instructions
- Line a 9×9-inch baking dish with plastic wrap and spray with non-stick cooking spray. Spray another piece of plastic wrap to cover the top, and set aside.
- Place ½ cup of water and ½ cup of the strawberry powder in the bowl of a stand mixer fitted with the whisk attachment. Add the gelatin and whisk just to combine. Scrape down the sides of the bowl.
- Combine remaining ¼ cup of water, corn syrup, and sugar in a saucepan. Bring the mixture to a boil over medium heat. Boil the mixture hard for 1 minute. (Do not start the timer until the mixture has reached a hard boil.)
- With the mixer on low, carefully pour the hot sugar mixture into the gelatin mixture. Gradually increase the mixer speed to high; beat on high for 12 minutes, until the mixture is fluffy and forms stiff peaks. Add in vanilla extract and beat until just combined.
- Pour the marshmallow mixture into the prepared baking dish, using a greased spatula to smooth the top. Cover the candy with the piece of prepared plastic wrap, pressing it down lightly to seal the covering to the top of the candy.
- Allow the marshmallow candy to rest at room temperature for 8 hours or overnight. Mix together remaining ¼ cup of strawberry powder, cornstarch, and confectioners’ sugar in a shallow dish. Using oiled scissors or an oiled kitchen knife, cut the marshmallow candy into strips, then into 1 inch squares. Alternatively, use an oiled cookie cutter to cut the marshmallows into shapes. Dredge the marshmallows lightly in the cornstarch mixture and store in an airtight container at room temperature for 3-4 weeks.
Notes
Nutrition
Nutrition information is automatically calculated, so should only be used as an approximation.


My family loved this!
So happy to hear you enjoyed the recipe. Thanks so much for stopping by and leaving your feedback – it is very much appreciated.
-Jamie
I make honey sweetened marshmallows all the time (no sugar, just 1c honey to 1c water to 3T gelatin) and have been wondering how to make it strawberry. This does the trick! I always just boil for 5 minutes. A day of curing and you can even roast them or make rice krispie squares! Delicious. Thanks!
I am so happy to hear you enjoyed the recipe. Thanks so much for stopping by and leaving your feedback – it is so appreciated!
Happy baking!
-Jamie
Delicious! I have made marshmallows for years. The texture is melt in your mouth. I may cut back a little on the strawberries next time.
Sooooo easy and even though I forgot the vanilla at the end my daughter said they are the best ever. One minute hard boil was perfect. If you have a Trader Joe’s nearby you can snag enough freeze dried strawberries for this project at $2.99 a bag.
Hello-
So happy to hear you enjoyed this recipe! Thanks so much for stopping by and leaving y our feedback. Have a great day and happy baking!
-Jamie
Can I use Amoretti Artisan Wild Strawberry syrup instead of the freeze dried powdered strawberries?
Hi April – I don’t have any experience using that syrup, so I can’t speak to the substitution and what adjustments would need to be made.
-Jamie
wow! this recipe is awesome! In the past I have to use candy thermometers to get the right temps, not here! Just have a hard boil, and 12min. then ready to spread! No more candy thermometers for this recipe. lol…. I made these for Valentines, our church gathering, u can imagine, a hit! everyone who bakes got the recipe. thank u so much, oh ya made them for xmas too. sooooo goooood
So happy to hear this! Thanks so much for stopping by and sharing your feedback. Happy baking!
Jamie
Is 1 minute of boiling enough to get this to 240 degrees? I made marshmallows once and only went to 232 and the texture wasn’t right. So I always go to 240 since then.
Hi Peggy – I haven’t made this particular recipe with a candy thermometer before. However, I have made these many times and they have set up perfectly each time. Just make sure you bring the mixture to a hard boil before you set your timer. Hope this helps!
Jamie
@PeggyM, I made these last night and checked the temp at 1 min. It was 238 and change, so I let it go a few more seconds until it hit 240. I’ve had some success in the past with going to 238, but 240 seems to be the magic spot, so I let it go a few seconds longer until I got there.
Thanks for sharing, Sherri! Happy baking –
Jamie