This post may contain affiliate links. Please read our privacy policy.
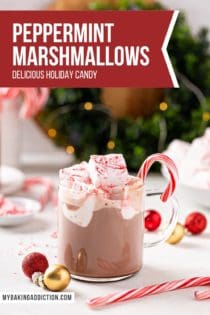
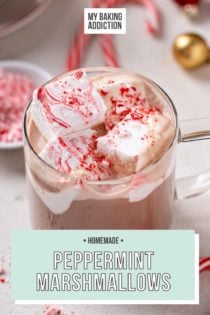
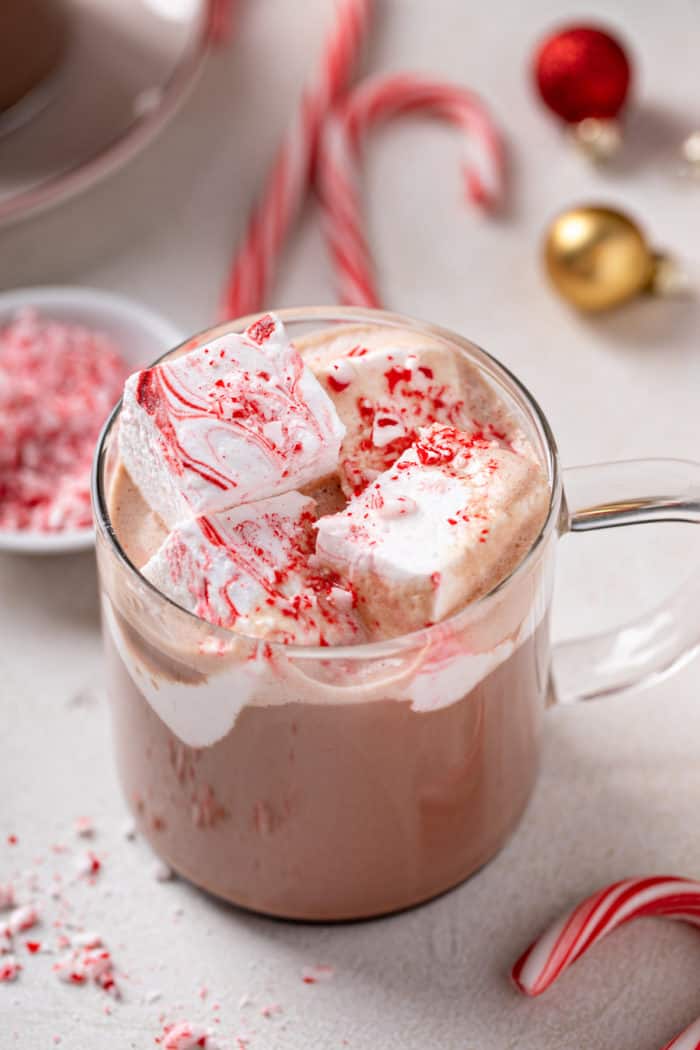
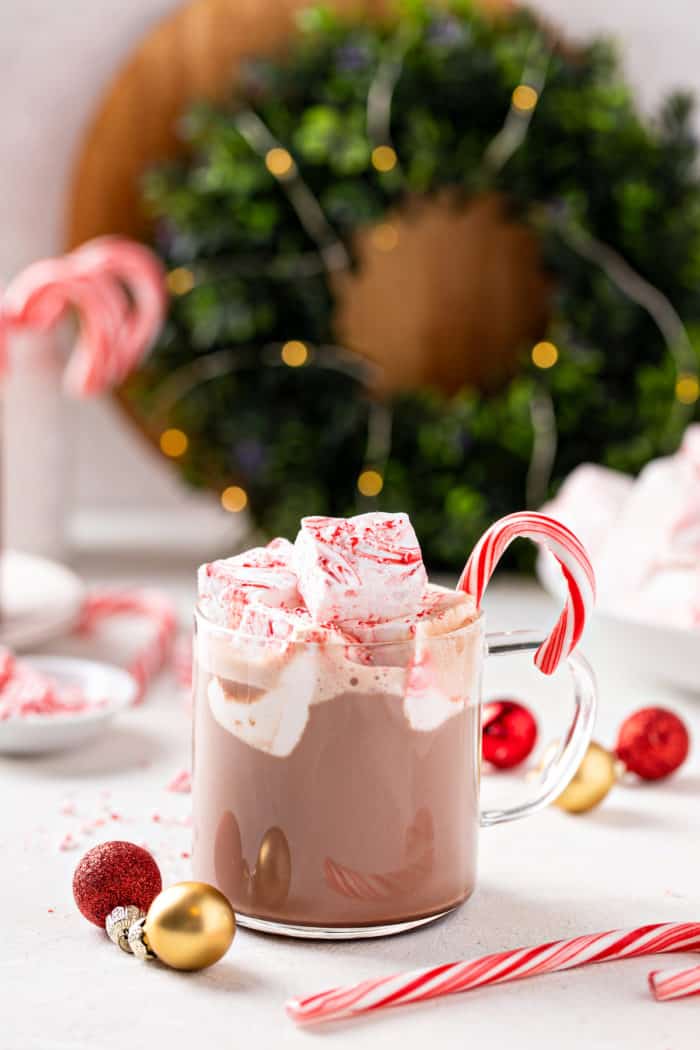
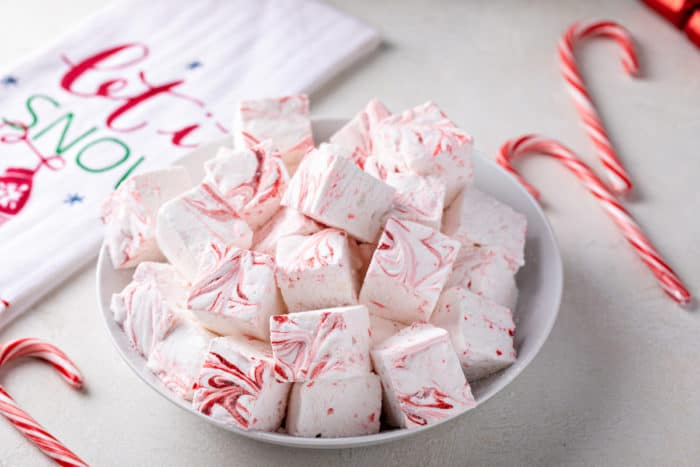
With just the right amount of refreshing peppermint flavor and a festive red swirl, these homemade peppermint marshmallows are the very best way to dress up your favorite hot chocolate this winter.
I have been obsessed with marshmallows basically since I could chew. I’ve never been picky about them, either.
Whether it’s straight from the bag or as part of a s’more (or even better, giant s’mores cookies), you can count me in. I’ll even devour stale Peeps.
Yes, you heard me. I like my Peeps stale!
And I used to think that making homemade marshmallows would be really tricky and way too hard to bother with. But a few years back I finally gave it a try and discovered that they are actually WAY easier than I expected and they are absolutely, 100% worth it.
Once you try a homemade marshmallow, you will never go back to the bagged ones again.
This year, I’m making some of these adorable peppermint marshmallows to share with friends and family. And I think you should, too!
THE VERY BEST PEPPERMINT MARSHMALLOWS
If you’re like me and love indulging in treats like peppermint bark and peppermint brownies this time of year, then I can bet you’ll love these peppermint marshmallows, too.
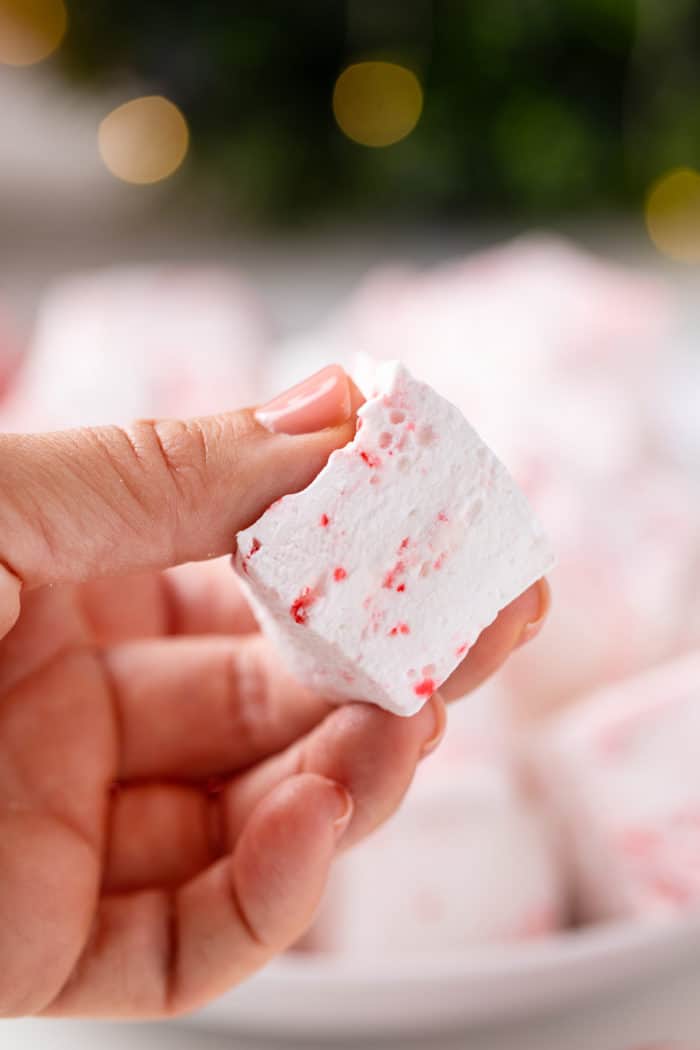
And let me tell you, they are so delightful. They have all the light, fluffy texture we love in homemade marshmallows with just the right amount of peppermint flavor added in.
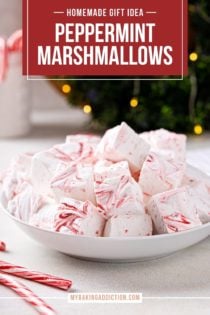
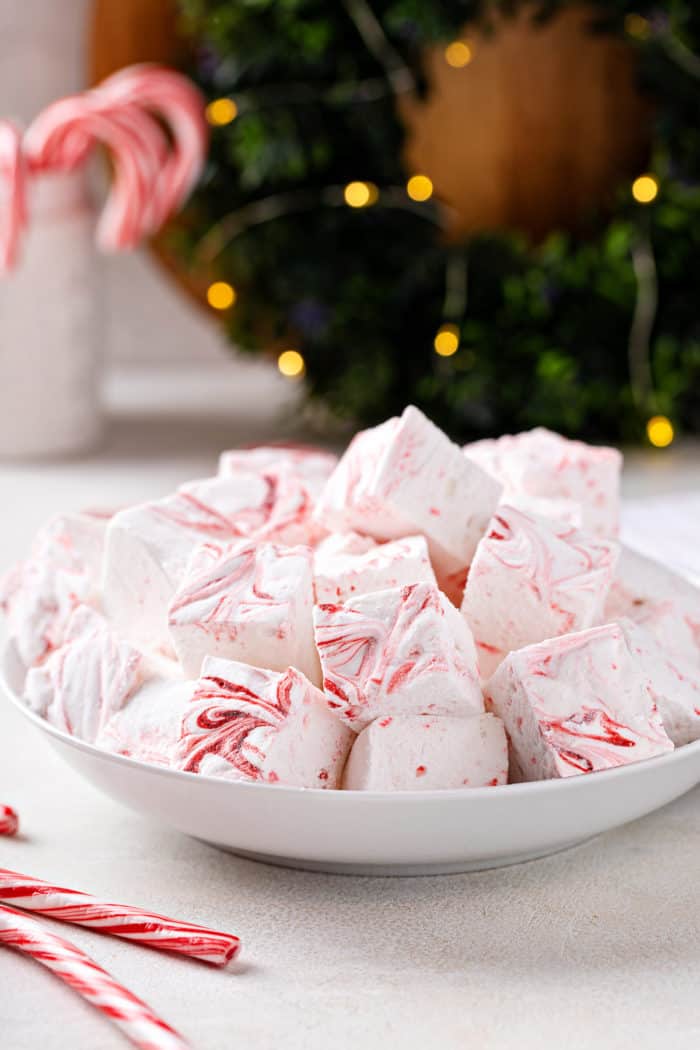
I even added a red swirl on the top. It’s totally optional, but it looks super cute if you don’t mind using food coloring.
There’s also an option to add some crushed peppermint candy canes into the mixture. I have made these both with and without the candy canes and I love them both ways, so it just depends on if you like the crunchy texture in your marshmallows.
If you’re still figuring out what to make for your neighbors, Secret Santa, or as a hostess gift this holiday season, these peppermint marshmallows are definitely the answer.
HOW TO MAKE PEPPERMINT MARSHMALLOWS
Unlike some candy recipes, such as peanut brittle, you don’t need a candy thermometer to make homemade marshmallows.
Just make sure you read through the instructions carefully and have all of your ingredients measured out and ready to go before you start.
Ingredients you’ll need
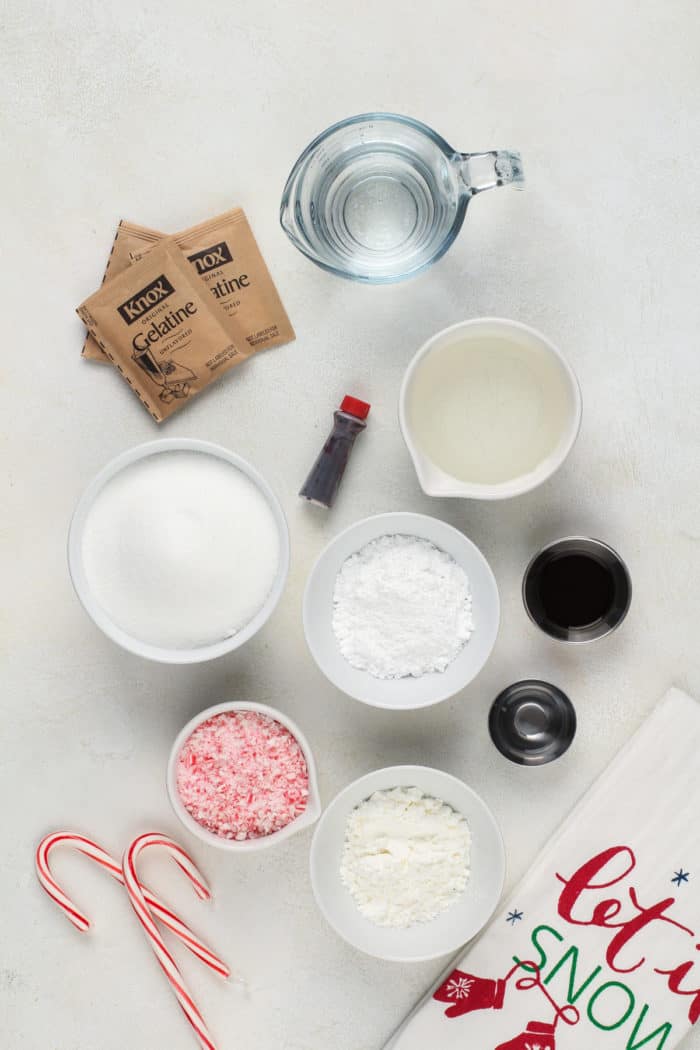
To make these peppermint marshmallows, you will need:
- ¾ cup water
- 3 envelopes unflavored gelatin
- ⅔ cup light corn syrup
- 2 cups white sugar
- 1 tablespoon pure vanilla extract
- ½ teaspoon peppermint extract
- ½ cup finely crushed candy canes (optional)
- Red gel food coloring (optional)
- ¼ cup cornstarch
- ¼ cup confectioners’ sugar
Look for unflavored gelatin in the baking aisle. It will be by the flavored gelatins (Jello, etc), but comes in a smaller box that contains several envelope packets. Knox is the most common brand of unflavored gelatin here in the States.
Light corn syrup is extremely common in candy recipes. It helps prevent sugars from crystalizing – basically, consider it a form of insurance when making homemade candy.
If you are really opposed to using corn syrup, I have had many readers successfully make my homemade marshmallows with honey instead. Just keep in mind that honey may add some flavor to the recipe, unlike corn syrup which has a neutral sweetness.
Make sure you purchase peppermint extract, not mint extract. Peppermint and mint are actually different flavors, and we want peppermint for this recipe.
If you are adding the crushed candy canes, you can purchase bags of crushed candy cane pieces in the candy aisle during the holidays. But you can also crush your own if you happen to have a bunch of candy canes on hand already.
Making my peppermint marshmallows
Before you start making the peppermint marshmallows, you need to prep the pan for them.
Line a 9×9-inch pan with plastic wrap and spray it generously with nonstick spray. Spray another piece of plastic wrap and set this aside – this will cover the top of the marshmallows.

Now you can start on the marshmallows themselves. Add ½ cup of the water to the bowl of a stand mixer fitted with the whisk attachment. Sprinkle the gelatin over the top of the water and let this soak while you do the next step.
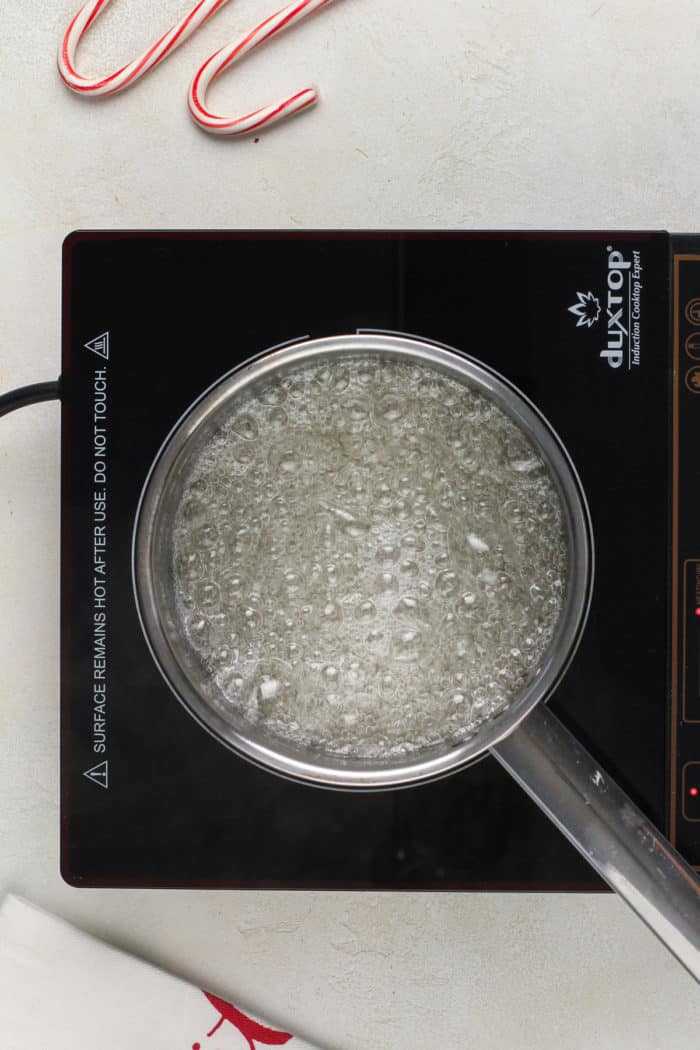
In a saucepan, combine the remaining ¼ cup water, corn syrup, and sugar. Place this over medium heat and bring it to a boil. Once it’s boiling, let it boil hard for 1 minute.
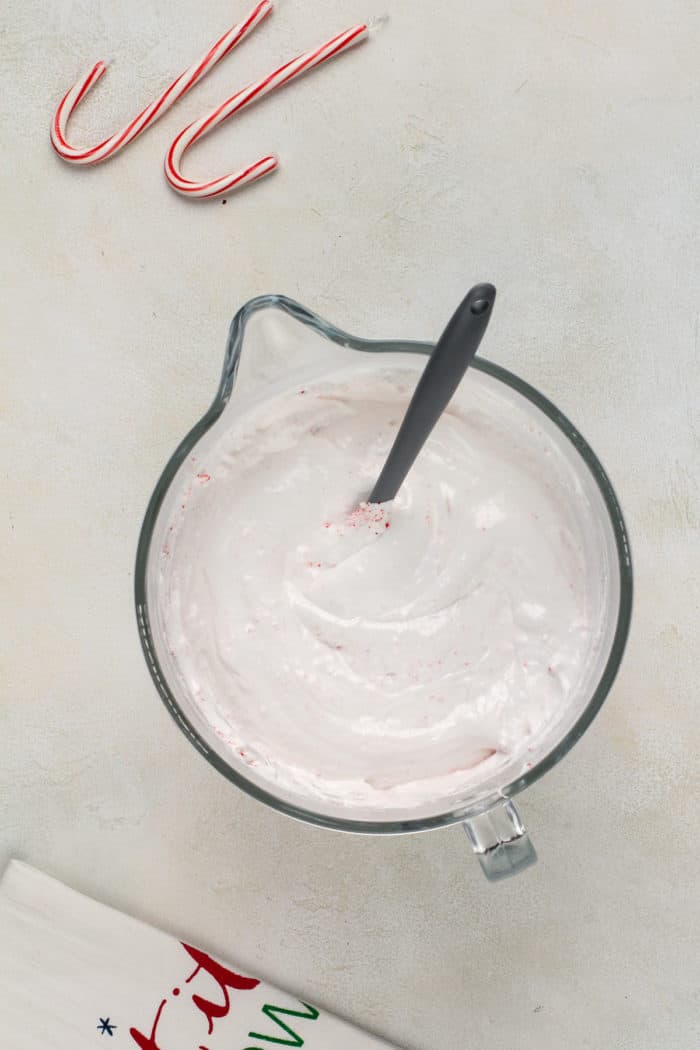
After the 1 minute has passed, VERY CAREFULLY pour this mixture into the gelatin mixture and beat on high for 12 minutes. After 12 minutes, the mixture should be fluffy and form stiff peaks.
Add the vanilla, peppermint extract, and (if using) the crushed candy canes, then pour the mixture into the prepared pan. Use a spatula sprayed with cooking spray to smooth out the top.
If you want to add the red swirls, add 9-12 drops of red food coloring across the top, then use a greased butter knife or chopstick to swirl the color into the marshmallows.
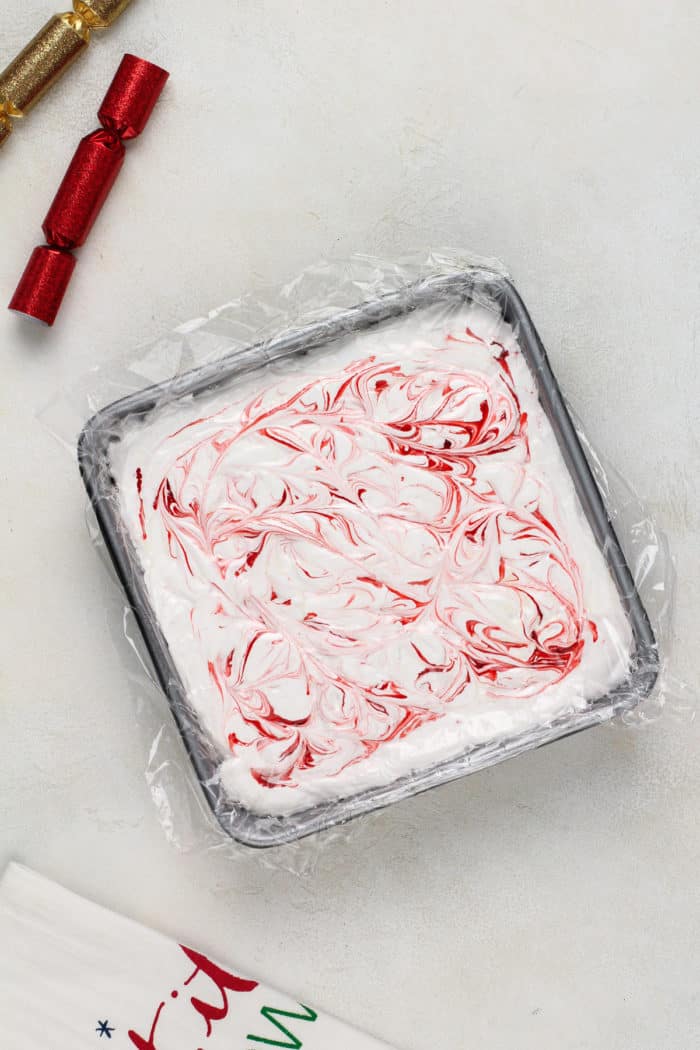
Cover the candy with the prepared extra piece of plastic wrap, making sure to press it down to touch the top of the marshmallows.
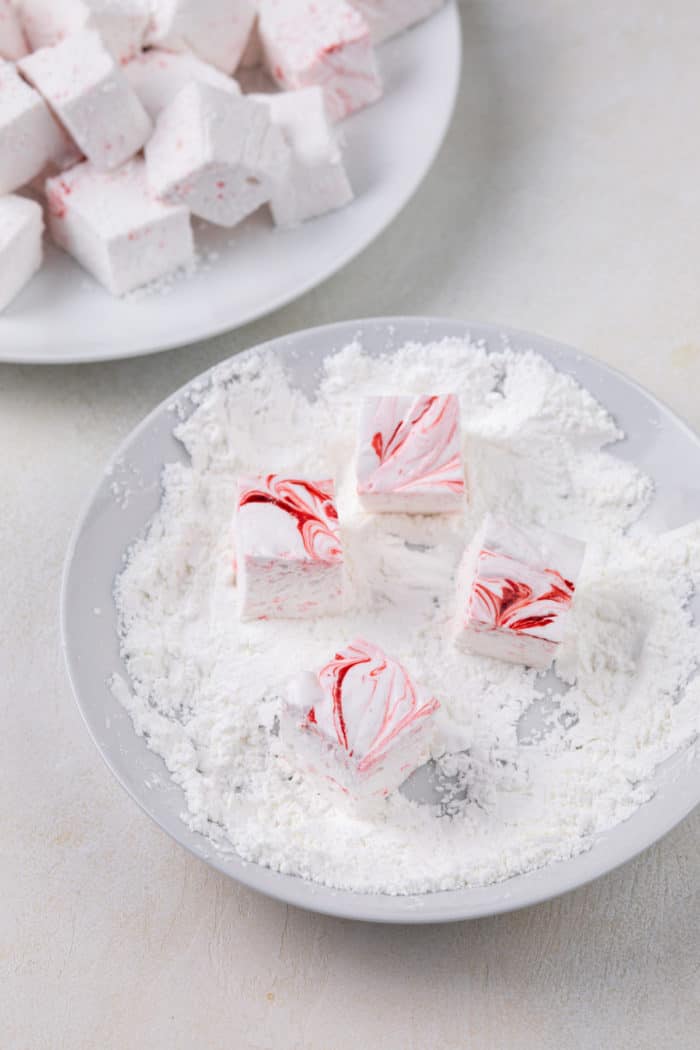
Let the marshmallows rest at room temperature for 4 hours or overnight. When you’re ready to cut them, mix together the cornstarch and powdered sugar in a shallow bowl.
Use the plastic wrap to lift the marshmallows out of the pan, then use a well-greased knife or scissors to cut the candy into strips, then 1-inch squares. Dredge the marshmallows lightly in the cornstarch mixture so they don’t stick together and store them in an airtight container.
STORING HOMEMADE MARSHMALLOWS
Store your peppermint marshmallows in an airtight container at room temperature and they will keep for about a month.
Note that if you added the crushed candy cane pieces, sometimes the candy pieces can leach a little bit of moisture in storage.
Because of this, they may only last a couple of weeks. I recommend checking on them more often and dredging with more cornstarch and powdered sugar as needed.
If you want to make sure the peppermint marshmallows are going to be good for several weeks, skip adding the peppermint candies. The peppermint flavor is great with or without them.
Whatever you do, keep them out of the fridge or freezer. The moisture from the refrigerator and freezer will destroy the marshmallows.
USES AND GIFTING
How can you use your homemade peppermint marshmallows?
Once you try a fresh marshmallow, you’ll see that they’re a delicious candy treat all on their own. But you can also add them as a topper to your favorite hot chocolate or homemade mocha latte.
Want to take these peppermint marshmallows to the next level? Use them to make chocolate-covered marshmallows. Talk about luxe!
They also make a lovely homemade gift. Package them in cellophane bags or a festive tin. You can even add some hot cocoa mix and some cute mugs to make it a full gift basket.
FAQS
Are homemade peppermint marshmallows gluten free?
All of the ingredients in these peppermint marshmallows are naturally gluten free.
That said, if you have someone in the family with a severe gluten allergy, make sure you are using ingredients that are certified gluten free so you can make sure there hasn’t been any cross contamination.
Can I store these marshmallows in the freezer?
Even though it’s common to store things in the freezer to get a longer shelf life out of them, that’s not the case for homemade marshmallows.
Keep these out of the refrigerator and freezer. The moisture from those will destroy your beautiful marshmallows!
These peppermint marshmallows will last 2-4 weeks in an airtight container at room temperature, depending on if you add the crushed candy canes to them. (They last longer without the candy cane pieces in them.)
Do I have to use corn syrup? Is there a substitute I can use instead?
I have had many readers successfully make my marshmallows with honey instead of corn syrup. Just keep in mind that honey can add a bit of its own flavor to the marshmallows.
If you live outside of the US, golden syrup is the closest thing to light corn syrup and is what I’d recommend using.
Do I have to have a mixer to make this recipe?
Yeah, you really do. You need to beat the marshmallow mixture on high speed for 12 full minutes – that’s not something you’ll be able to do by hand.
A stand mixer makes this easiest and is always my recommendation, but you could make it work with an electric hand mixer. You may need to mix for a bit longer if using a hand mixer, so watch for the mixture to get fluffy and form stiff peaks to know that it’s ready.
Can I cut the marshmallows into cute shapes instead of squares?
Absolutely! You can use some basic cookie cutters, such as stars or circles, to cut shapes out of the set marshmallows.
I used a heart cutter when making my strawberry marshmallows. For peppermint marshmallows, stars or even Christmas tress would be seasonal and cute.
Make sure you grease your cookie cutter(s) before using them to punch out the shapes.
If you do this, you will end up with some extra random pieces. Cut them into small chunks and dredge them in the cornstarch mixture. They might not look as cute, but they still taste great on top of a mug of hot cocoa!
What do you mean by an “oiled” knife, etc?
This just means that you have sprayed your knife, scissors, chopstick, etc, with nonstick cooking spray.
These peppermint marshmallows are very sticky, so you need to make sure anything that touches them before they’re dredged in the cornstarch mixture is well oiled so they don’t stick!
erent flavors, and we want peppermint for this recipe.
Peppermint Marshmallows

Ingredients
- ¾ cup water divided
- 3 envelopes unflavored gelatin .25 ounces each
- ⅔ cup light corn syrup
- 2 cups white sugar
- 1 tablespoon pure vanilla extract
- ½ teaspoon peppermint extract
- ½ cup finely crushed candy canes optional
- Red gel food coloring optional
- ¼ cup cornstarch
- ¼ cup confectioners’ sugar
Video
Instructions
- Line a 9×9 inch baking dish with plastic wrap and spray with non-stick cooking spray. Spray another piece of plastic wrap to cover the top, and set aside.
- Place 1/2 cup of water in the bowl of a stand mixer fitted with the whisk attachment, and sprinkle gelatin on top of water to soak.
- While gelatin is soaking, combine 1/4 cup of water, corn syrup, and sugar in a saucepan. Bring the mixture to a boil over medium heat. Boil the mixture hard for 1 minute.
- Carefully pour the hot sugar mixture into the gelatin mixture and beat on high for 12 minutes with the stand mixer, until the mixture is fluffy and forms stiff peaks. Add in vanilla extract and peppermint extract and beat until just combined. Mix in crushed candy canes, if using.
- Pour the marshmallow mixture into the prepared baking dish, using a greased spatula to smooth the top. Squeeze 9-12 drops of food coloring across the top of the marshmallow, then use an oiled butter knife or chopstick to swirl the coloring into the marshmallows. Cover the candy with the piece of prepared plastic wrap, pressing it down lightly to seal the covering to the top of the candy.
- Allow the marshmallow candy to rest for 4 hours or overnight. Mix together cornstarch and confectioners’ sugar in a shallow dish. Using oiled scissors or an oiled kitchen knife, cut the marshmallow candy into strips, then into 1 inch squares. Dredge the marshmallows lightly in the cornstarch mixture and store in an airtight container.
Notes
Nutrition
Nutrition information is automatically calculated, so should only be used as an approximation.


So easy and so delish!
Omg!!! What a great thing to make!! I can’t believe I did it
I made marshmallows using your recipe only I used honey instead of corn syrup and oh my goodness, they were the best. I’ve een making marshmallows for years and this was the first time using honey. I will never use corn syrup again.
P.S. I didn’t use the peppermint in them.
I’m sorry, I forgot to add stars!!
I love your recipes, I’ve used several, so thanks!
Coincidentally I was just thinking about making peppermint marshmallows but was going to guess on amounts of extract and candy cane bits to put into my normal recipe, so I’ll use your recipe as a guide. I know you and others say to not freeze marshmallows, but I’ve frozen several batches in the past and haven’t had problems with them. Normally I use the frozen marshmallows in hot chocolate. I always coat the cut marshmallows with pure powdered sugar, that’s the only difference I see. Also, to cut them I bought a marshmallow cutter that looks like a pizza cutter except it’s got a plastic blade with holes. I dip it in pure powdered sugar which adhere to the holes in the blade and it cuts beautifully. So I don’t use oil at all.
Thanks again for your wonderful recipes!
Hi!
I am so happy to hear you enjoyed the recipe. Thanks so much for stopping by and leaving your feedback!
Happy Baking!
-Jamie