This post may contain affiliate links. Please read our privacy policy.
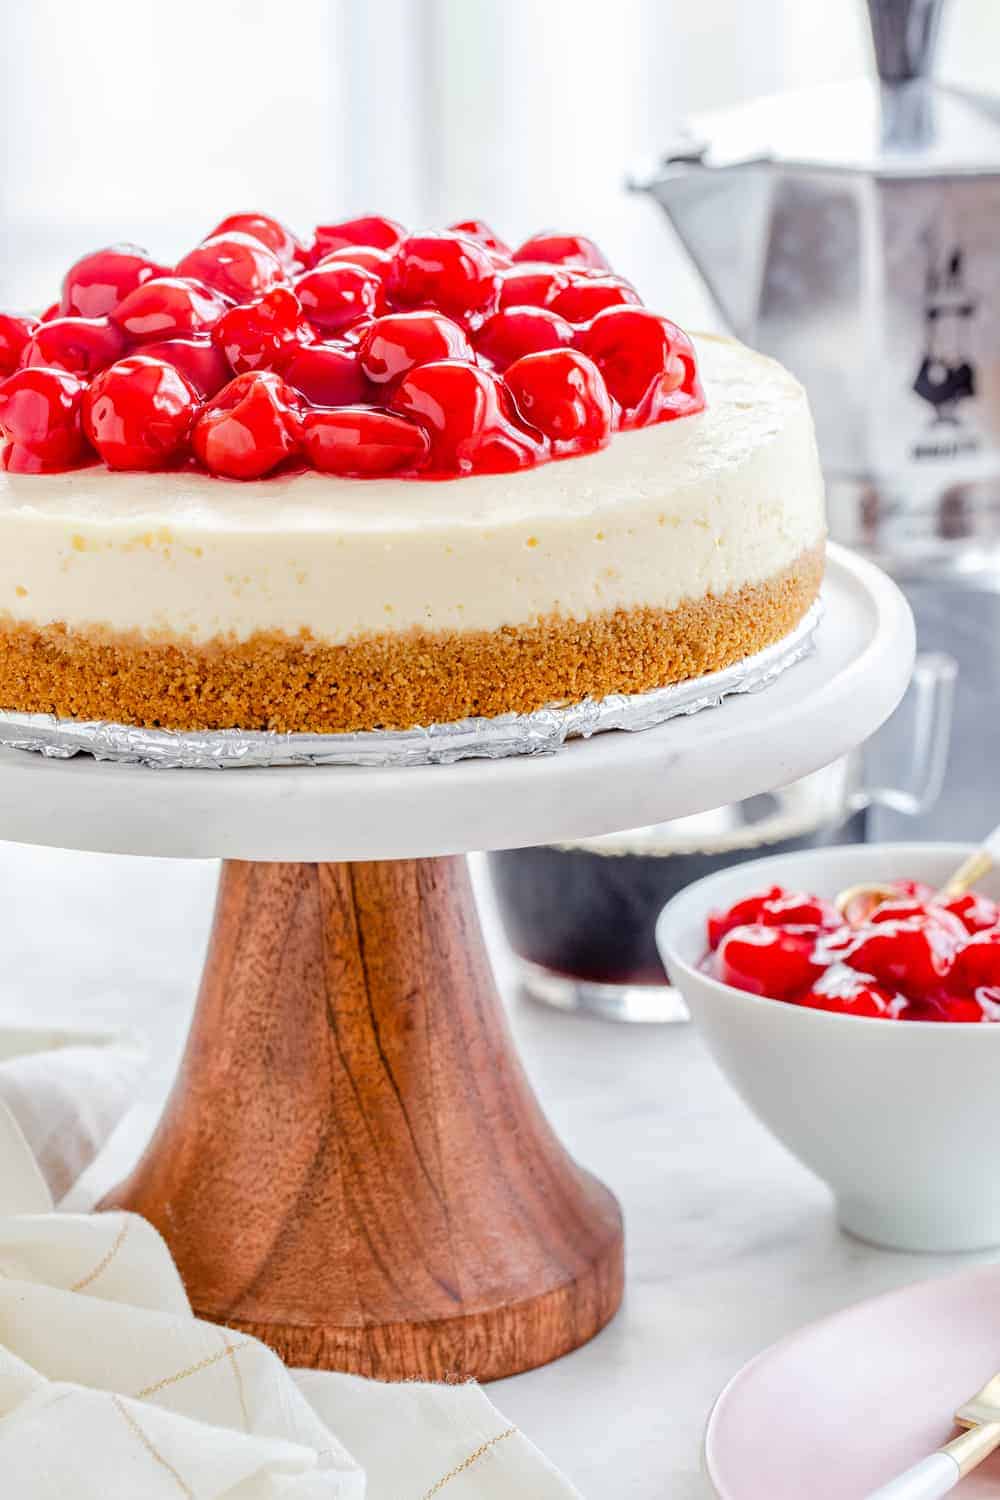
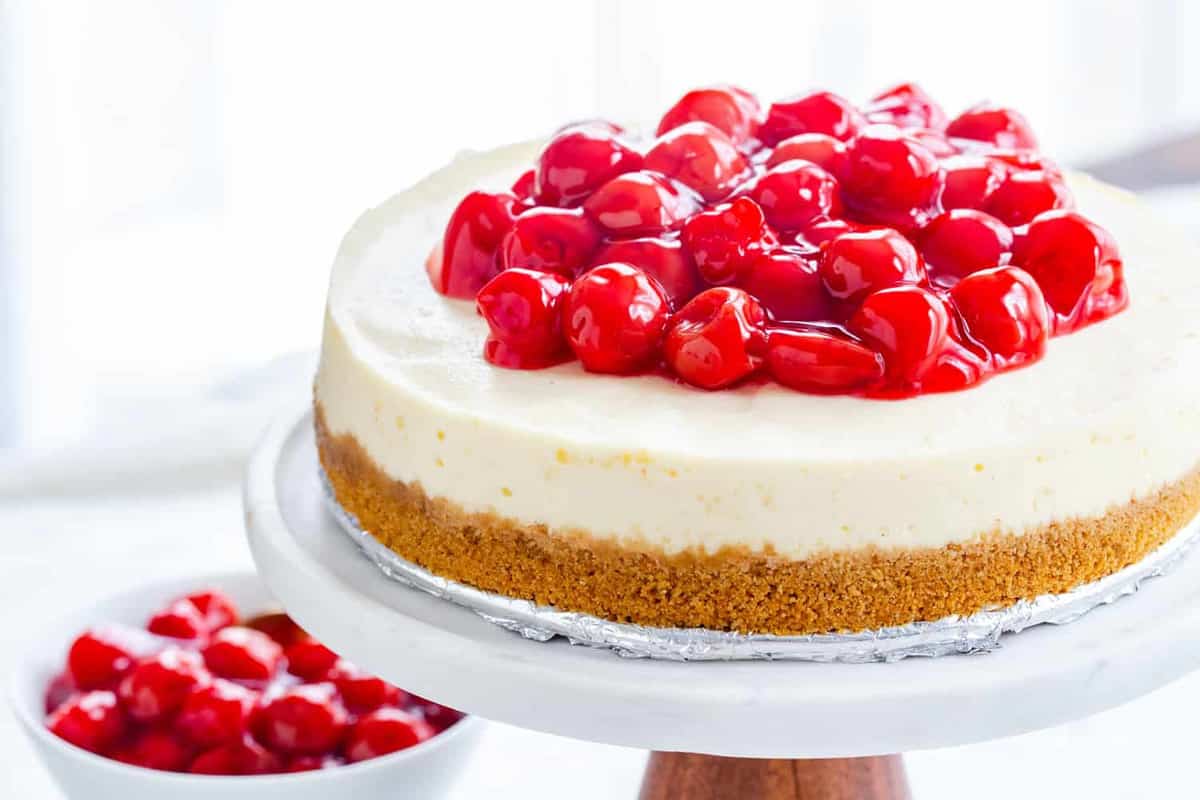
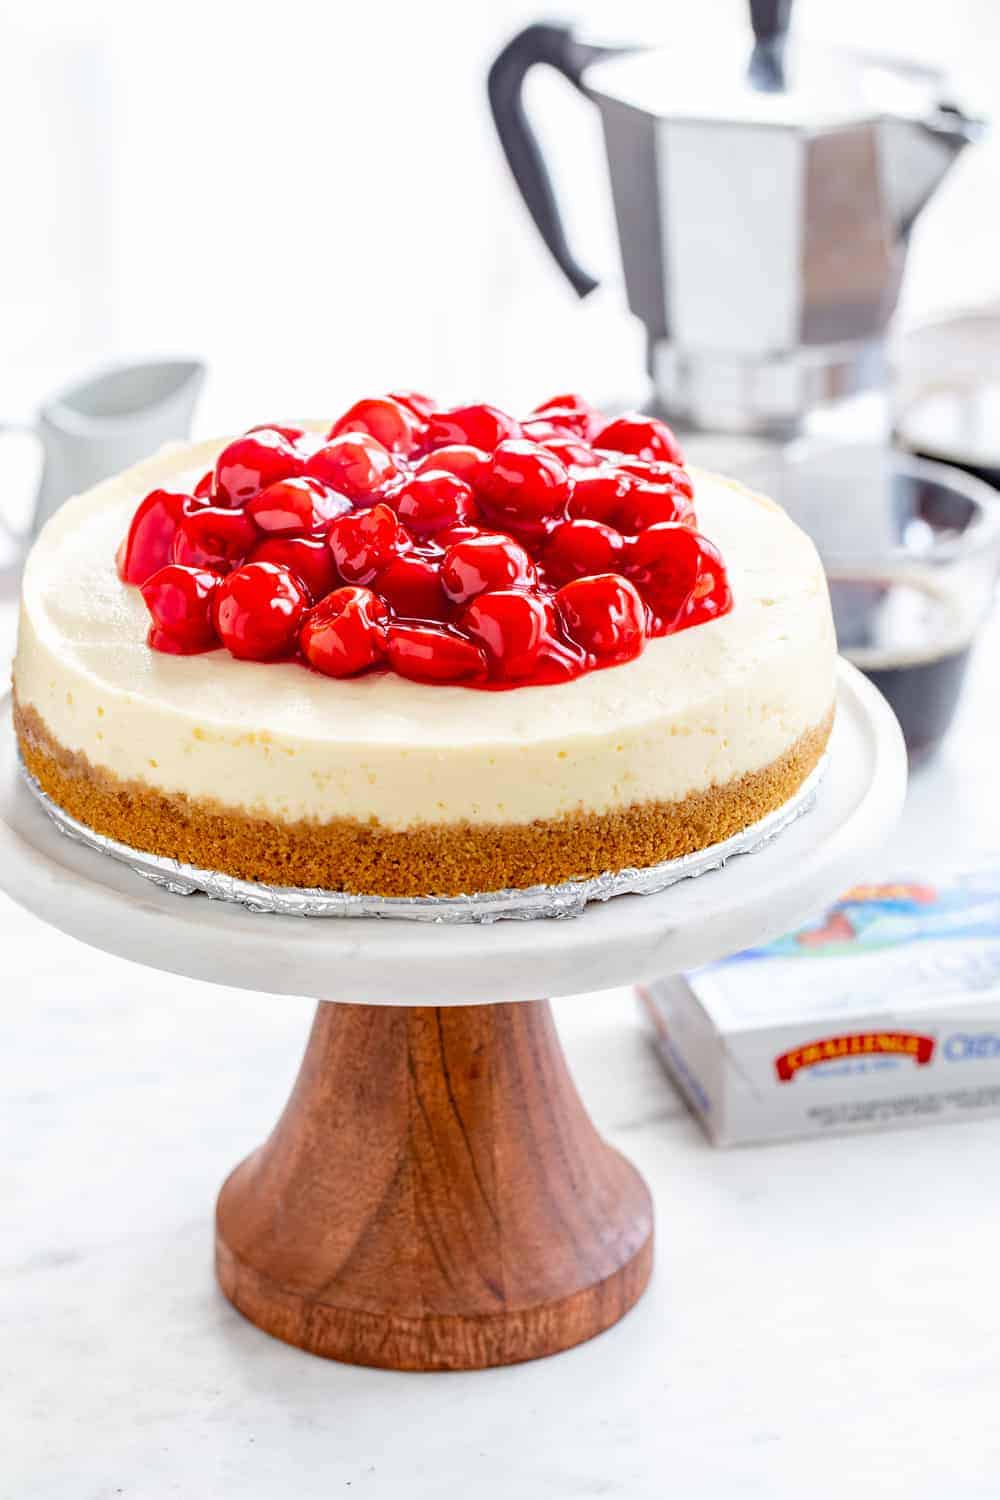
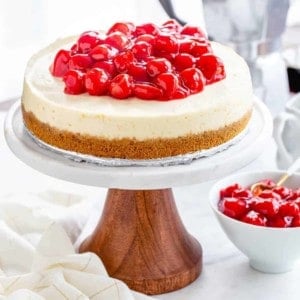
Instant Pot Cheesecake couldn’t be easier or more delicious. Serve it up with pie filling, fresh fruit, or chocolate ganache for the perfect dessert.
This recipe is sponsored by Challenge Dairy, but all thoughts are my own. Thank you for continuing to support the brands that make My Baking Addiction possible.
Guys, it’s been a little while, but I am back from what felt like months of travel. If you follow me over on Instagram Stories, you know that I was in Detroit for work, then headed to Florida for a couple of weeks for vacation, and then a quick work trip to Utah.
I don’t know about you, but travel seriously takes a lot out of me.

First of all, flying freaks me out – especially when I am by myself and even more so if I’m wedged in between two strangers for hours.
I’ve always been an aisle girl, but sometimes I procrastinate booking flights, and end up as the center of a passenger sandwich, which is literally my version of a nightmare.
Especially if said passengers try to talk to me for 4 hours straight even if I’m clearly binge watching (with headphones in mind you) season 4 of Roseanne.
I also never sleep well when I am out of town on work trips.
One day I’m going to wise up and start calling hotels ahead of time to reserve a box fan.
Yep, I’m one of those people that requires noise to sleep. And unfortunately, white noise apps, sound machines, or the TV just won’t cut it.
I blame all of this on Eric because he’s basically turned our bedroom into a noisy wind tunnel and I just can’t sleep in silence.
He’s even passed this little sleeping quirk onto Elle who happens to have her very own perfectly positioned in her bedroom.
Now I’m back in Ohio waiting for the weather to get over 65 degrees (seriously, Ohio weather is the worst) and baking up some pretty delicious desserts.
If you’ve been a reader of My Baking Addiction for a bit, you are probably well aware of my love of cheesecake.
From Rosé Cheesecake and Sweet Potato Cheesecake to Cheesecake Brownies, I simply can’t get enough of this smooth, creamy dessert.
Not only do I love eating cheesecake, it just so happens to be one of my favorite desserts to make.
Ever since I posted my Instant Pot Oreo Cheesecake, making cheesecake in my electric pressure cooker has been one of my favorite methods for perfect cheesecakes.
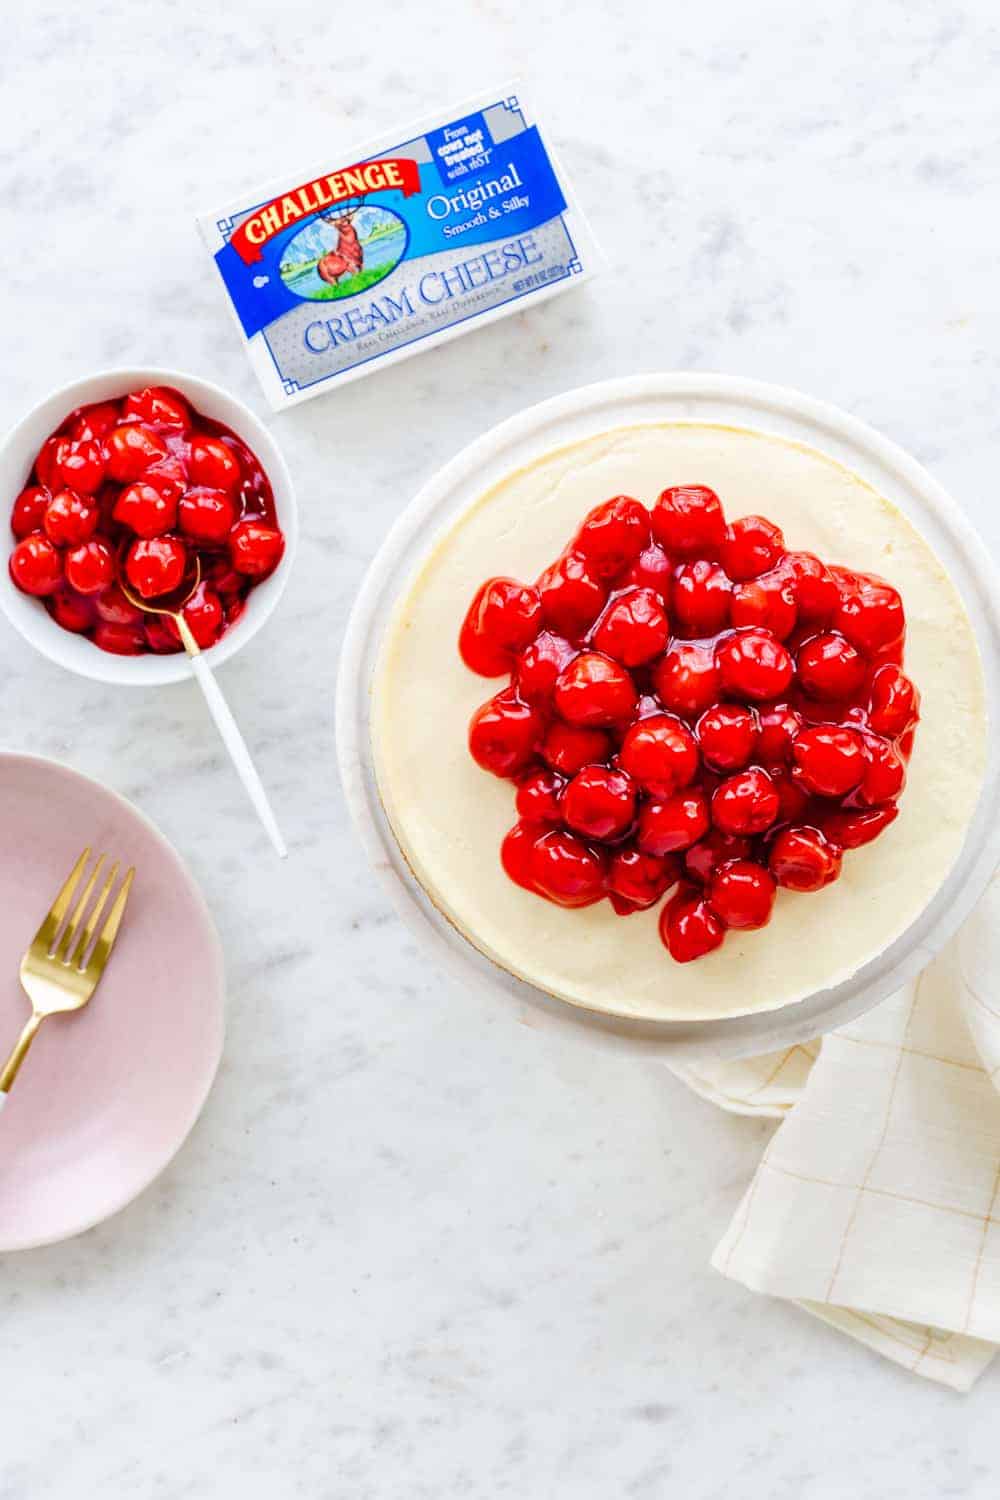
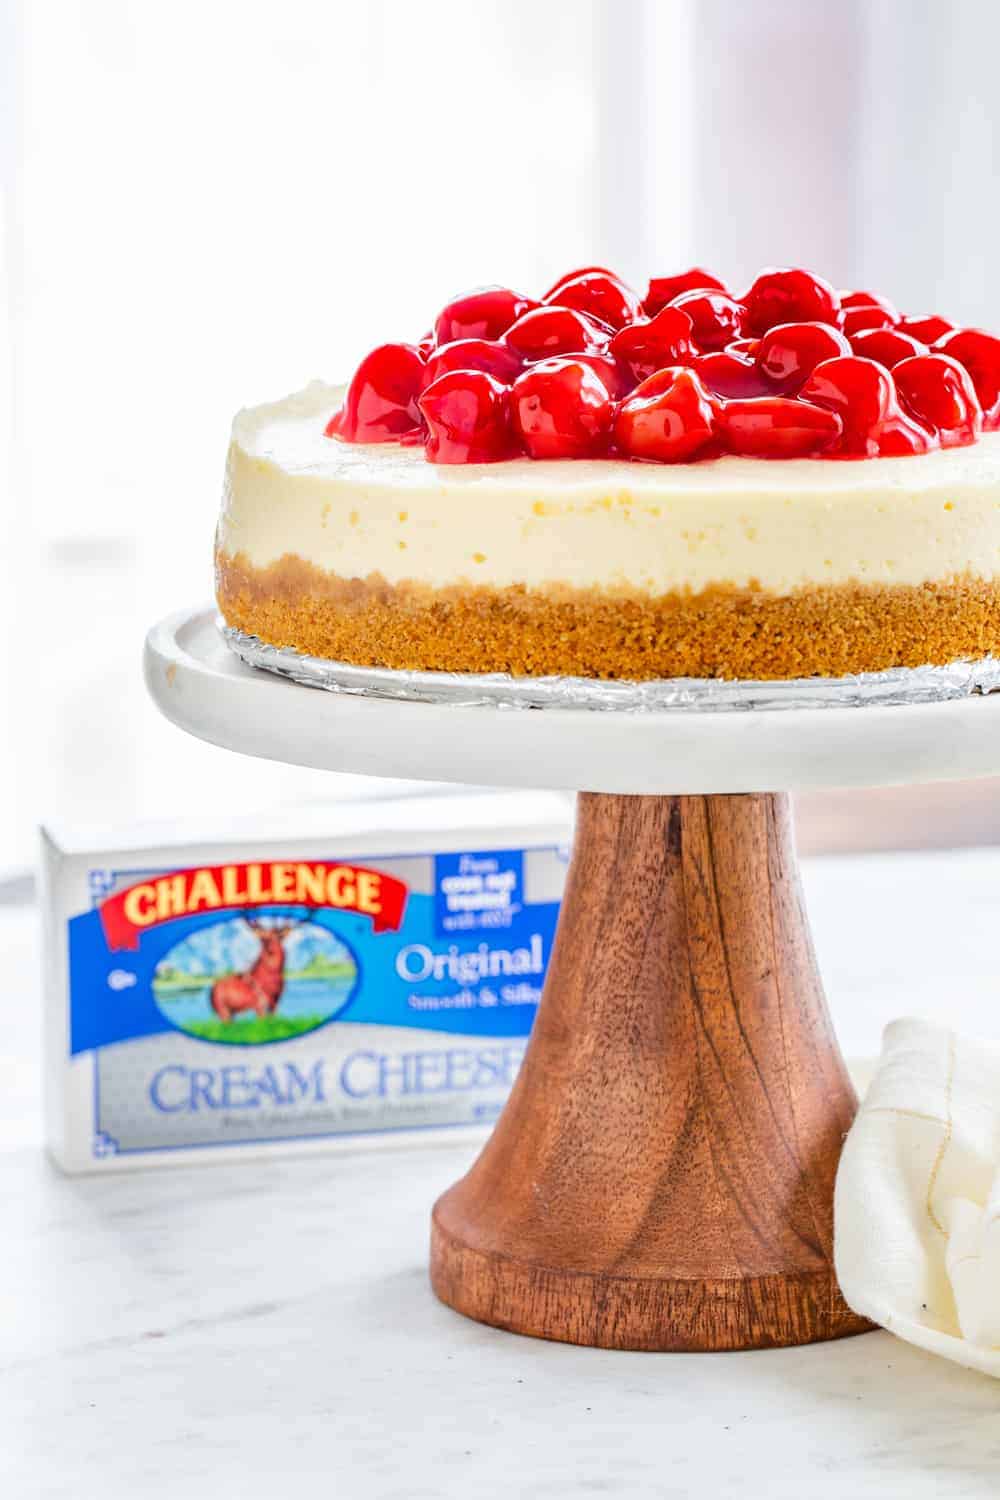
That method coupled with Challenge Dairy cream cheese is my recipe for cheesecake perfection!
I’ve been partnering with Challenge Dairy for years because I am such a huge fan of their products – everything from their butter to their cream cheese spreads are simply incredible.

Did you know that they are the only dairy product company that controls the whole process from milking the cows, to transporting milk, to packaging the product? Pretty awesome, right?
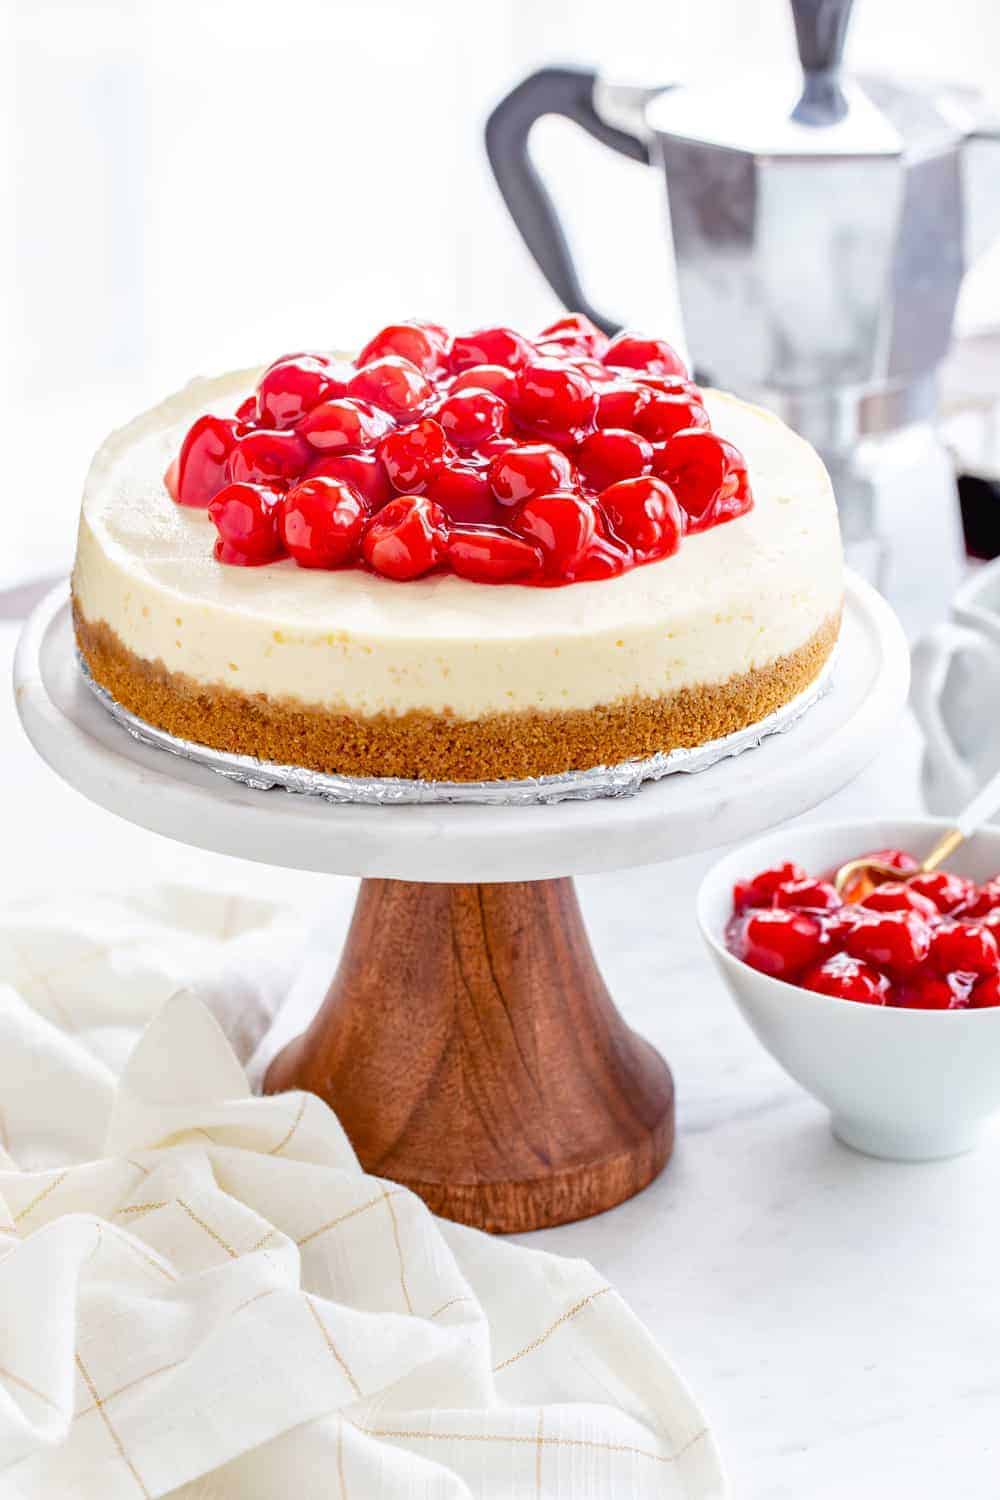
If you have an Instant Pot, you simply have to add Instant Pot Cheesecake to you must-make list. I promise, the ease of prep and the lovely texture will seriously wow you!
Just take my advice and be sure to pick up an extra sealing ring to use for sweets, or your gorgeous Instant Pot Cheesecake might end up smelling like pulled pork. Which is never a good thing.
Turns out the Instant Pot sealing ring holds odors like a magnet. An unfortunate fact I might have realized, had I actually read the instruction booklet.
Lesson learned though, I know own several color coded sealing rings, so pulled pork Instant Pot cheesecake is a thing of the past.
Instant Pot Cheesecake Pan
Aside from an extra sealing ring, you’ll also need a 7-inch springform pan, which you can find on Amazon for a reasonable price.
A 7-inch pan happens to be the perfect size for a small cheesecake for two – with a couple slices for leftovers, of course!
How To Make Cheesecake in an Instant Pot
Making an Instant Pot Cheesecake is just like making a regular cheesecake until you get to the cooking part. And to be honest, I think Instant Pot Cheesecake is actually easier because you don’t have to mess with a water bath because the Instant Pot creates a water bath for you.
You’ll also need a to create a “foil sling” by folding along piece of foil in half lengthwise two times. This “sling” is a trick I learned from my friend, Barbara, and it will allow you place and remove the springform pan with ease.
This Instant Pot Cheesecake cooks for 35 minutes on the manual setting and will require a 10-minute natural pressure release, followed by a quick release to remove any additional pressure.
Once you remove your cheesecake from the Instant Pot, you’ll cool it to room temp for a bit and then refrigerate it for at least 8 hours.
Whether you’re test driving desserts in your Instant Pot for the first time, or whipping up a sweet treat for the weekend, I hope you enjoy this Instant Pot Cheesecake as much we do!
For more delicious cheesecake inspired recipes, be sure to check out this Strawberry Cheesecake Fluff, No-Bake Pineapple Cheesecakes and these Mini Nutella Cheesecakes.
Instant Pot Cheesecake
Ingredients
- 1 cup graham cracker crumbs
- 2 tablespoons granulated sugar
- 3 tablespoons Challenge Dairy Unsalted Butter melted
- 16 ounces Challenge Dairy Cream Cheese room temperature
- ½ cup granulated sugar
- 2 large eggs room temperature
- 1 tablespoon all-purpose flour
- ¼ cup heavy cream
- 2 teaspoons pure vanilla extract
- cherry pie filling optional
Video
Instructions
- Tightly wrap the bottom of 7-inch springform pan in foil and spray the inside of the pan with non-stick cooking spray.
- In a small mixing bowl, stir together the graham cracker crumbs, sugar, and melted butter. Press the crumbs into the bottom of the prepared pan.
- Place pan in freezer for 10-15 minutes.
- In the bowl of your stand mixer fitted with the paddle attachment, or in a large bowl with an electric mixer, beat the cream cheese until smooth. Add sugar and mix until combined. Add eggs, one at a time, fully incorporating each before adding the next. Making sure to scrape down the bowl in between each egg. Add in the flour, heavy cream, and vanilla and mix until smooth. Pour batter into prepared pan.
- Cover the top of the pan with a piece of foil.
- Pour 1 1/2 cups of water into the Instant Pot and place the trivet in the bottom of the pot.
- Create a “foil sling” by folding a 20-inch long piece of foil in half lengthwise two times. This “sling” will allow you place and remove the springform pan with ease.
- Place the cheesecake pan in the center of the sling and carefully lower the pan into the Instant Pot. Fold down the excess foil from the sling to ensure the pot closes properly.
- Lock the lid into place and make sure the vent is closed “sealing”. Press the “Manual” button and cook on high pressure for 35 minutes.
- When the Instant Pot beeps, hit the “Keep Warm/Cancel” button to turn off the pressure cooker. Allow the pressure to release naturally for 10 minutes and then do a quick release to release any pressure remaining in the pot.
- Carefully unfold the foil sling and remove the cheesecake from the pot to a cooling rack using the foil sling “handles”.
- Uncover the cheesecake and allow it to cool to room temperature.
- Once the cheesecake has cooled, refrigerate it for at least 8 hours, or overnight.
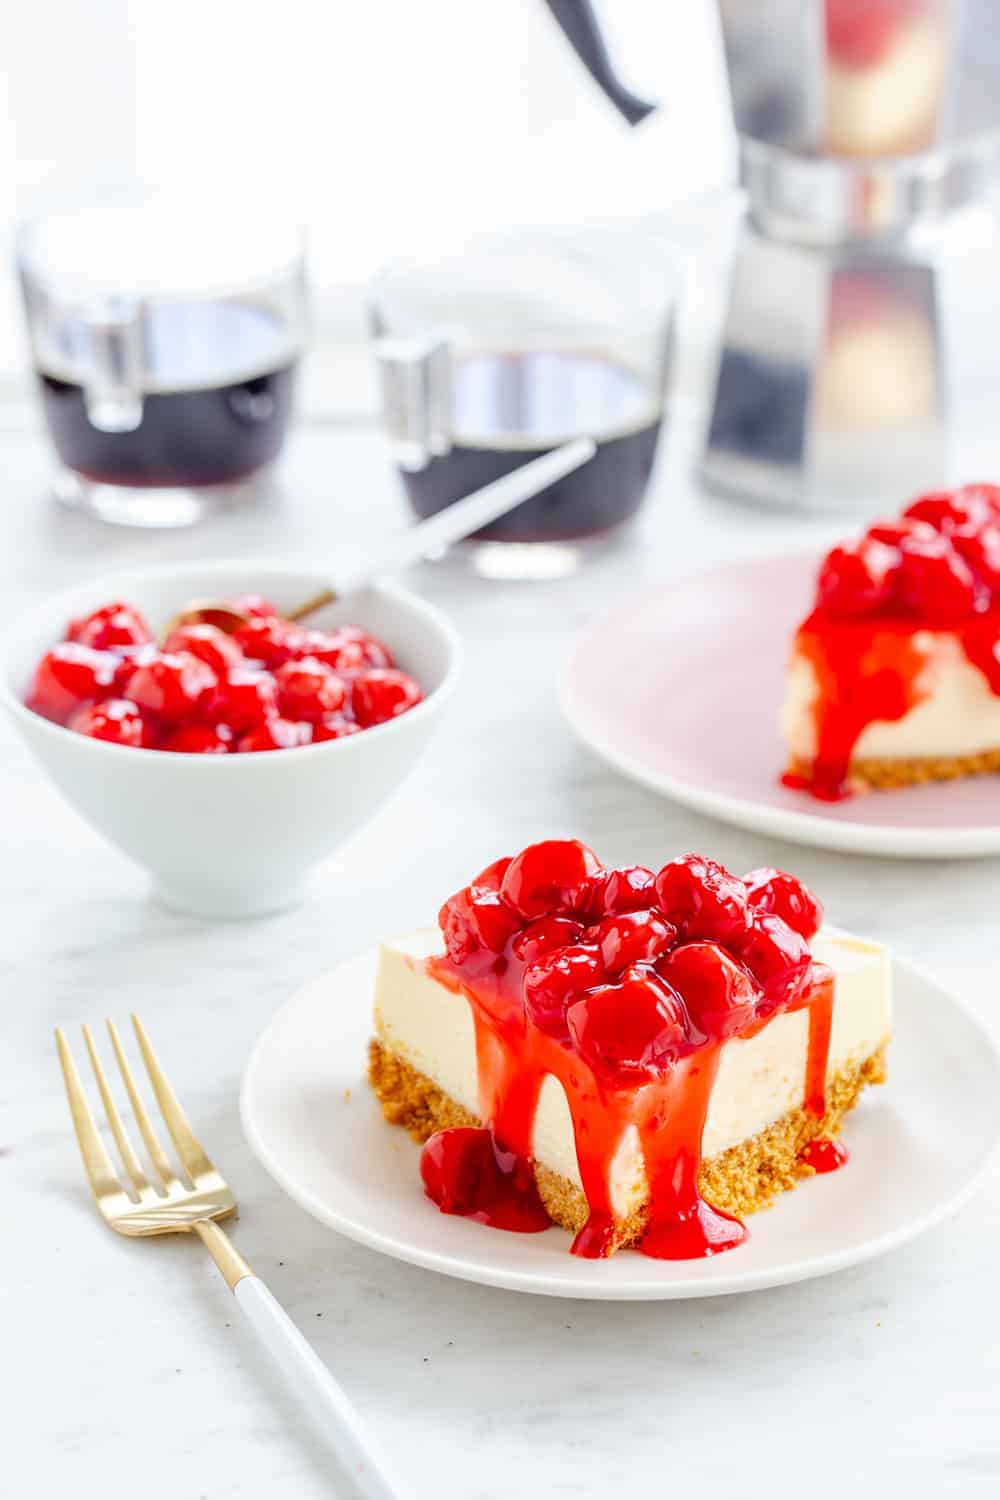
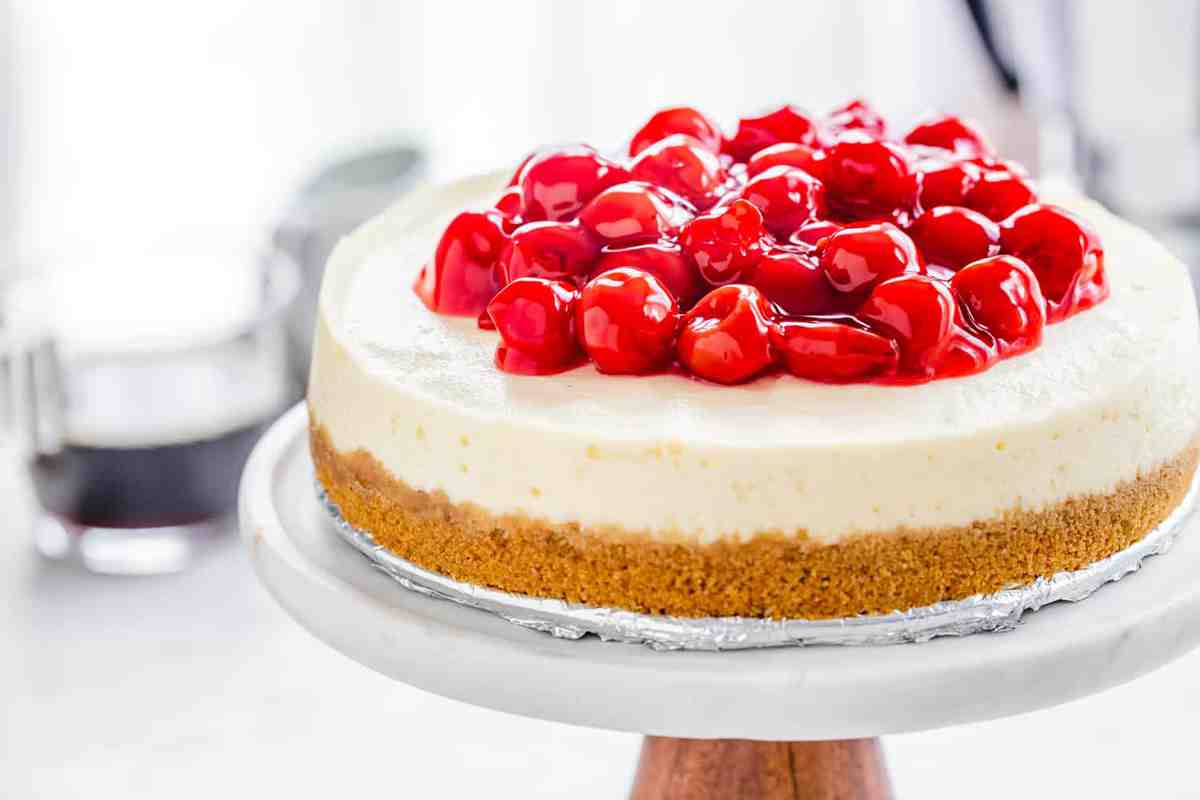
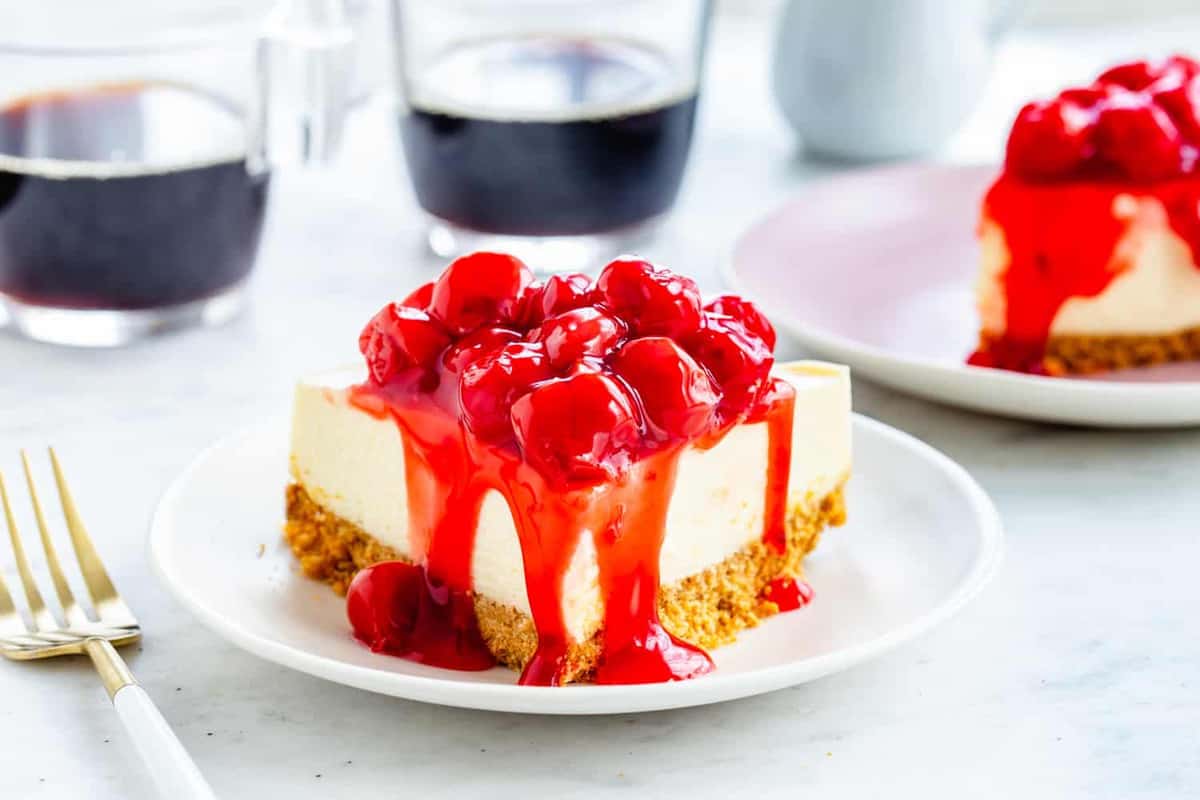
- Before serving, top with pie filling and whipped cream if desired.


I’ve made several cheesecake recipes. After trying this one, it’s now the only one I use.
I always get rave reviews when I serve it.
absolutely love this cheese cake recipe! We live in our motorhome(currently in Alaska) and when ever we have friends over, we love to make this recipe & it’s a crowd pleaser… Thank you for having your recipes available.
Regards,
Touringtomooring
I’ve made so many cheesecakes but never in the IP. Heavy cream isn’t available around here right now so I swapped it for sour cream and 1/2 tsp baking powder. Used ground up lemon Oreos for the crust and lemon extract. Used in a 6” cake pan since I didn’t have that size springform. The texture was SO beautifully fluffy and I’m excited to try others using this method! Thanks!
I’m glad you enjoyed! Thanks so much for stopping by and sharing your feedback. Happy baking!
Jamie
I’ve made this multiple times and it’s always a success. Wanted to share a version I’ve been making when we don’t want the fruit version. While the cheesecake is mixing, I make a cinnamon layer listed below. When pouring the batter into the pan, pour half, add a layer of the cinnamon mixture below and top with the rest of the cheesecake batter. Either way you make it, it’s always delicious.
1/4 c light brown sugar
1 tsp cinnamon
1 tbsp AP flour
2 tbsp butter, melted
Sounds delicious, Chris! Thanks so much for stopping by and taking the time to comment. Happy baking!
-Jamie