This post may contain affiliate links. Please read our privacy policy.


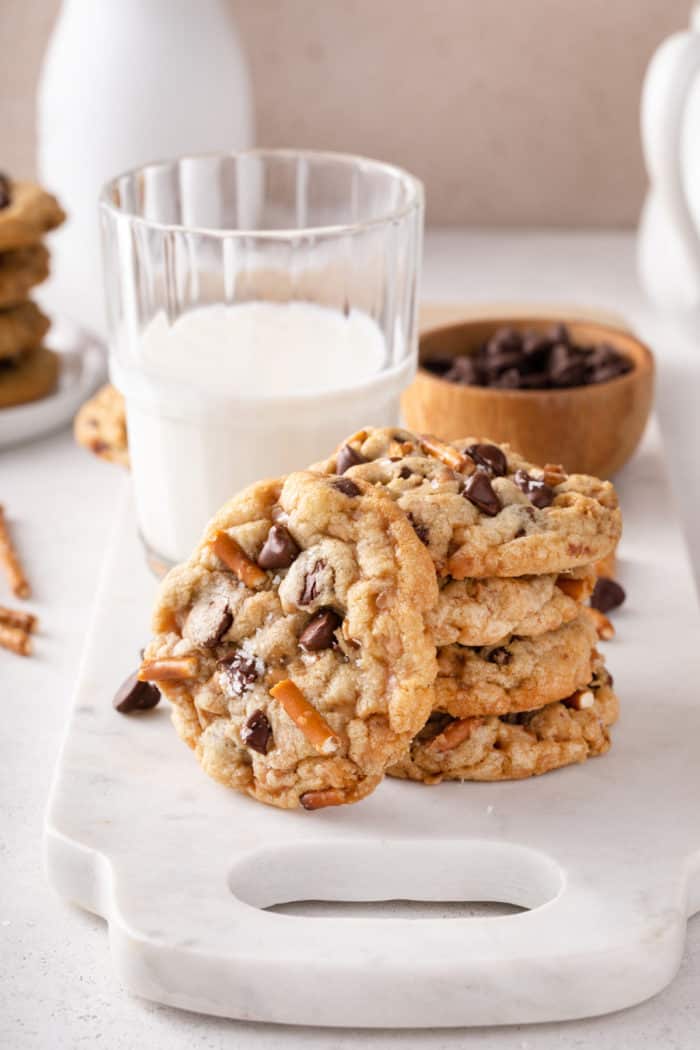
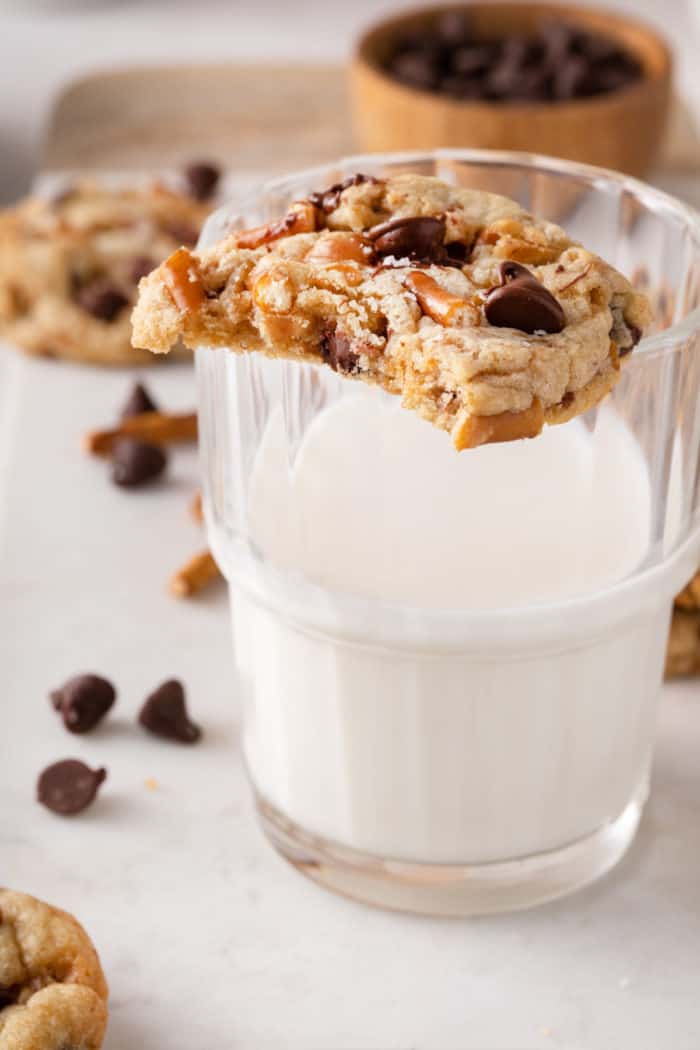
Kitchen sink cookies are chewy cookies that are packed with everything but the kitchen sink! This version is loaded with chocolate chips, caramel, toffee, and salty pretzels for the best sweet and salty bite.

Have you ever wanted to end the meal with a bite of something sweet but not too sweet?
If you’ve got a notorious sweet tooth, you might not know what I mean. But sometimes I’m craving a treat that has a little bit of a salty bite to it.
If this is you, I’ve got the perfect salty-sweet solution for you: kitchen sink cookies.
These babies are packed with sweet chocolate and caramel but are balanced with pieces of pretzels and a sprinkle of flaky sea salt at the end.
But don’t box yourself in when it comes to this recipe! Keep on reading for more mix-in ideas and to find out how I make my cookies so picture perfect.

WHAT ARE KITCHEN SINK COOKIES?
I know, I know. At a glance, the name “kitchen sink cookies” sounds weird. I mean, what does that mean?
The name is actually a shortened version of “everything but the kitchen sink cookies”! That name is kind of a mouthful, though, so you can see why people usually just call them kitchen sink cookies.
So what are they? Well, they’re chewy chocolate chip cookies that are so much more than just chocolate chip cookies. They are also packed with other sweet and salty mix-ins for a cookie that has…you guessed it: everything but the kitchen sink.
I’ve been spending a lot of time at Panera lately due to my obsession with chicken and wild rice soup, so my version is a little bit inspired by theirs. It has chocolate chips, toffee bits, caramel, and pretzel pieces.
The fun part about these cookies though is that, just like monster cookie bars, you can toss in whatever you like! Potato chips, popcorn, M&M’s…there are so many options.
HOW TO MAKE MY KITCHEN SINK COOKIES
I love my favorite chocolate chip cookies, but sometimes you want a cookie that’s been zhush-ed up a bit. Not necessarily a fancy cookie, just something a bit different. Ya know?
That’s what these kitchen sink cookies are. But even with a little zhush, they’re still simple to make!
Cookie mix-in options
The thing that makes these cookies so special is the combo of mix-ins. The best way to go with this recipe is to have a few sweet mix-ins paired with a salty one.
Some sweet options include:
- Chocolate chips (semisweet, milk, dark, white chocolate, or a mix)
- Toffee bits
- Caramel bits
- Butterscotch chips
- M&M’s
- Peanut butter chips
- Chopped peanut butter cups
- Reese’s Pieces
Some salty options include:
- Pretzel pieces
- Crushed potato chips
- Popcorn
- Rice Krispies (not salty, but a good crunchy option that isn’t sweet)
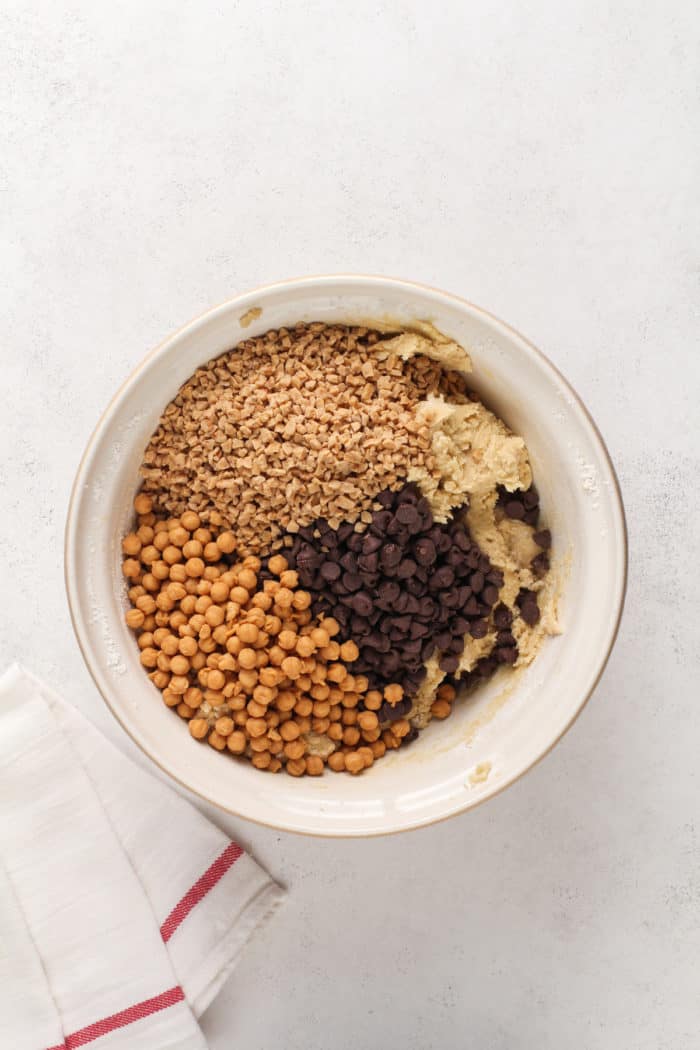
My family loves these kitchen sink cookies with a mix of semisweet chocolate chips, toffee bits, caramel bits, and pretzel pieces. But use what you like or what you have on hand!
Consider this your permission to mix the bottom of that bag of potato chips into a batch of cookie dough.
Making this recipe
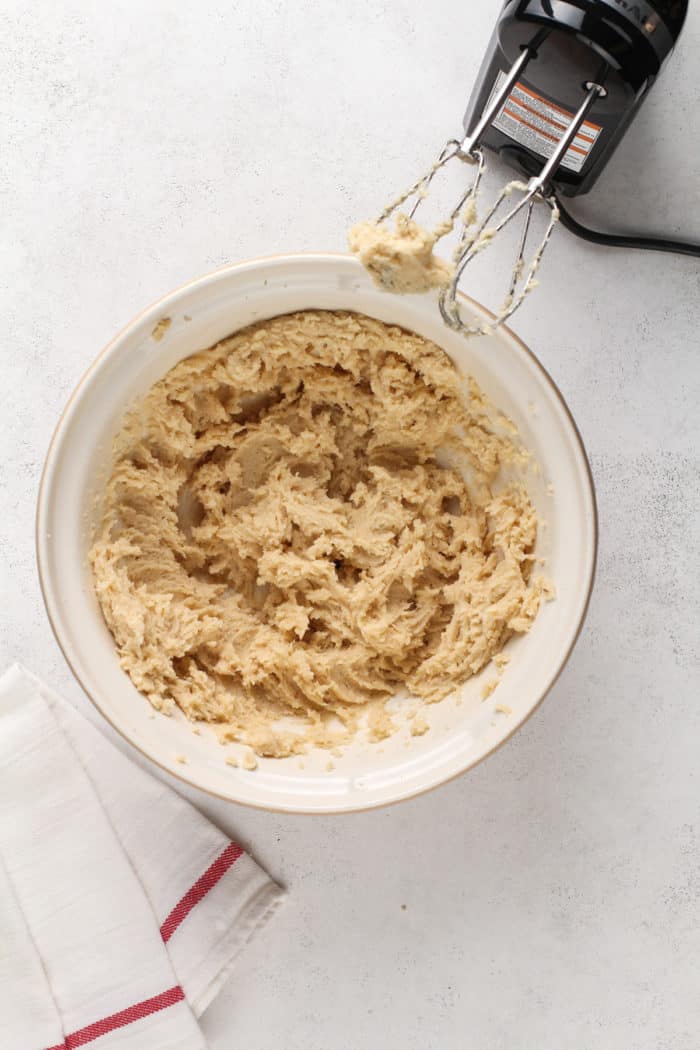
Using a stand mixer with the paddle attachment or an electric mixer, beat the butter with the sugars for about 4 minutes, or until light and fluffy. Add the vanilla and the eggs and continue beating for another 3-4 minutes.
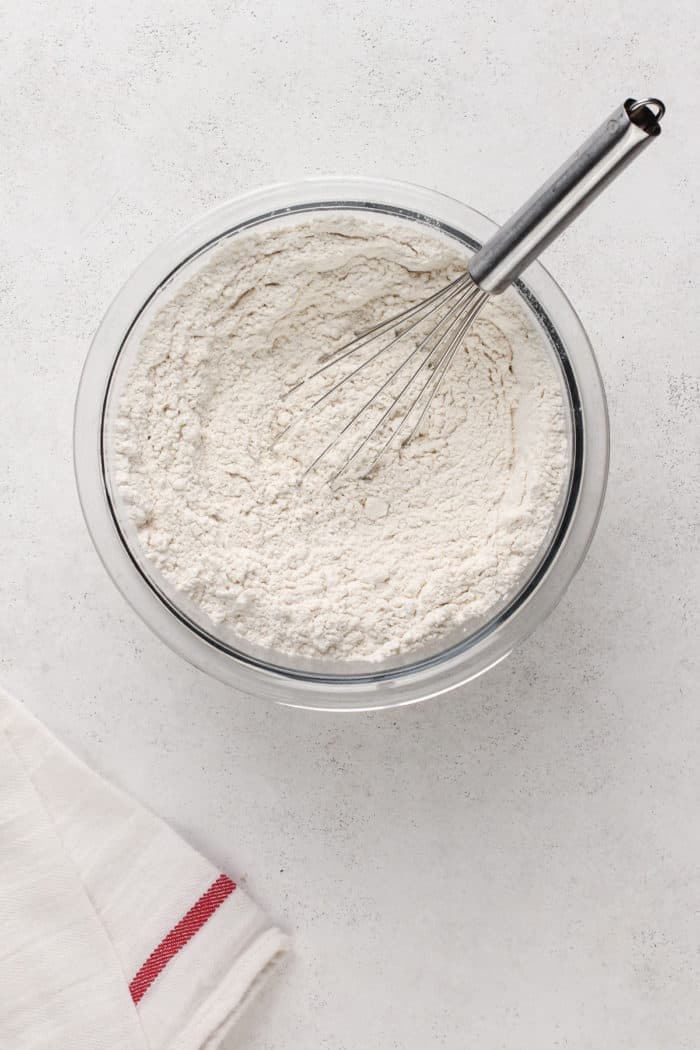
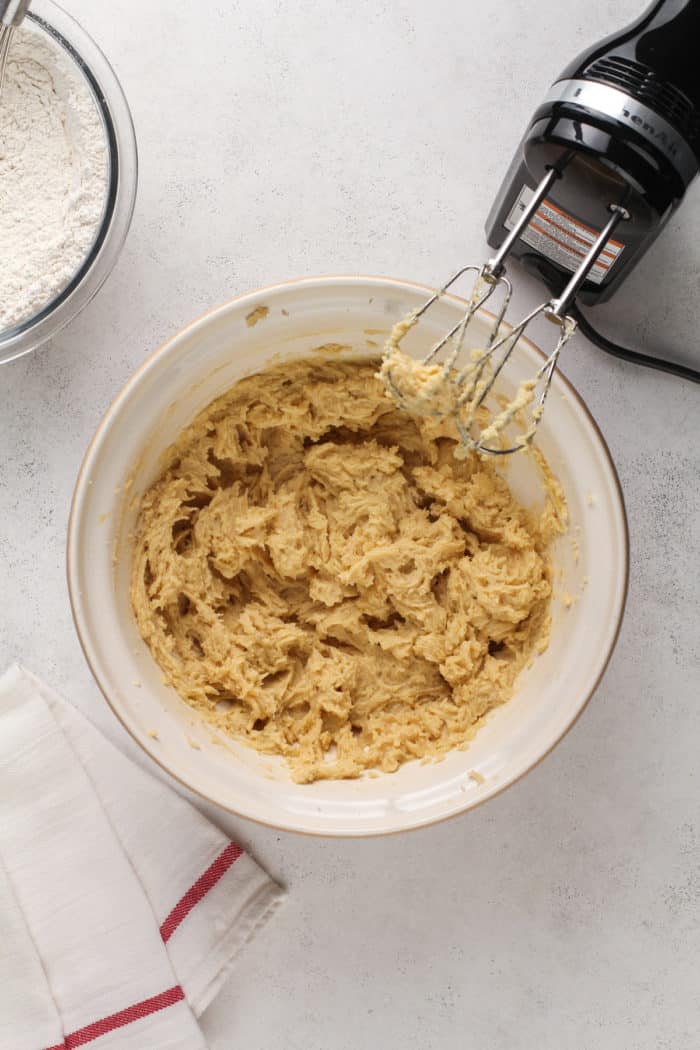
In a separate bowl, whisk together the flour, baking soda, and salt. Gradually add this mixture to the wet ingredients on low speed until just combined.
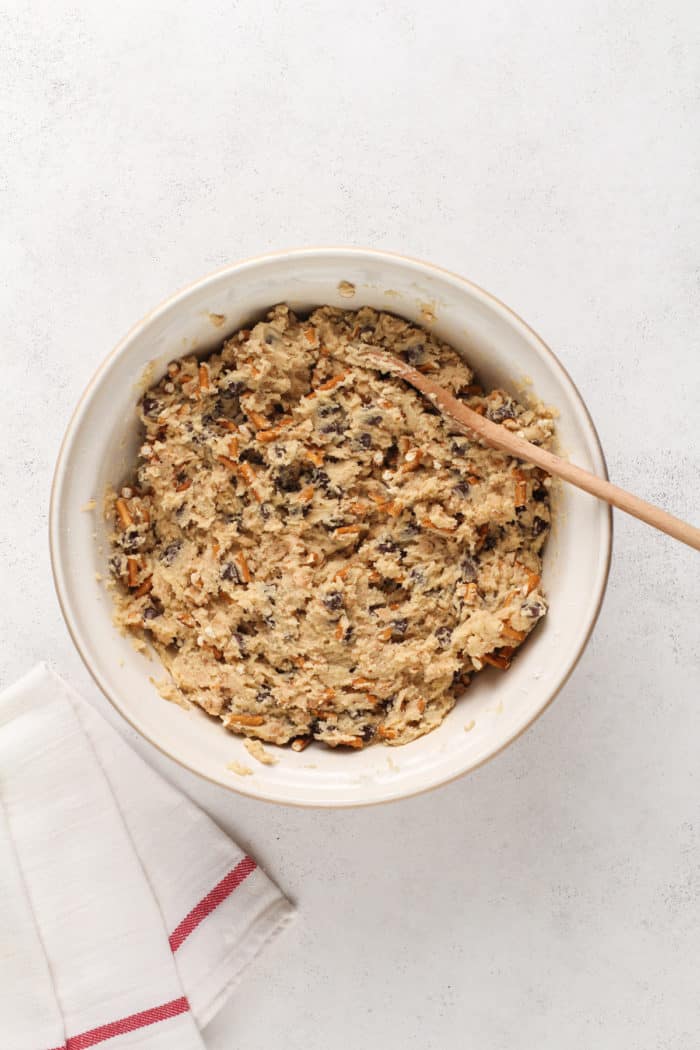
Now it’s time to add your mix-ins. You can use your mixer to add in any chips or harder candies first, then very gently fold in your pretzels, potato chips, or popcorn. You want to mix them in without completely crushing them.
Cover and chill the dough in the refrigerator for at least 2 hours or even overnight.
When you’re ready to bake your kitchen sink cookies, preheat your oven to 350°F.
Portion the dough into 2-tablespoon balls and place them at least 2 inches apart on lined baking sheets.
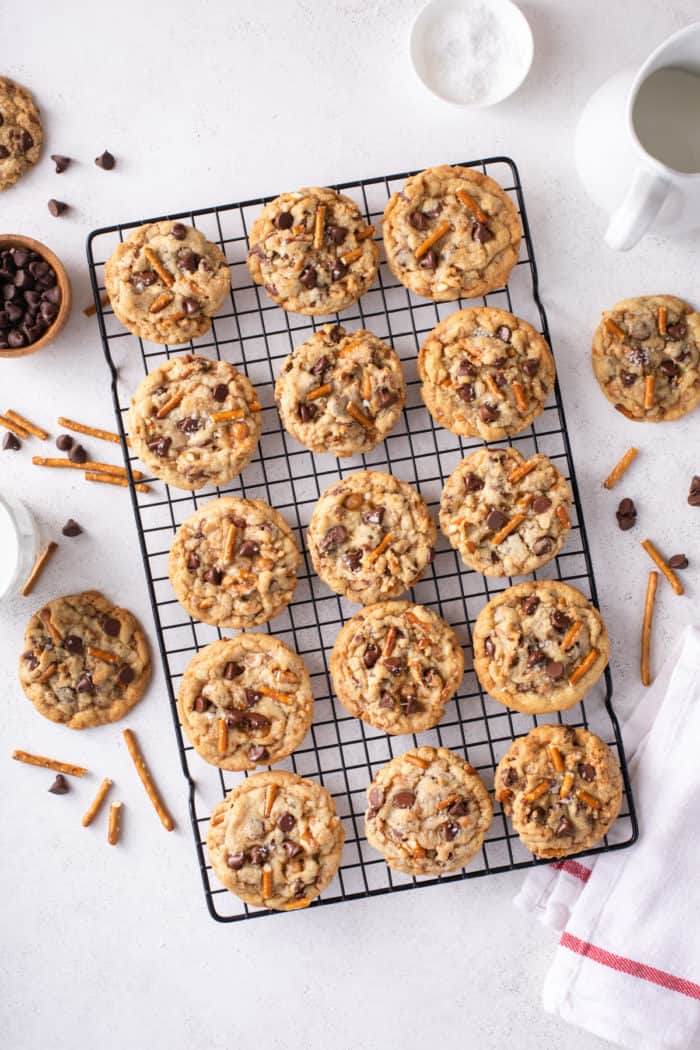
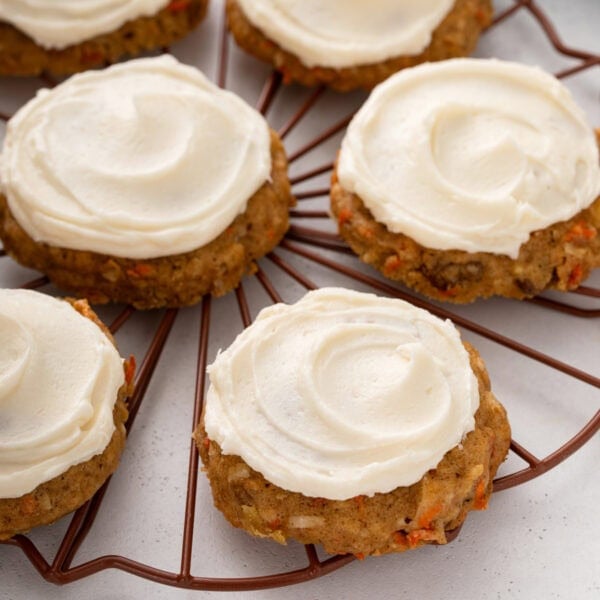
I like to press a couple of additional chocolate chips, caramel bits, and/or pretzel pieces into the top of each cookie ball before baking to get that “bakery” look.
Bake the cookies for 13-15 minutes. The cookies will be golden brown but the centers should still be soft.
While the cookies are still warm, I like to sprinkle them with a bit of flaky sea salt for some extra saltiness and a pretty finish.
Let the cookies cool for a few minutes on the baking sheet before moving them to a wire rack to finish cooling.
How to get perfectly round cookies
Have you ever wondered how to make your homemade cookies look as perfect as the ones you see at a bakery (or even on a food blog)?
I learn a lot of things from TikTok (like how to make incredible cinnamon rolls with heavy cream), and most recently it taught me how to make perfectly round cookies.
As soon as the cookies come out of the oven, place a glass or mug over the cookies and move the glass in a circle around the cookie for a few seconds. It’ll reshape the cookie into a perfect circle!
This is the perfect “hack” to use with these kitchen sink cookies because they are super soft when they come out of the oven.
And one more tip for ultra-photogenic cookies: Press a few extra chocolate chips into the tops after they finish baking, before you sprinkle the cookies with flaky sea salt.
And there you go! Cookies that look like they came from your favorite bakery, but actually came from your home kitchen.
STORAGE AND FREEZING
Store these cookies in an airtight container at room temperature for up to 4 days.
Kitchen sink cookies are also perfect for freezing, especially before baking! Follow my directions for how to freeze cookie dough to freeze the unbaked dough for enjoying later.
If freezing the baked cookies, place them in a zip-top freezer bag or airtight container and freeze for up to a month.
Kitchen Sink Cookies

Ingredients
- 1 ½ cups unsalted butter room temperature
- 1 cup granulated sugar
- 1 cup packed light brown sugar
- 1 tablespoon pure vanilla extract
- 2 large eggs
- 3 ¾ cups all-purpose flour spooned and leveled
- 2 teaspoons baking soda
- 1 ¼ teaspoons sea salt
- 2 cups semisweet chocolate chips
- 8 ounces Heath Bits O’Brickle English Toffee Pieces
- 1 cup Kraft Caramel Bits
- 1 heaping cup coarsely chopped salted pretzel sticks
- flaky sea salt for topping
Video
Instructions
- In the bowl of a stand mixer fitted with the paddle attachment, or in a large bowl with an electric hand mixer, beat butter and sugars until light and fluffy; about 4 minutes. Add in vanilla and eggs and continue beating on medium speed for an additional 3-4 minutes.
- In a large bowl, whisk together the flour, baking soda and salt. Gradually add the dry ingredients to the butter mixture and mix on low speed until just combined. Add in the chocolate chips, Heath Bits and Caramel Bits. Mix until everything is evenly distributed through the dough. Gently mix in the chopped pretzel sticks. Cover and chill dough for at least 2 hours or overnight.
- When you are ready to bake the cookies, remove the dough from the refrigerator, preheat the oven to 350°F and line baking sheets with parchment paper.
- Portion dough into 2 tablespoon balls and place them at least 2 inches apart on the prepared baking sheets. If you want the cookies to be as pictured, you can press additional chocolate chips, caramel bits and pretzel pieces onto the tops of each dough ball before baking.
- Bake 13-15 minutes or until golden brown (centers will be soft). If desired, sprinkle the tops of each cookie with flaky sea salt. Cool 2-3 minutes on the cookie sheet before removing the cookies to a cooling rack to cool completely.
Notes
- Learn how to make a simple brown sugar substitute and how to soften brown sugar that has hardened in your pantry.
- Make sure you know how to measure flour correctly so these cookies turn out perfect every time.
- Don’t stress if you forgot to set out your butter ahead of time. Use my tips for how to soften butter quickly!
Nutrition
Nutrition information is automatically calculated, so should only be used as an approximation.


These look so good! If I don’t want to use toffee bits, would you recommend using more caramel as a replacement?
I made these for the first time for my now-fiancée’s family a couple years ago, and now I’m the cookie lady! They’re always amazing and requested at every single family function, one member even asked if we were getting married because she wanted the cookies in the family!
I am so happy to hear you enjoyed the recipe. Thanks so much for stopping by and leaving your feedback – it is so appreciated!
Happy baking!
-Jamie
These are amazing. I’ve been making them for the neighborhood kids and they are so well loved.
I am so happy to hear you enjoyed the recipe. Thanks so much for stopping by and leaving your feedback – it is so appreciated!
Happy baking!
-Jamie
My kids have made these multiple times now. It’s a big batch so great to share with friends. The first time they made these for their theater group and the second time was for a play date and little boxes for the kids to take treats home to their friends. Easy, something a little bit different than the usual, and well received by everyone. Thanks for sharing!
Yummy – thanks for the recipe!!!
Ok. These are the best cookies I’ve made in my 40++ years.
I did have to add one extra egg and a whole stick of butter, but I’ll explain.
First, my mind was blown about the flour/ measuring cups/packing thing.
So I measured like you said using a digital scale
I mixed the mix and it did look dry but after letting it rest in the fridge overnight it was like a rock. So I melted 4 tbsp of butter and added it a little at a time. Still dry.
So I melted the other 4 tbsp and added that little by little but it was still dry.
So I decided to add ean egg. I’ve never made good cookies from scratch anyway so what’s another bad batch?
But, it turned out perfect! So yummy.
So glad to hear you enjoyed the recipe! Thanks so much for stopping by and leaving your feedback.
-Jamie
These sound delicious! Just wondering why the refrigeration is necessary? I’m impatient!
Hi Rhonda – Chilling makes the dough easier to scoop, keeps them from spreading too much, and allows the flour to hydrate for a better overall texture and flavor. Hope this helps!
Jamie
I’ve made these cookies twice now to rave reviews. I just have one question- I bake a lot and I weigh all my ingredients, for the flour, I always account for 120 grams per cup, so for 3 and 3/4 cup I weigh out 450g. I make sure to leave them in the fridge for at least 2 hours before baking, but both times they have come out very spread out and very thin, much thinner than pictured. Is 450g the correct amount of flour, and if so, how much extra would you suggest I try adding next time to avoid them being so thin? Thanks!
Hi Madeline – 450 would be 3.75 cups, although if you look online some resources will say that a cup is just a bit over 120g, but that’s generally accepted to be pretty standard. Without being in the kitchen with you when you’re baking them it’s hard to say what adjustments you should make, so I’m not sure how much extra flour to suggest. I’m sorry I can’t be more help – it’s hard to troubleshoot things like this without being in the kitchen with you!
Jamie
Just took the first batch out of the oven and they look and smell amazing. Can wait for them to cool down so we can eat them! Another great recipe!
I hope you enjoyed! Thanks so much for stopping by – Happy baking!
Jamie