
This post may contain affiliate links. Please read our privacy policy.
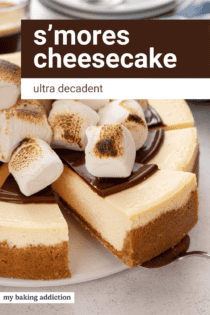
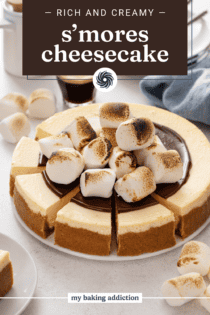
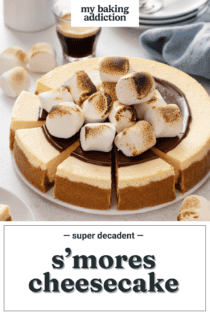
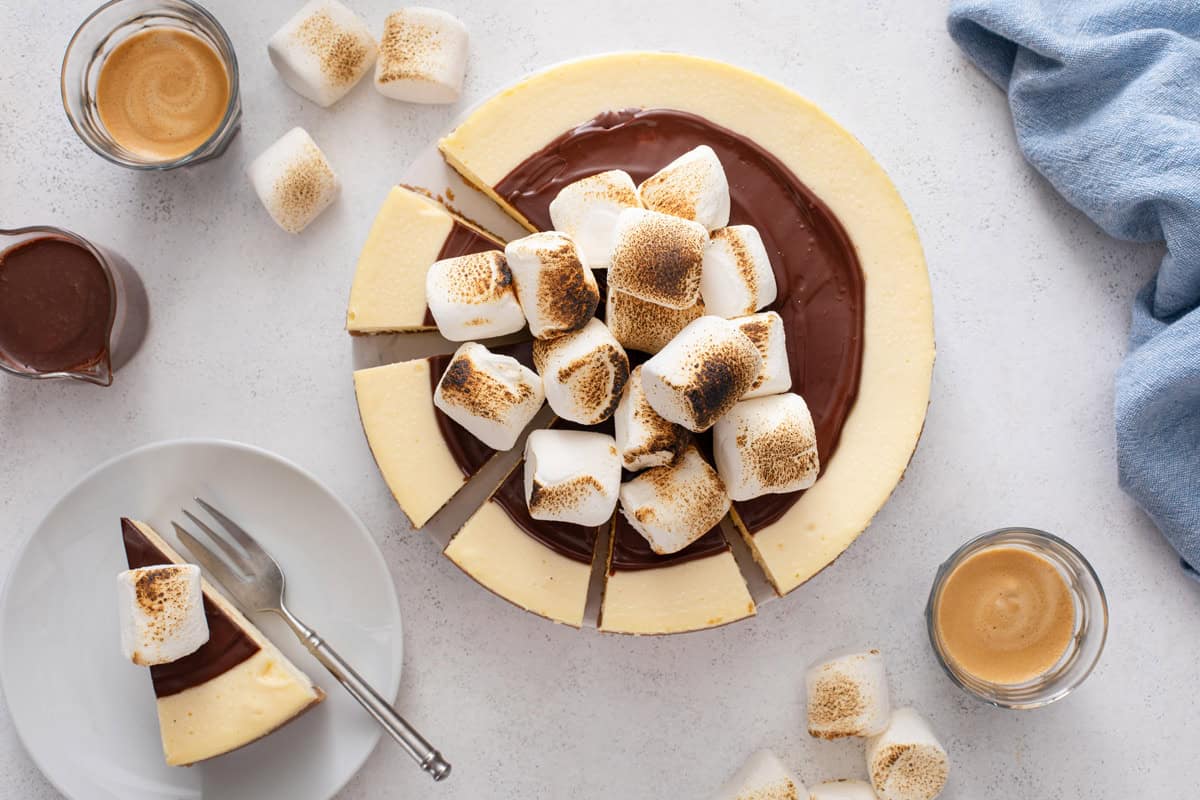
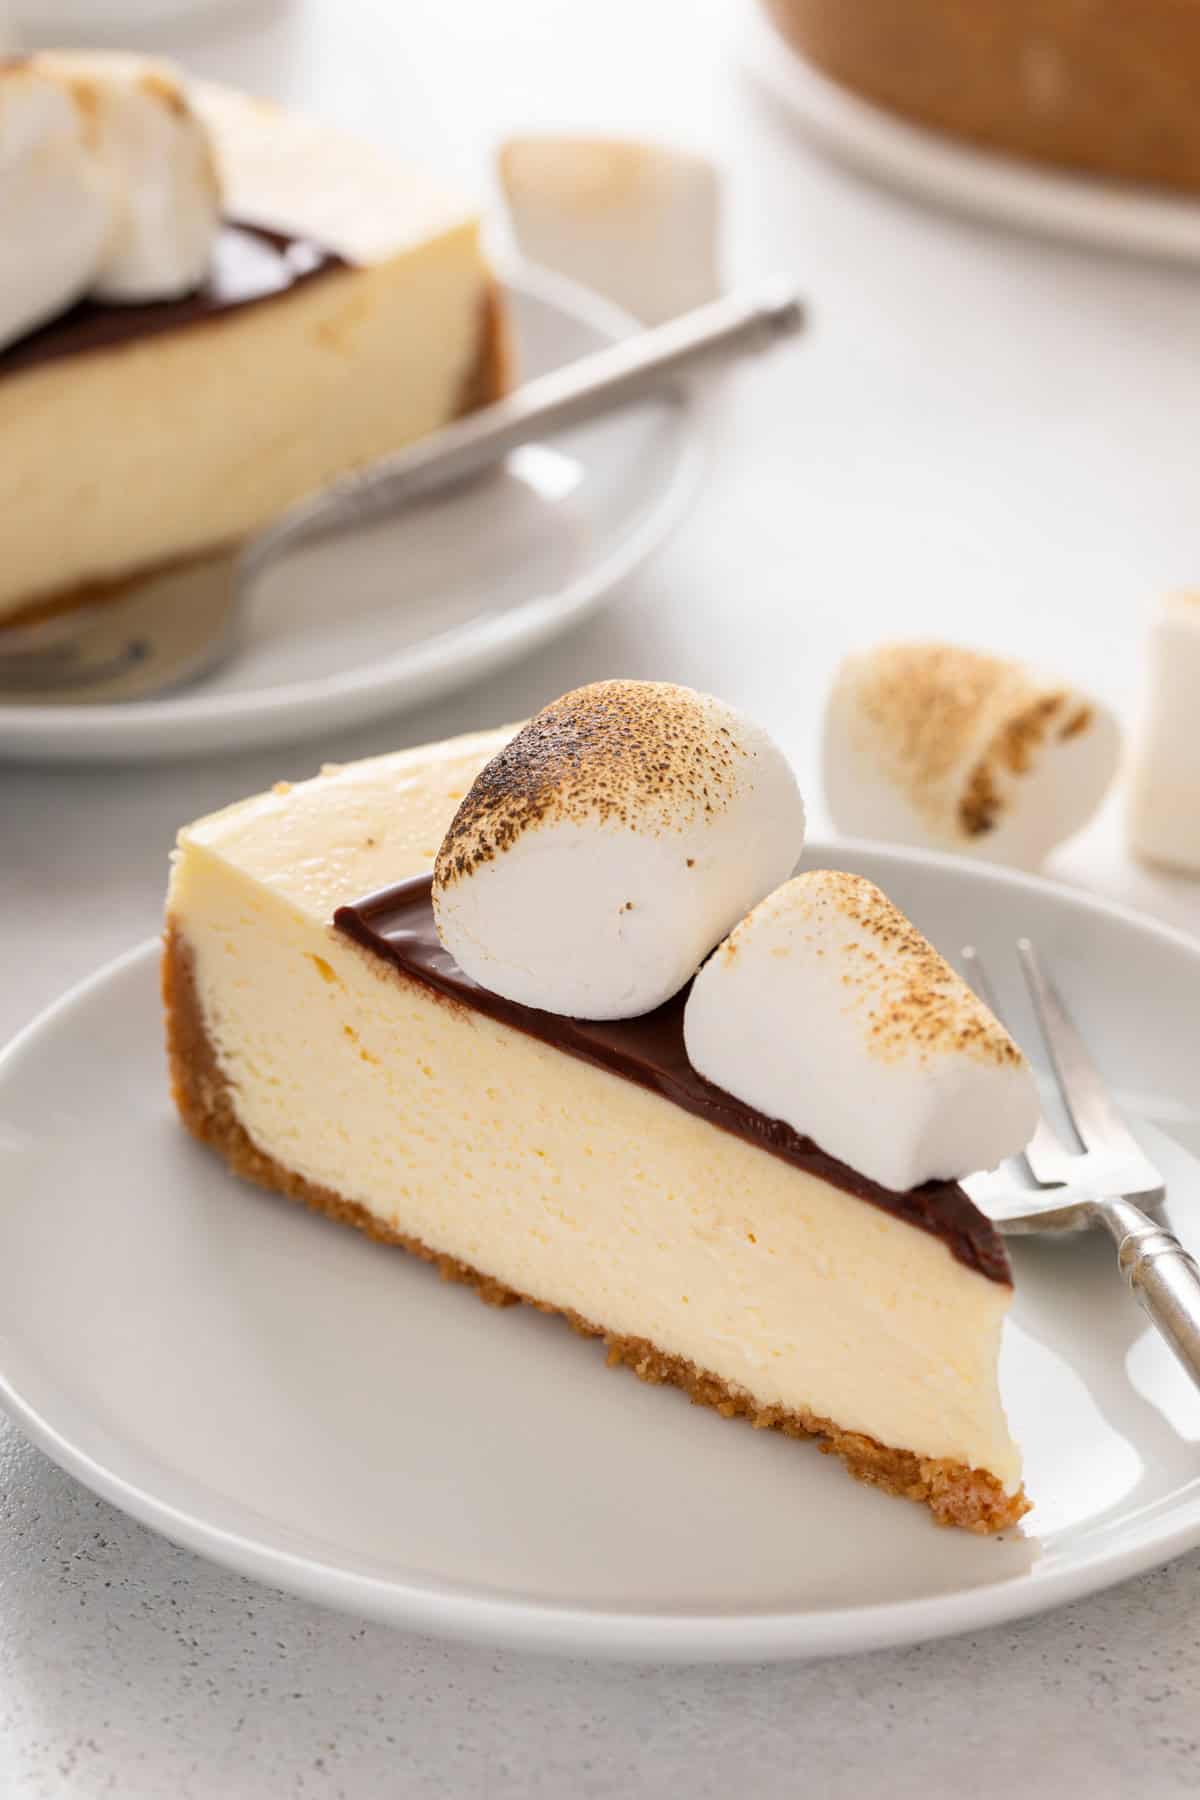
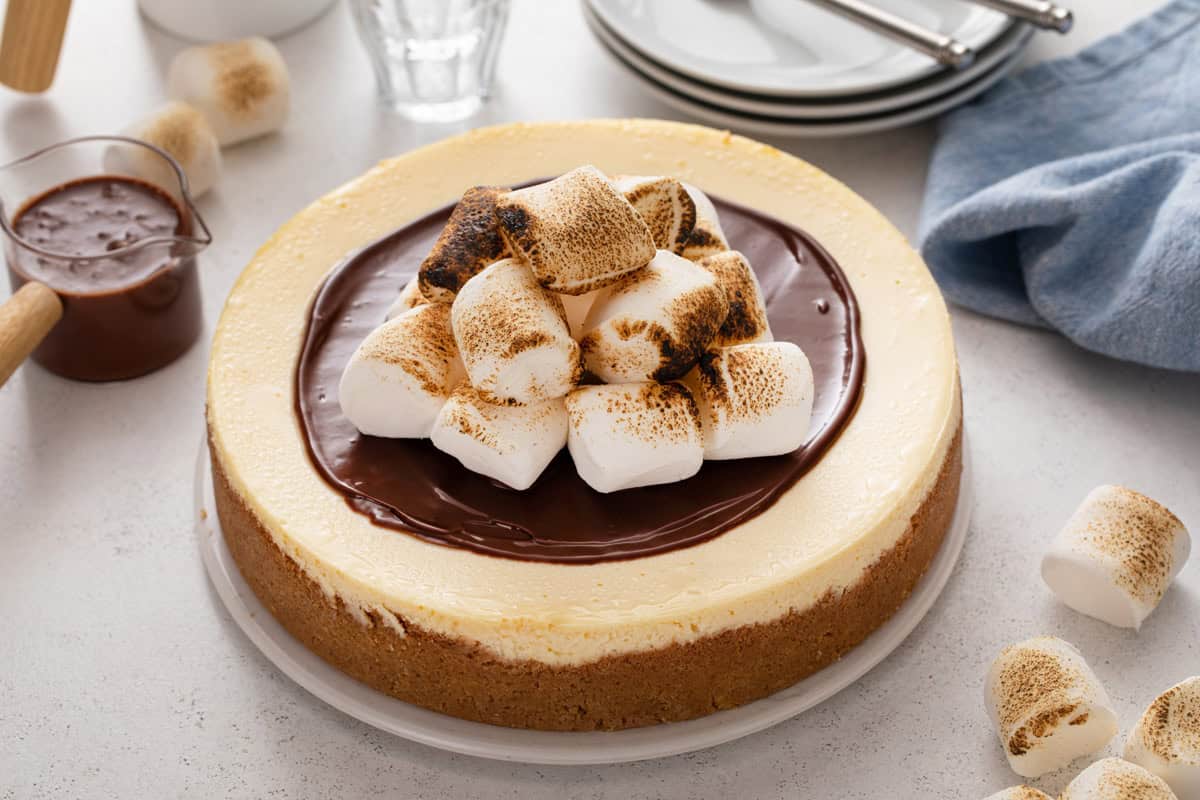
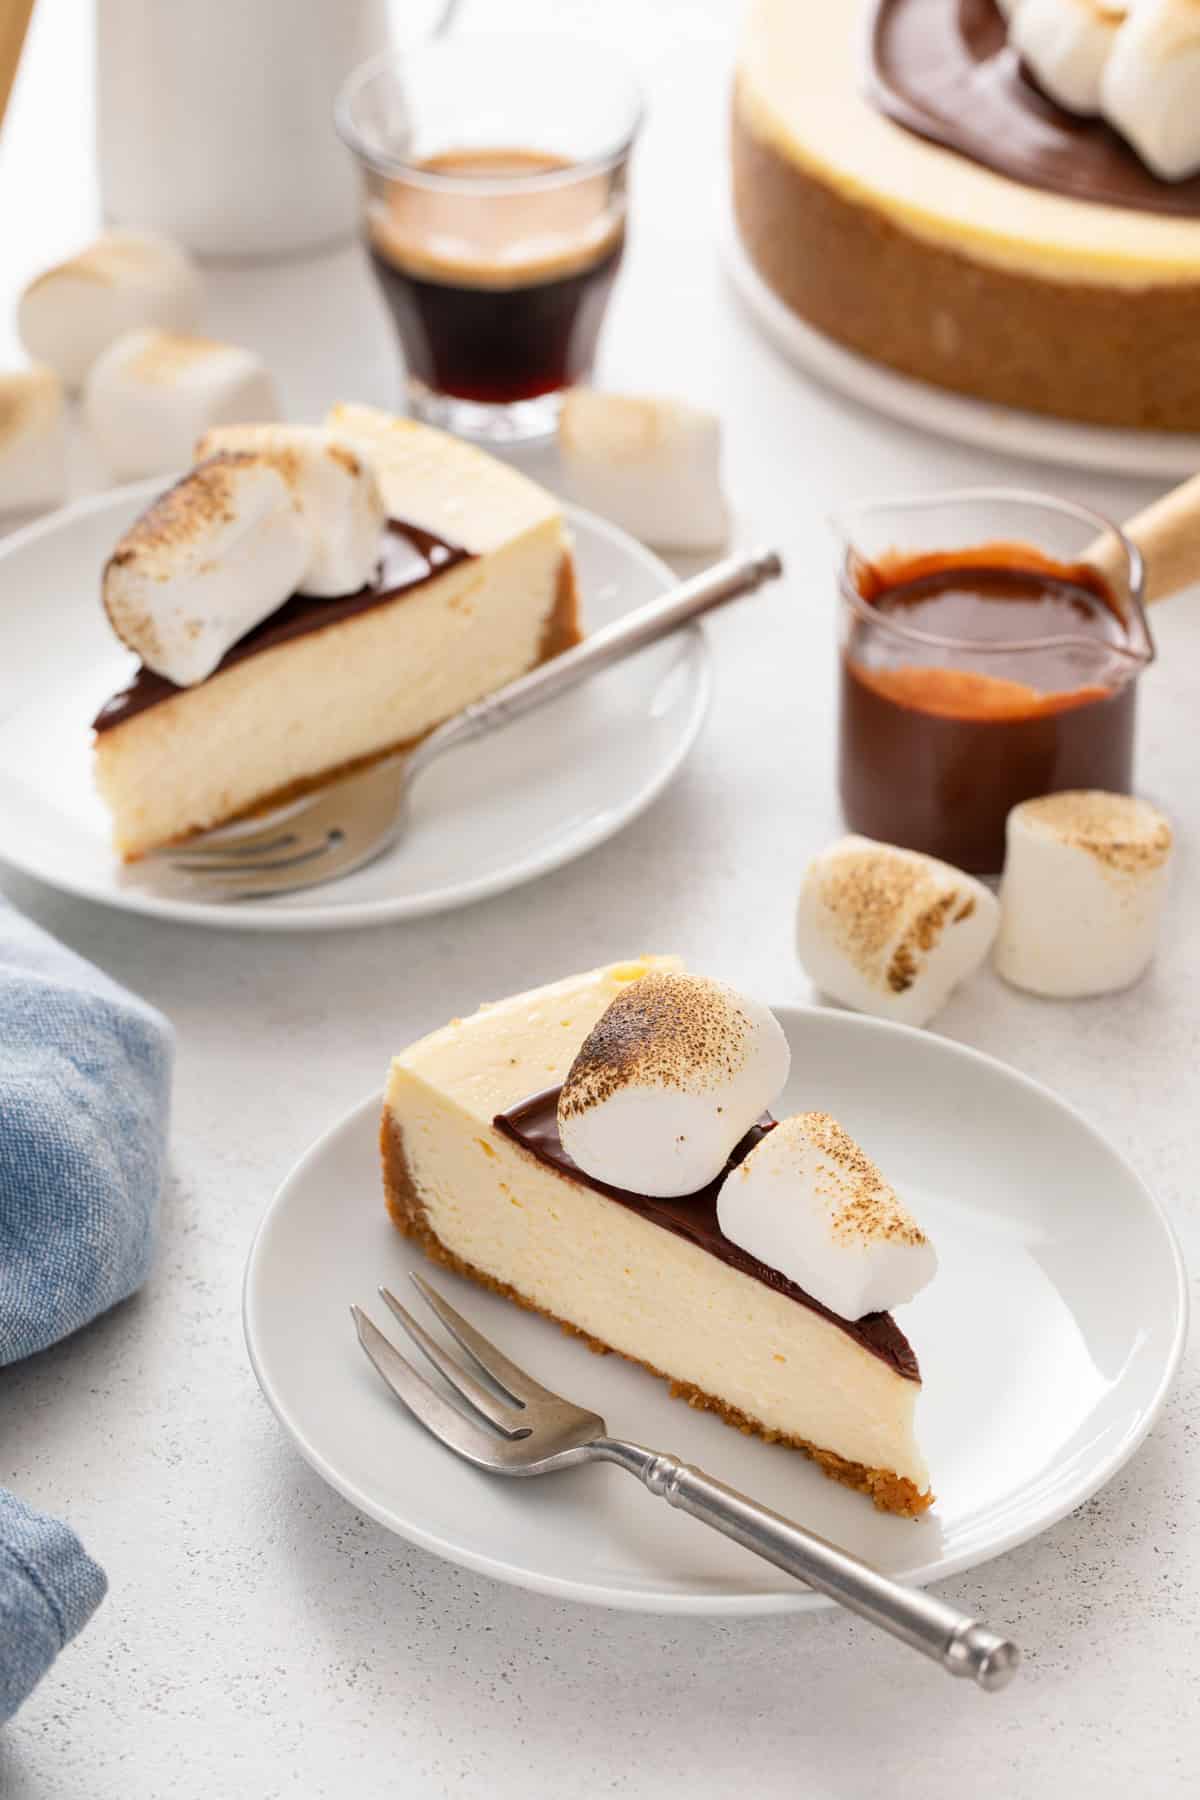
Say hello to this s’mores twist on a classic vanilla cheesecake! This s’mores cheesecake recipe adds melted marshmallows into a classic cheesecake filling, then tops the finished cheesecake with hot fudge sauce and toasted marshmallows. Make the cheesecake up to a day ahead of time and add the toppings just before serving for a bite that will make you feel like you’re next to the campfire any time of year.
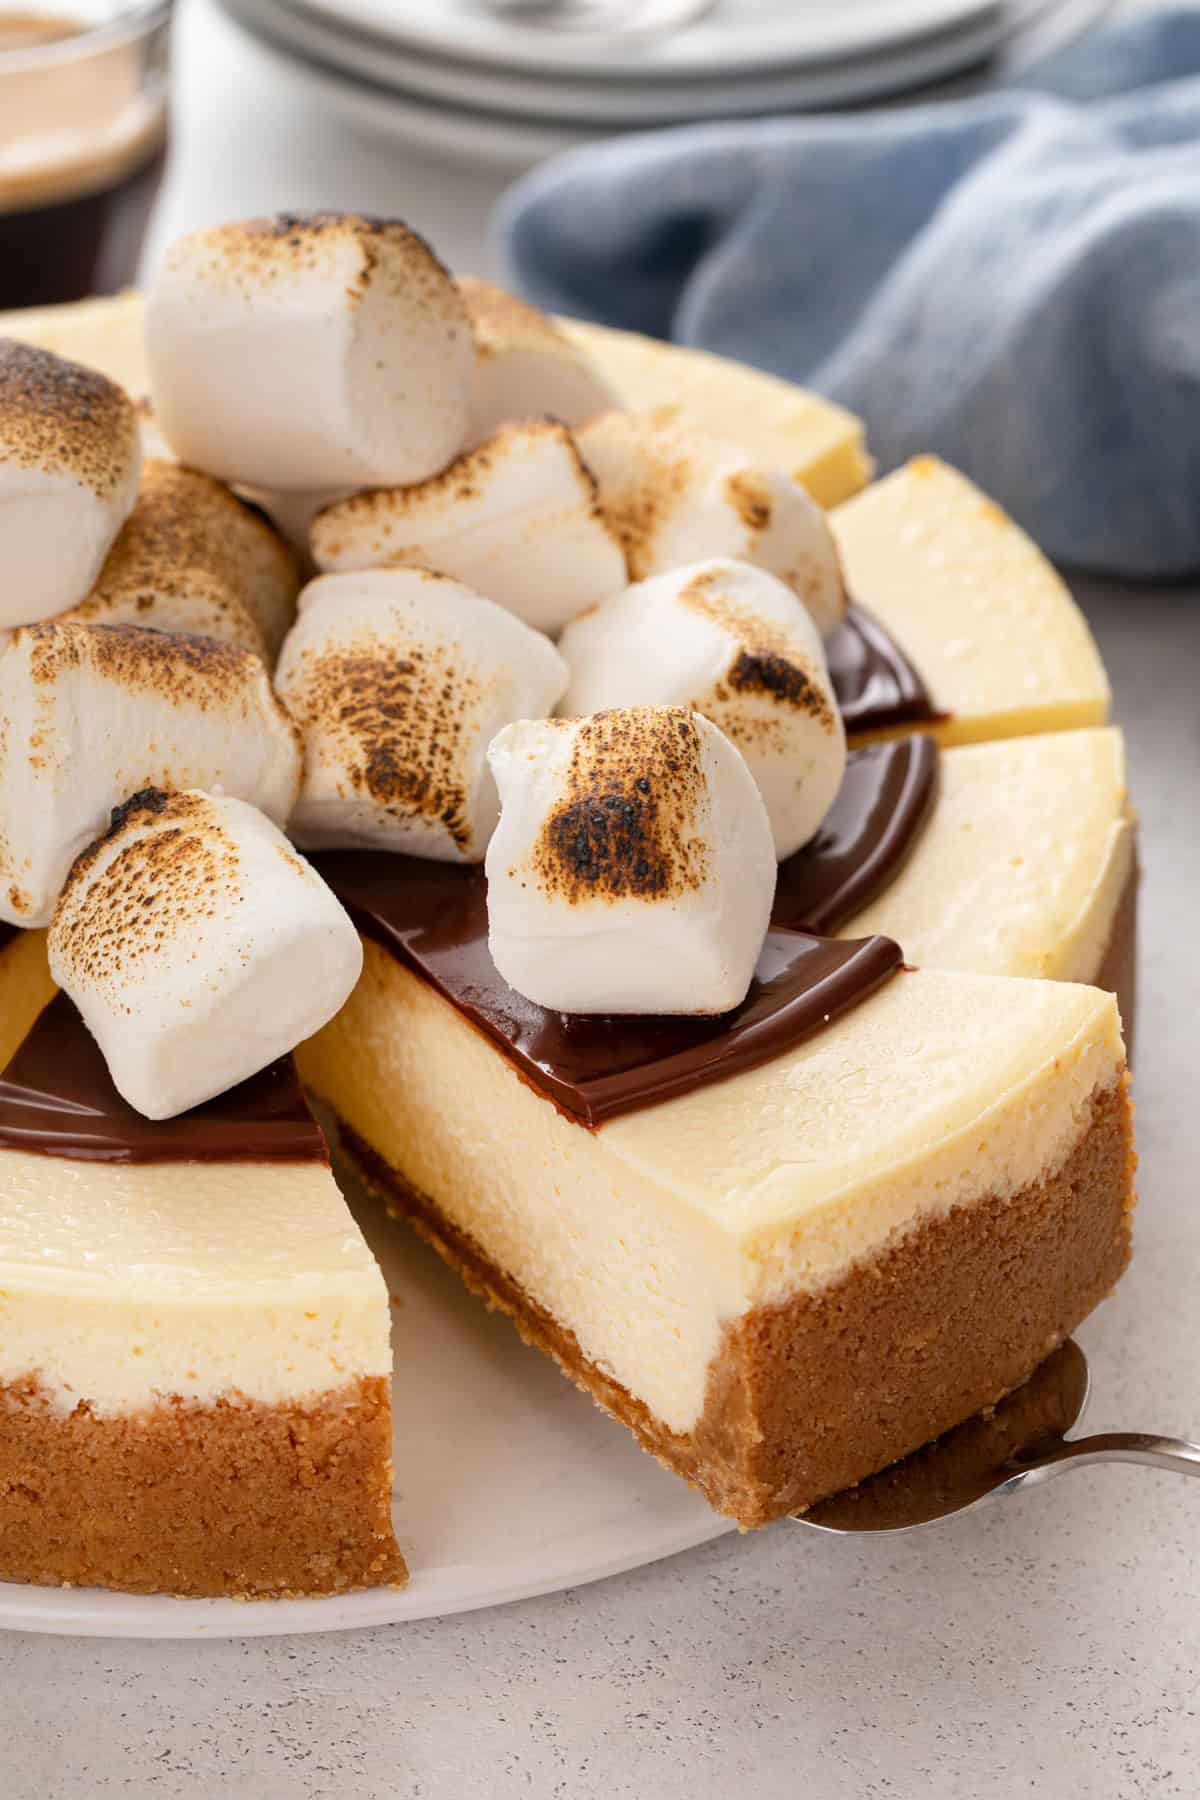
The only thing better than s’mores or cheesecake is combining my two favorite things into one. So this s’mores cheesecake recipe is way at the top of my list of favorite desserts.
If there’s one thing I’ve learned over almost 20 years of developing dozens of cheesecake recipes, it’s that a topping instantly makes them seem even fancier than they are.
In this case, the cheesecake base is super simple, with melted marshmallows added to my classic vanilla cheesecake filling. But the moment you add hot fudge sauce and toasted marshmallows to the top, your friends and family will be left in awe of your cheesecake skills.
I’ve even got a shortcut for making the water bath easier. Trust me, even cheesecake beginners can make this one.
Testing notes and tips
- Adding melted marshmallows to the filling makes the cheesecake even more decadent. In addition to giving the cheesecake itself that subtle marshmallow flavor, the melty marshmallows give the filling an ultra creamy texture.
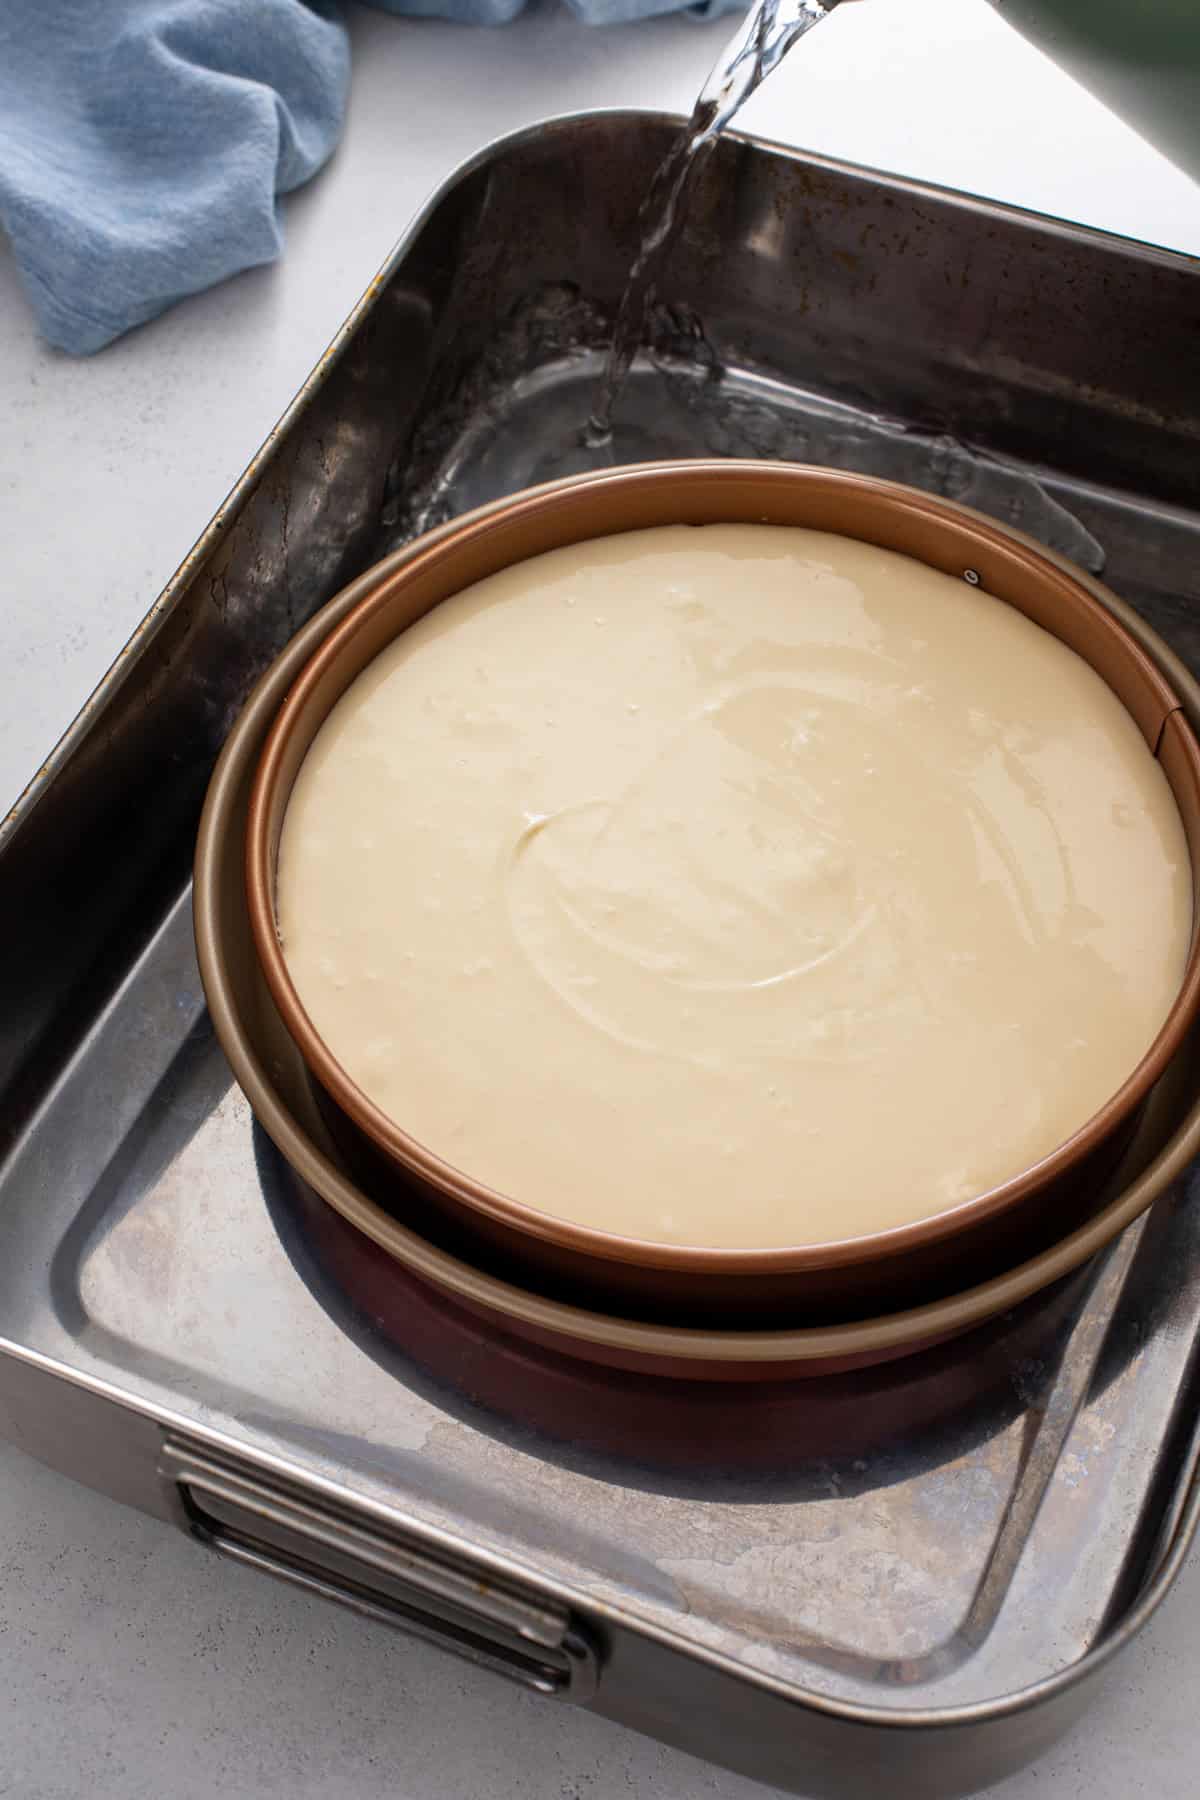
- Baking the cheesecake in a water bath gives you the best texture. If you’ve always struggled with your water baths leaking, try this: Place your 9-inch springform pan in a 10-inch regular cake pan. Then place that whole thing into the roasting pan. The boiling water goes outside of the 10-inch pan. You get all of the benefits of a water bath without risking any leaks into the cheesecake!
- Use your gas stove or broiler to toast the marshmallows indoors any time of year. Toasting the marshmallows for the topping really does make this cheesecake so much more s’mores-like. If you’re making this in the fall or winter, check out my tips below for toasting the marshmallows indoors.
Ingredient notes
⬇️ For the full recipe, including ingredient amounts, scroll down to the recipe card below!
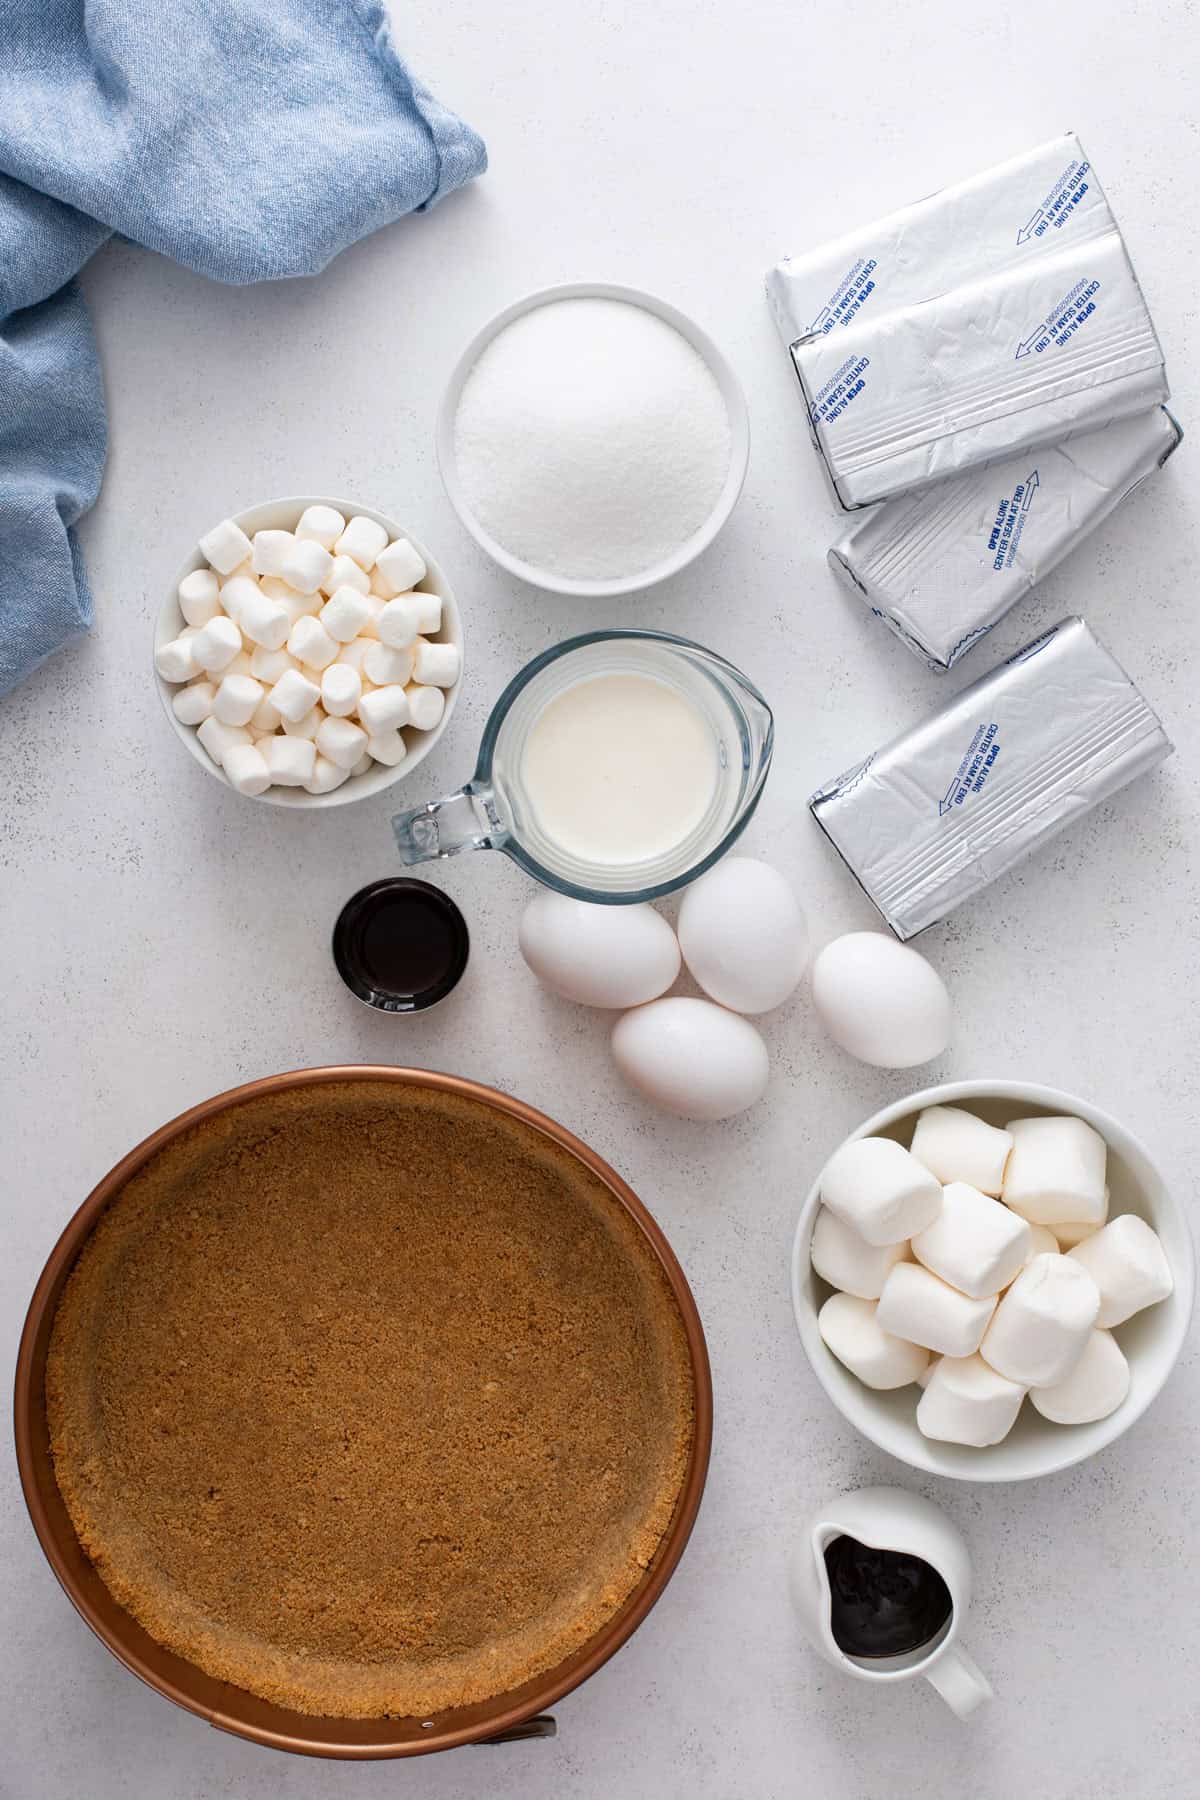
- Graham cracker crust: Prepare my homemade graham cracker crust recipe in a 9-inch springform pan. Since this is a s’mores recipe, the crust serves as the graham crackers here. But if you want to change things up, you could also use the Oreo crust from my chocolate cheesecake recipe.
- Cream cheese: For the creamiest filling, make sure this has softened to room temperature before you start baking. If you forget to set it out ahead of time, check out my tips for softening cream cheese quickly.
- Granulated sugar: For sweetening the filling.
- Large eggs: Just like with the cream cheese, your filling will be much smoother if you allow these to come to room temperature first. My favorite quick way to bring eggs to room temperature is to submerge them in warm water while I get the rest of my ingredients ready.
- Vanilla: Extract or vanilla bean paste
- Heavy cream: You don’t need much, but it makes a big difference in the creaminess of the final cheesecake. I don’t recommend substituting this.
- Marshmallows: Mini marshmallows for the filling and regular marshmallows for the topping.
- Hot fudge sauce: You can use your preferred jarred brand, but I like to use my homemade hot fudge sauce recipe.
How to make my s’mores cheesecake
If you haven’t made a cheesecake before, don’t be intimidated! The steps are actually quite simple and if followed, you will end up with a perfectly baked, crack-free cheesecake.
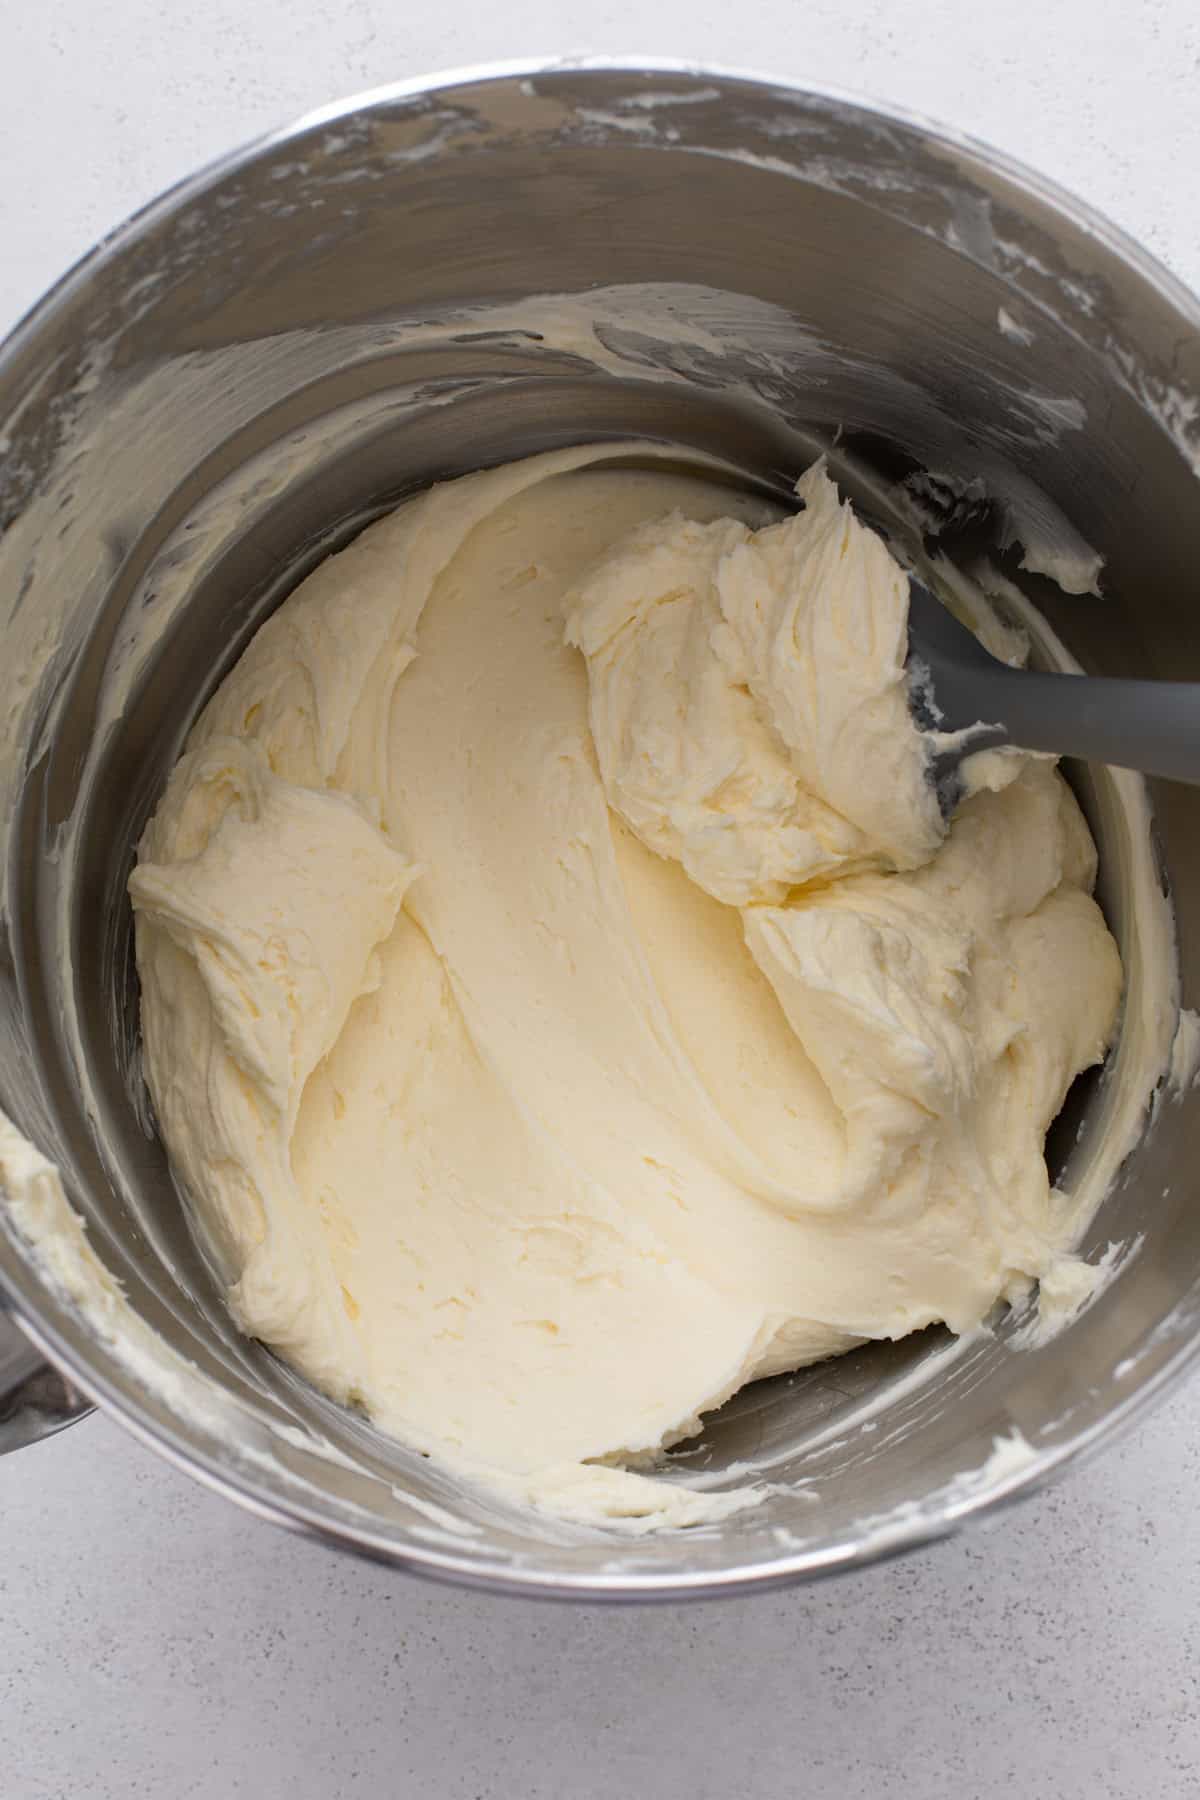
Prepare the graham cracker crust and set that aside. To make the filling, beat the cream cheese and sugar very well with a mixer, making sure to scrape the sides and bottom of the bowl. Then add the eggs once at a time, mixing well before adding the next.
I know this seems tedious, especially for 4 eggs, but it is worth the time for a super creamy, rich filling.
Once all of the eggs are added, you can beat in the vanilla and the heavy cream.
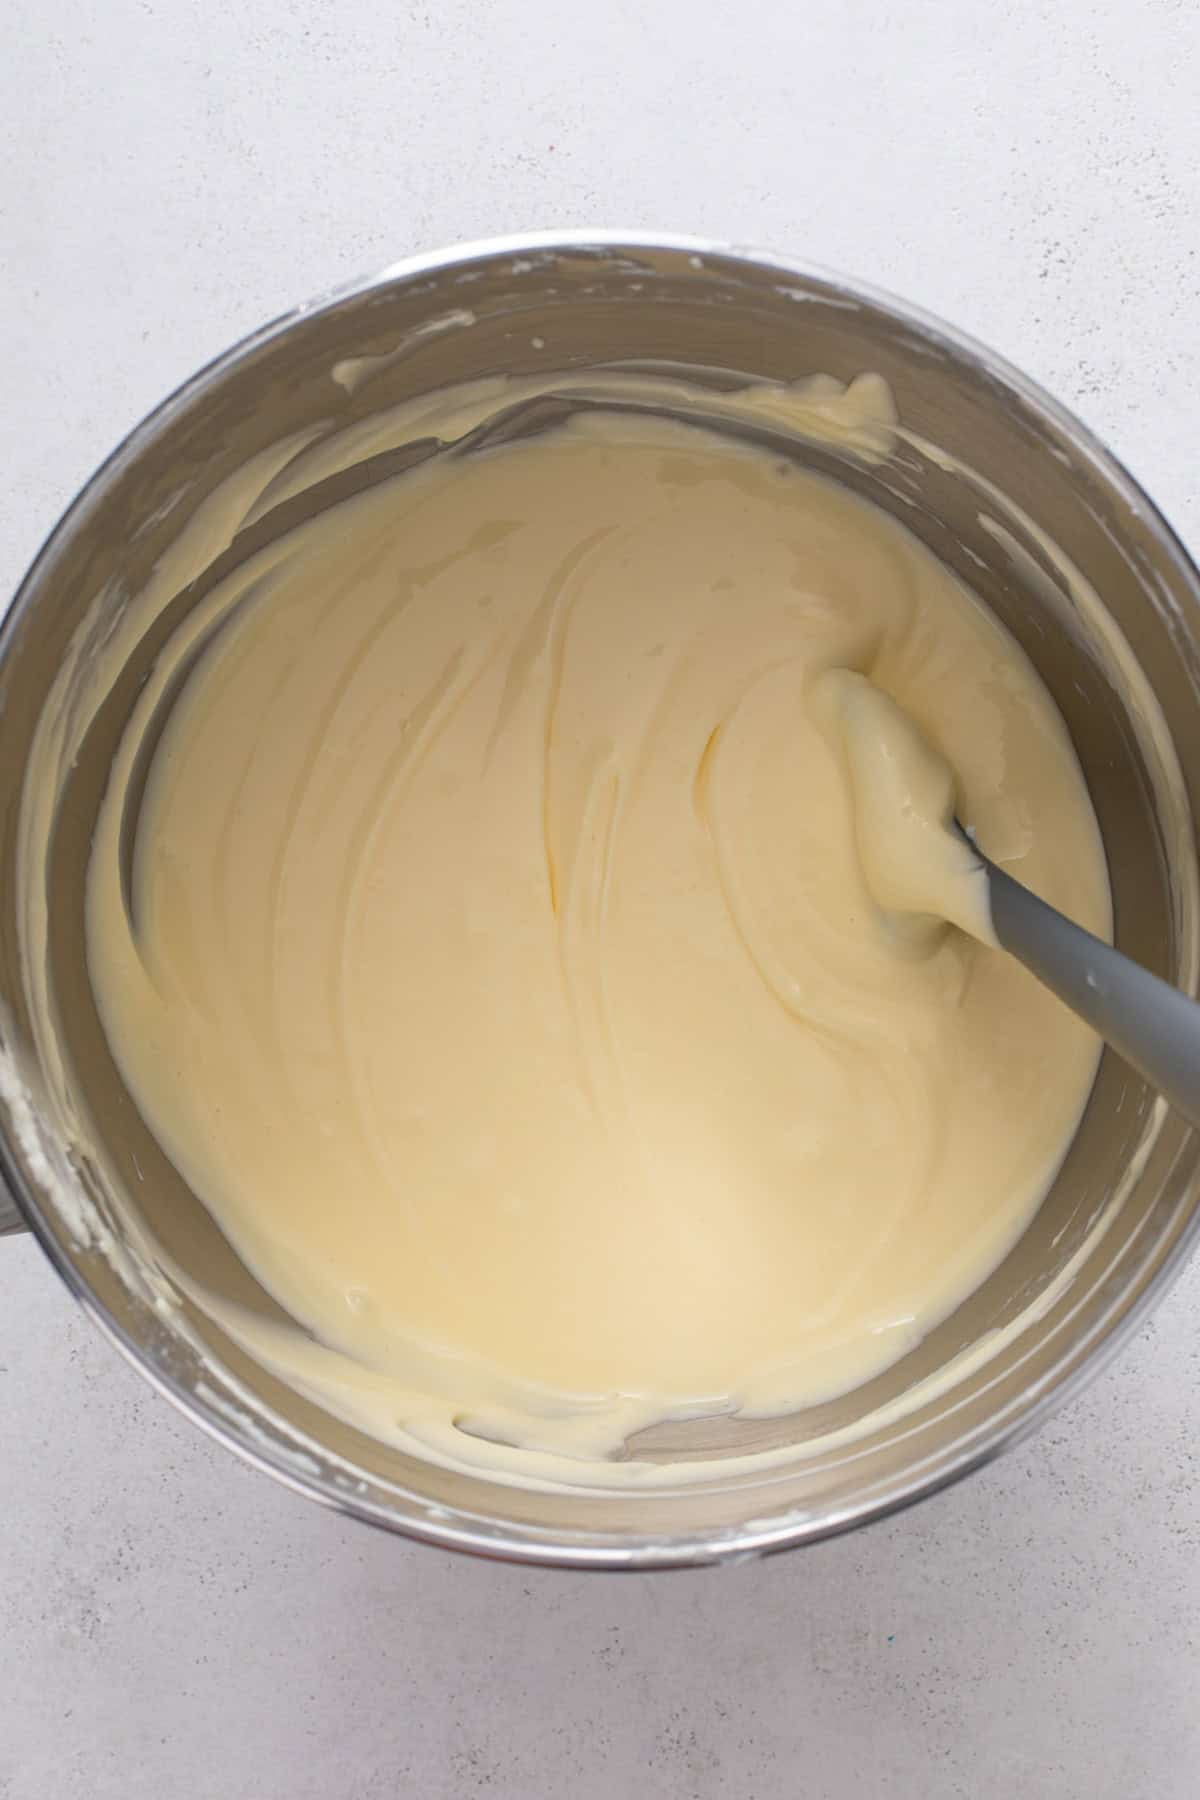
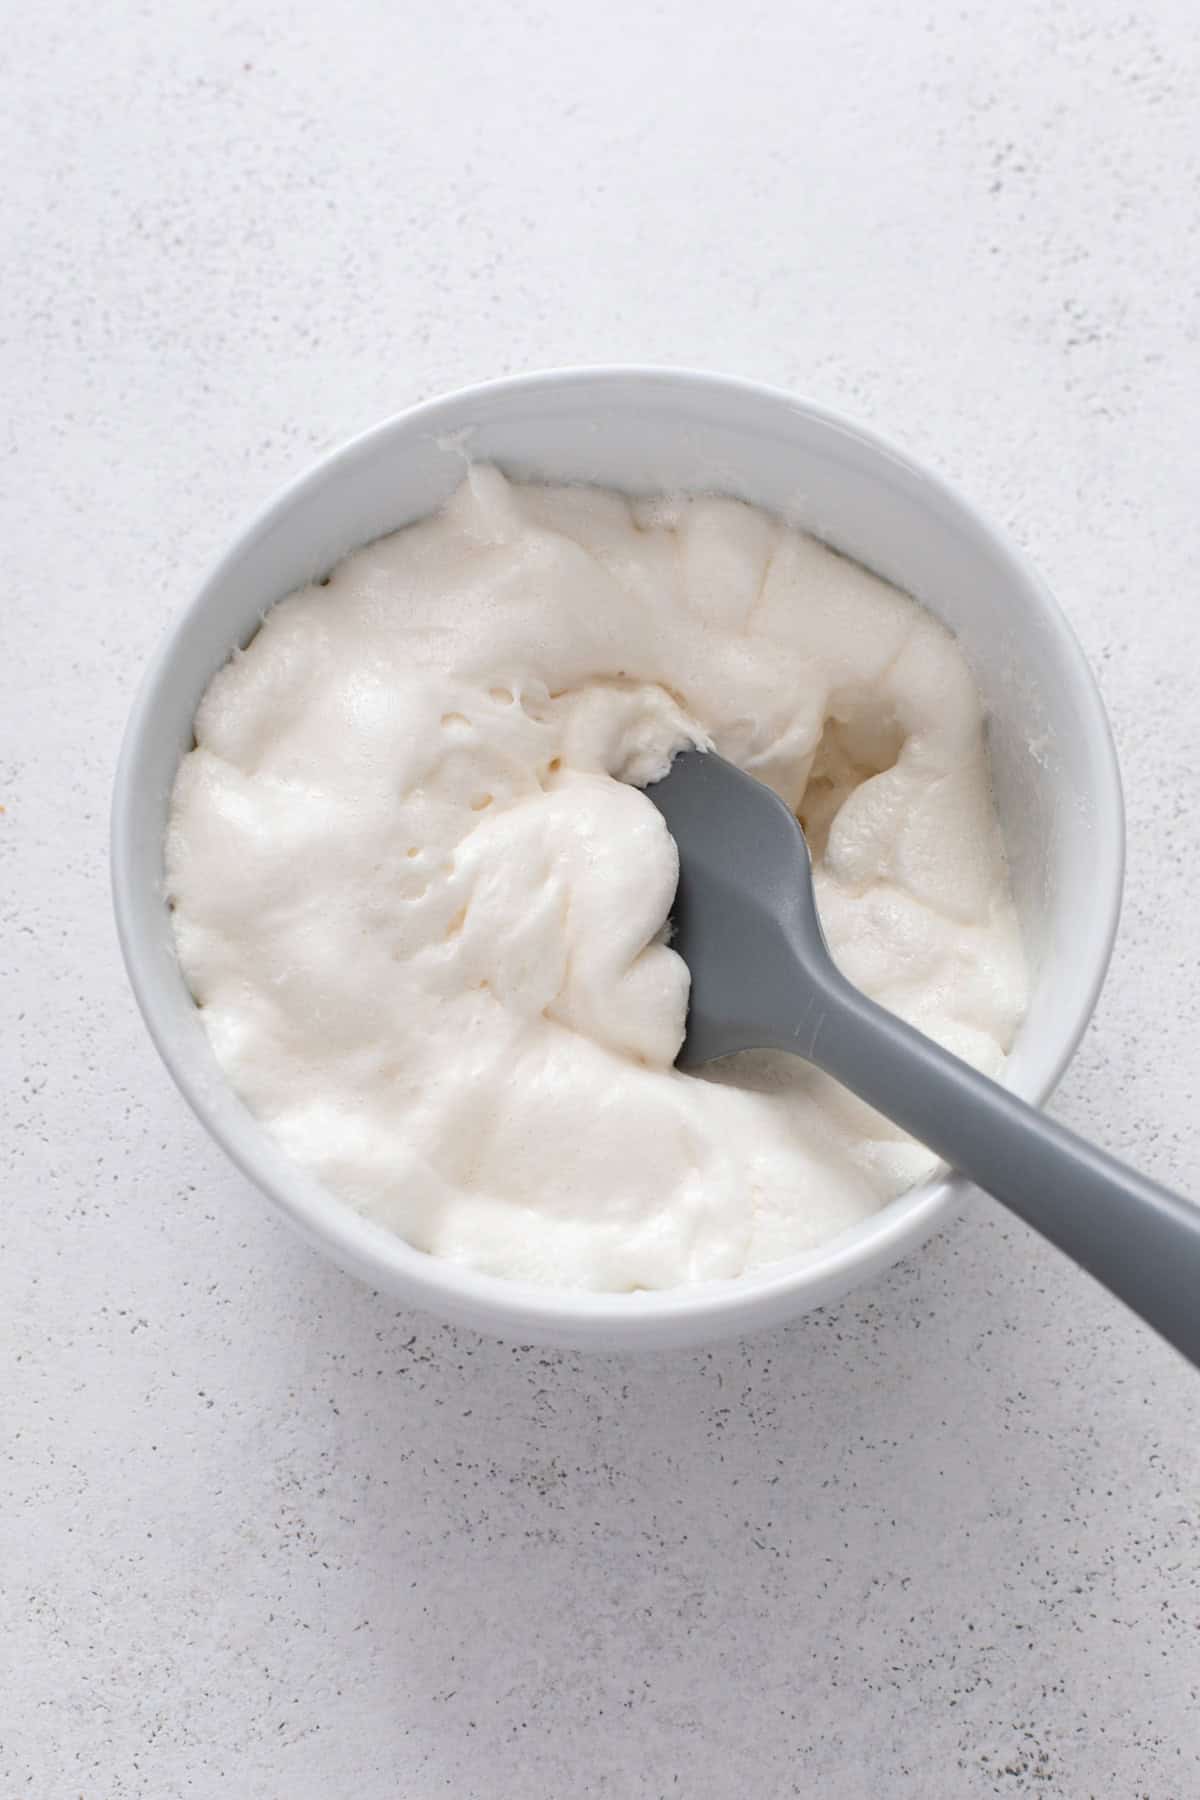
Now it’s time to melt the mini marshmallows. I do this in a large bowl in the microwave. Use a large bowl than you think you’ll need, because they will puff up in the microwave. You can also do this over medium-low heat on the stove if you prefer.
Once the marshmallows are melted and super smooth, beat them into the filling.
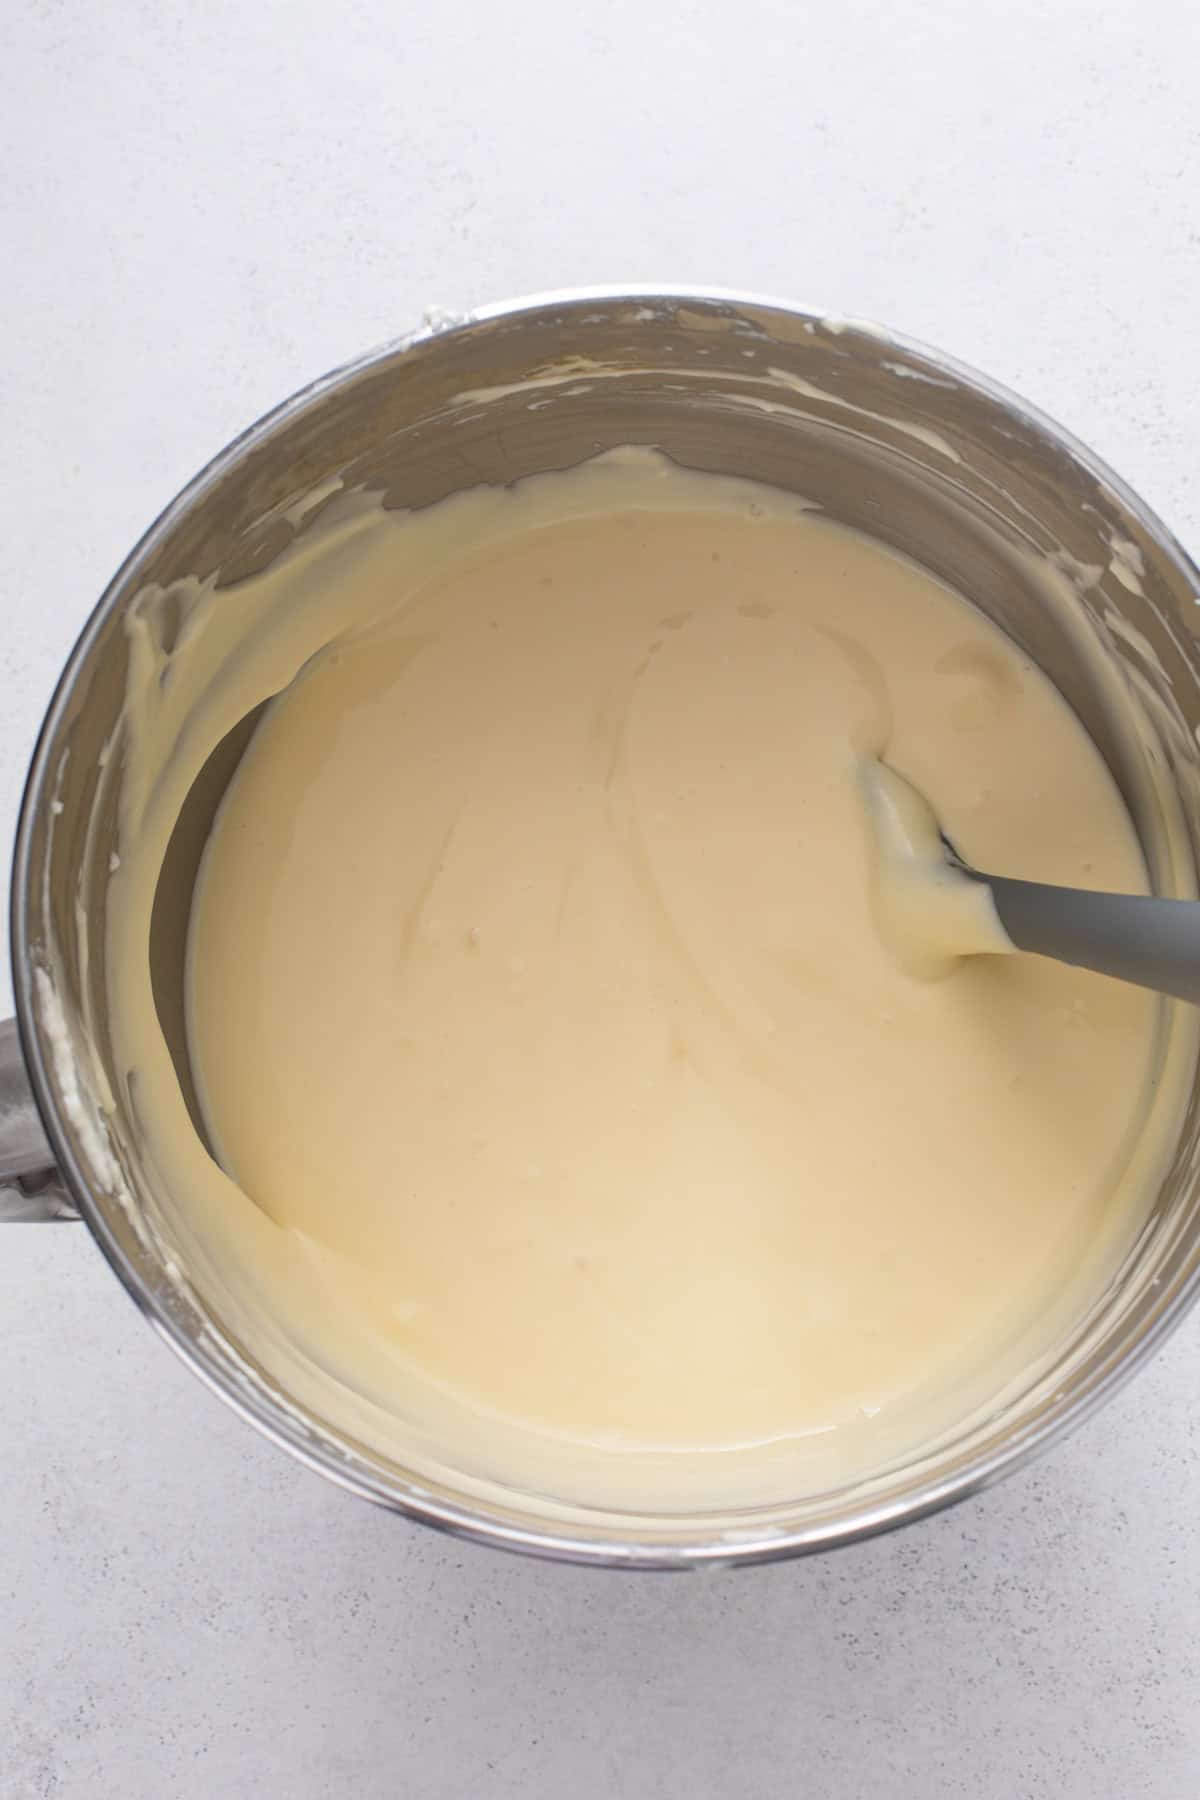
Pour the cheesecake batter into the prepared crust, then place the springform pan in a 10-inch cake pan.
Place the pans in a large roasting pan and pour boiling water into the roasting pan, halfway up the sides of the 10-inch cake pan. For extra insurance from cracks, very loosely cover the pan with aluminum foil. Don’t tighten it—just lay it over the top.
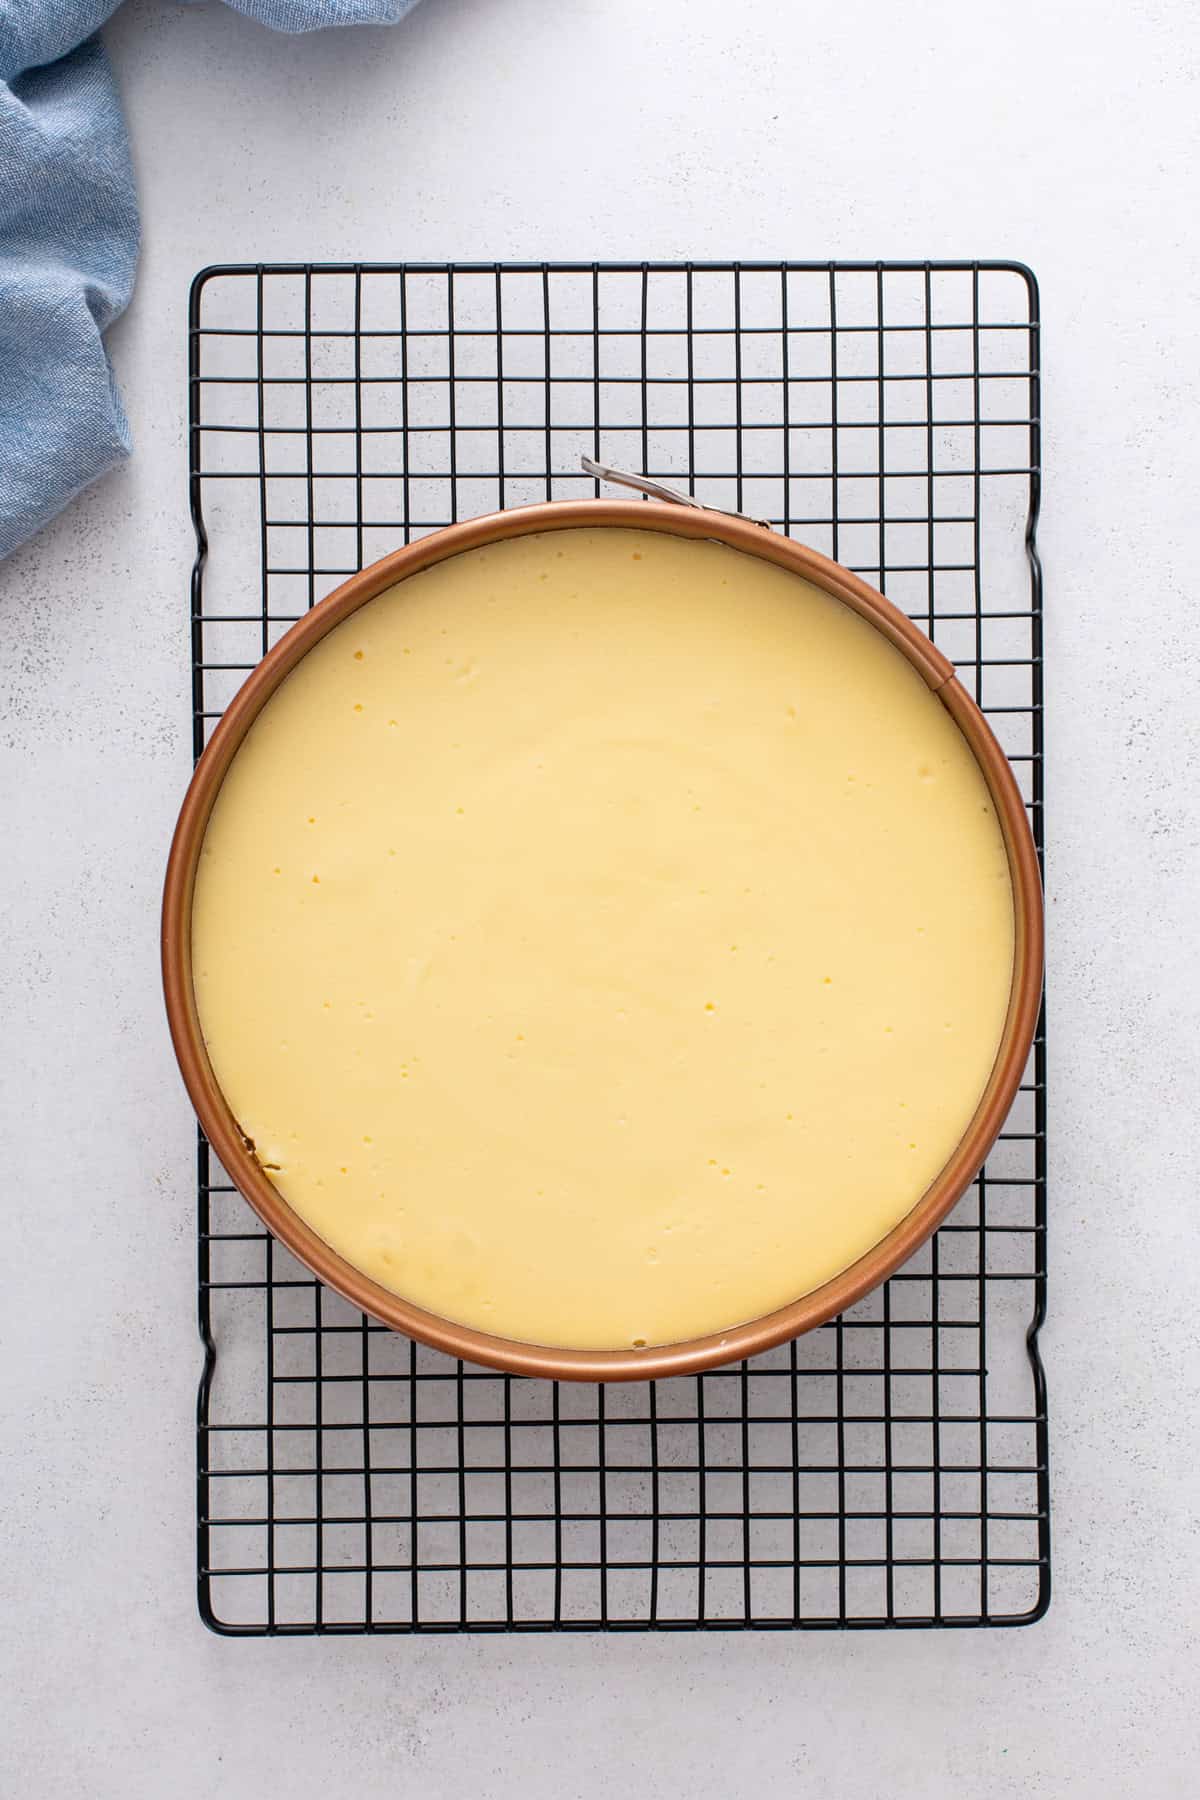
Bake the cheesecake for about an hour. It’s done when the edges are set but the center still has a slight jiggle. At this point, leave the cheesecake in the oven, turn off the oven, and crack the door. I usually place the handle of a wooden spoon in the door. Leave it there for 1 hour.
After an hour, remove the cheesecake from the oven to a cooling rack. Once it has cooled to room temperature, move it to the fridge to chill for at least 8 hours before serving.
How to toast marshmallows indoors
I like to top the finished cheesecake with hot fudge sauce and toasted marshmallows just before serving. Even if it’s the middle of winter or you don’t want to get a bonfire going, you’ve got a few options for toasting the marshmallows indoors to use in all kinds of s’mores recipes:
- Pile the marshmallows on top of the cheesecake and use a kitchen torch to toast the tops and sides.
- Thread marshmallows onto wooden skewers or metal skewers and hold them over a gas stove burner. Keep the flame around medium-low so that the marshmallows toast rather than simply burn.
- Arrange marshmallows on a baking sheet and place them under the broiler for a few minutes. Don’t walk away—watch them carefully so you can pull them once they’re nicely toasted. They’ll go from perfect to burned quickly!
Make ahead and storage
Make the cheesecake up to a day ahead of time and store, covered, in the fridge until ready to serve. You could also freeze it for up to a month before serving.
Place the cooled cheesecake on a cardboard round and cover it tightly with plastic wrap followed by a layer of foil. Freeze for up to 1 month. When ready to serve, thaw at room temperature for a few hours or in the refrigerator overnight, then top with the fudge sauce and toasted marshmallows.
Store leftovers covered in the refrigerator for up to 3 days. Keep in mind that the toasted marshmallows won’t stay gooey, but the cheesecake will still be delicious!
Frequently asked questions
If you don’t have a stand mixer or electric hand mixer, try making the marshmallow cheesecake filling in the bowl of a large food processor. In fact, sometimes I do this instead of using my stand mixer simply because it is so quick and easy.
Absolutely! If you go this route, you may want to pile them onto the cheesecake and then use a kitchen torch to toast them, since they’re much harder to toast individually at that size.
If you have chocolate chips and leftover heavy cream, try making chocolate ganache for the topping instead! You could also fold mini semisweet chocolate chips into the filling along with the melted marshmallows, similar to what I do in my chocolate chip cheesecake recipe.
S’mores Cheesecake
Ingredients
- 4 (8-ounce) packages cream cheese room temperature
- 1 cup granulated sugar
- 4 large eggs room temperature
- 2 teaspoons pure vanilla extract
- ⅓ cup heavy cream
- 1 cup mini marshmallows
- 1 prepared graham cracker crust in a 9-inch springform pan
For the Topping:
- hot fudge sauce
- 12-15 regular marshmallows toasted
Instructions
- Preheat oven to 350°F. Bring a kettle of water to boil for the water bath.
- Tightly wrap (1) 9-inch springform pan in heavy duty foil. This step helps to prevent leaks when using a water bath. However, my favorite way to prevent leaks is to place a 9-inch springform pan into a 10-inch round cake pan. Both pans will go into a large roasting pan when baking the cheesecake. You will get all of the benefits of baking with a water bath without the risk of leaks.
- In the bowl of a stand mixer fitted with the paddle attachment, or in a large bowl with an electric mixer, beat cream cheese and sugar for about 2 minutes. Scrape down the sides of the bowl and mix for an additional 30 seconds. Add in eggs, one at a time, scraping down the sides of the bowl after adding the second and fourth egg. After adding the final egg and scraping the sides of the bowl, mix again for 30 seconds. The mixture should be smooth and creamy. Add in the vanilla and heavy cream and mix for an additional 30 seconds.4 (8-ounce) packages cream cheese, 1 cup granulated sugar, 4 large eggs, 2 teaspoons pure vanilla extract, 1/3 cup heavy cream
- Place mini marshmallows into a large microwave-safe dish. Microwave in 15 second intervals until marshmallows are puffed and melty. Stir until smooth. Add melted marshmallows to the cream cheese filling and mix until just combined.1 cup mini marshmallows
- Pour the cheesecake filling over the prepared crust.1 prepared graham cracker crust
- Place the 9-inch springform pan into a 10-inch cake pan and place both pans into a large roasting pan. Pour boiling water into the roasting pan until it is halfway up the side of the cake pan. Gently lay a piece of foil over the pan – do not tighten the foil as we want to allow the air to still circulate.
- Bake 55-65 minutes, the edges will appear to be set, but the center will still have some jiggle to it. At this point, turn off the oven, and leave the oven door cracked. Allow the cheesecake to rest in the cooling oven for one hour.
- After one hour has passed, carefully remove the cheesecake from the water bath and place on a cooling rack to cool completely. Once the cake is completely cooled, place it into the refrigerator for at least 8 hours.
- Just before serving, top the cheesecake with hot fudge sauce and toasted marshmallows.hot fudge sauce, 12-15 regular marshmallows
Notes
Storage
- Store covered in the refrigerator for up to 3 days or freeze for up to 1 month. For additional freezing details and instructions, including how to freeze the cheesecake whole to serve later, see the “Make Ahead and Storage” section in the post.
Yield
- Makes 1 9-inch cheesecake.
Nutrition
Nutrition information is automatically calculated, so should only be used as an approximation.










Could I just use my kitchen torch to toast the mallows?
Sure!