This post may contain affiliate links. Please read our privacy policy.
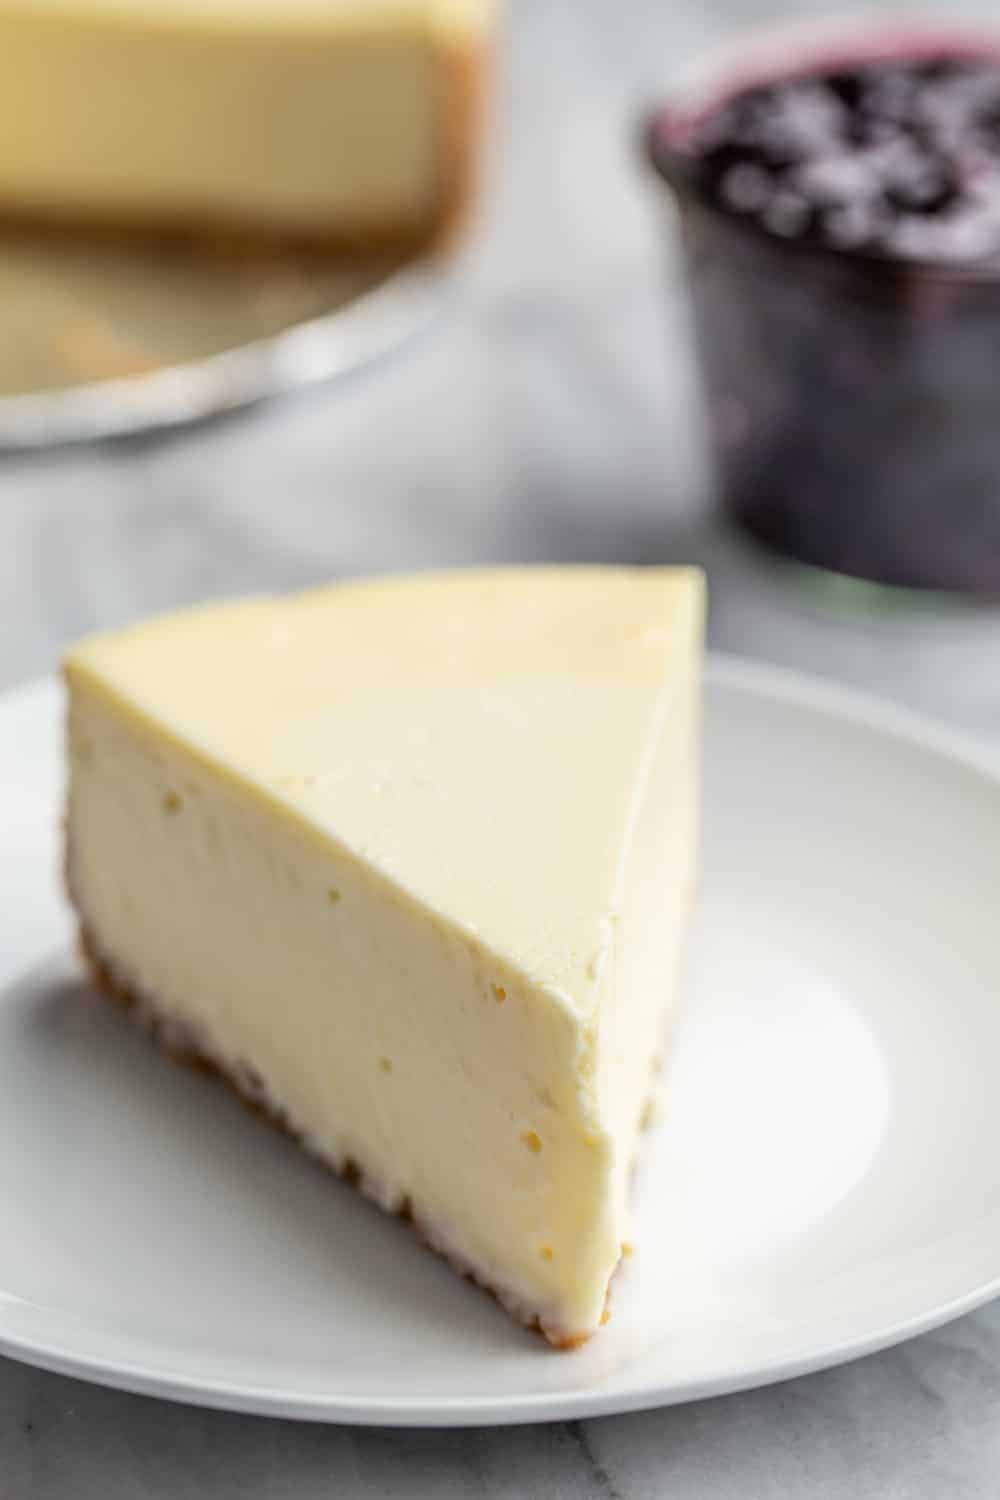
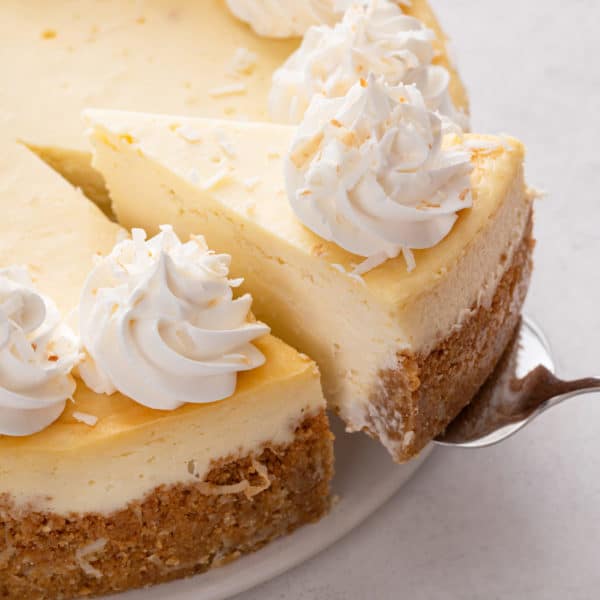
It’s hard to beat a classic! Vanilla Cheesecake is creamy and delicious whether you serve it plain or finish it with your favorite fruit, caramel or ganache topping.

If you’ve been following along for the last couple of posts, you know I’ve been promising you my favorite recipe for vanilla cheesecake.
You guys know I’m totally obsessed with all things cheesecake, but I’ve never just shared a classic recipe for vanilla cheesecake with a simple graham cracker crust, so here we are.
I’ve mentioned a few times that cheesecake is a family tradition. Whether it’s a birthday, anniversary, or job promotion, when it comes to celebratory baked goods, we stick to cheesecake every time.
There are many foods that bring back memories of my childhood, but if you asked me to pick one that encompasses all the best memories, this is the dessert. It’s hard to beat creamy, tangy filling with that buttery crust.
I will fully admit to eating this with toppings and without, and loving it just the same no matter what.
CLASSIC CHEESECAKE RECIPE
Classics are classics for a reason. I mean, you really can’t mess with the best.
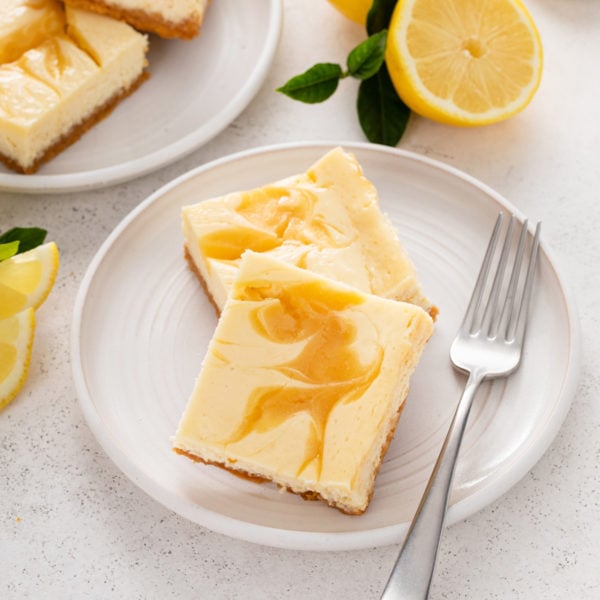
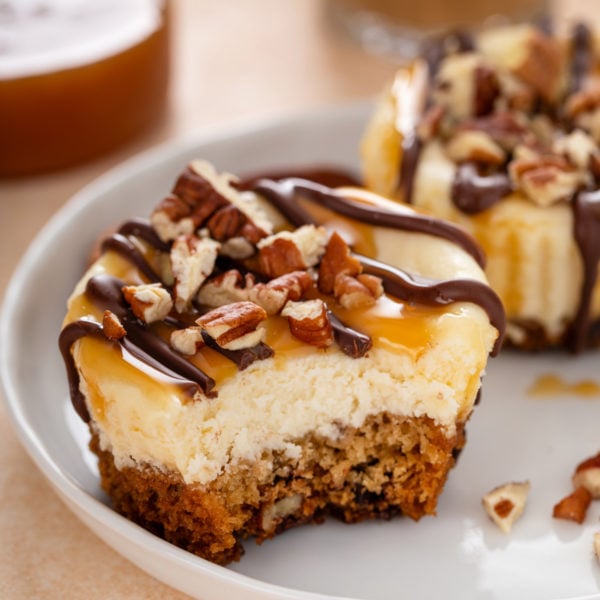
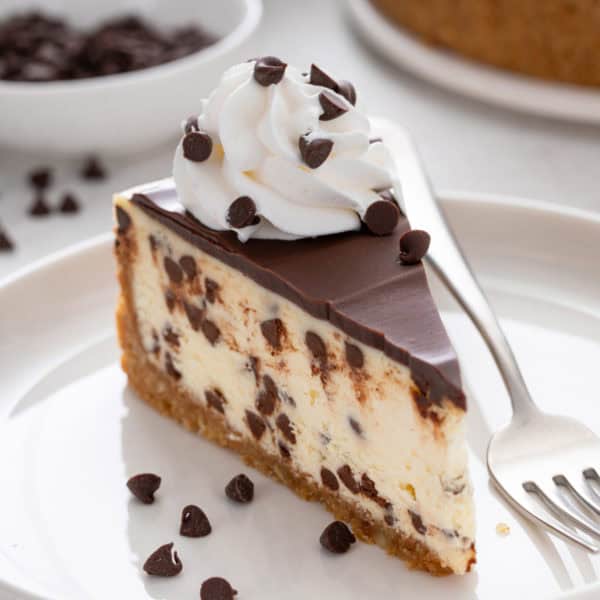
Sure, I have made dozens of various cheesecake recipes throughout the years. Flavors like Lemon Cheesecake, Hot Cocoa Cheesecake and Samoa Cheesecake have certainly become favorites.
But sometimes I just crave a slice of rich, creamy Vanilla Cheesecake. (And usually on a whim, which is why it is useful to know how to soften cream cheese quickly and to have the ingredients for graham cracker crust on hand.)
When I am craving the classic, this is the recipe I reach for. The tanginess of the cream cheese shines through and is complemented by the vanilla. It is really just so good.
This recipe is baked in a water bath. Intimidated? Don’t be. I have everything you need to know about how to bake cheesecake in a water bath!

I usually use vanilla extract in this cheesecake recipe, but you could certainly substitute vanilla bean paste or a vanilla bean instead. The flecks of vanilla bean would look beautiful against the cheesecake filling!
But just because this recipe makes a vanilla cheesecake, don’t assume that it is “plain” or that you can’t top it with any variety of toppings to make it your own.
TOPPING IDEAS FOR VANILLA CHEESECAKE
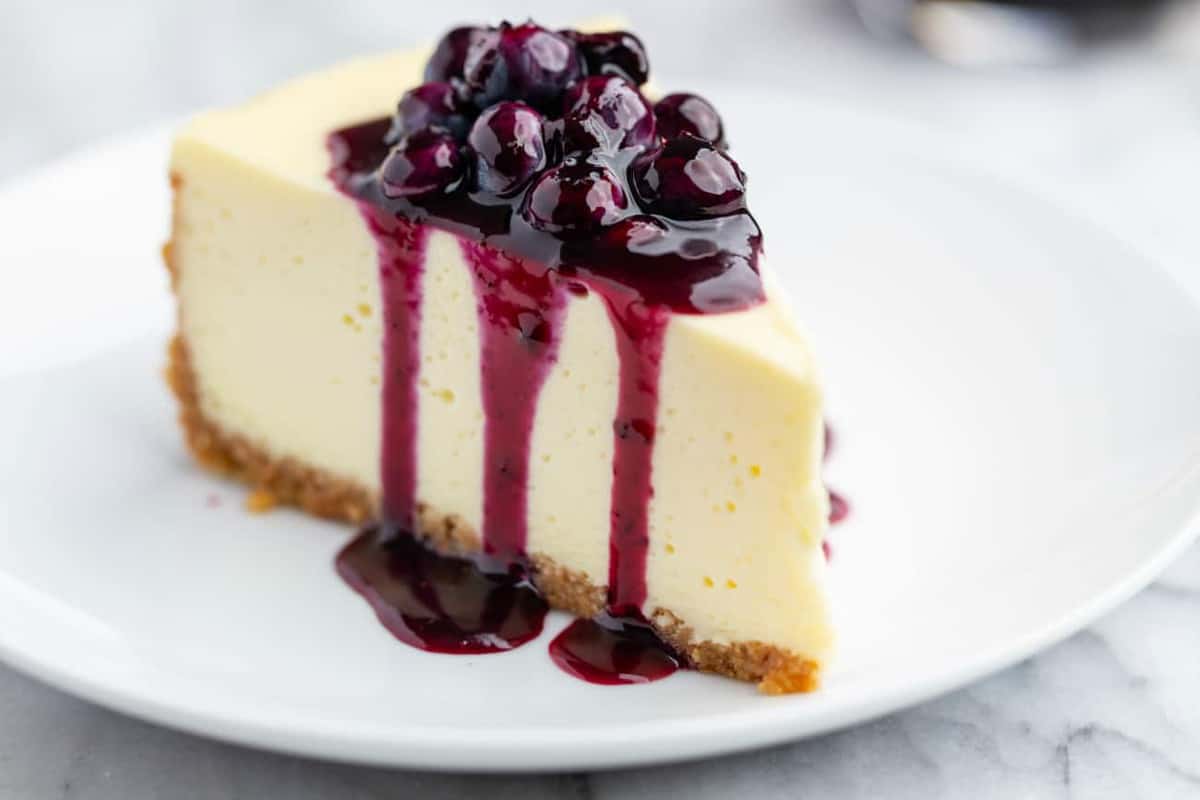
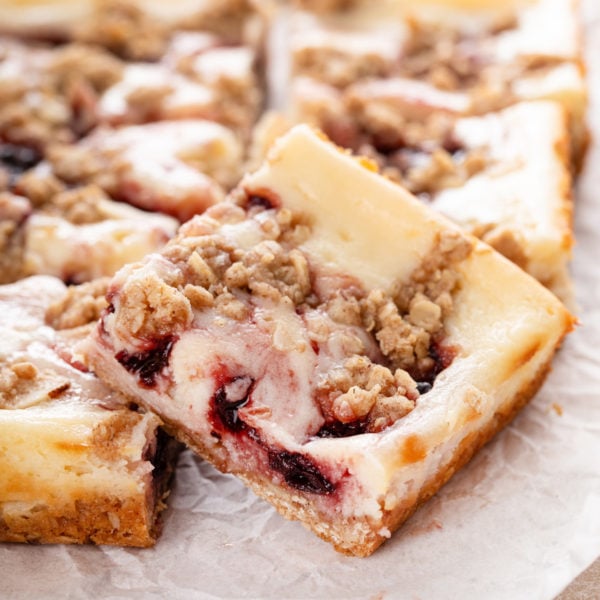
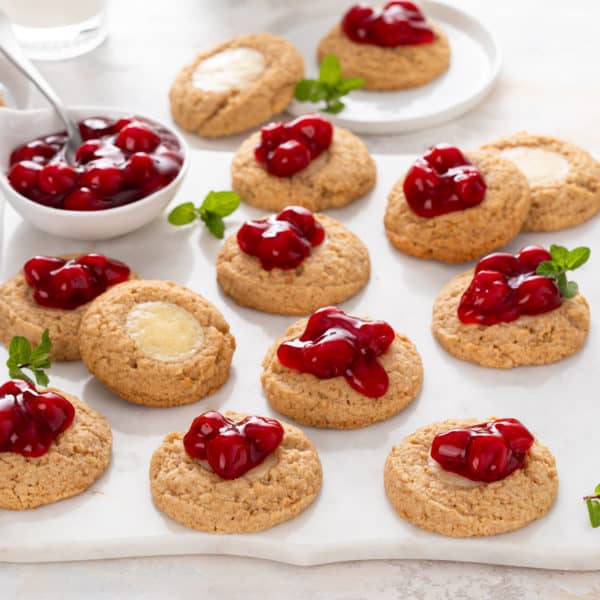
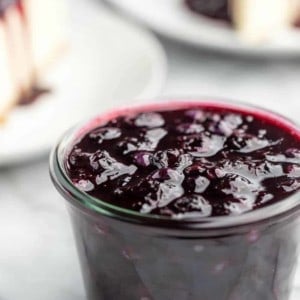
My all-time favorite way to top this Vanilla Cheesecake is with my Homemade Blueberry Sauce. That is the ultimate combination that can’t be beat, ok? A close second is my homemade cherry pie filling.
But if blueberries aren’t your thing, that’s ok. For a citrusy kick, try topping it with my Microwave Lemon Curd or with grapefruit curd.
Salted caramel sauce is also a fan favorite, as is chocolate ganache.
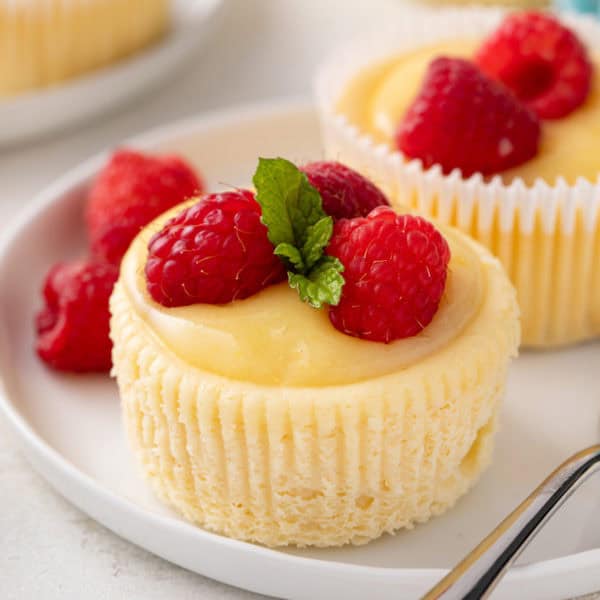
It would also be hard to go wrong with sliced fresh fruit or homemade cherry pie filling. Honestly, as long as you’re making cheesecake, you really can’t go wrong at all!
Vanilla Cheesecake
Equipment
Ingredients
- 1 9-inch graham cracker crust
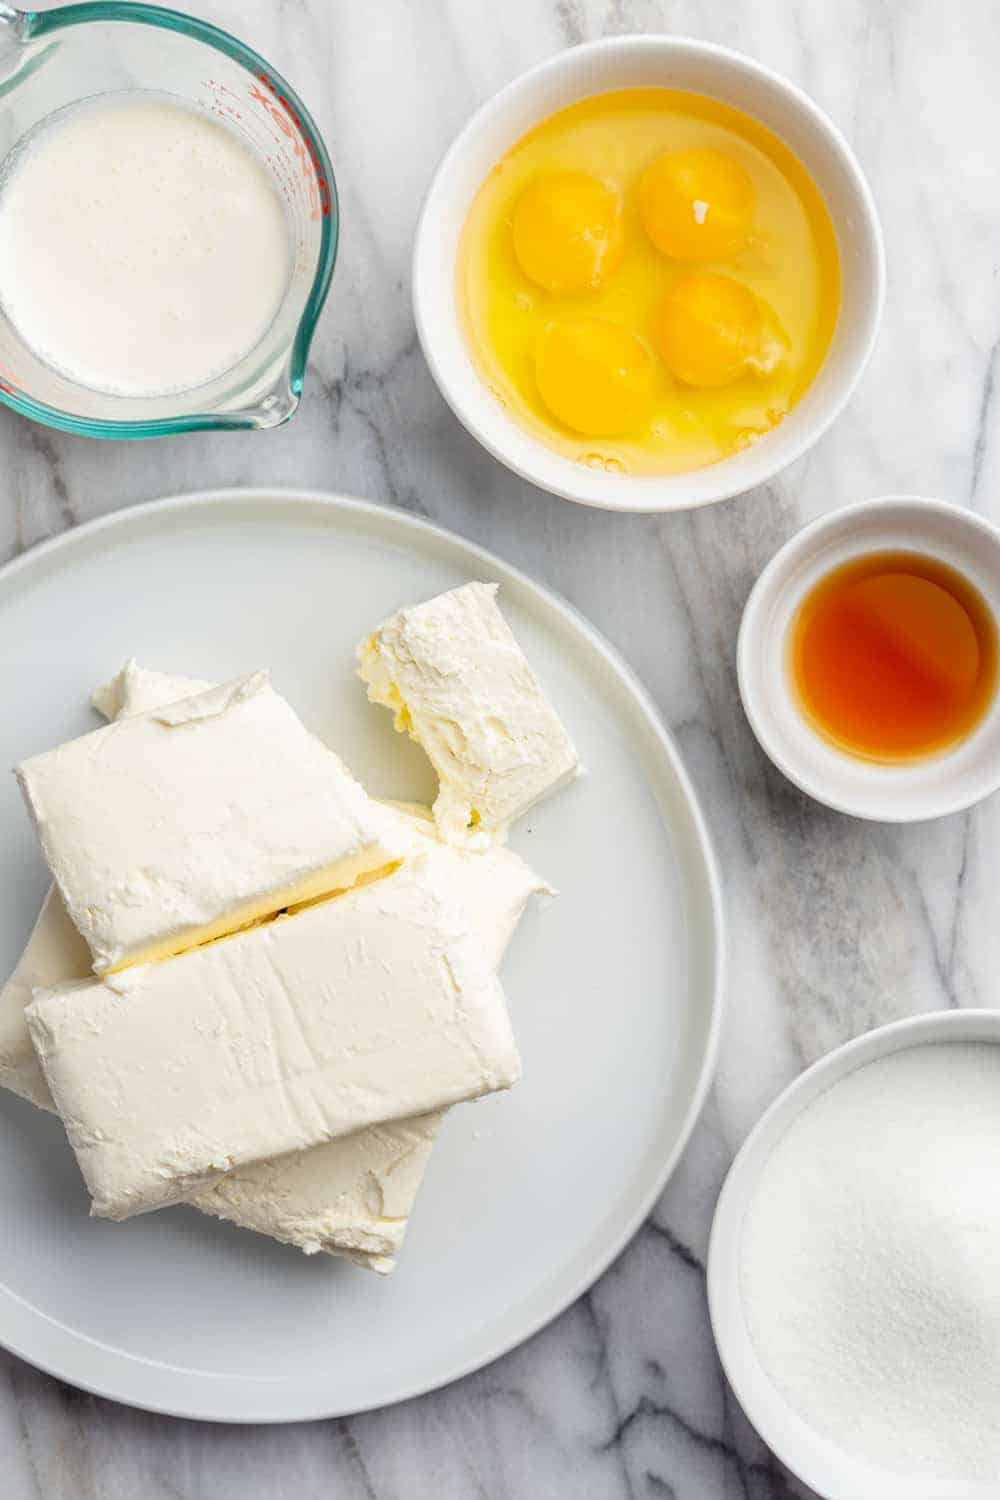
- 1 cup granulated sugar
- 32 ounces cream cheese room temperature (4 8-ounce packages)
- 4 large eggs room temperature
- 2 teaspoons pure vanilla extract
- ⅓ cup heavy cream
For the Topping
Instructions
- Preheat oven to 350°F. Bring a kettle of water to boil for the water bath.
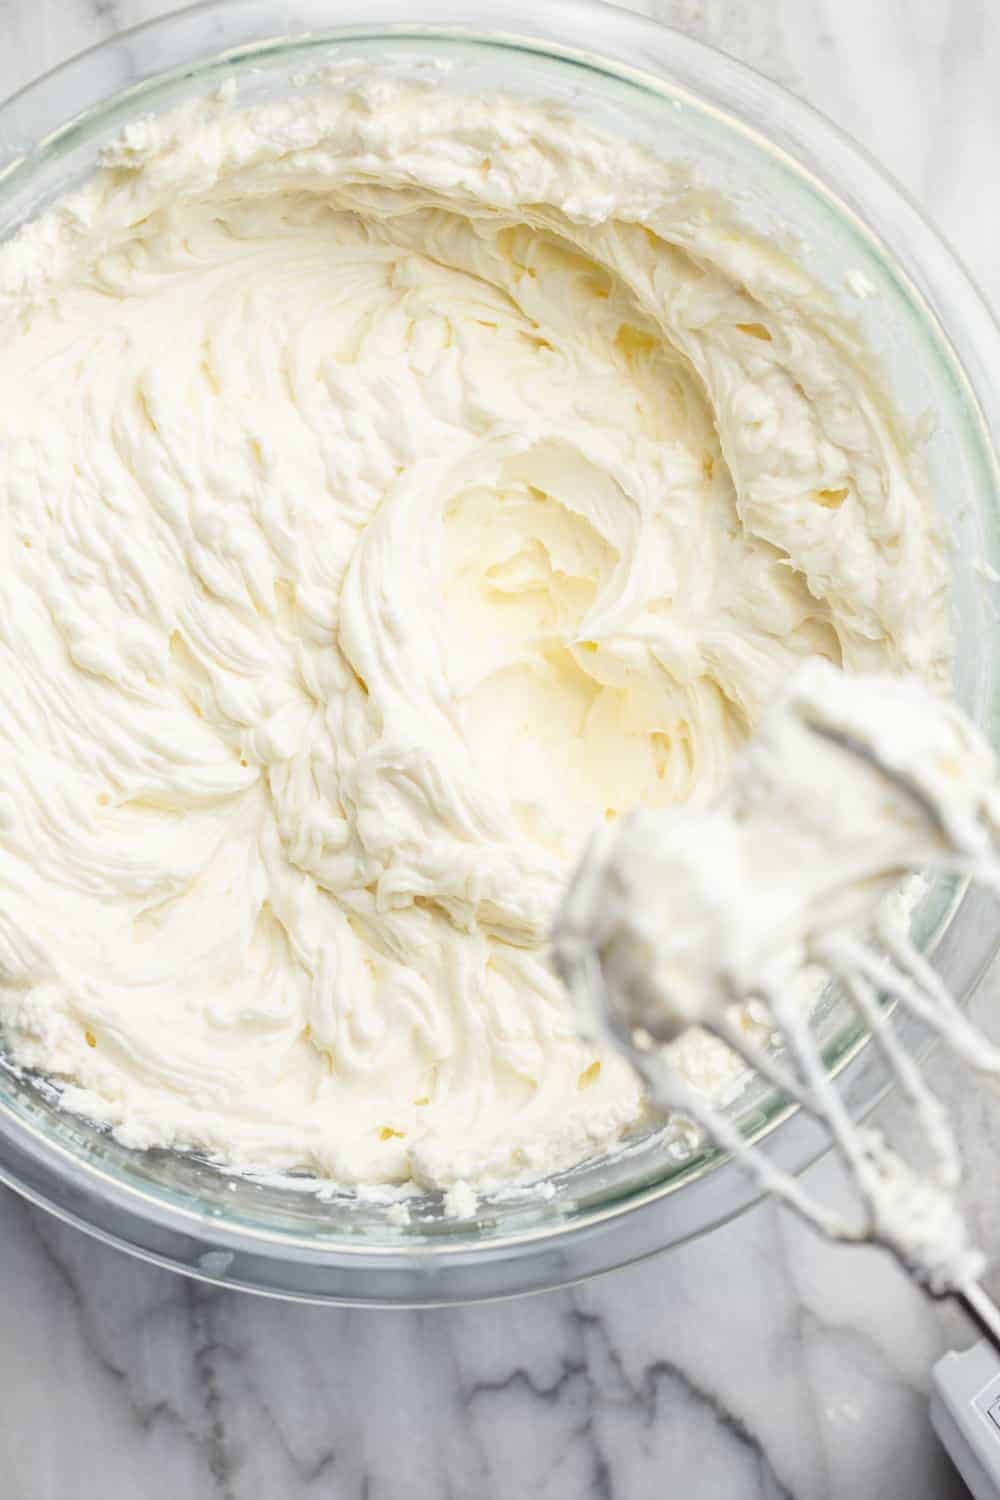
- In the bowl of a stand mixer fitted with the paddle attachment, or in a large bowl with an electric mixer, beat cream cheese and sugar for about 2 minutes. Scrape down the sides of the bowl and mix for an additional 30 seconds. Add in eggs, one at a time, scraping down the sides of the bowl after adding the second and fourth egg. After adding the final egg and scraping the sides of the bowl, mix again for 30 seconds. The mixture should be smooth and creamy. Add in the vanilla and heavy cream and mix for an additional 30 seconds.
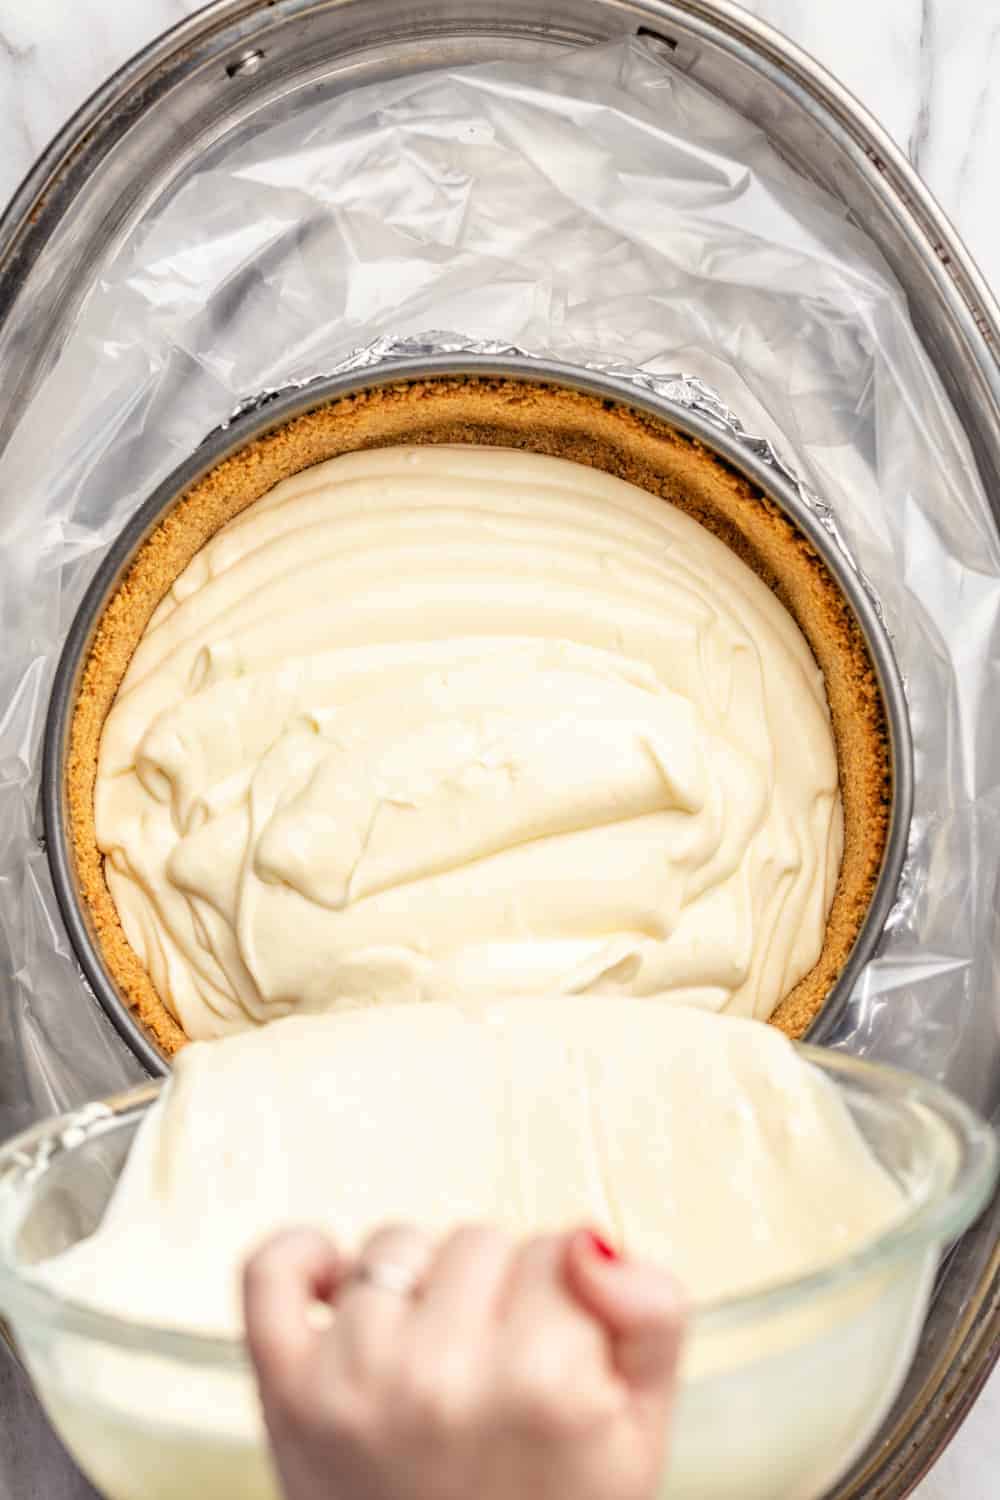
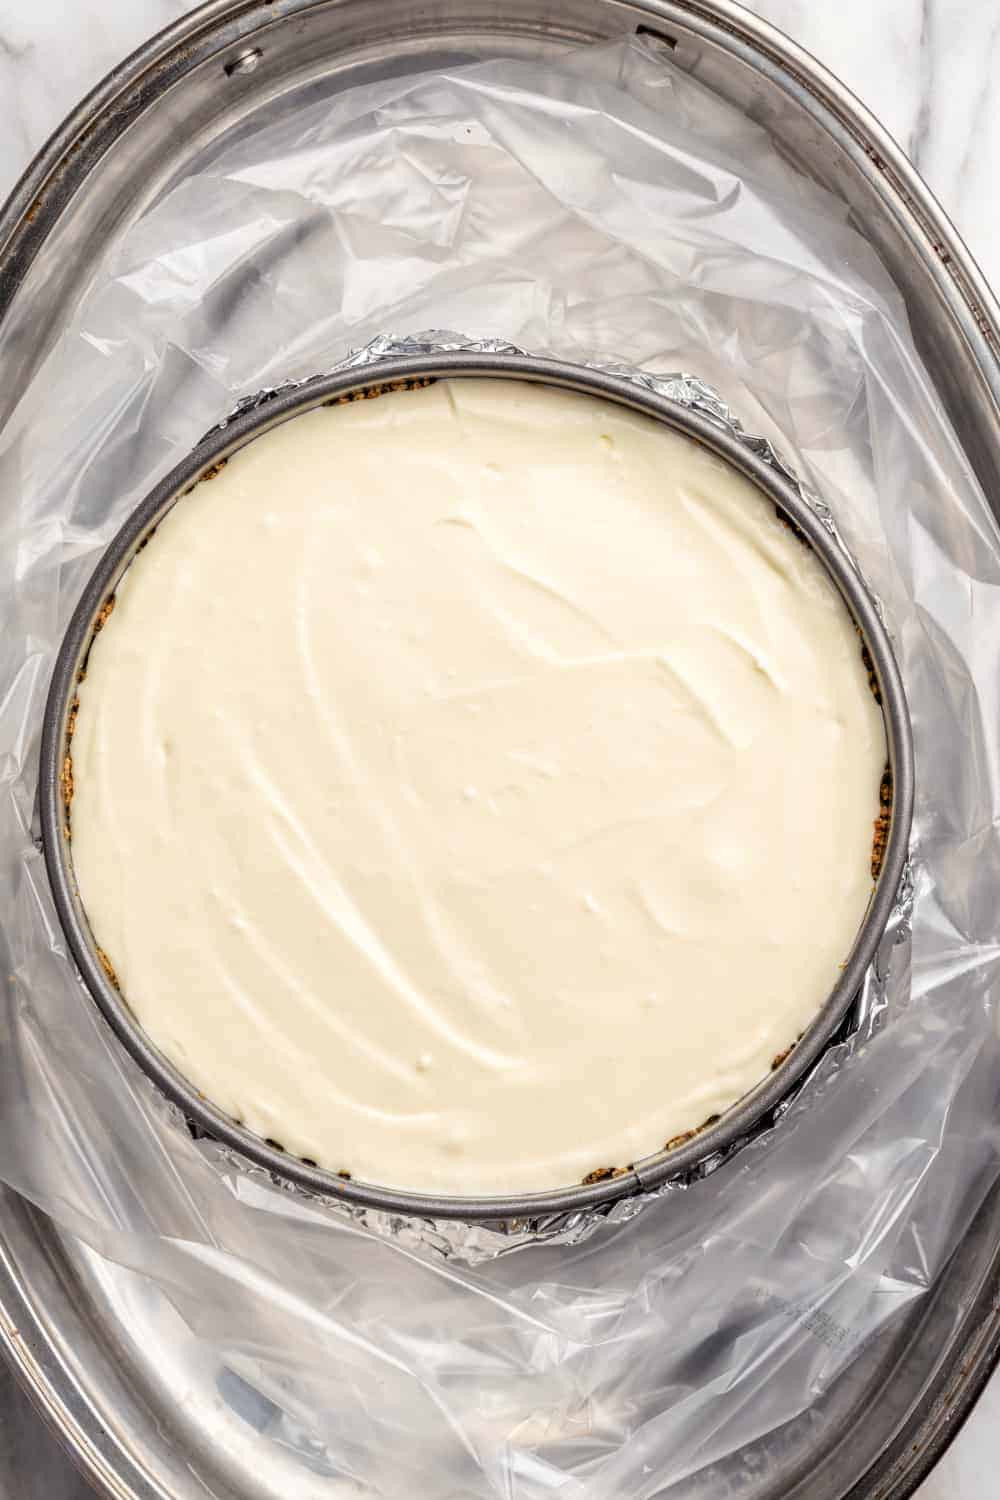
- Pour the cheesecake filling over the prepared crust.
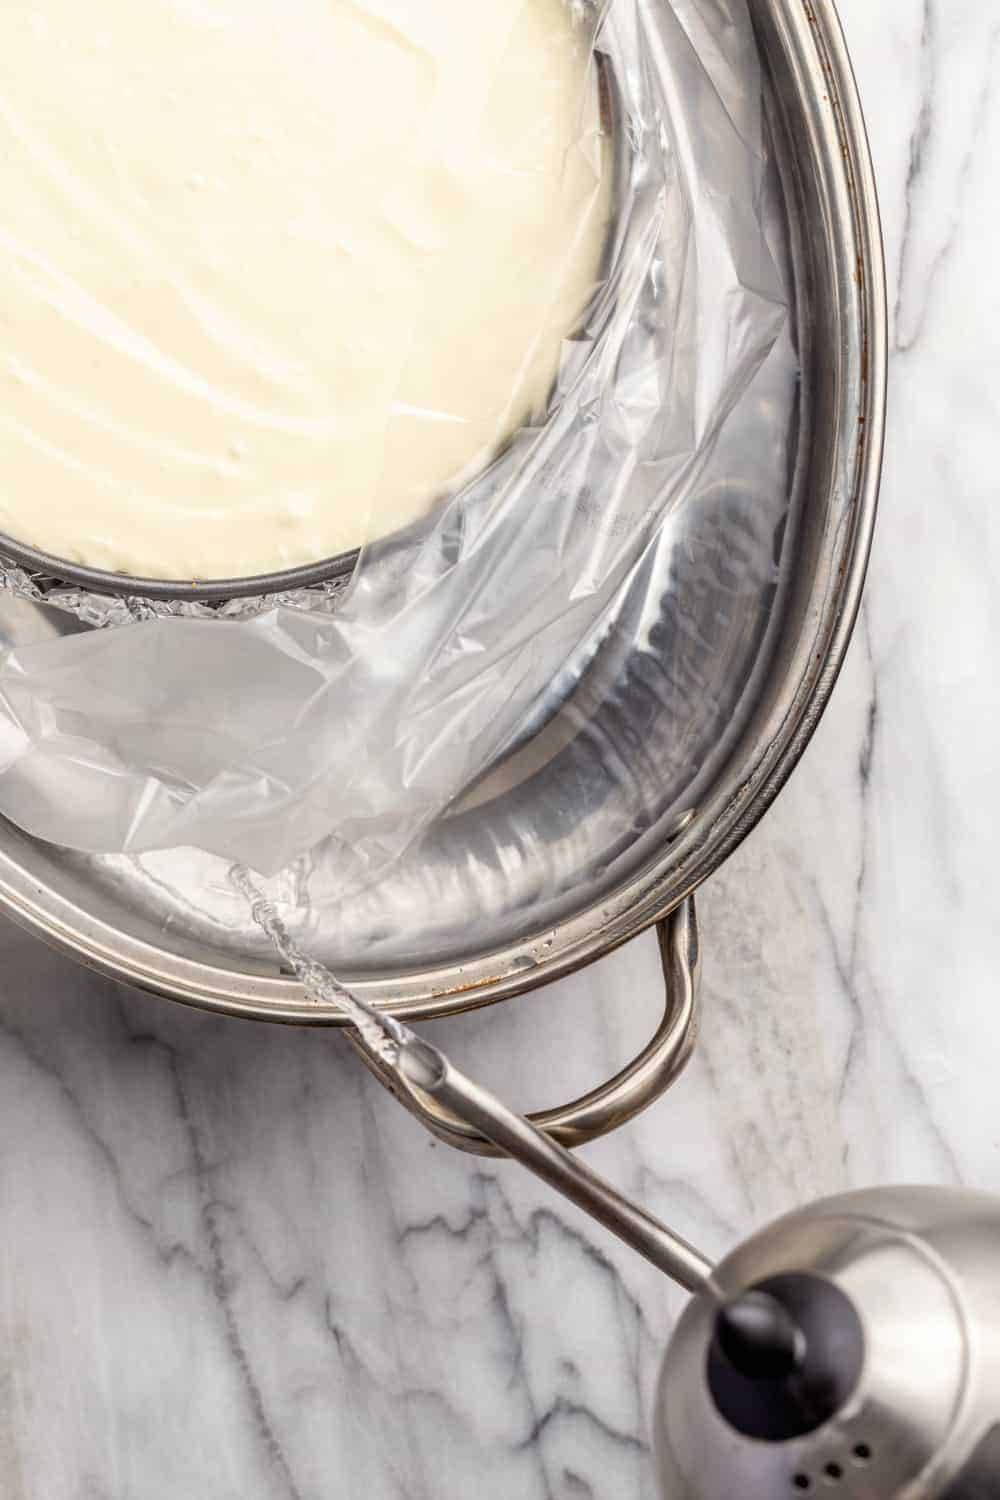
- Place pan into a larger pan (I use a roasting pan) and pour boiling water into the larger pan until halfway up the sides of the cheesecake pan. Gently lay a piece of foil over the pan – do not tighten the foil as we want to allow the air to still circulate.
- Bake 55-65 minutes, the edges will appear to be set, but the center will still have some jiggle to it. At this point, turn off the oven, and leave the oven door cracked. Allow the cheesecake to rest in the cooling oven for one hour.
- After one hour has passed, carefully remove the cheesecake from the water bath and place on a cooling rack to cool completely. Once the cake is completely cooled, place it into the refrigerator for at least 8 hours.
- Just before serving, top the cheesecake with homemade blueberry sauce.
Nutrition
Nutrition information is automatically calculated, so should only be used as an approximation.
You may also like


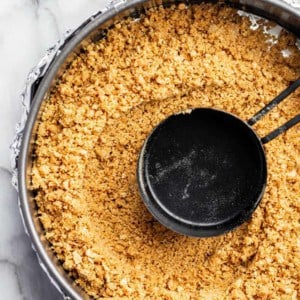
Graham Cracker Crust
Equipment
Ingredients
- 2 cups graham cracker crumbs
- 3 tablespoons sugar
- 6 tablespoons butter melted
Instructions
- Preheat oven to 350°F.
- If using a springform pan: Separate a 9-inch springform pan into two pieces. Line the bottom of the pan with foil, fasten on the side piece, and spray the inside of the pan with nonstick cooking spray. Tightly wrap the outside bottom and sides of the springform pan with two layers of heavy duty foil. This step prevents leaks when using a water bath. I also take the extra step of placing the foil wrapped spring form pan inside an oven bag while baking, but this is optional.
- If using a pie plate or other baking dish: Spray the inside of the pan with nonstick cooking spray.
- Combine the crust ingredients in a medium bowl and stir until the ingredients are evenly distributed.
- Spoon the crumbs into the prepared pan and press into the bottom of the pan and up the sides to form a crust layer. Bake crust in preheated oven for 10 minutes. Remove pan to a cooling rack. Continue with recipe as instructed.
Nutrition
Nutrition information is automatically calculated, so should only be used as an approximation.
You may also like
Homemade Blueberry Sauce
Ingredients
- 2 cups fresh or frozen blueberries
- ½ cup water
- ½ cup granulated sugar
- 2 tablespoons fresh lemon juice
- 2 tablespoons cornstarch mixed with 2 tablespoons cold water
- ½ teaspoon pure vanilla extract
- Zest of 1 lemon about 1 tablespoon, optional
Video
Instructions
- In a medium saucepan over medium heat, combine the blueberries, 1/2 cup of water, sugar and lemon juice. Stir frequently, and bring to a low boil.
- In a small bowl, whisk the cornstarch with 2 tablespoons of cold water.
- Slowly stir the cornstarch into the blueberries, taking care not to crush the blueberries. Simmer until the homemade blueberry sauce is thick enough to coat the back of a metal spoon, about 5 minutes.
- Remove from heat and gently stir in vanilla and lemon zest.
Notes
- The amount of sugar that you use will depend on the sweetness of your berries, simply adjust the amount to suite your taste.
- If this sauce is too thick for you, slowly add in water until you reach the desired consistency.
- No lemons on hand? This homemade blueberry sauce recipe tastes really great with orange juice and zest.
Nutrition
Nutrition information is automatically calculated, so should only be used as an approximation.


My cheesecake always turn out too soft . I prefer a firmer more dense texture. What could I be doing incorrectly ??
Hi Ann-
Sounds like you may need to bake it a bit longer?
Made this for friends get together and they could not stop ranting and raving about how good it was. Going to make again for coworkers birthday
Thank you for sharing
This looks amazing! I would like to add some dessicated coconut and fresh blackberries to it if that’s possible? How much of each should I add?
Hi Sarah – I haven’t tried adding these myself, so I can’t speak to how much you might need. If you give it a try, I’d love to hear how it turns out. Happy baking!
Jamie
I understand everything about the water bath except lining the inside of the pan bottom with foil. Doesn’t that make cutting the cake difficult and leave foil stuck to the bottom of your slices? Looking forward to you responce.
Hi Donna-
Once the cheesecake is chilled the foiled will peel right off.
-Jamie
This cheesecake looks absolutely perfect – simply to die for! Such an amazing texture- so rich and creamy ♥
Thanks so much for stopping by, Natalie! I appreciate you taking the time to comment. Happy Baking!
-Jamie
My God, how delicious! For sure, I will test this recipe!
Thanks so much for stopping by, Daniela! I appreciate you taking the time to comment. Happy Baking!
-Jamie
My goodness. I have been following you since 2010 or was it 2011? You and Sweetapolita I have been religiously following and subscribe to! Your fudgy brownies recipe is my ultimate brownie recipe and now this! Thank you for all these years of wonderful and amazing recipes and now I must make this cheesecake :) You have a fan for life!
Much love from Kuala Lumpur, Malaysia.
Thanks so much for stopping by, Sonia, and for following along for so many years! I appreciate you taking the time to comment. Happy Baking!
-Jamie
I adore cheesecake and yours looks beautiful!
Thanks so much for stopping by, Anne! I appreciate you taking the time to comment. Happy Baking!
-Jamie