This post may contain affiliate links. Please read our privacy policy.
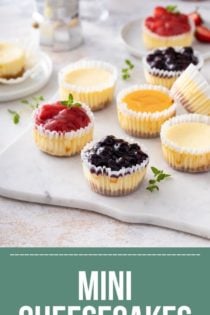
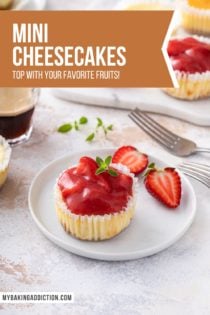
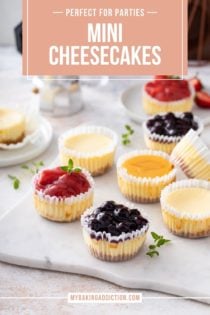
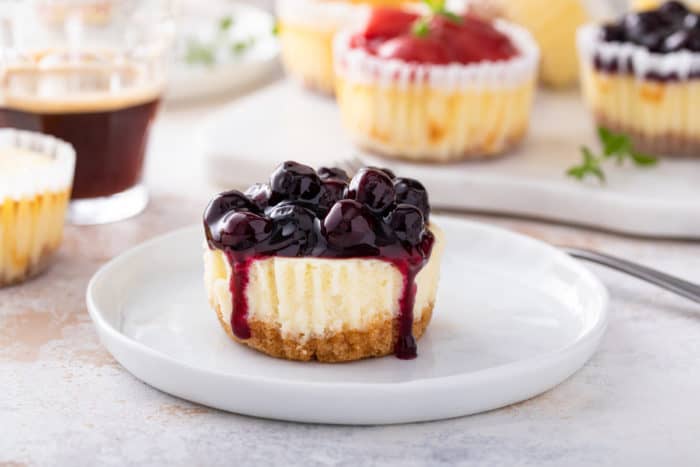
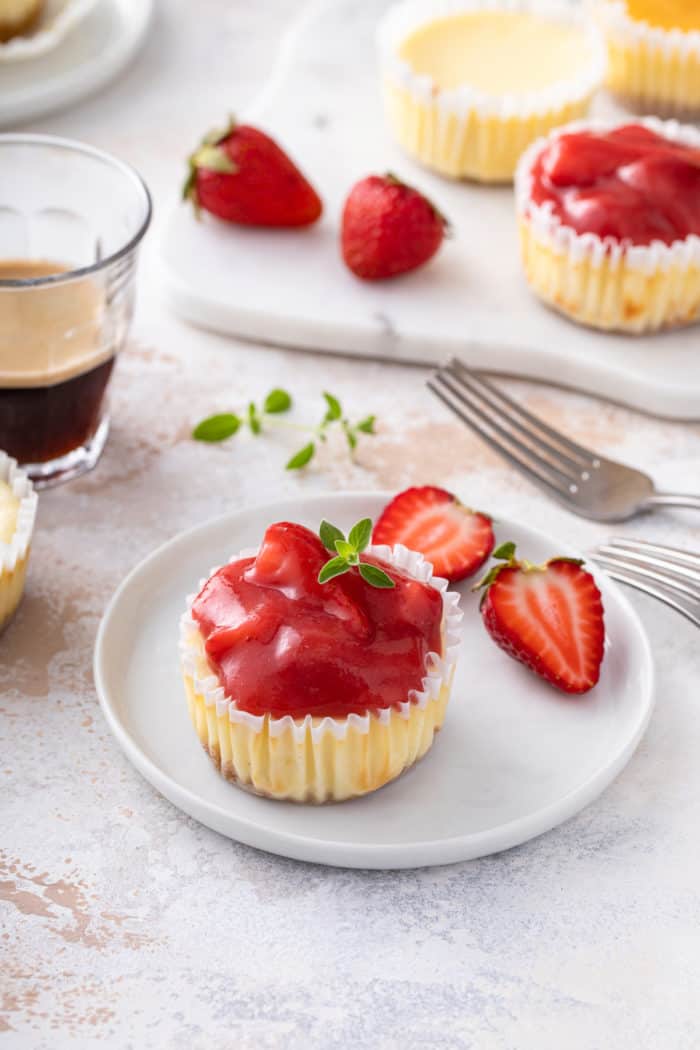
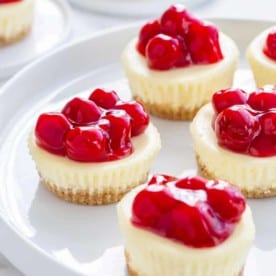
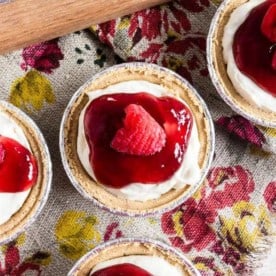
These adorable mini cheesecakes are always the hit of any party! Top these little beauties with anything from pie filling to caramel sauce to fresh fruit – you can’t go wrong.
One of the things I’ve learned about being a parent is that mini things are the way to get kids interested in just about anything.
I mean, who can blame them? I fall for it too, and I’m a grown adult!
Whether it’s cutting sandwiches with a cookie cutter to make mini sandwiches or scaling desserts down to kid size, I can be pretty much guaranteed that anything small will get some attention around here.
And you know this applies to my all-time favorite dessert, ok?
That’s right. We’re talking about mini cheesecakes!
My Favorite Mini Cheesecake Recipe
From mini pumpkin pies to mini cinnamon rolls to these mini cheesecakes, mini-sized baked goods are just somehow more fun!
I’ve made a number of mini cheesecakes in the past, but realized I hadn’t shared my all-time favorite classic version with you yet.
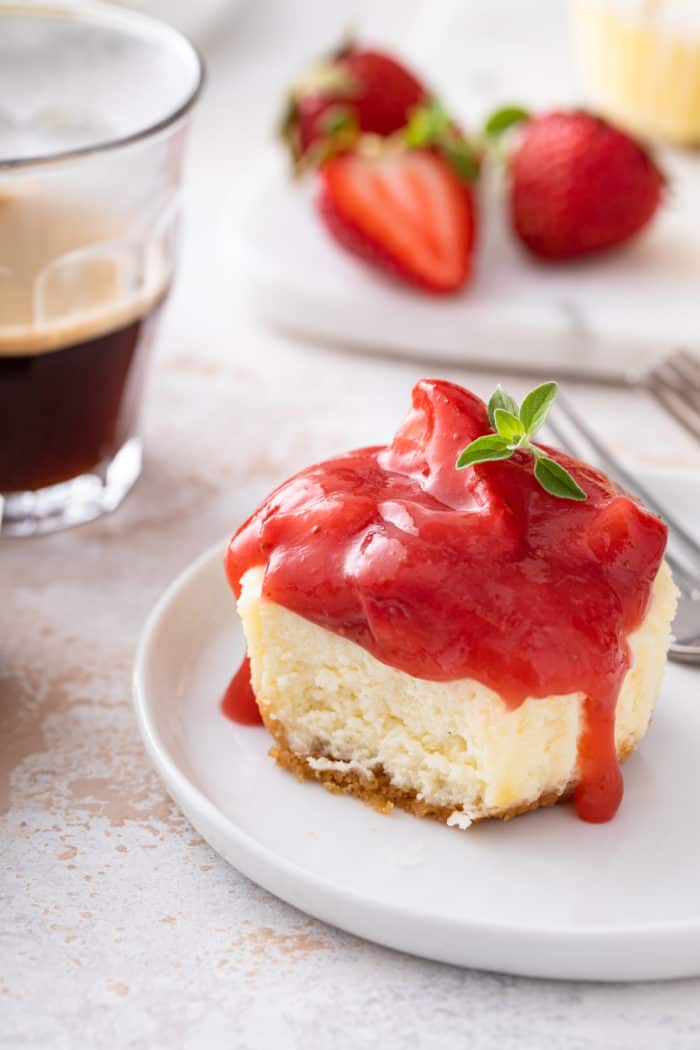
This recipe takes a scaled-down version of my graham cracker crust and pairs it with a scaled-down version of my vanilla cheesecake filling for individual cheesecakes that are perfectly creamy and decadent.
And look, I know that mini cheesecakes might look hard to make, but that couldn’t be further from the truth.
How to Make Mini Cheesecakes
If traditional cheesecake recipes scare you, give these mini cheesecakes a try instead! They’re a great way to warm yourself up to a full-size recipe.
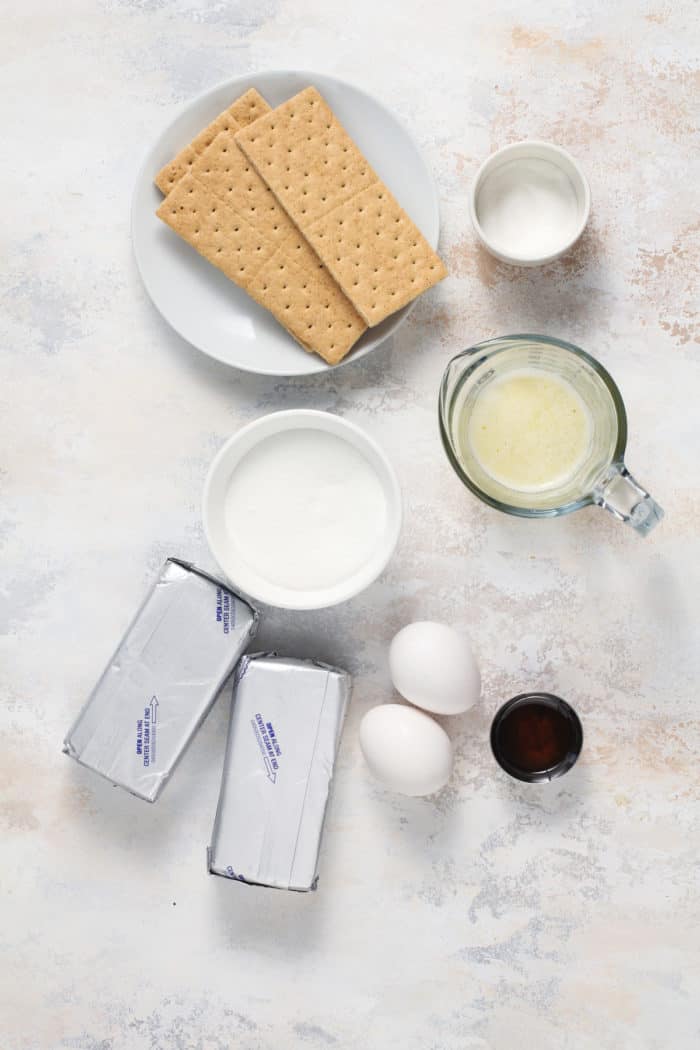
Ingredients you’ll need
The ingredients for making this recipe are incredibly simple:
- 4 whole graham cracker sheets
- ½ cup plus 2 tablespoons granulated sugar
- 3 tablespoons unsalted butter, melted
- 2 packages (16 ounces) cream cheese, room temperature
- 2 large eggs
- 1 teaspoon vanilla bean paste or vanilla extract
A bonus is that since the recipe is scaled-down from a full-size cheesecake, it uses a smaller amount of all of the ingredients, too, making this a more economical option as you’re learning to make cheesecake.
Make sure to check out my tips for how to soften cream cheese to make sure your cream cheese is the perfect temperature!
I recommend using full-fat cream cheese for this recipe.
Tools you’ll need
I have made these mini cheesecakes so many times over the years that I have really fine-tuned both the recipe itself and the equipment I think is most helpful when making it.
I like to have the following tools on hand when making this recipe:
- Large cookie scoop: Using a large cookie scoop makes it super easy to divide the filling into each of the individual cheesecakes. You can use a ¼-cup measuring cup or an ice cream scoop as well, but I promise you’ll find all sorts of ways to use this cookie scoop!
- Hand mixer: I don’t really like pulling out my stand mixer for this recipe; I think it’s super quick to throw together using my hand mixer instead.
- Food processor: Using a food processor makes it super quick and easy to pulse the graham crackers into crumbs, but you can place the graham crackers into a zip-top bag and crush the graham crackers with a food mallet or rolling pin as well.
- Cupcake liners: I don’t care how nonstick your pan is, you’ll want to use cupcake liners to make it easy to take the cheesecakes out of the pan!
Do you need a special pan?
Unlike making a full-size cheesecake that really does need a springform pan, you can make this mini cheesecake recipe in a standard muffin pan.
That’s right! You can use the muffin pan you already have to make the cutest little cheesecakes. I’m calling that a win.
Making this recipe
To start, pulse the graham crackers in your food processor to form fine crumbs, then mix the graham cracker crumbs with 2 tablespoons of the granulated sugar and the melted butter.
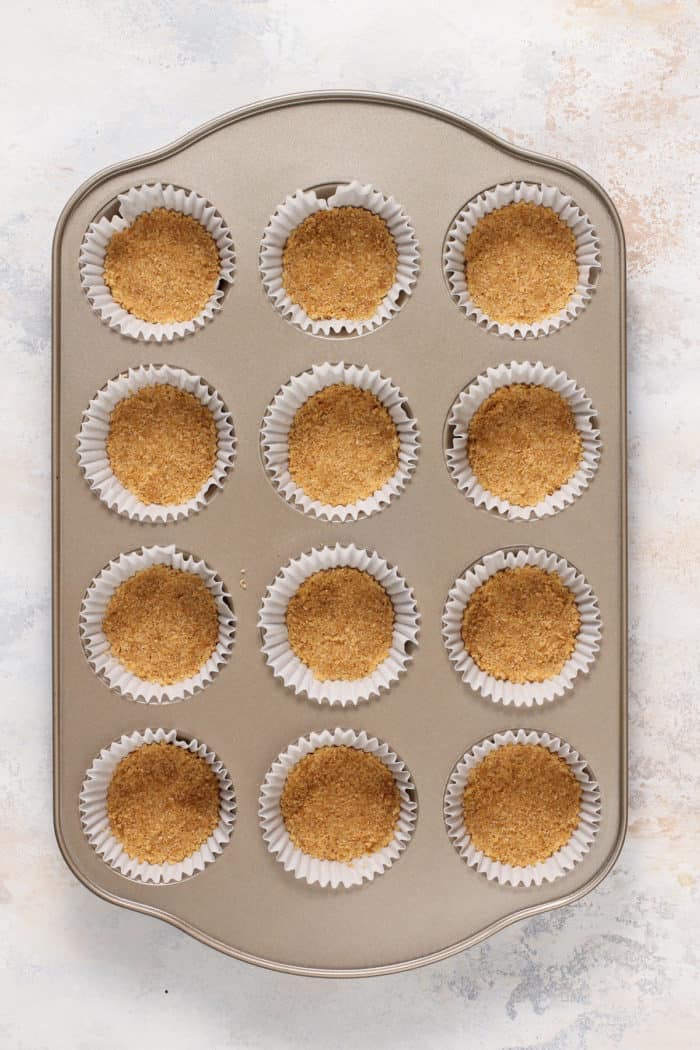
Line each of the muffin pan wells with a cupcake liner and then evenly distribute the crust mixture across each of them. Press the crumbs gently to form an even crust – I typically use the bottom of a small jar to do this.
Bake the crusts for 5 minutes; let the pan cool on a wire rack while you work on the filling.
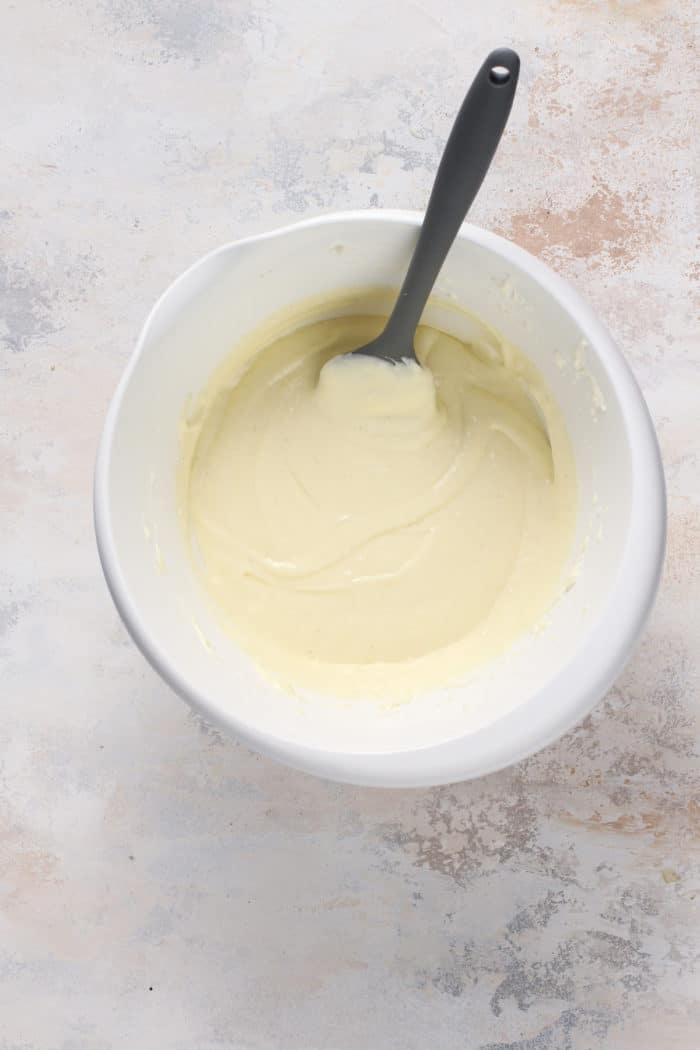
To make the cheesecake filling, beat the cream cheese and the rest of the sugar together in a large bowl. You want these to be well combined to make for a smooth filling; I find that this usually takes about 2 minutes.
Add the eggs one at a time, followed by the vanilla. Make sure you scrape down the sides of the bowl to get everything well incorporated.
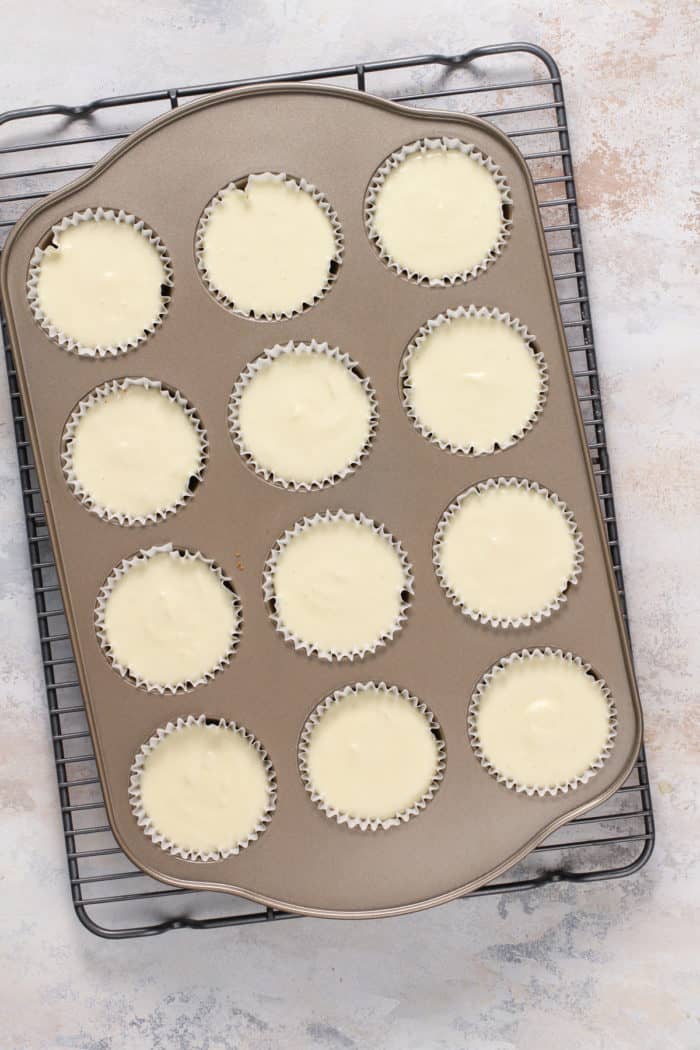
Use your large cookie scoop to divide the filling on top of each of the baked crusts, then bake the cheesecakes until they are just set, about 15-17 minutes.
You’ll know they are done when you can gently touch the top of the cheesecakes and the center no longer jiggles.
Let the mini cheesecakes cool on a wire rack and then refrigerate them for at least 3 hours before serving.
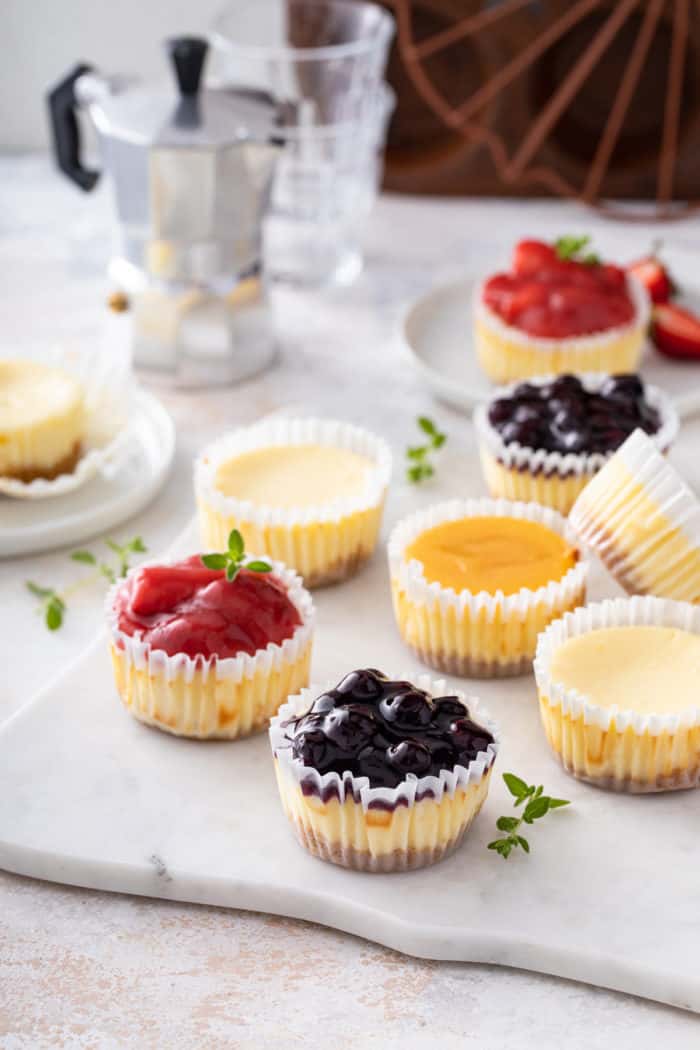
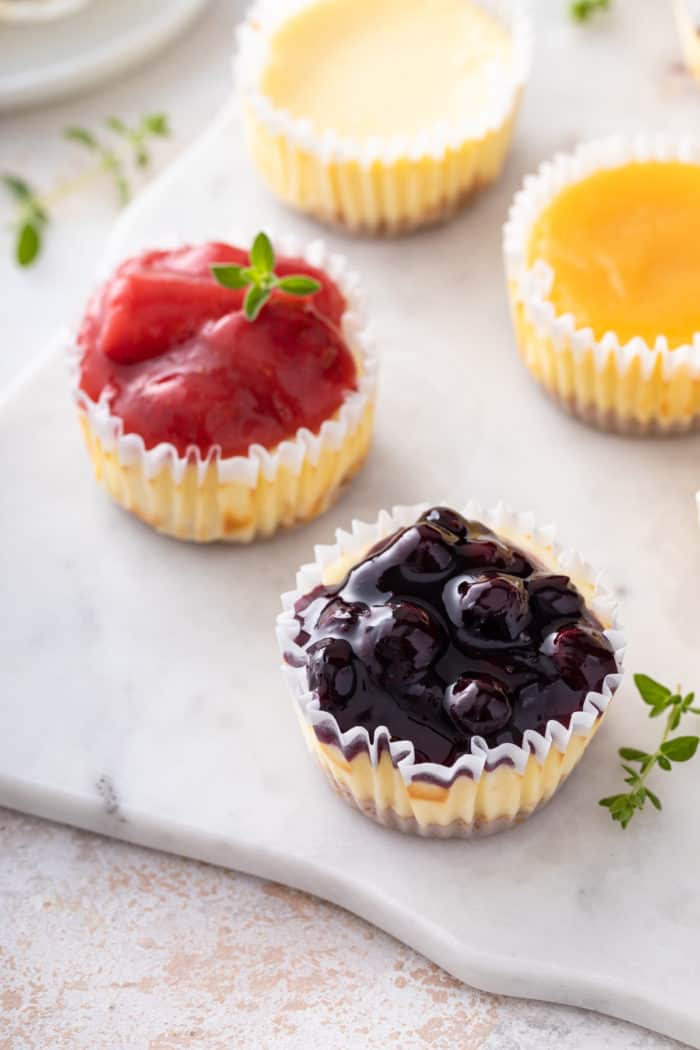
Topping Ideas
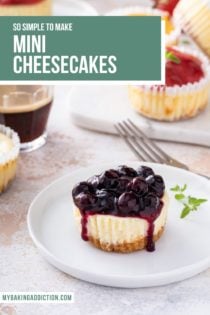
As delicious as these little cheesecakes are plain, I think they’re best when you dress them up with some of your favorite toppings.
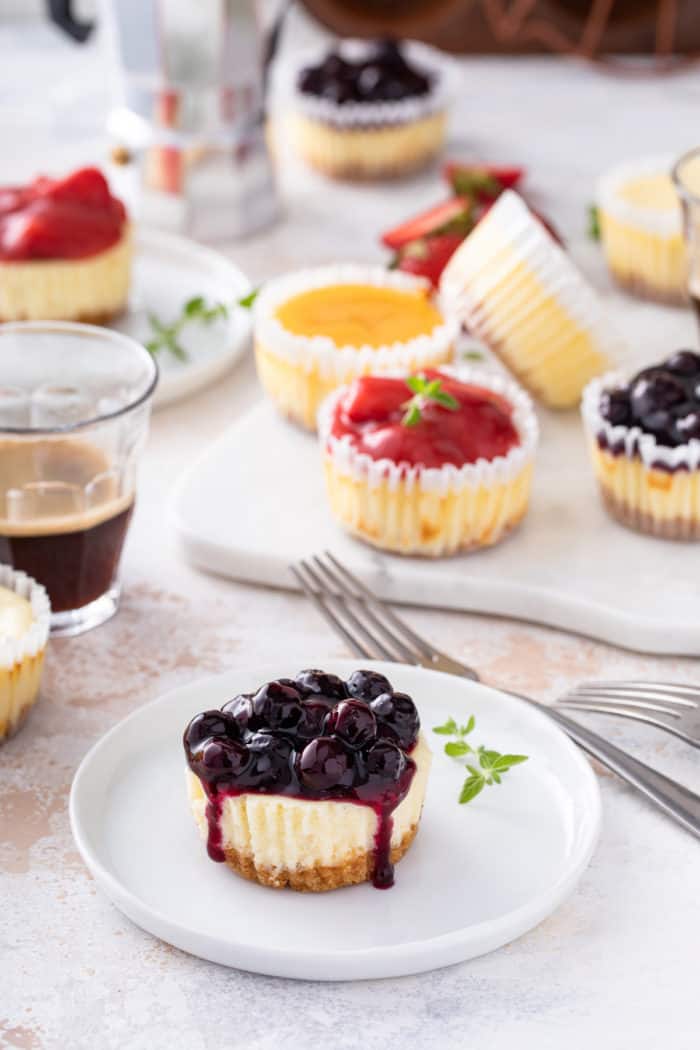
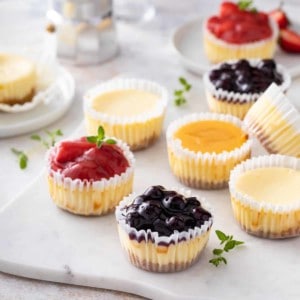
If you’re having a party, consider setting out a few different toppings to let everyone mix and match their favorites! Some of my personal favorites include:
- Strawberry pie filling
- Cherry pie filling
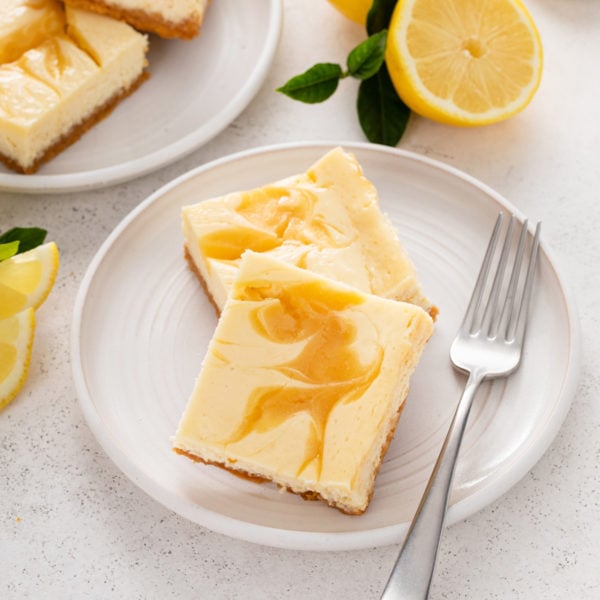
- Lemon curd
- Strawberry sauce
- Raspberry sauce
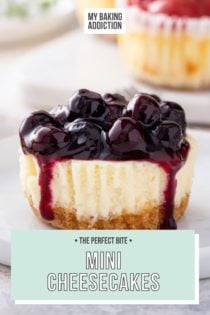
- Blueberry sauce
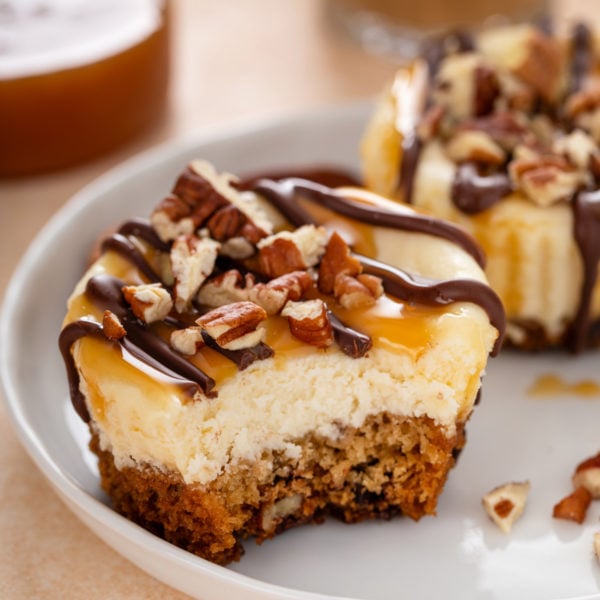
- Salted caramel sauce
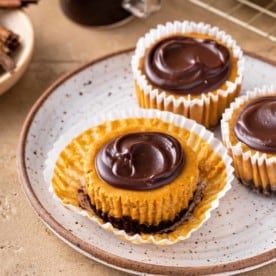
- Hot fudge sauce or chocolate ganache
- Fresh fruit and whipped cream
Storage and Freezing
Store mini cheesecakes in an airtight container in the refrigerator for up to 3 days. Wait to top them until just before serving.
You can also freeze your mini cheesecakes!
Wrap each cheesecake in a layer of plastic wrap and place them in a zip-top freezer bag. Alternatively, you could use a vacuum sealer to seal them before putting them in the freezer for up to a month.
When you’re ready to enjoy, let the cheesecakes thaw in the fridge overnight or on the counter for 1-2 hours.
More Mini Cheesecake Recipes
You know I couldn’t leave you without sharing some of my favorite twists on this classic mini cheesecake recipe! Here are some of my favorite mini cheesecake variations to try now that you know the basics:
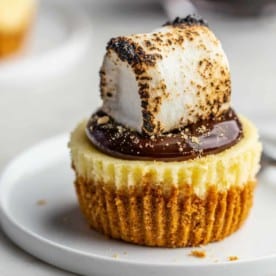
Mini S’mores Cheesecakes

Low Carb Mini Cheesecakes
Mini Cherry Almond Cheesecakes
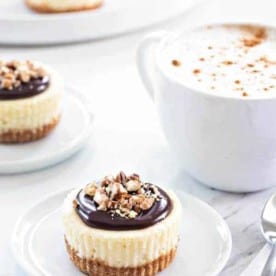
Mini Chocolate Pecan Cheesecakes

Turtle Cheesecake Cookie Cups
Mini Pumpkin Cheesecakes
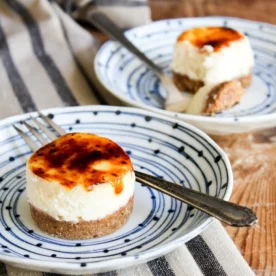
Mini Cheesecake Brulee
No Bake Raspberry Lemon Mini Cheesecakes
Mini Cheesecakes
Ingredients
For the Crust:
- 4 whole graham cracker sheets
- 2 tablespoons granulated sugar
- 3 tablespoons unsalted butter melted
For the Filling:
- 16 ounces cream cheese room temperature
- ½ cup granulated sugar
- 2 large eggs
- 1 teaspoon vanilla bean paste or vanilla extract
Topping suggestions:
- Pie filling or fruit sauce of your choice cherry, blueberry, lemon curd, strawberry sauce, etc.
- Salted caramel sauce
- Chocolate ganache
- Fresh fruit
Video
Instructions
- Preheat oven to 350°F. Line a standard cupcake pan with paper cupcake liners.
- Place graham crackers into the bowl of a food processor fitted with a metal blade. Pulse until they form fine crumbs. Add 2 tablespoons sugar and melted butter and pulse until all the ingredients are evenly distributed.
- Evenly distribute the crumb mixture in the bottom of each baking cup. Press gently to form an even crust.
- Bake crusts in preheated oven for 5 minutes. Place pan on wire rack to cool while you prepare the filling.
- Beat cream cheese and sugar in a large bowl with an electric mixer until well mixed – about 2 minutes. Add eggs in one at a time and mix until incorporated. Scrape the sides of the mixing bowl and add in the vanilla bean paste or vanilla extract and mix until it is incorporated. Use a large cookie scoop (about 3 tablespoons) to evenly distribute the filling into baking cups.
- Bake for 15-17 minutes or until just set. Allow cheesecakes to cool completely on a wire rack and then refrigerate for at least 3 hours. Just before serving, top with the pie filling or sauce of your choice.
Notes
- If you do not have a food processor, you can place the graham crackers into a zip-top bag and crush the graham crackers with a food mallet or rolling pin.
- Check out my tips for how to soften cream cheese to make sure your cream cheese is the perfect temperature.
- Store mini cheesecakes in an airtight container in the refrigerator for up to 3 days. Wait to top them until just before serving.
Nutrition
Nutrition information is automatically calculated, so should only be used as an approximation.


I have used a similar recipe for years with the exception that my recipe calls for a single vanilla wafer in the bottom of the cupcake liner. No need to crush or prebake. Just add the filling. Great recipe and always a hit for any party.
Love that idea! Thanks for stopping by, Mary. Happy baking!
Jamie
Really nice recipe. Thanks for sharing.
Thanks so much for stopping by and commenting! Happy baking –
Jamie